Here are 6 Things you may want to know before playing Ratchet & Clank Rift Apart
If you’re new to the Ratchet & Clank series, here’s a couple of things you may want to know before playing Rift Apart. Some of these may be familiar territory for R&C alumni, but everyone can use a reminder now and then, especially since it’s been a while since the last entry in the series. And who knows – maybe you’ll learn a few new things.
Table of Contents
1 Switch it up


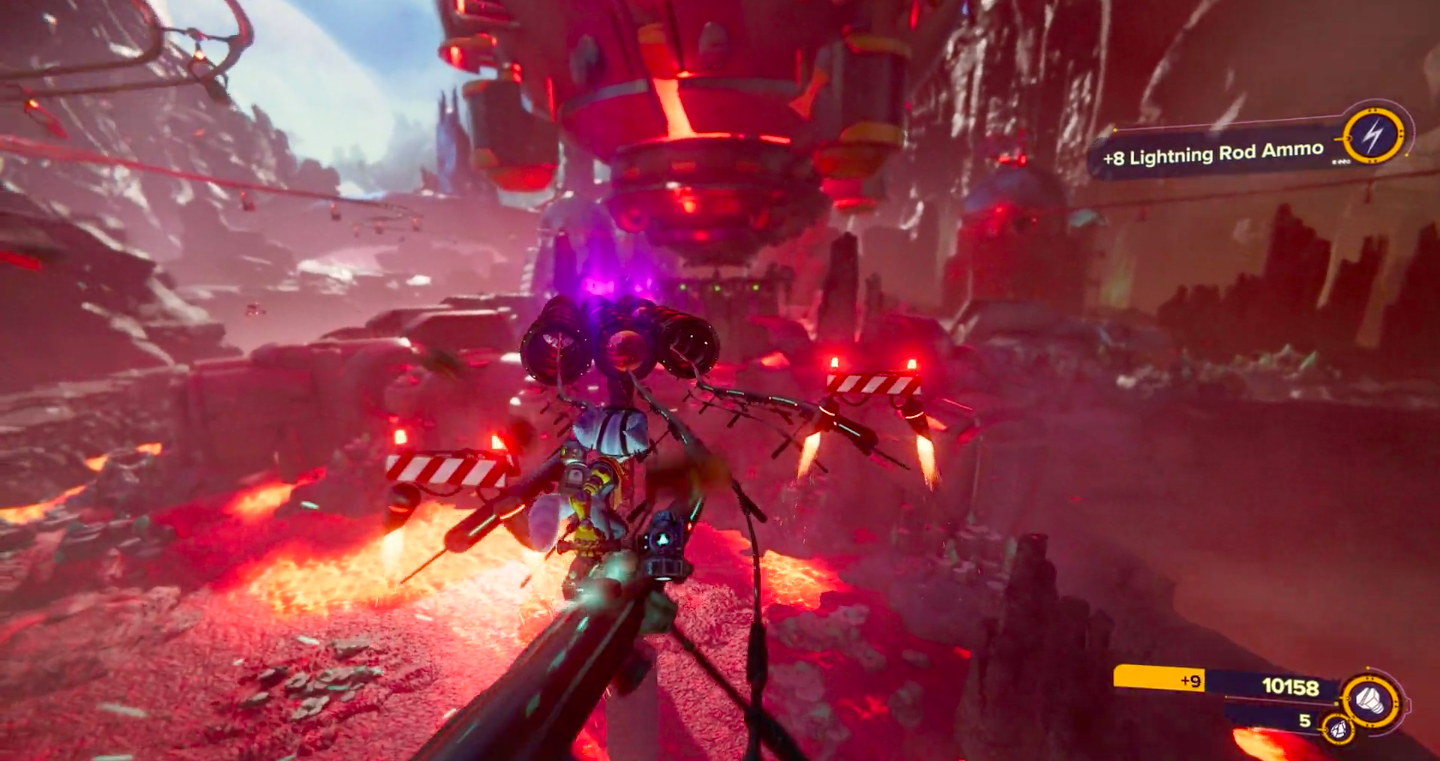
By defeating enemies, you can level up your character; that much will become clear early on. However, weapons will also level up with use. So while it’s tempting to keep using your favourite weapon all the time, you may want to occasionally switch it up. Using combinations of different weapons is always a good strategy, but it will also allow you to level up your other weapons. Levelling up improves your weapons in more ways than one, however. As returning players will already know, you can also upgrade them with raritarium at any time at the weapons vendor – in Rift Apart represented by none other than Mrs. Zurkon. Upgrades range from straightforward things – like doing more damage or increasing max—ammo – to more exciting upgrades that change your weapons primary or secondary effects. Pay special attention to the yellow/gold tiles, which give you a special bonus if you purchase all the surrounding tiles. They’re usually well worth getting. Levelling up a weapon also increases the number of upgrades available. Weapons can be upgraded to a maximum level of 5 – at which point they transform into an upgraded version of that weapon. Frequent purveyors of the R&C franchise will know that the real fun starts after you finish the game – when you unlock challenge mode. Aside from the obvious increased challenge – you’ll also be able to purchase the very expensive Omega versions of your fully upgraded weapons. Buying these weapons will allow you to further level up and upgrade them with raritarium.
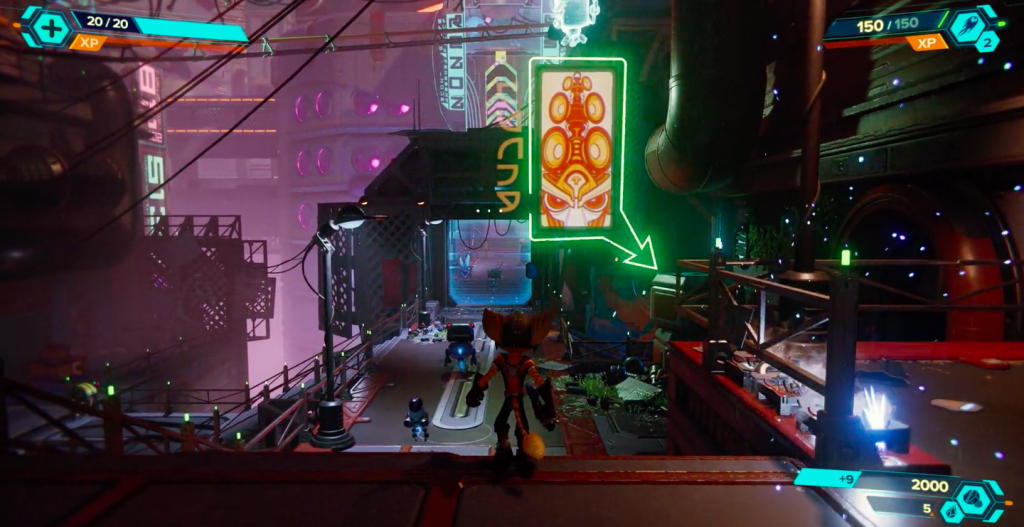
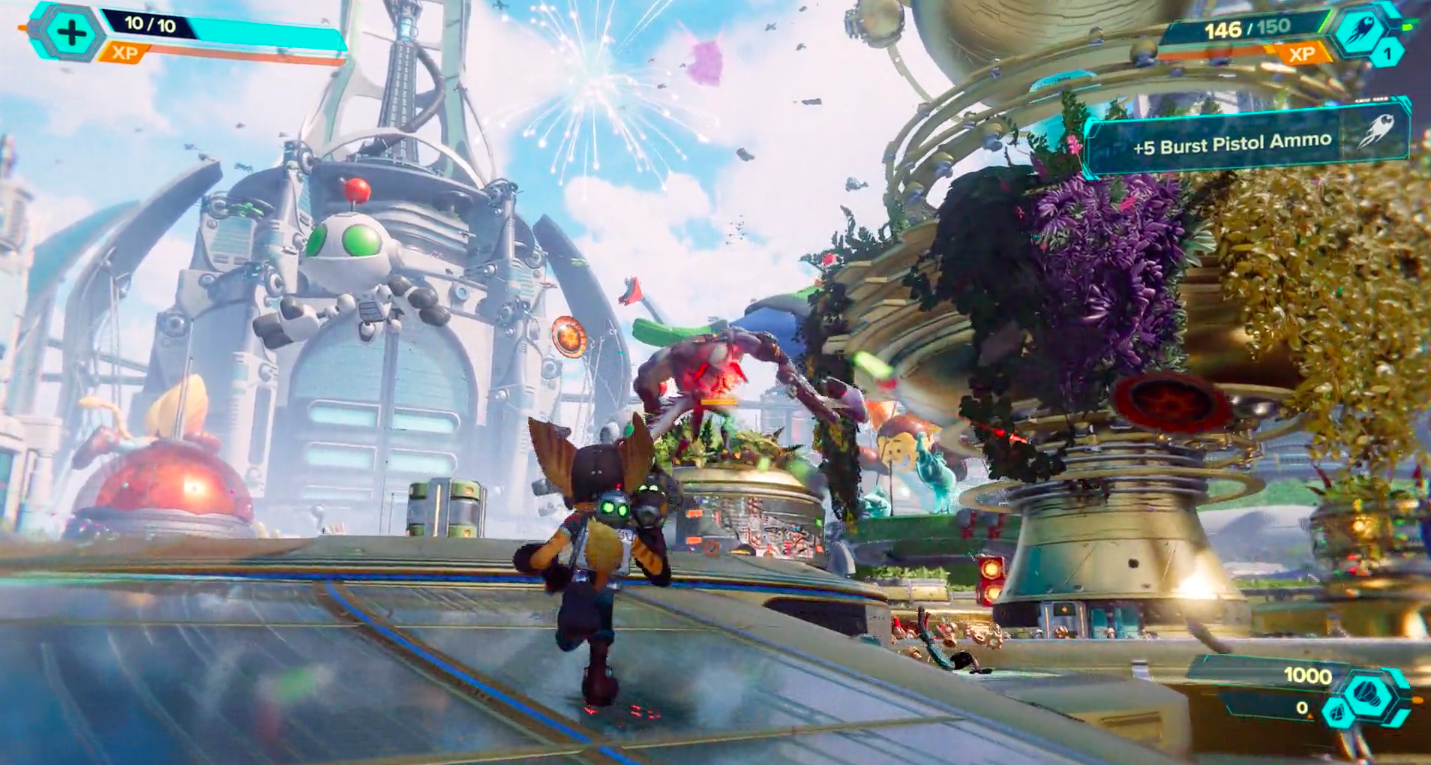
2. Show me the bolts!

Bolts are what make the world…or rather the universe go around. Any veteran to the franchise will know that bolts are the currency of the R&C games, and you can beat them out of pretty much anything – enemies, destructible objects and of course, crates. You will need a lot of them if you want to buy every single weapon of Rift Apart’s insane arsenal – which gets increasingly more expensive with every new weapon that becomes available at Mrs. Zurkon’s. Crates will respawn when you revisit a planet, so you won’t have to worry about ever running out, but the most effective way to farm bolts is fighting in Zurko Jr.’s arena. And if you think getting weapons are expensive in your first playthrough, wait until you see the price list of their Omega versions in challenge mode. Pro tip: while completing challenge mode is not required for the Platinum trophy this time around, you may want to check it out anyway – if only for the two bonus weapons you can only get the 2nd time around and are necessary to ultimately acquire that much-coveted plat.
3 Quest for Raritarium

4 Gear up

You may have noticed that every time you complete a pocket dimension challenge, you’ll be rewarded with a nifty piece of gear. Equipping gear doesn’t just give Rivet or Ratchet a slick makeover – it also offers certain perks. For example: a reduction of damage taken by particular enemy types or a bonus to bolts collected. Equipping all 3 parts of a single set will even give you a bonus to that bonus. And if you’re worried that wearing a helmet will ruin those beautiful cutscenes – well, don’t. Helmets will neatly be unequipped from your character whenever a cutscene plays and automatically be re-equipped when the cutscene ends.
5 The map is your friend

6 Accessibility Options are great

As you may have read in our review, Rift Apart has an impressive array of accessibility options. However – as people who have experienced the also impressive accessibility options of The Last of Us Part II may already know – some of them can be used in creative ways. In particular, the contrast options are a great way of finding the often well-hidden collectibles – especially those pesky CraiggerBears. The latter won’t show up on your map, even if you obtained the Map-O-Matic. As mentioned earlier, we went out of our way to locate all 9 of them – so the quickest way would be to check out our guide. But if you like the challenge to find them yourself, then you may want to have a look at the accessibility menu – in particular, the visual & contrast options. Go to contrast options and enable high contrast background so the background will appear in greyscales. Then enable contrast options and make sure the collectible shader is turned on to highlight all collectibles in bright colours. Feel free to adjust the particular colour or turn off/on other shaders to your liking. Spotting these well-hidden collectibles should be considerably easier now.