Quick Links
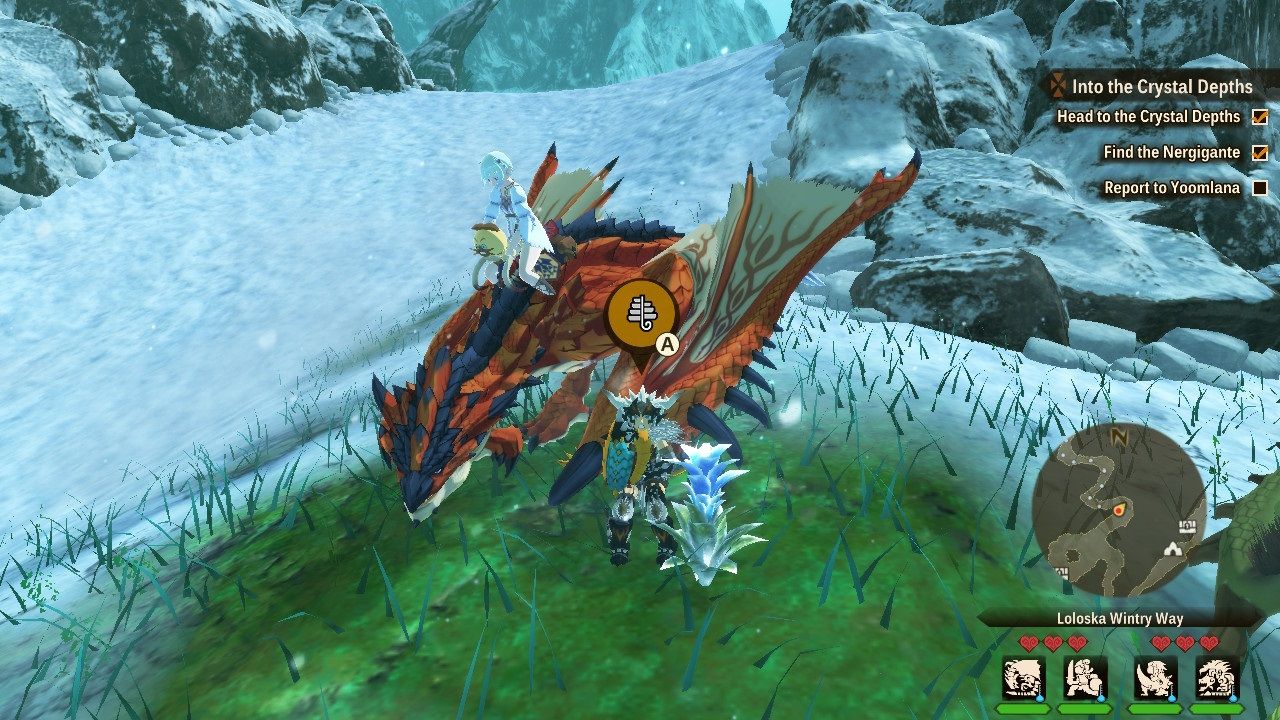
The snowy landscape of Loloska is the third region that you will visit in Monster Hunter Stories 2: Wings of Ruin. This area proves to be more of a challenge than the last two, as you and your monsties will be affected by Frost Bite (which can prevent you from acting in battle) due to the cold weather. To negate the effects of Frost Bite, you can use Hot Mist, or once you begin to defeat and hatch monsters native to the area, you can create cold-weather armor to ward off Frost Bite or use cold-weather monsties that aren't affected by the cold.
RELATED: Monster Hunter Stories 2: Beginner Tips To Get You Started
In addition to the main Loloska map, there are Loloska Forest, Lavina Mine Cave, Loloska Rocky Canyon, Jagged Rock Cave, and Lavina Glacial Peaks areas too. This is also where you will find Kuan Village and the Loloska Pit will become available towards the end of the game. For a full list of every monster, egg, and item that you can find in Loloska, we've got it all right here.
Note: The below tables are based on the information we have gathered from playing the game ourselves. When it comes to where to find monsters or items, there may be more places they can be found that we just did not discover yet. We will continue to update this guide as necessary.
Monsters Found in Loloska

| Monster | Location | Retreats? | Hatchable? | Weakness | Loot & Parts |
|---|---|---|---|---|---|
| Anjanath |
|
Yes (Break the nose with a water element) | Yes |
|
|
| Baggi |
|
No | No |
|
|
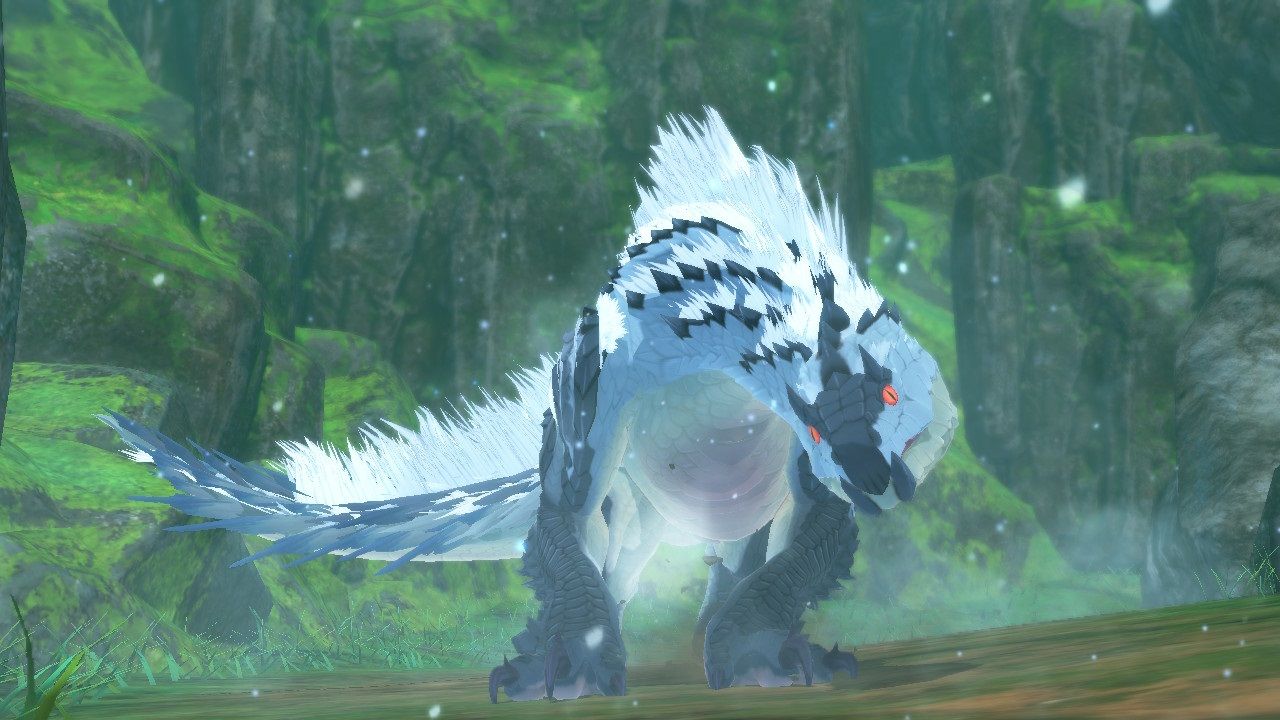
| Barioth |
|
Yes (Break its spikes with a fire element attack) | Yes |
|
|
| The Imperious Saber (Barioth) |
|
— | — |
|
|
| Barroth |
|
Yes (Wash off its mud cover using a water attack) | Yes |
|
|
| Bnahabra (Green) |
|
No | No |
|
|
| Conga |
|
No | No |
|
|
| Congalala |
|
Yes (Break the head with a hammer) | Yes |
|
|
| Gammoth(Royal Monster) |
|
Yes (Defeat with a Glavenus Kinship Skill) | Yes |
|
|
| Glacial Agnaktor (BOSS) |
|
No | — |
|
|
| Glacial Agnaktor |
|
No | No |
|
|
| Great Baggi |
|
Yes (Hit it with a Paintball and defeat it quickly) | Yes |
|
|
| Great Thunderbug (Summoned by Zinogre) |
|
No | No |
|
|
| Gypceros |
|
Yes (Attack with a Nerscylla Kinship Skill) | Yes |
|
|
| Jade Barroth |
|
Yes (Shake off its snow cover using a thunder attack) | Yes |
|
|
| Kecha Wacha |
|
Yes (Break the head with a sword and shield) | Yes |
|
|
| Khezu |
|
Yes (Attack with a shrouded Nerscylla Kinship Skill) | Yes |
|
|
| Konchu (Blue) |
|
No | No |
|
|
| Lagombi |
|
Yes (Break the stomach with a great sword) | Yes |
|
|
| Legiana (BOSS) |
|
— | — |
|
|
| Legiana |
|
Yes (Stop it gliding by using a Flash Bomb, then use a thunder attack) | Yes |
|
|
| Nerscylla |
|
Yes (Break the needle with a fire element attack) | Yes |
|
|
| The Insidious Weaver (Nerscylla) |
|
— | — |
|
|
| Popo |
|
Yes (Hit it with a Paintball and defeat it quickly) | Yes |
|
|
| Red Khezu |
|
Yes (Break the head with a bow) | Yes |
|
|
| Seltas (BOSS) |
|
— | — |
|
|
| Seltas |
|
No | No |
|
|
| Seltas Queen (BOSS) |
|
— | — |
|
|
| Seltas Queen |
|
No | No |
|
|
| The Alluring Mantid (Seltas Queen ) |
|
— | — |
|
|
| Tobi-Kadachi |
|
Yes (Break the tail with a hunting horn) | Yes |
|
|
| Zamite |
|
No | No |
|
|
| Zamtrios |
|
Yes (Break the stomach while it is swollen) | Yes |
|
|
| Zinogre(Royal Monster) |
|
Yes (Defeat with ice element attack while it affected with Blastblight) | Yes |
|
|
| Zinogre |
|
Yes (Defeat with ice element attack while it affected with Blastblight) | Yes |
|
|
| The Treacherous Wolf (Zinogre) |
|
No | — |
|
|
*Loloska Pit becomes available as an area near the end of the game. The monsters found here are all rage-rayed.
Note: Some areas/monsters/eggs cannot be accessed or will not appear until you have progressed the storyline further in that specific area. For example, a monster and its egg may not appear until you have defeated it as part of the storyline. Additionally, if the monster is capable of retreating, we have listed the item/action that increases its retreat rate.
Eggs Found in Loloska

| Hatched Monster | Appearance | Type |
|---|---|---|
| Anjanath | Pink with black zigzag stripes | Burning Brute Wyvern egg |
| Barioth | White and orange tiger stripes | Frozen Flying Wyvern Egg |
| Barroth | Brown with yellow zigzag stripes | Soggy Brute Wyvern Egg |
| Congalala | Fuchsia with green spikey splotches | Humble Fanged Beast Egg |
| Great Baggi | Blue with yellow splotches | Humble Bird Wyvern Egg |
| Gypceros | Light blue with pink splotches | Humble Bird Wyvern Egg |
| Jade Barroth | Turquoise with light blue zigzag stripes | Frozen Brute Wyvern Egg |
| Kecha Wacha | Yellow with orange spikey splotches | Soggy Fanged Beast Egg |
| Khezu | Pale blue with pink tiger stripes | Pulsing Fanged Wyvern egg |
| Lagombi | White with purple spikey splotches | Frozen Fanged Beast Egg |
| Legiana | White and dark blue tiger stripes | Frozen Flying Wyvern Egg |
| Nerscylla | Purple with pink vertical stripes | Humble Temnoceran Egg |
| Popo | Brown with yellow horizontal oblongs | Frozen Herbivore Egg |
| Red Khezu | Red and baby pink tiger stripes | Pulsing Flying Wyvern Egg |
| Tobi-Kadachi | White with black vertical zigzag stripes | Pulsing Fanged Wyvern egg |
| Zamtrios | Blue egg with orange vertical oblongs | Frozen Amphibian Egg |
Items You Can Gather in Loloska
| Gathering Spot | Possible Items & Locations |
|---|---|
| Blue Butterfly |
|
| Blue Herb |
|
| Blue Mushroom |
|
| Blue Ore |
|
| Bone Pile |
|
| Brown Butterly |
|
| Fishing Spots |
|
| Gold Bones |
|
| Gold Ore |
|
| Hive |
|
| Junk Piles |
|
| Pink Herb |
|
| Red Berries |
|
| Web |
|
Note: Items can also be gathered from Monster Dens of the same map type. Some items are a lot rarer than others, so you might be farming for a while before you get what you want. It appears that Rare Monster Dens have a higher chance of rarer items, but this has not been proven.
It appears that once you progress to a new region in the game, the items native to that region have a chance of being gathered in previous regions you have visited. For the sake of this guide, we have only included the items you can gather from each region when you are first visiting it. Next: Monster Hunter Stories 2 Is The Comforting RPG I Desperately Needed