Quick Links
Destiny 2’s Season of the Lost has added Ascendant Anchor collectibles across the game’s various planets and the Shattered Realm activity. Each week, one planet will spawn over a dozen Ascendant Anchors for players to find. Each Anchor grants 30 Parallax Trajectory and contributes towards certain Seasonal Challenges.
Related: Destiny 2: Shattered Realm – Debris Of Dreams Mysteries And Ascendant Anchors Guide
The second planet tied to this weekly rotation is the Tangled Shore. Whenever the Shattered Realm mission is the Debris of Dreams, the Tangled Shore will have 16 Ascendant Anchors for you to find. Let’s go over where you can find all 16 of them.
Thieves’ Landing Ascendant Anchors

Thieves’ Landing has eight Ascendant Anchors for you to find, most of which are relatively easy to find. Here’s where all eight are located.
Thieves’ Landing Anchor #1: Spawn

Image Gallery (2 Images)
Expand
Expand
Close
When you spawn into Thieves’ Landing, turn around. The rocks behind spawn have a floating Anchor you can grab.
Thieves’ Landing Anchor #2: South Exit

Image Gallery (2 Images)
Expand
Expand
Close
Head to the southern exit of Thieves’ Landing—the path to the Jetsam of Saturn. Hug the east wall to find an Anchor floating on the side of the road.
Thieves’ Landing Anchor #3: Spider’s Lair

Image Gallery (2 Images)
Expand
Expand
Close
You’ll find this Anchor in a corner just before jumping over the barrier to Spider’s Lair.
Thieves’ Landing Anchor #4: Central Rooftop

Image Gallery (2 Images)
Expand
Expand
Close
Hop onto the rooftop that houses a small group of Fallen at the center of Thieves’ Landing—the building slightly south of this zone’s Public Event spawn location.
Thieves’ Landing Anchor #5: Northwest Corner

Image Gallery (2 Images)
Expand
Expand
Close
There’s a garage door on the northwest corner of the zone, just before you reach the exit to Soriks’s Cut. An Anchor will be floating on the wall just past the garage door.
Thieves’ Landing Anchor #6: North Exit

Image Gallery (2 Images)
Expand
Expand
Close
This Anchor is to the right of the Soriks’s Cut exit.
Thieves’ Landing Anchor #7: Northeast Corner

Image Gallery (2 Images)
Expand
Expand
Close
From Anchor #6, face east and cross the bridge. The Anchor will be to your left, floating beside a cylinder-shaped building.
Related: Destiny 2: A Complete Guide To The Trials Of Osiris
Thieves’ Landing Anchor #8: East Cliffside
Image Gallery (4 Images)
Expand
Expand
Expand
Expand
Close
Head to the gravity lifts on the eastern end of Thieves’ Landing. Instead of going up the lifts, look to your right to find a gap you can jump over. The Anchor will be floating in plain sight.
Soriks’s Cut Ascendant Anchors

Similar to Thieves’ Landing, Soriks’s Cut has eight Ascendant Anchors. Let’s cover where you can find all eight of them.
Soriks’s Cut Anchor #1: Spawn

Image Gallery (2 Images)
Expand
Expand
Close
When you spawn into Soriks’s Cut, make a left U-turn around the building you spawn beside. The Anchor will be floating above some debris.
Soriks’s Cut Anchor #2: East Exit

Image Gallery (2 Images)
Expand
Expand
Close
From Anchor #1, follow the dirt path that leads to the Thieves’ Landing exit. You’ll find an Anchor floating beside a rock wall that’s on the path.
Soriks’s Cut Anchor #3: Southeast Corner
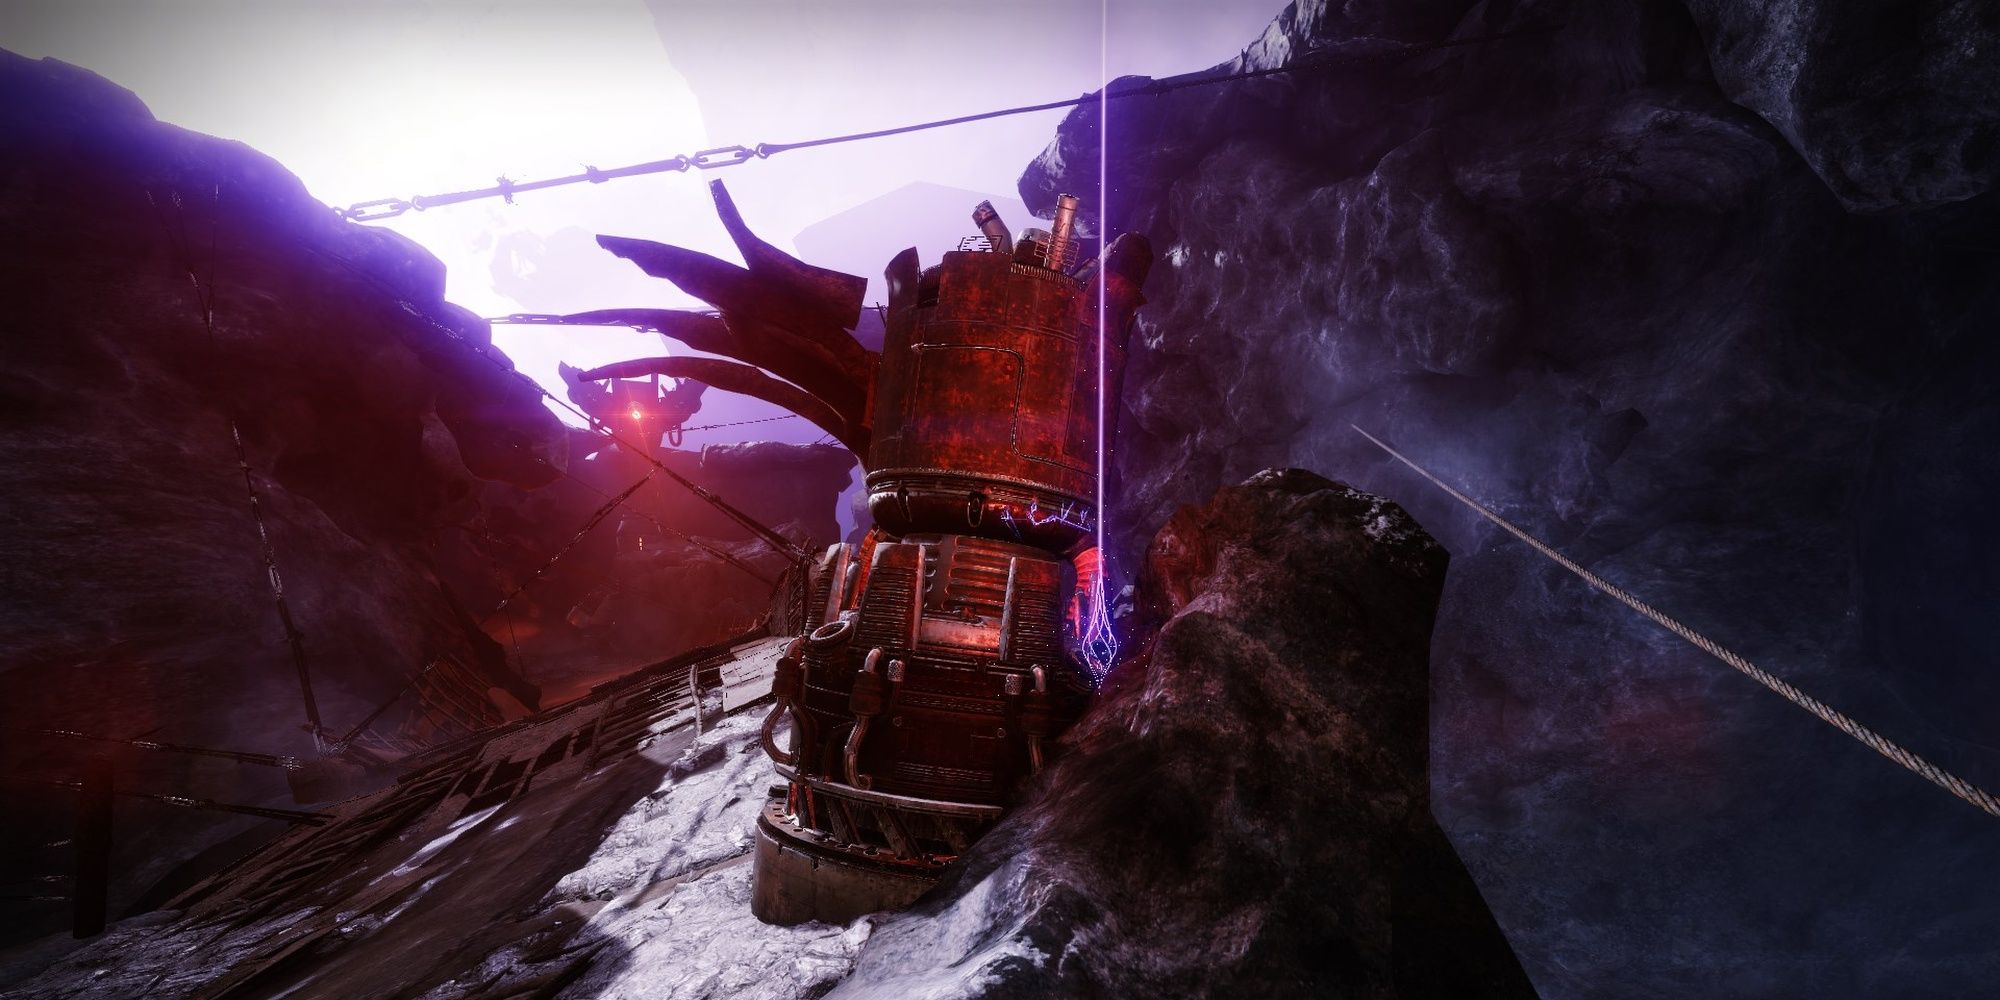
Image Gallery (2 Images)
Expand
Expand
Close
Just before you take the exit to Thieves’ Landing, look to your right to find an Anchor hiding in a corner.
Soriks’s Cut Anchor #4: South Building

Image Gallery (2 Images)
Expand
Expand
Close
From Anchor #3, turn around and run towards the building near the southern cliffside to find an Anchor.
Soriks’s Cut Anchor #5: Generator Exterior Wall

Image Gallery (2 Images)
Expand
Expand
Close
Keep heading west from Anchor #4 to find another Anchor, this time resting beside the wall of a massive generator.
Soriks’s Cut Anchor #6: Generator Interior Wall

Image Gallery (2 Images)
Expand
Expand
Close
Head to the generator structure at the southwest corner of the zone. The southernmost wall has an Anchor you can grab.
Soriks’s Cut Anchor #7: Sludge Pool
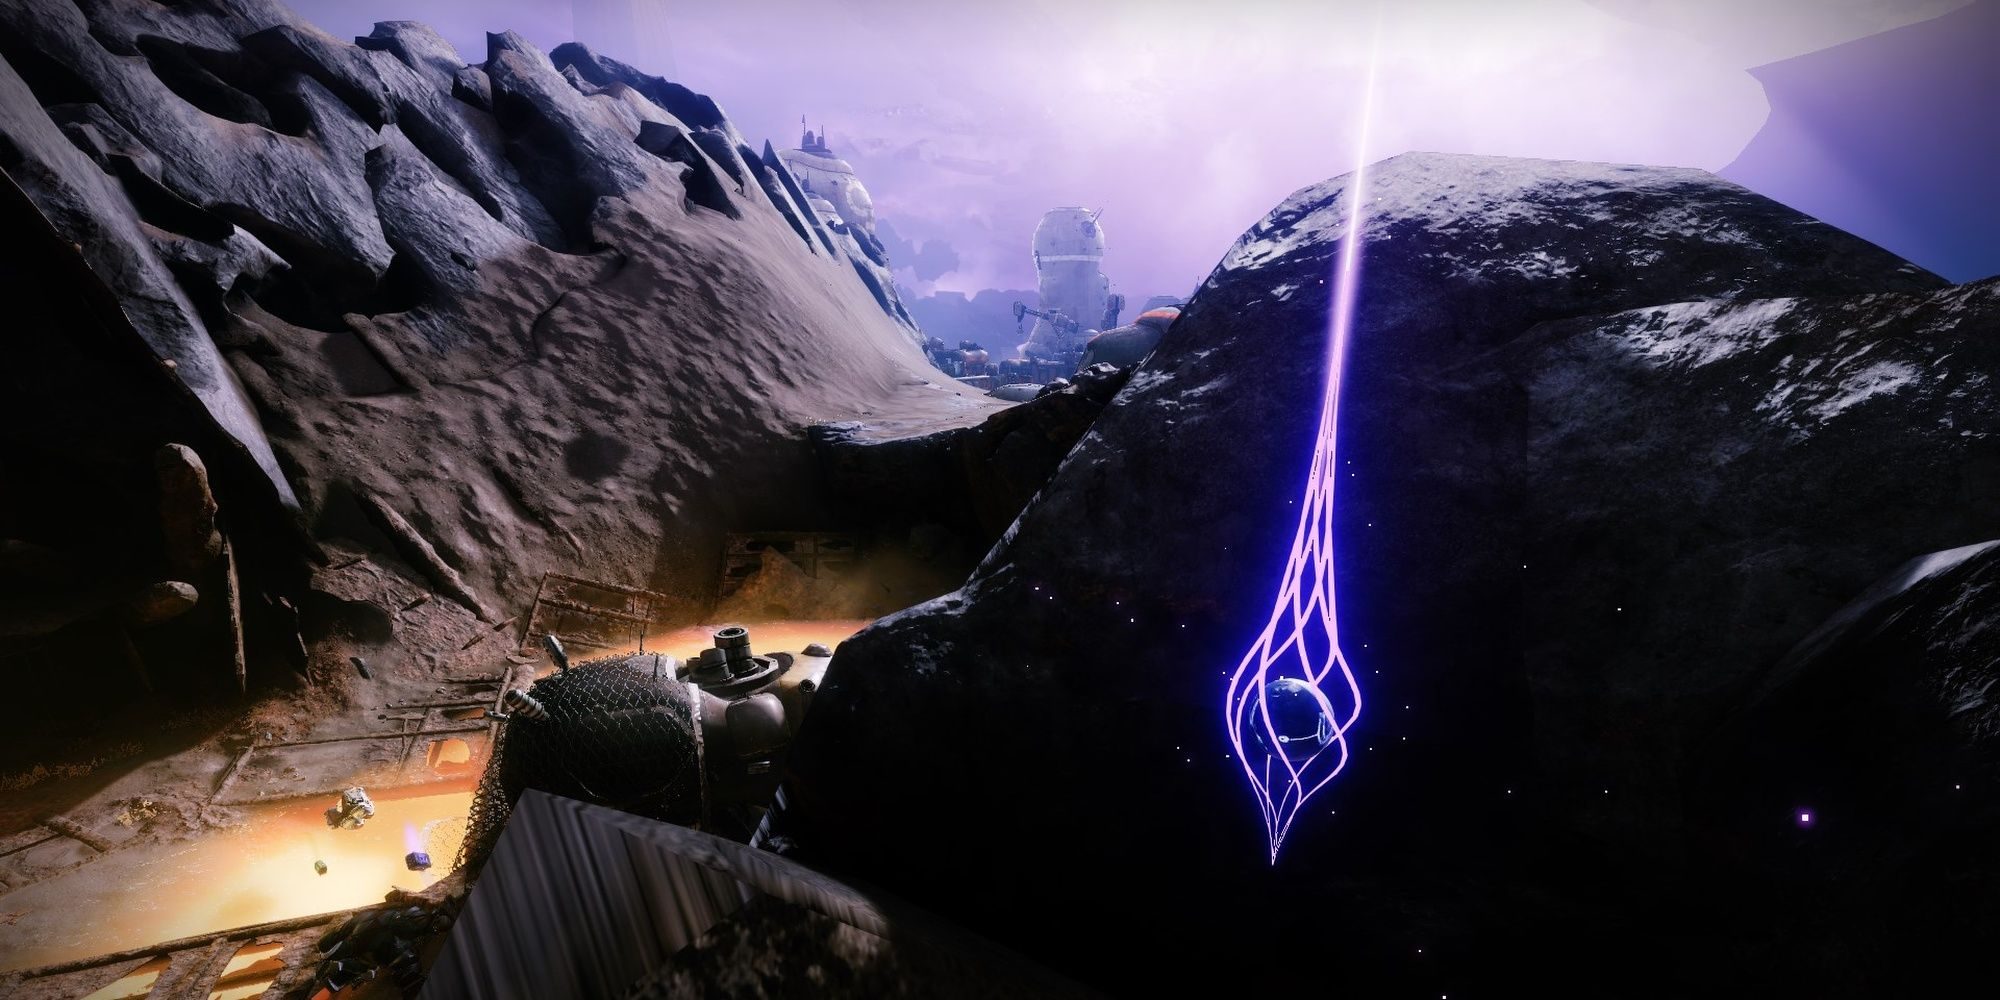
Image Gallery (2 Images)
Expand
Expand
Close
Travel to the sludge pool just north of the generator—located on the western part of Soriks’s Cut. The Anchor is overlooking the pool.
Soriks’s Cut Anchor #8: Northern Tunnel
Image Gallery (2 Images)
Expand
Expand
Close
There’s a tunnel in the northwest part of Soriks’s Cut. Use the fast travel point in Soriks’s Cut and turn right. Enter the entrance of this tunnel to find an Anchor.
Next: Destiny 2: Beyond Light Complete Guide And Walkthrough