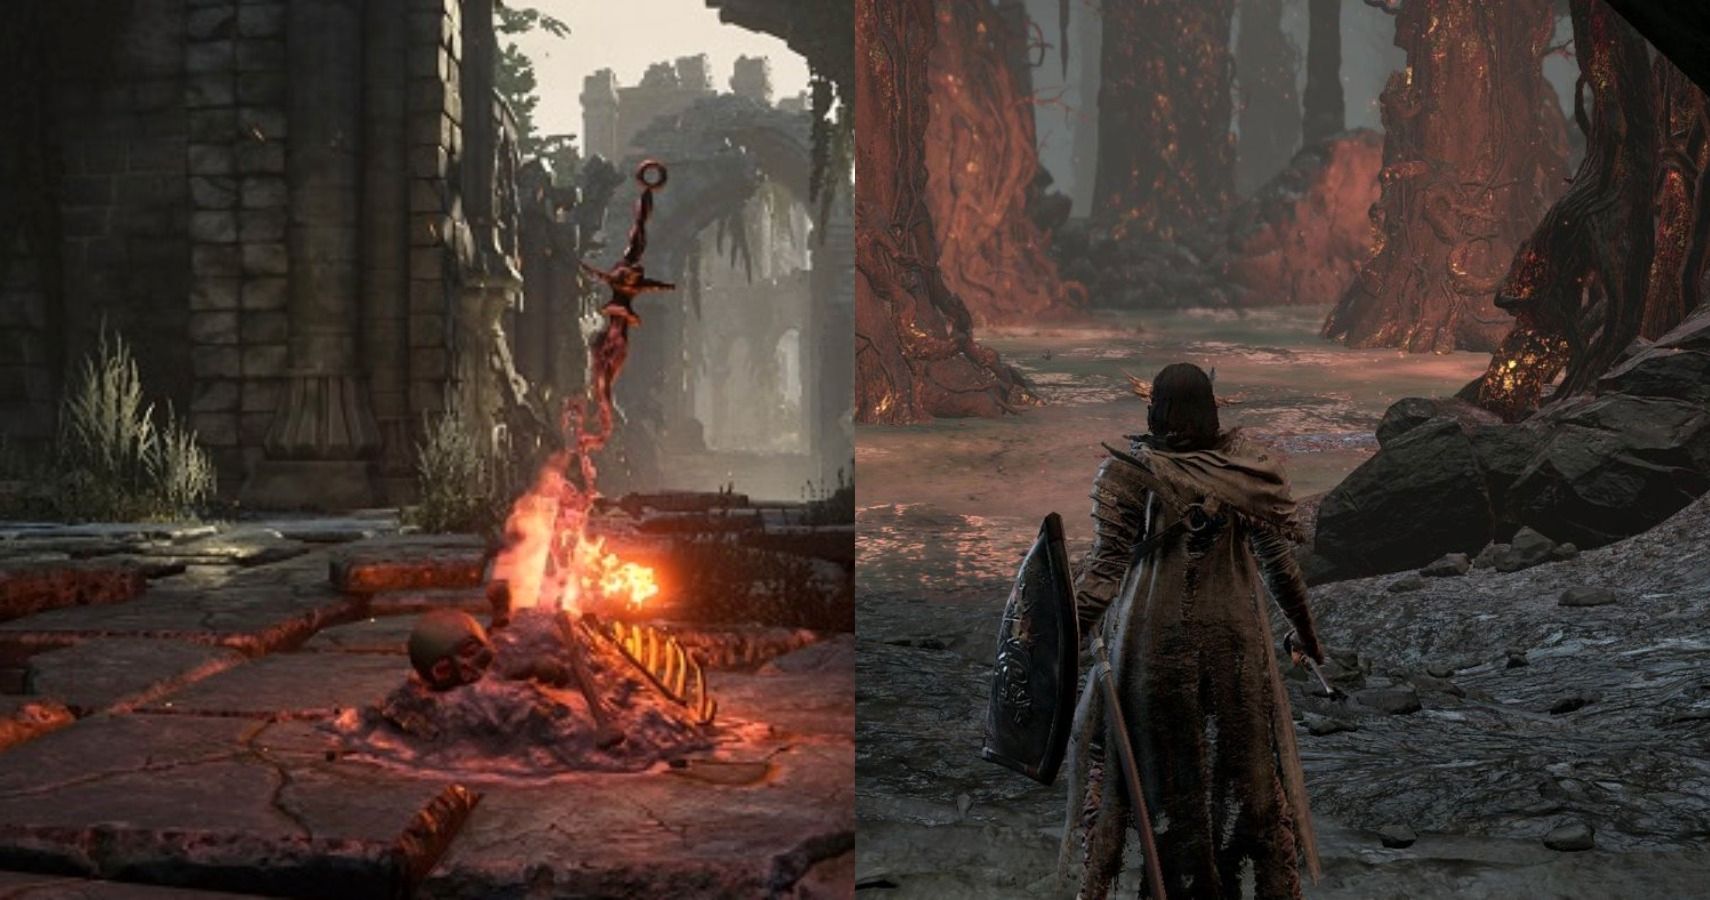

There were nearly two dozen areas in Dark Souls 3 that the player needed to progress through to complete the main quest and the storylines in the DLCs. Each had their own unique challenges and lessons they wanted to teach the player, but some were much more trying than others.
Related: Dark Souls 3: Where To Find Hollow Gems
Admittedly some areas are more or less difficult depending on your build. Even so, fans are in agreement that for most players and most playstyles these are the hardest zones to survive in.
Updated on August 2, 2021 by Ben Baker: Considering the entire game is likely difficult for the average player it’s even more intimidating to face the hardest places of a hard game. To help players that are either tackling these areas for the first time, coming back after a break, or simply want to progress faster there are some tips to accomplish this. It also pays to know exactly what the player will be facing in each area to prepare better and what level is recommended for getting through it all.
10 Smouldering Lake

Smouldering Lake is an area that can overwhelm players if they aren’t careful, though it isn't the hardest area. There are a large number of powerful and annoying enemies. When combined with the poison and lava hazards they can quickly drop the player.
The Ghru Clerics and their annoying Chaos Fire Orbs are a major threat when in groups. Black Knight can easily run the player through with his sword. The Carthus Sandworm and its lightning breath is a painful lesson in dodging, and there’s nothing worse than fighting your way through various enemies only to be swarmed by small crabs.
Enemies Found Here
- Basilisk
- Black Knight
- Carthus Sandworm
- Crystal Lizard
- Demon Cleric
- Demon Statue
- Great Crab
- Hound-rat
- Large Hound-rat
- Skeleton Swordsman
- Skeleton Wheel
- Smoldering Ghru
- Smoldering Rotten Flesh
Tips For Smouldering Lake
For starters, players will want to be between levels 40 to 55 when tackling one of the hardest areas in the game. The Ballista is the main threat and can be dealt with by following the underground path hiding the basilisks to the ladder up to the ballista. Alternatively using the Ballista to deal with opponents by hiding from cover is a solid strategy for facing things like the Carthus Sandworm. Then finally using arrows to lure crabs to get stuck on the rocks at the entrance of Horace's cave is a great way to deal with them at range.
9 Consumed King’s Garden
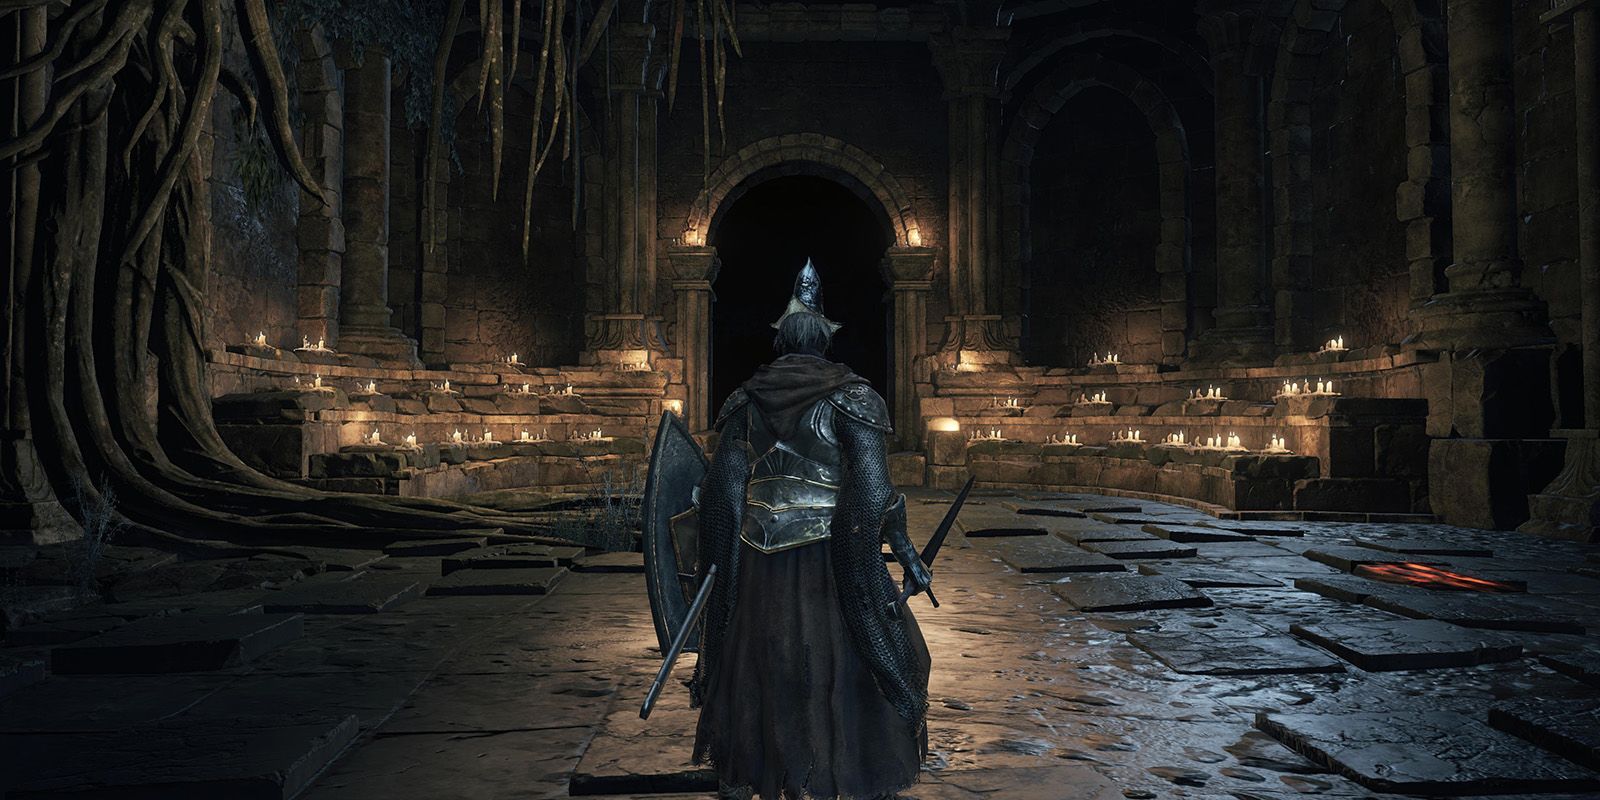
The Consumed King’s Garden was short, but that small space was crammed with challenges that made killing enemies and finding items annoying. The Toxic Swamp held a treasure trove of loot, but getting to it required dodging poisonous hazards and killing a very strong Pus of Man.
Admittedly, if you avoided certain fights this area was a bit easier and wouldn’t appear on this list, but this is a game about fighting and looting so it’s placed here.
Enemies Found Here
- Pus Of Man
- Rotten Slug
- Consumed King’s Knight
- Hollow Slave
- Serpent-man
- Lothric Priest
Tips For Consumed King’s Garden
Being at levels 65 to 75 is highly recommended for this difficult area of the game. Having a fire attack is handy for dealing with the Pus of Man enemies that roam the area. Summoning Hawkwood the Deserter is great for dealing with both two consumed King’s Knights guarding Oceiros The Consumed King.
8 Farron’s Keep

If you got the Poisonbite Ring in the Cathedral this area was a little more manageable, if you didn’t it was brutal and one of the hardest areas to get through. There’s a lot that can poison you here and the basilisks love to apply their curses. Because of this, slowly traveling through the deep waters when the lizards attack can be a major obstacle.
The Darkwraiths are also a hazard, assuming you attack them immediately. The reason for this is that a group of Ghrus will wander into the fight and you’ll be even further outnumbered. A helpful trick is to let the Ghrus and Darkwraiths fight each other, then go in and kill the weakened Darkwraiths.
Enemies Found Here
- Darkwraith
- Basilisk
- Corvian
- Corvian Storyteller
- Crystal Lizard
- Elder Ghru
- Ghru
- Great Crab
- Ravenous Crystal Lizard
- Rotten Slug
Tips For Farron’s Keep
Players will want to be somewhere between levels 30 to 40 when tackling this area. Having poison resistance from items like the Poisonbite Ring is strongly advised for surviving one of the hardest areas of the game. Status effect cures are also strongly recommended. There are lots of fire weak enemies here so having a fire-based weapon is a good idea. With all the basilisks having something like the Curseward Great Shield will negate their curse powers.
7 Catacombs of Carthus

What made Catacombs of Carthus difficult was that it took some serious trial and error to navigate the area safely. Fans lamented the numerous pressure plate traps you had to avoid while fighting skeletons, the body-boulders that would smash into you, slime enemies that would drop down from the ceiling, and the annoying Skeleton Wheels.
The Skeletons wielding curved swords could make for some nasty fights as well. But the rotten cherry on top of this stink sundae was finally navigating the traps and defeating the seemingly endless horde of skeletons only to be ensnared by the Mimic near the end.
Enemies Found Here
- Lesser Crab
- Hound-rat
- Skeleton
- Skeleton Swordsman
- Skeleton Wheel
- Writhing Rotten Flesh
- Dark Spirit
Tips For Catacombs Of Carthus
To pass through one of the hardest areas of the game players will want to be at levels 35 to 50. The skeleton enemies are particularly vulnerable to Strike damage so having something like the Executioner’s sword will go a long way to making this area easier. Learning the placement and mechanics of the various traps and more importantly how to avoid them is vital for surviving this place.
6 Irithyll Dungeons
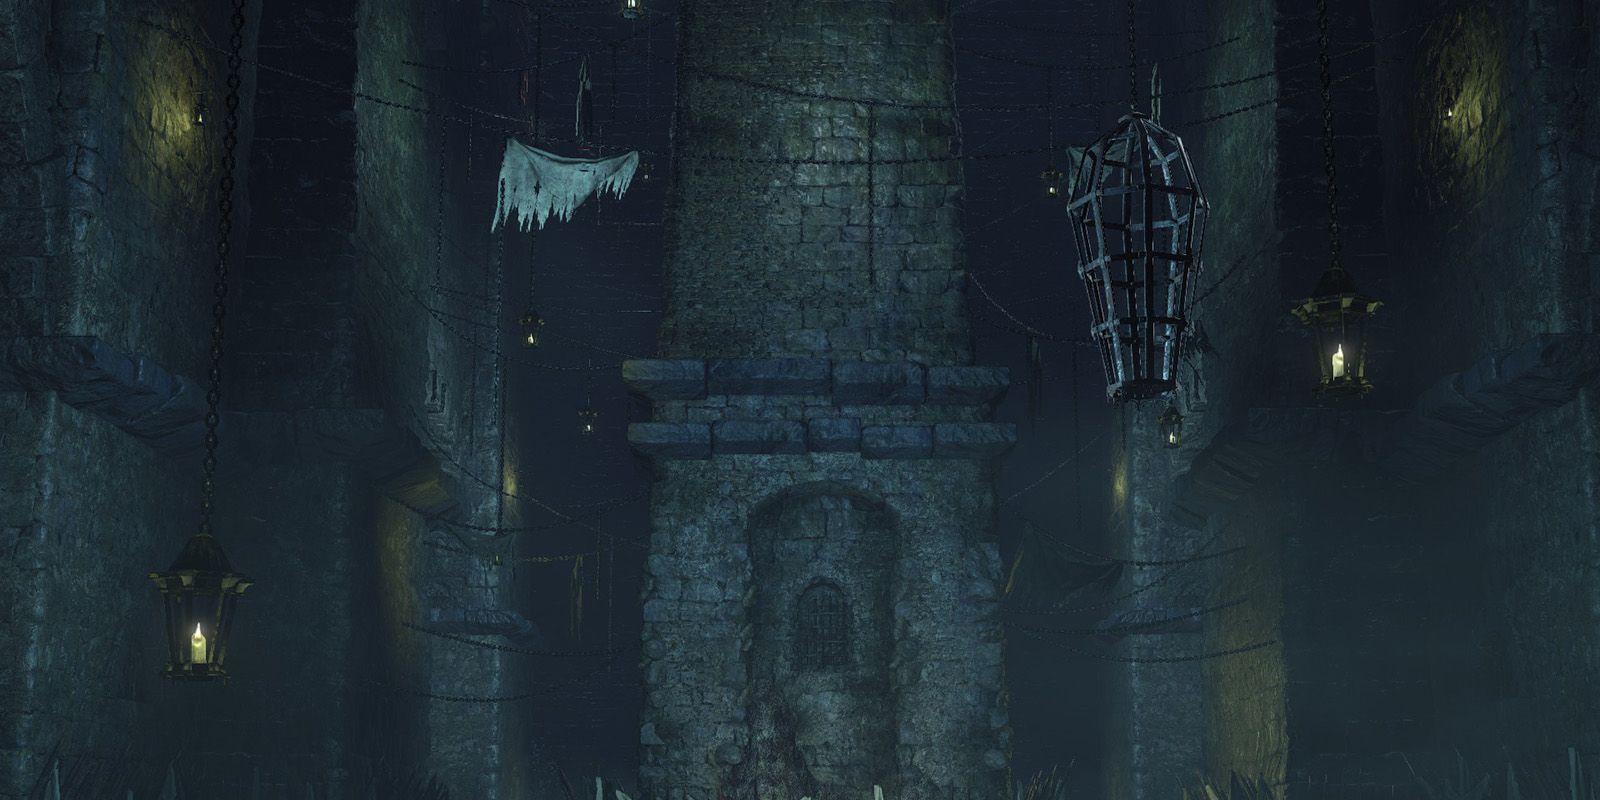
Jailors are the primary reason this area is so difficult for fans. These branding iron, sorry Soldering Iron wielding foes are capable of using their weapons to slow your movement speed and apply a curse that prevents you from drinking Estus. They can also knock you down and do immense damage while you’re prone, just in case you weren’t sure whether they were frustrating enemies or not.
Related: Rarest Encounter In The Dark Souls Games
It also doesn’t help that you can be surprised by hollows who will knock you down making you vulnerable to Jailor attacks. The Basilisk ambush can also be a nasty surprise and many players opted to leave the Lycanthrope in his cage for good reason. Couple these vexing fights with the long distances between bonfires and you have a tough area.
Enemies Found Here
- Jailer
- Reanimated Corpse
- Infested Corpse
- Peasant Hollow
- Lycanthrope
- Monstrosity Of Sin
- Corpse-Grub
- Wretch
- Sewer Centipede
- Hound-rat
- Mimic
- Basilisk
- Giant Slave
- Cave Spider
Tips For Irithyll Dungeon
Before starting this area players should be at levels 50 to 60. The main threat here are the jailers that can drain health. The best tactic is aggressive offense to get them down quickly while avoiding their gaze as much as possible. Alternatively using backstab stealth attacks with a Slumbering Dragoncrest Ring or using guerilla tactics with a bow can work but takes a long time.
5 Cathedral of the Deep
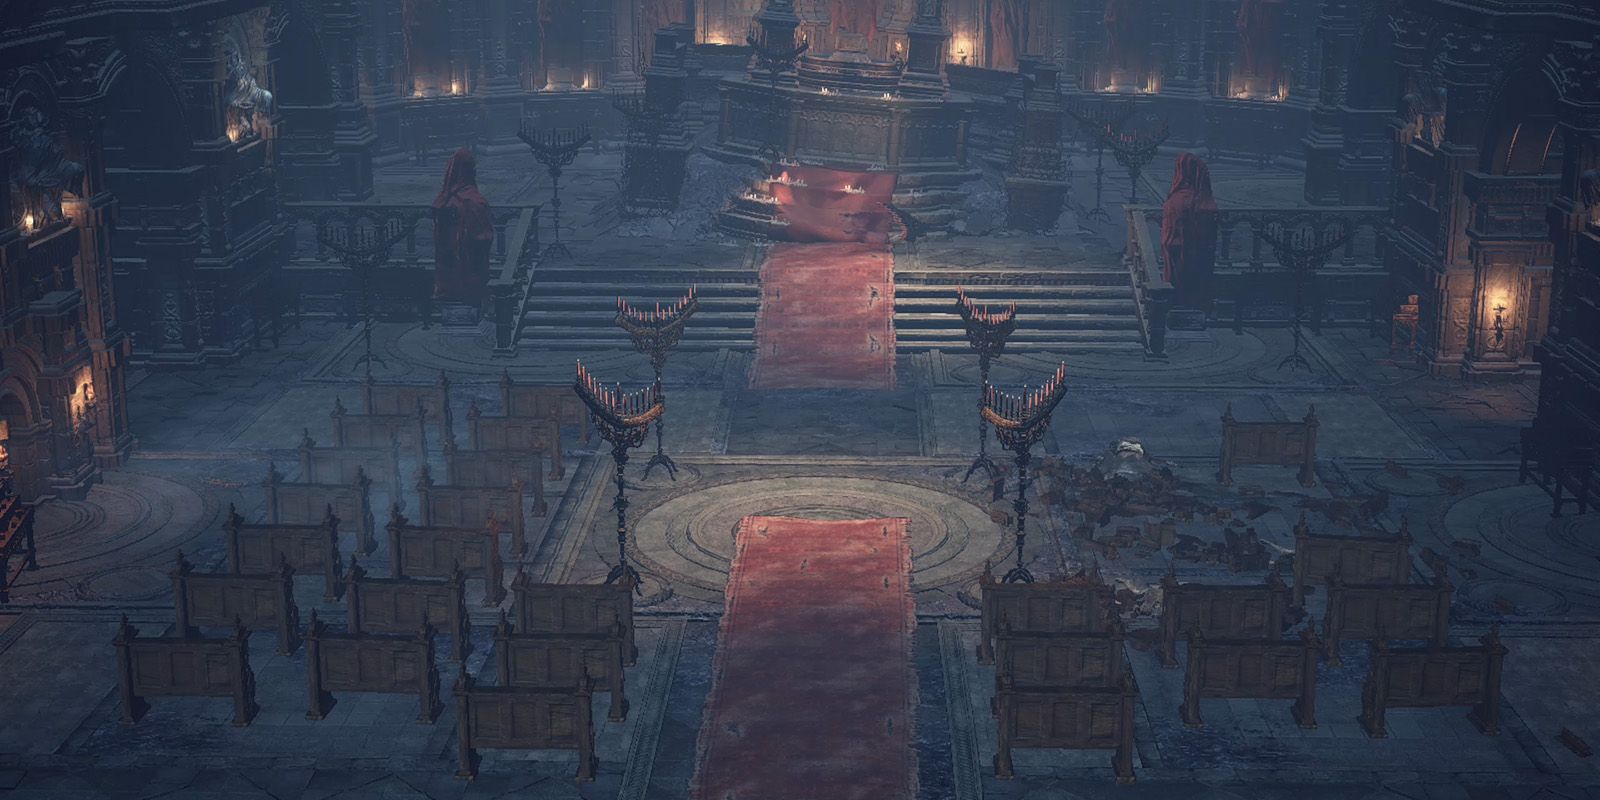
It’s unfortunate when Dark Souls 3 is difficult not because of a difficult boss battle or enemy encounter, but because it’s hard to navigate the level safely while being attacked. Cathedral of The Deep provides an example of this unfair difficulty via the many rafters you need to scamper over as you are pummeled with arrows which caused many fans to give up in frustration.
Even if you navigated these narrow pathways you had to contend with Cathedral Knights that can use Preserverance and heal themselves and the nimble Cathedral Grave Wardens that can deal blood loss.
Enemies Found Here
- Cathedral Knight
- Hollow Slave
- Reanimated Corpse
- Infested Corpse
- Cathedral Evangelist
- Cathedral Grave Warden
- Devout Of The Deep
- Starved Hound
- Corpse-grub
- Cage Spider
- Crystal Lizard
- Writhing Rotten Flesh
- Mimic
- Man-grub
- Giant Slave
- Ravenous Crystal Lizard
- Deep Accursed
- Longfinger Kirk
Tips For Cathedral Of The Deep
Being between levels 30 to 40 is encouraged for this difficult area. Fire damage will make short work of a number of different enemies like Infested Corpses or the Starved Hounds. A shield that protects 100% against physical damage is the most straightforward way to clear the area, but it takes a while.
4 Grand Archives

The Grand Archives is an eerie place thanks to the scholars covered in wax, but the real threat is from the mini-boss Crystal Sage that snipes you with brutal spells and teleports around the room if you don’t kill it quickly enough.
But escaping the Archives to go onto the roof simply adds to the danger as you must now contend with Gargoyles and the deadly Ascended Winged Knights. Essentially this area boils down to being mobbed by spells indoors or being attacked by winged foes outside.
Enemies Found Here
- Hollow Soldier
- Hollow Slave
- Lothric Knight
- Ascended Winged Knight
- Boreal Outrider Knight
- Crystal Sage
- Grand Archives Scholar
- Clawed Curse
- Crystal Lizard
- Man-grub
- Gargoyle
- Corvian
- Corvian Storyteller
Tips For Grand Archives
Getting through this area will require a level somewhere between 65 to 80. The Crystal Sage can become a problem if he’s allowed to teleport around the area and continue attacking the player. Making sure to get a few good hits with a poisoned weapon to ensure he dies even if he teleports away. The other key to making this area easier is to dip the character in wax at the pool of wax by the alter. This allows the character to completely ignore the hands in the walls that would normally apply curse.
3 Lothric Castle

As you’ve probably noticed by now, knights are often a challenging foe for players and Lothric Castle is full of them. Your first fight is against a red-eyed knight accompanied by a black-robed cleric who heals him. This is a common occurrence in this area and an annoying one at that.
Related: Dark Souls 3: All Minibosses & How To Defeat Them
The real challenges are the Lothric Knights, Winged Knights, and the Boreal Outrider Knight that deals devastating frost damage. The Boreal Outrider Knight is quick and will attack relentlessly requiring you to be on the defensive until you see an opening to attack, something many players are not patient enough for and will often die from.
Enemies Found Here
- Pus of Man
- Hollow Soldier
- Hollow Assassin
- Hollow Priest
- Lothric Knight
- Winged Knight
- Boreal Outrider Knight
- Mimic
- Crystal Lizard
- Lothric Wyvern
Tips For Lothric Castle
Given this is one of the hardest areas in the end game it’s advised to be at a high level between 75 and 90. One of the harder encounters are the knights with the two Hollow Priests, taking out the Priests via rushing or with a bow is essential to beating the knights. Overall it’s advised to take things slow and lure enemies into fights one at a time when possible.
2 Archdragon Peak

This area nearly made the top spot for just how difficult it is. There are two enemies that make this area so problematic the Man Serpents and the Man Serpent Summoners. The Man Serpents can use their long necks to grab the player and smash them into the ground which can often kill the player if they aren’t careful.
The Man Serpent Summoners are more dangerous as they will summon one of three heroes indefinitely until they are killed. The three warriors are the Ricard Knight, the tanky Havel Knight, and the brutal Drakeblood Knight.
Enemies Found Here
- Serpent-Man
- Serpent-Man Summoner
- Drakeblood Knight
- Crystal Lizard
- Ancient Wyvern
- Rock Lizard
- Havel Knight
Tips For Archdragon Peak
A 95 to 120 level is highly recommended for one of the hardest areas in the game. The Ancient Wyvern can be taken down with a bow or in melee under its neck with a lightning weapon like the Dragonslayer’s axe works best. In fact, lightning in general is a solid damage type to use against the different enemies in this area.
1 Ringed City

Arguably the hardest zone in Dark Souls 3 is the Ringed City is included in the DLC of the same name. It’s meant to represent a challenge for those that have strong builds and high-level characters and it definitely delivers.
For many fans, this area simply gathered up the toughest enemies in the game, gave them stronger attacks and deeper health pools, and tossed them into the Ringed City. It’s generally believed that if you are a caster-based build then you are going to die. A lot. Tanky builds fare a little better, but it’s still a brutal playground to challenge players that have managed to grind their way to the endgame.
Enemies Found Here
- Crystal Lizard
- Ringed Knight
- Moaning Knight
- Silver Knight Ledo
- Overgrown Lothric Knight
- Hollow Cleric
- Lothric Thief
- Judicator
- Herald Legion Knight
- White-faced Locust
Tips For Ringed City
For the hardest area in the entire game, players will want to be at a level between 80 and 100. A commonly used tactic in this area is to lure Herald Knights to areas where they’ll fall and then plunge-attack them for massive damage. The rest of the time it’s about luring enemies to areas where they can be faced one at a time or with places for the player to move around better. Everything here has a lot of fire and dark resistance so using anything else will help.
Next: Dark Souls 3: A Complete Guide To NPC Invaders
