
While investigating a Lead to open a door in Deathloop (it’s a long story), you need to travel to Fia’s Fortress in Fristad Rock. The objective is to find four Pictograms, which are contained within Fia’s art, to then use as a solution for opening the door. There are a few problems though.
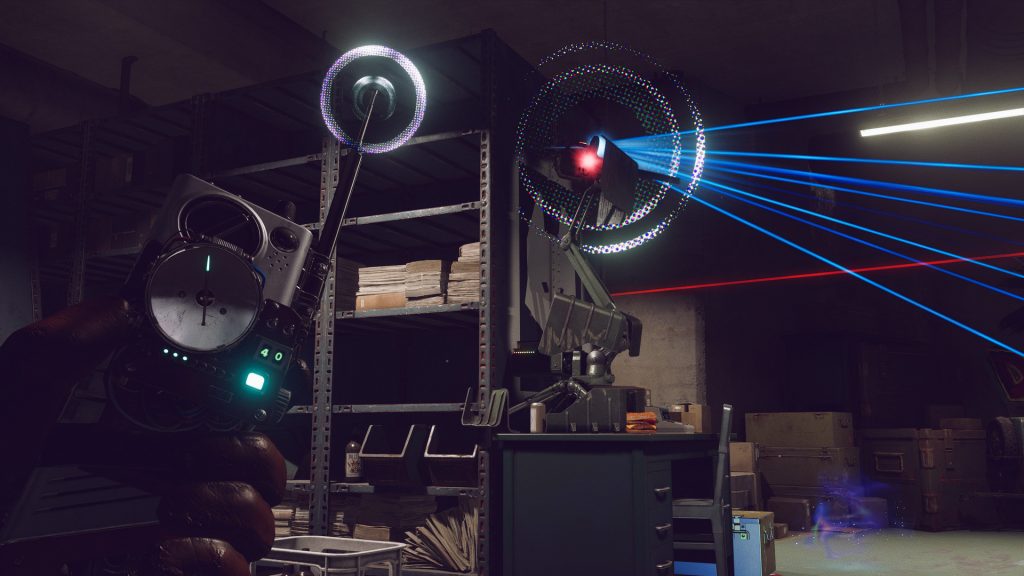
Tripping the sensors or having the guards sound an alarm will result in Fia activating the reactor in her fortress. You then have 60 seconds to evacuate, which is a nice way of saying you have to leave the District or start a new Loop. Killing Fia will prevent this from happening though you could also cut the right wire to stop the reactor’s meltdown. Either way, it’s a good idea to eliminate her and then clear the facility of guards, turrets and so on in order to freely investigate.
The second problem is that the four pictograms required are randomly chosen among the 14 present in the base. You’ll receive different clues for each one but it can be a bit infuriating to run around, not knowing where to look. To save some time, let’s take a look at all of the pictograms here.
- Pictogram 1: Wants for Power – When entering from the bunker door on top of the cliff, turn right and go down the elevator shaft. Break the logs blocking a room and go through the adjoining window to find a battery on the right table. You’ll want to charge it first – use the charger in the room to do so. Upon returning to the elevator shaft, look for a closed door on the right side. It will have a red button and a slot for inserting the battery. Once the battery has been inserted, press the button to open the door. You’ll find the pictogram inside.
- Pictogram 2: Adds Colors to Tools and Schema – Remember the room with the battery? Go back and look at the wall to your right near the tables and crates.
- Pictogram 3: Tends the Main Hall – From the door where you found the second pictogram, go down the hallway and look right. The third pictogram will be on the wall.
- Pictogram 4: Marks Fia’s Stage Exit – After the third pictogram, look for a path behind a vehicle that goes left and leads to a room. Upon entering, turn around and look the right side wall for the fourth pictogram.
- Pictogram 5: Lubricates the Shaft – Go back to the elevator shaft, either from the bottom or from the bunker door atop the cliff. The fifth pictogram is around the halfway point.
- Pictogram 6: Beneath the Wheeled Behemoth – Go back to the room where you found the first pictogram. Upon exiting the room, look to your right to see a destroyed tank. Just under the tank is a path and you’ll find the pictogram at the bottom.
- Pictogram 7: Enlivens the Lockers – Go to the room with the nuclear reactor and look for the bathroom. The seventh pictogram will be inside.
- Pictogram 8 – In the hallway where pictogram 3 is found, go to the right of it. There should be a room on that path where the eighth pictogram is behind a door.
- Pictogram 9 – Opposite of pictogram 3 on the upper floor, there will be door. Go through it and then enter the second window. Pictogram 9 will be on the floor.
- Pictogram 10 – From the same place where you found pictogram 9, simply turn around and then check the wall to the left. The 10th pictogram will be there.
- Pictogram 11: Ogles the Rear Entrance – When entering the fortress through the bunker door at the top of the cliff, check the left wall for the 11th pictogram.
- Pictogram 12: Fia’s Shimmering Masterpiece – Located behind the reactor, which is right smack dab in the middle of its room.
- Pictogram 13 – In the room with the reactor, check the left corner and look on the floor. The 13th pictogram will be there.
- Pictogram 14 – From the same place you found pictogram 6, go into the room on the right. Upon entering, turn and look down to the left – there will be a pictogram behind the door.
Check out the video guide below from PowerPyx to see where exactly each pictogram is located.
How to Access All Spy Hideouts
Occasionally while exploring Blackreef’s Districts, you may have stumbled upon a locked door. Ringing the doorbell doesn’t seem to do anything and there doesn’t seem to be any other entrance. But that’s not quite the case, at least for one of them.
Essentially, these are hideouts for spies who have been investigating the AEON Program and each has their own specific code. The first hideout in Fristad Rock can be entered through an alternate path in the afternoon or night once the water levels are low enough. Travel left of the tunnel and you should happen upon a door concealed by some wooden planks. Break the planks and there will be a path that leads to the first hideout, the Storm Shelter.
This is essentially the main headquarters for the spies – there’s a door here that can only be opened when you have three codes. The location otherwise has an audio log, a Trinket, more information on the Visionaries and the first code. In order to access the two other spy hideouts and obtain the other codes, you have to find their coordinates from a radio broadcast.
The broadcast can only be listened to in the morning but if you go to any of the telephone boots or locate any of the portable radios in any District (the same ones that can be hacked to cause a disruption to distract enemies), then Colt’s Hackamajig can be used to tune in. During the broadcast, you’ll hear three specific coordinates. To ensure you don’t miss them, make sure to have subtitles turned on.
The coordinates in question are M13, H26 and R33, with each followed by a random number. These correspond to Karl’s Bay, Updaam and Fristad Rock respectively. The Fristad Rock hideout is the spy HQ that you’ve already discovered. Updaam’s hideout is next to Otto’s Fireworks Shop while the Karl’s Bay hideout is next to Treasure of the Ice! The random number indicates how many times you have to ring each hideout’s doorbell to open it and is unique for each player.
Upon entering the Updaam hideout, you’ll find an Exemplar Vopant Trencher along with details on some other Visionaries and the second code. Head to the Karl’s Bay hideout and you’ll obtain notes on what happened to the spies, an Exemplar PT-Spiker and the third code. With all three codes, return to the spy headquarters in Fristad Rock.
Use each code on the back wall – this will open up a room with two Exemplar Tribunal Pistols, details on various Visionaries and even security codes for Frank Spicer’s place and Fia’s reactor. You’ll even find a code for Gideon Fry’s Delivery Service. Again, if you’re having trouble finding the spy hideouts, simply refer to the video guide below from xGarbett.
For more details on Deathloop, check out our official review here. You can also check out the best Slabs and which upgrades to use for your play-style here.