Quick Links
If you're looking to farm Exotic armor in Destiny 2, it's hard to top Legendary Lost Sectors. These difficult variants of normal Lost Sectors contain Champions and additional modifiers. Should you brave these missions solo, a successful completion grants a chance of obtaining an Exotic armor piece for a specific slot. Some of the strongest Exotics in Destiny 2 can only be obtained from these Lost Sectors, so they're worth farming.
Related: Destiny 2: The Best Rolls For The New Season Of The Lost Prophecy Dungeon Weapons
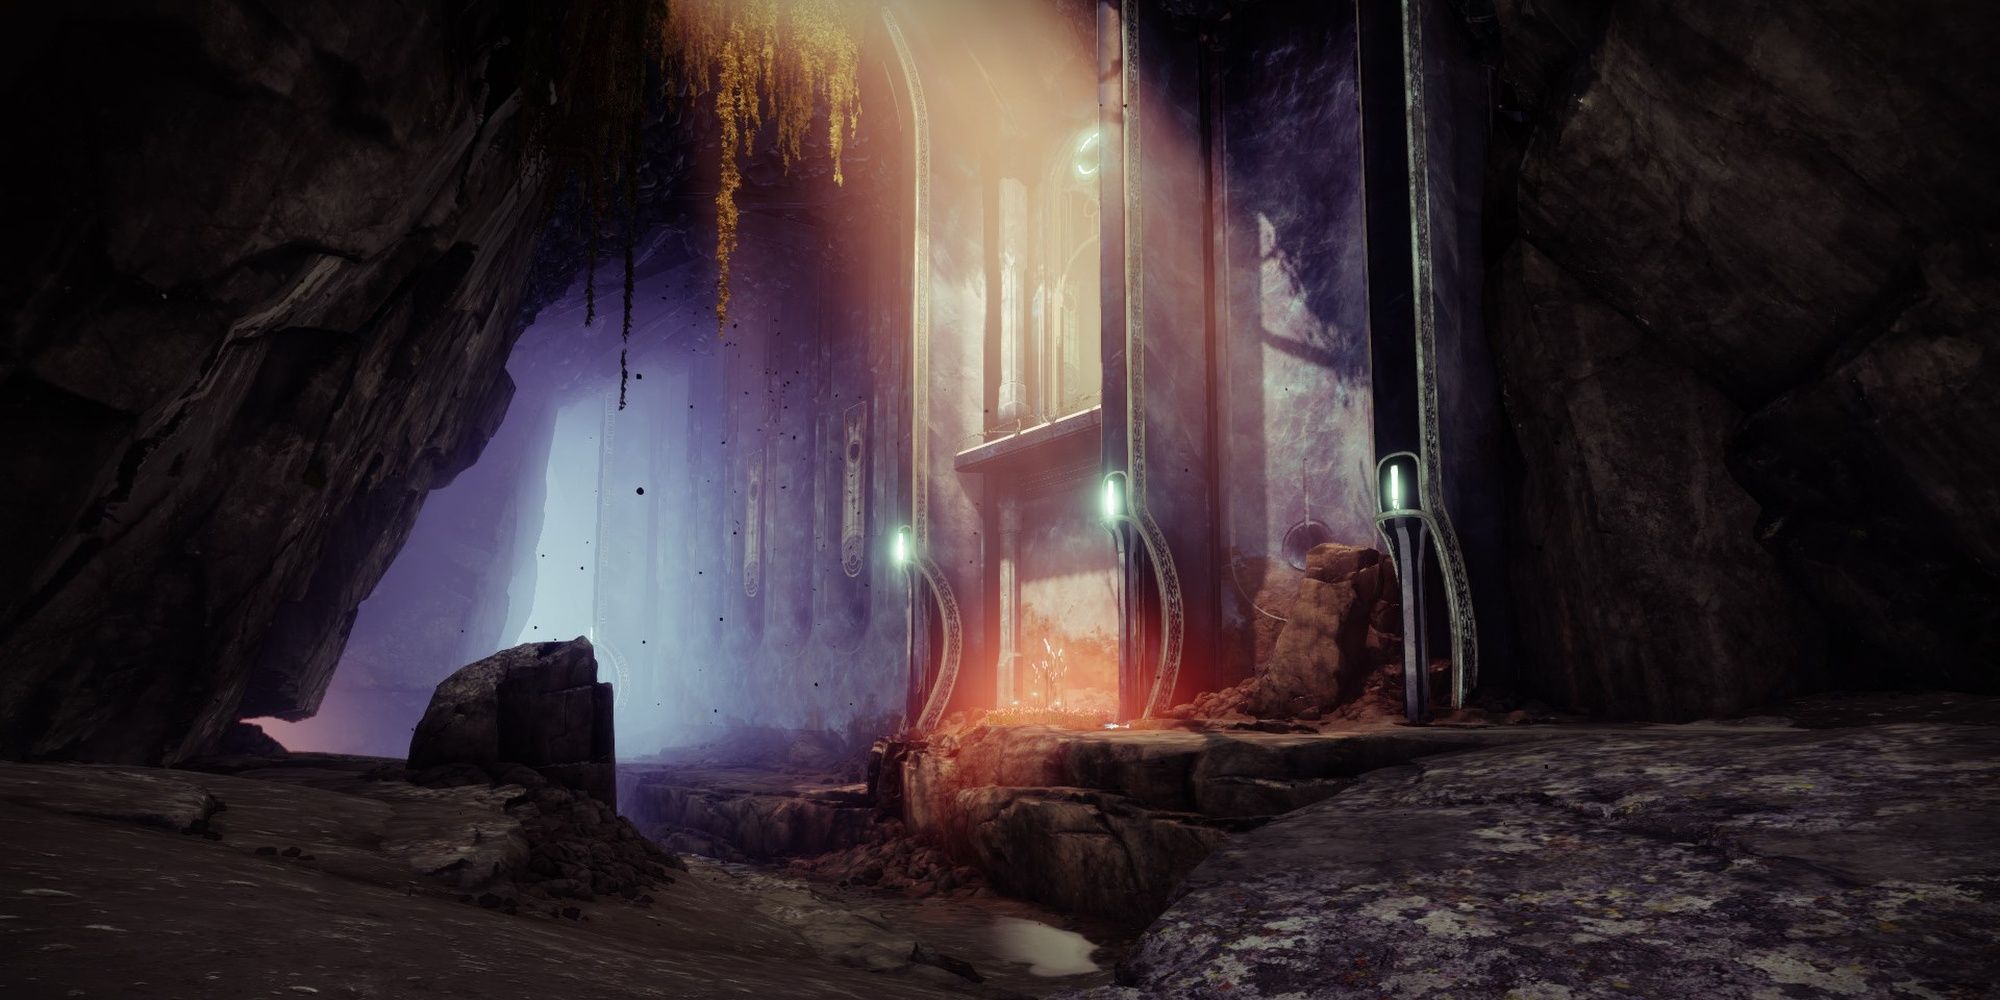
For those with a high enough Power level, the Dreaming City's Chamber of Starlight is a surprisingly easy Master Lost Sector to clear. Vex Mythoclast, Sleeper Simulant, and most Bows can make short work of this Lost Sector. We'll be going over how to clear this Lost Sector quickly and what loadout you should bring.
Modifiers And Recommended Loadout

Linear Fusion Rifles shine in this Lost Sector. Long sightlines, nearly a dozen Champions, and swarms of Taken demand that you keep your distance. These modifiers don't help matters either:
Chamber of Starlight Modifiers
| Master Difficulty |
|
| Champions |
|
| Faction Modifier |
|
| Destination Modifier |
|
| Master Modifier |
|
| Burn |
|
| Shields |
|
You need to bring a Void weapon to this Lost Sector. Nearly half of the enemies you'll face will have Void shields. Solar shields only appear twice, so it's up to you if bringing a Solar weapon is worth it. We recommend you bring a Solar Heavy if possible, as the Solar singe makes these weapons hit much harder than normal. Bows and Linear Fusion Rifles are recommended.
Subclass
| Hunter |
|
|---|---|
| Warlock |
|
| Titan |
|
Weapons
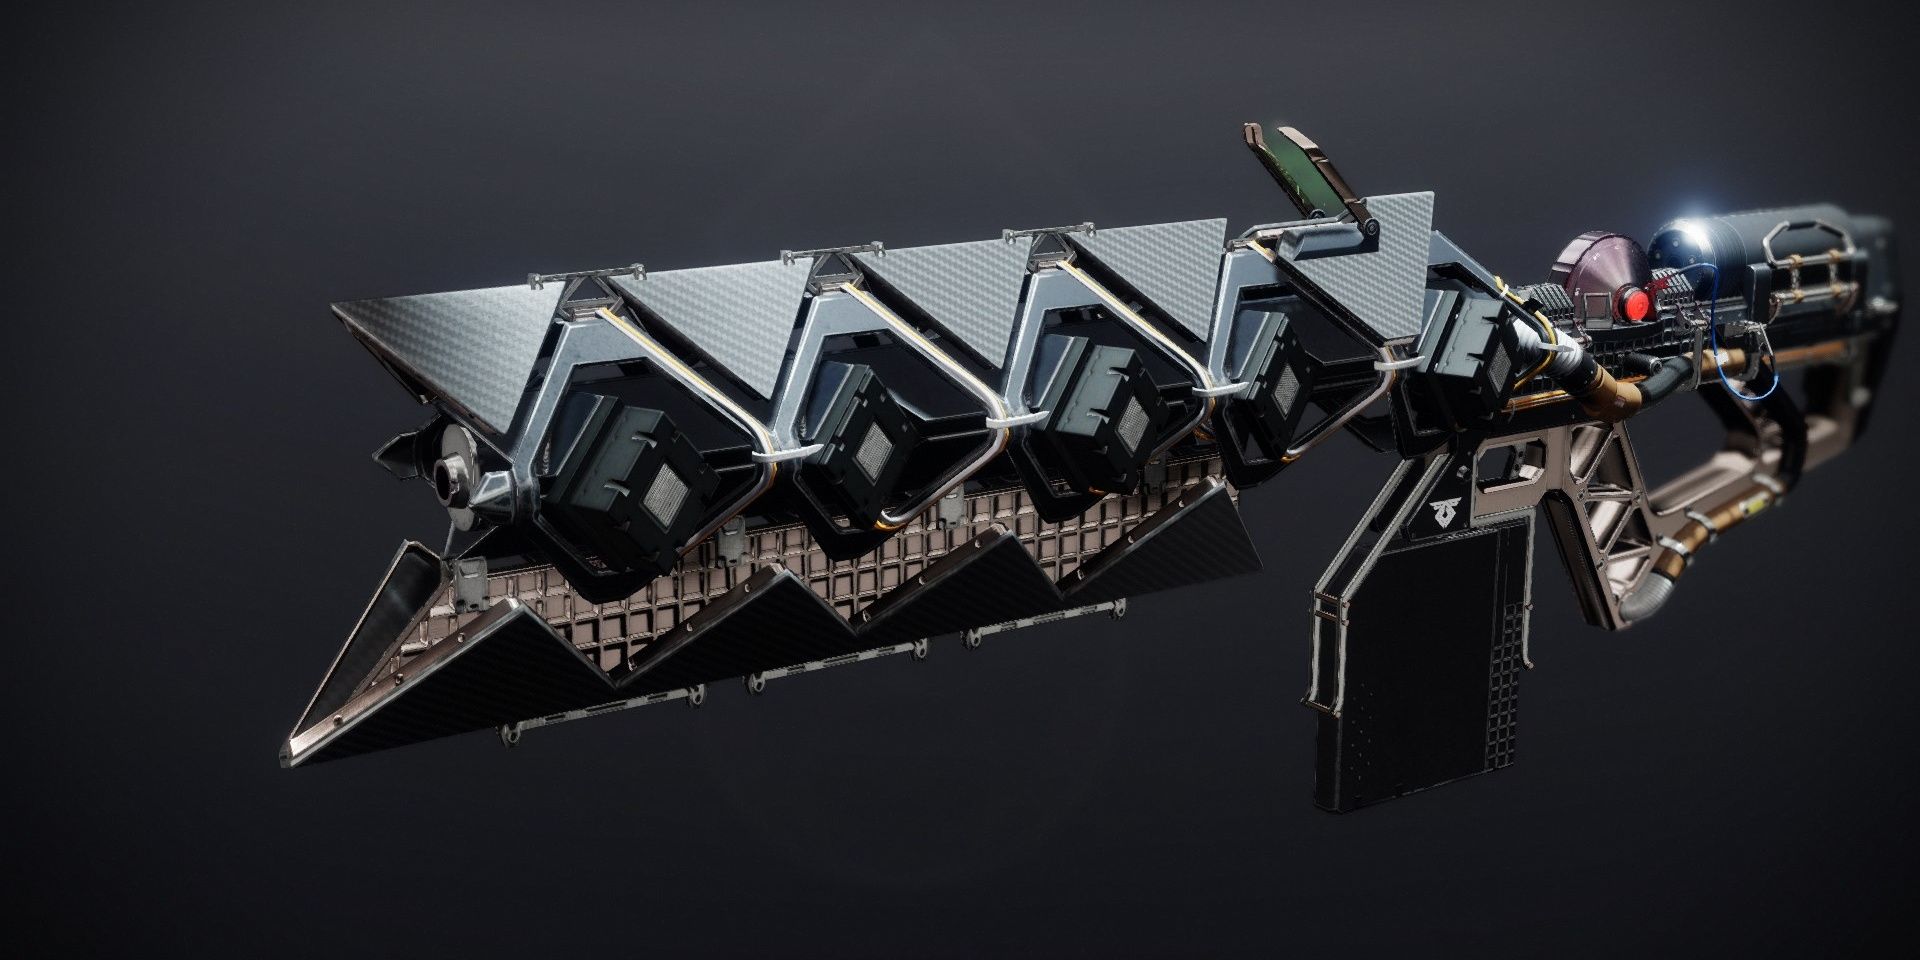
| Sleeper Simulant | Due to the singe, Sleeper hits like a truck. Only use this if you have Unstoppable Fusion and don't own Vex Mythoclast. |
| Imperial Needle | If you're running Sleeper Simulant, bring this Bow. It breaks Void shields and stuns Overloads. |
| Ticuu's Divination | So long as you can break Void shields, Ticuu's is a great choice. It insta-stuns Overloads and deals excellent damage. |
| Vex Mythoclast | The best pick for this mission. It can stun Unstoppables, clears out fodder well, and deals great damage with its Linear alt-fire. |
| Pulse Rifles | If you don't have Unstoppable Fusion unlocked, bring a Pulse Rifle to counter Unstoppables. |
Mods
| Concussive Dampener | Take 25-40% less damage from AoE attacks. |
| Protective Light | Take 50% less damage after your shields break for a short time. Requires Charged with Light stacks. |
A Detailed Guide: Entrance
Enemies
- One Unstoppable Phalanx
- One Overload Hobgoblin
- Acolytes
- Hobgoblins
- Knight
You'll spawn right next to an Unstoppable Phalanx. Before you kill the Champion, kill the Hobgoblin on the overlook right above the Champion. Use your Unstoppable weapon to stun the Phalanx, then use your Heavy or Special to take it out. You might need to stun the Champion multiple times to kill it.
Related: Destiny 2: A Complete Guide To The Bay Of Drowned Wishes Master Lost Sector
Directly around the corner will be a group of Acolytes, an Overload Hobgoblin, some lesser Hobgoblins, and a Knight with a Solar shield. Charging head-first is suicide, so focus on taking out the Acolytes first with your Void weapon. The Overload Champion and remaining adds will slowly walk up the ramp to the next section. Use this distance to snipe them from afar, using a Bow or Linear Fusion to take them out. Stun the Overload first, kill the adds, then focus on the Overload itself. Run up the path when you're ready.
A Detailed Guide: Cavern

Enemies
- Five Unstoppable Phalanxes
- Two Overload Hobgoblin
- Raider
- Screebs
- Stalkers
This section is an endurance test. There isn't much cover here, and you'll be thrown against seven different Champions throughout this part. At the very least, you have quite a long sightline to take advantage of any long-range weapons you brought.
Related: Destiny 2: The Best Rolls For The New Season Of The Lost Weapons
When you enter the cavernous arena, take out the Thralls that dare to charge you. An Unstoppable will be right up the path. If you can, stun the Champion and deal some damage. The Phalanx will retreat to the rocks on your right if you can't kill it. This isn't a deal-breaker, but it does make positioning somewhat tough.

To the right of the entrance will be a small group of Acolytes and Hobgoblins attempting to snipe you. Once you take care of the Unstoppable, focus on taking these enemies out next. You can peak up or around the rock near the entrance for cover. With those enemies down, redirect your attention to the Knight and Goblin near the Lost Sector chest. Vex Mythoclast or Sleeper Simulant will make short work of the Knight. Just beyond the chest will be an Overload Hobgoblin. Stun the enemy, kill it, then prepare for even more Champions.
Cavern: Champion Wave

Immediately retreat to the entrance you came from. You'll be pushed by two Unstoppable Phalanxes and other Taken fodder. Stun the Champions, then focus on damaging only one of them. Repeat this process until both are dead. If you can lure them to the entrance, this part will be much easier.
Back in the cavern, more Acolytes and Hobgoblins have been stationed near the right side of the cavern. Take these enemies out first. When they're slain, redirect your attention to the Wizard. It's the final boss of this mission, dealing immense damage with its tracking projectiles. Try to lower its HP by 50% to spawn the last wave. Don't get too close to the Wizard's spawn point, or you'll get sniped by an Overload Hobgoblin at the same overlook from earlier. You can kill the Hobgoblin now or after the next add wave; it's up to you.
Cavern: Final Wave
When the Wizard's HP gets to around 50%, it'll spawn a swarm of Thrall to rush your position. If you're using Vex Mythoclast or a Pulse Rifle, they shouldn't pose much of a threat. Retreat to the entrance if you're getting pushed. Clear the Thrall, kill the Overload Champion if you haven't already, then finish the Wizard. Peak shoot the Wizard if you want to avoid its projectiles. You can grab the chest once the Wizard and all Champions have been slain.
Next: Destiny 2: Beyond Light Complete Guide And Walkthrough