Quick Links
- Eldin Volcano Walkthrough – Zelda: Skyward Sword
- Eldin Volcano Caves Walkthrough – Zelda: Skyward Sword
- Eldin Volcano, Climbing The Volcano – Zelda: Skyward Sword
- Eldin Volcano Earth Temple Key Piece Locations – Zelda: Skyward Sword
Eldin Volcano is the second big area you'll come across in The Legend of Zelda: Skyward Sword, and the upcoming Zelda: Skyward Sword HD for Nintendo Switch. This area has plenty to explore, in addition to a fair few paths you won't be able to go down quite yet.
Related: Skyward Sword Boss Guide: The Imprisoned
In this guide we're going to outline every step you need to take to approach Eldin Volcano's dungeon. This is a winding area with a lot of alternate paths, capped off by a key hunting mission which can send you running around in confusion. With this guide you'll be able to find it all, so read on for everything you need to know.
Eldin Volcano Walkthrough – Zelda: Skyward Sword
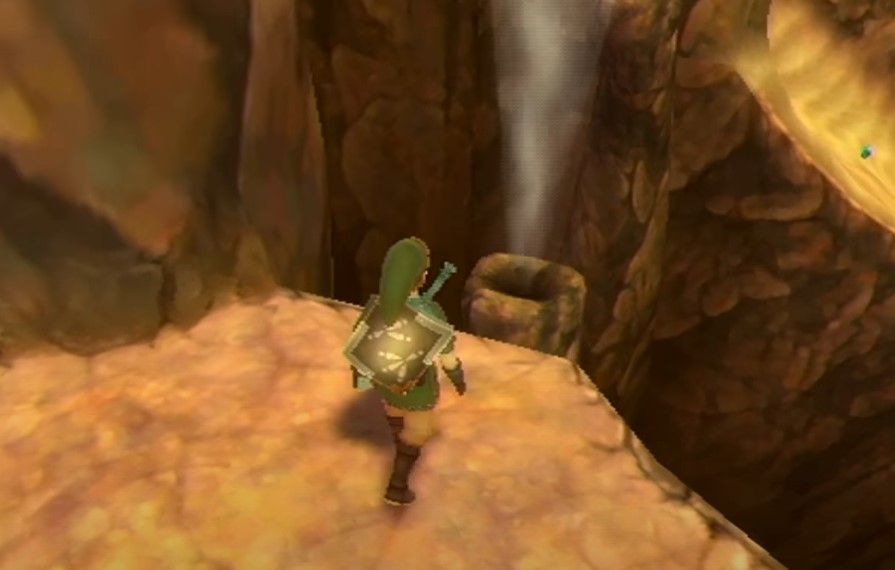
Before you enter the area, make sure you come equipped with an Iron Shield from the shop in Skyloft. From the entrance follow the path down and take the stones to the right. You can run across them quickly before they sink into the lava.
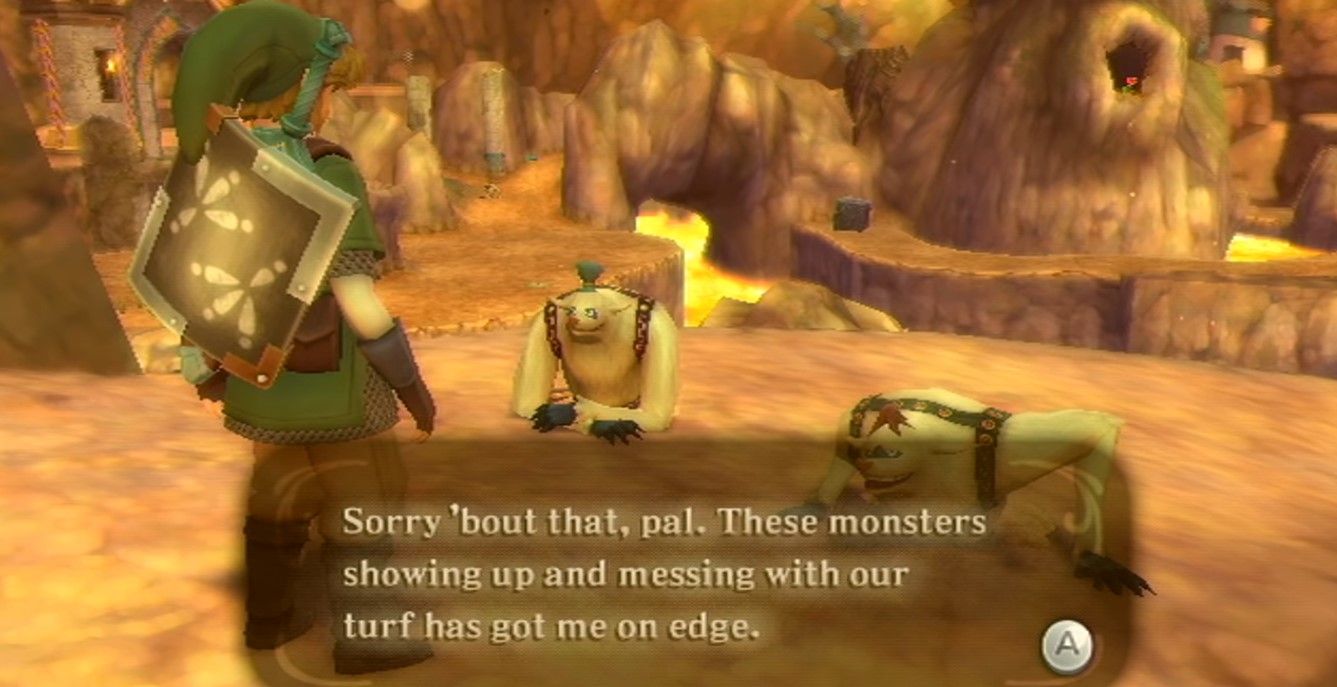
You'll be introduced to the Mogma, a race of mole-like creatures that will help Link make his way through Eldin Volcano, and even the dungeon. Follow the path forward and you'll enter a large chamber filled with lava. The "tide" here will rise and fall, so you can just wait for the path to the left to reveal itself.
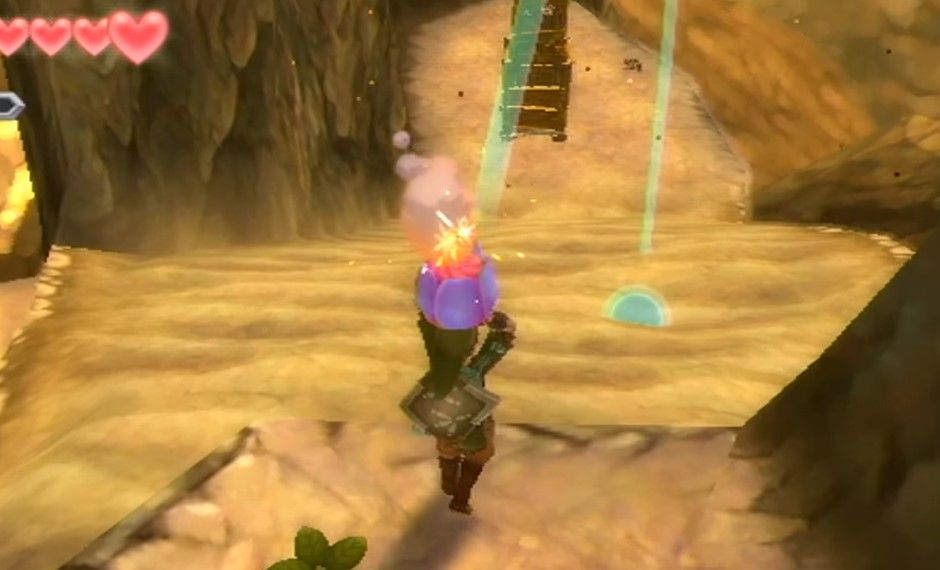
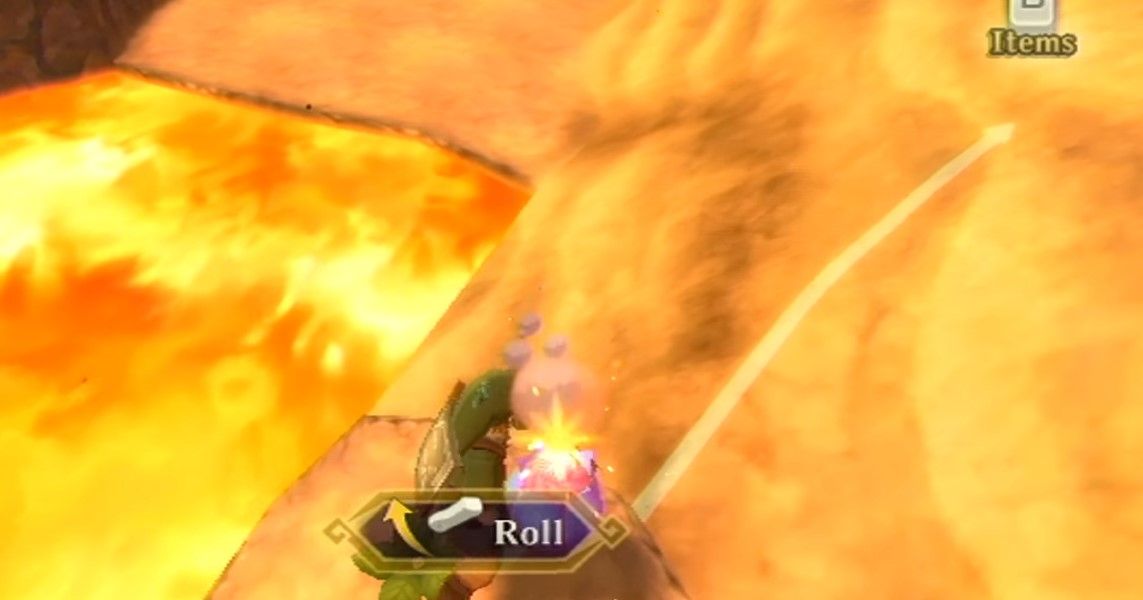
The next room is filled with broken rocks and Bomb Flowers, so pick them up and throw them at the rocks to clear them out and take any items you want. Remember to both throw and roll the bombs. You can continue by clearing the rocks opposite the entrance, and follow the path to keep progressing – you'll find another save point here.

Here you'll find a central rock surrounded by a pool of lava – we'll need to drain the lava. Make your way to the right to be introduced to a new enemy – a dumb fire-spitting lizard. You will need to use the bombs and roll them towards their hiding spots to clear a path, and keep pushing forward, past more Bokoblins.
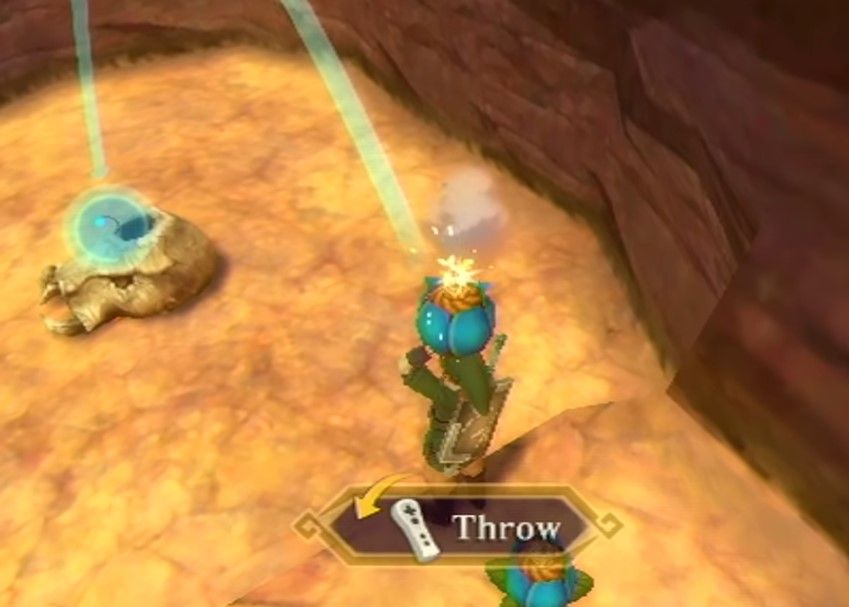
These fire-spitting lizards will sometimes hide inside skulls, and you can defeat them by rolling or throwing a bomb inside the skull. There is a bridge in this area made of a monster's spine – at the end of the bridge is a vulnerable rock, slowly leaking lava out from the pool we saw before. Roll a bomb down the length of the spine bridge to blow leak, and drain the pool. Now you can cross the bridge and gain access to the central rock via the two updrafts that appear. Once inside the rock just dive down inside.
Eldin Volcano Caves Walkthrough – Zelda: Skyward Sword
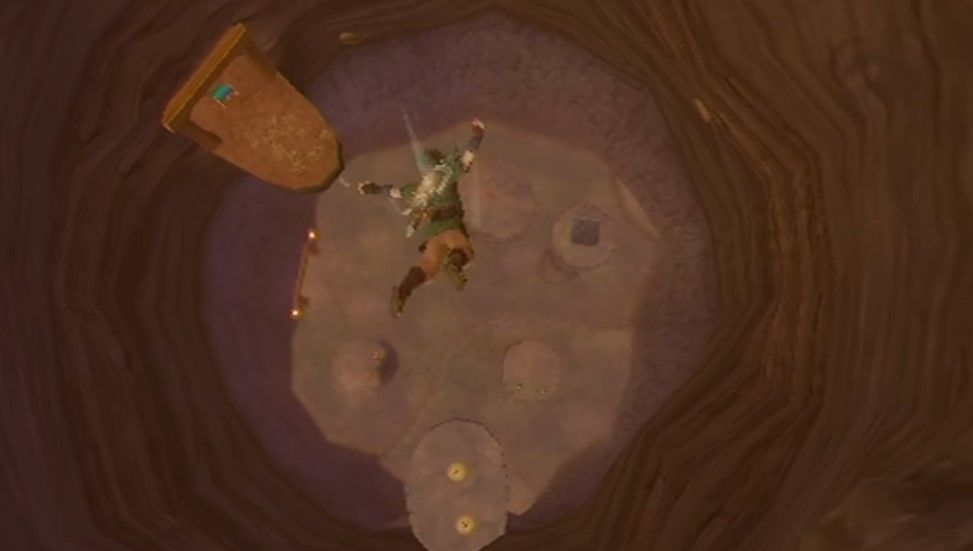
Once you dive in, you'll be pretend with a new area, the caves underneath Eldin Volcano, where the Mogma tend to live. Drop down to the bottom chamber – the doorway here will take us forward, while the path on the ledge leads to an updraft which will take you back to the surface.
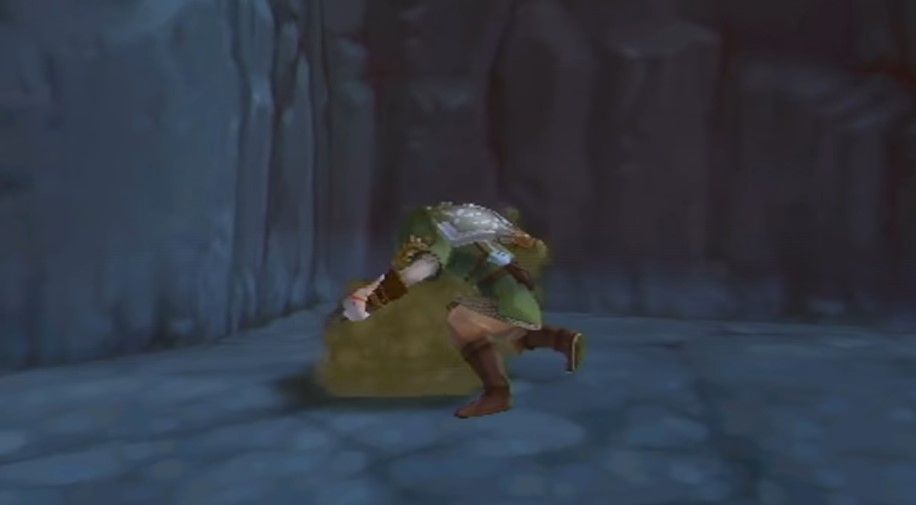
Run into the next room and you'll find a Mogma annoyed by Bokoblins taking up camp in their caves. Defeat the Bokoblins for him – watch out, there are a few. The Mogma will reward you with the Digging Mitts, which allow you to dig up soft spots of dirt – no need to equip them, just press A when you approach the right spot. Behind the Mogma is one such spot, which will uncover an updraft to take you up, further into the caves.
One route will lead you up towards another camp of Bokoblins – from here you can slide down one of three tunnels to find a chest – it's the centre slide. The other route leads to a room filled with flame lizards – grab bombs and get ready to roll them to clear a path forward.
From the entrance, the exit is located to the right. Find make your way through slowly – approaching each path will have the lizard spit fire before you get into range. Once you make your way through, you'll find Bomb Flowers to use to wipe the creatures out. Then, finally, the exit will take you back to the surface.
Eldin Volcano, Climbing The Volcano – Zelda: Skyward Sword
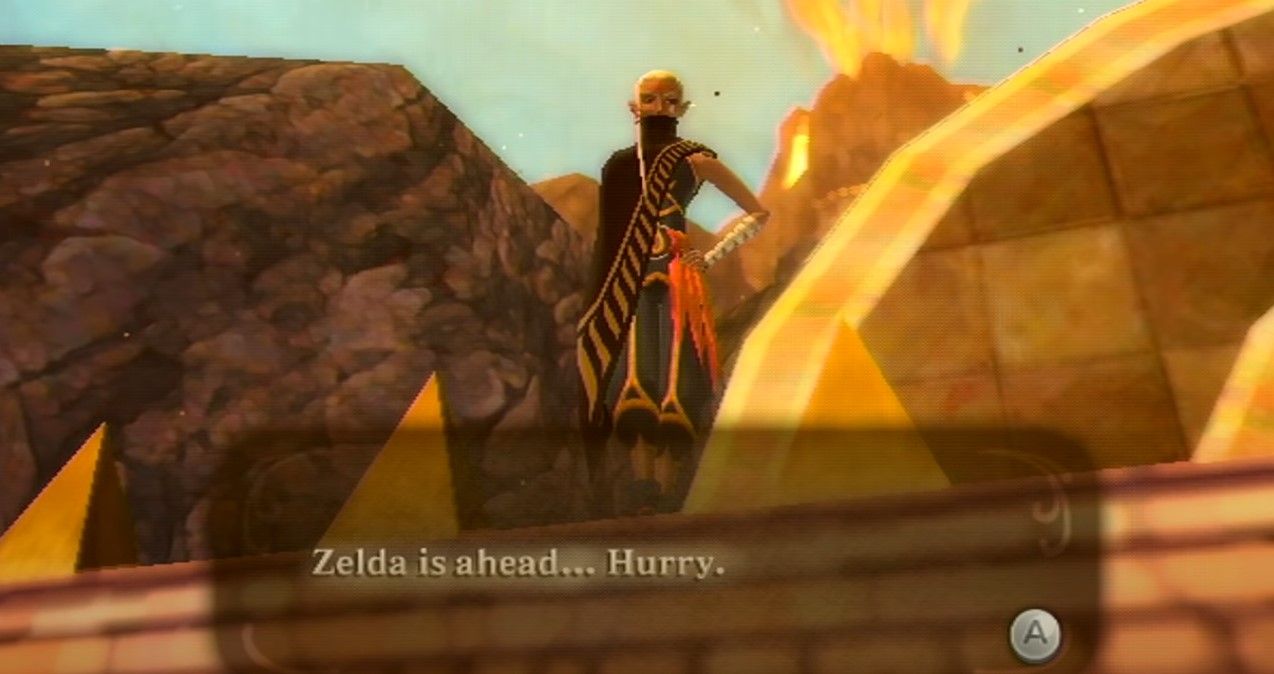
Move forward for a small encounter with a mysterious figure. Cross the bridge and continue up the mountain – it'll be tempting to try and blow up the rocks nearby, but from here you can't take a Bomb Flower over in time. Go through the path, and get ready for the sandy hills.
You can run up these sandy hills, but you can't walk, otherwise you'll slide to the bottom. Use the wooden platforms and stamina fruits to get higher, just make sure to avoid the attacks of Bokoblins. You can use a Slingshot hit to distract them, usually.

Up above there's a Bokoblin camp – defeat them, and use a bomb on the wooden tower to knock it down and form a bridge. Further up the path, climb the vines and you'll yourself on a narrow path, and then at the foot of another sand hill. Use the same strategy as before, and clear the enemies as you climb the hill.
Eldin Volcano Earth Temple Key Piece Locations – Zelda: Skyward Sword
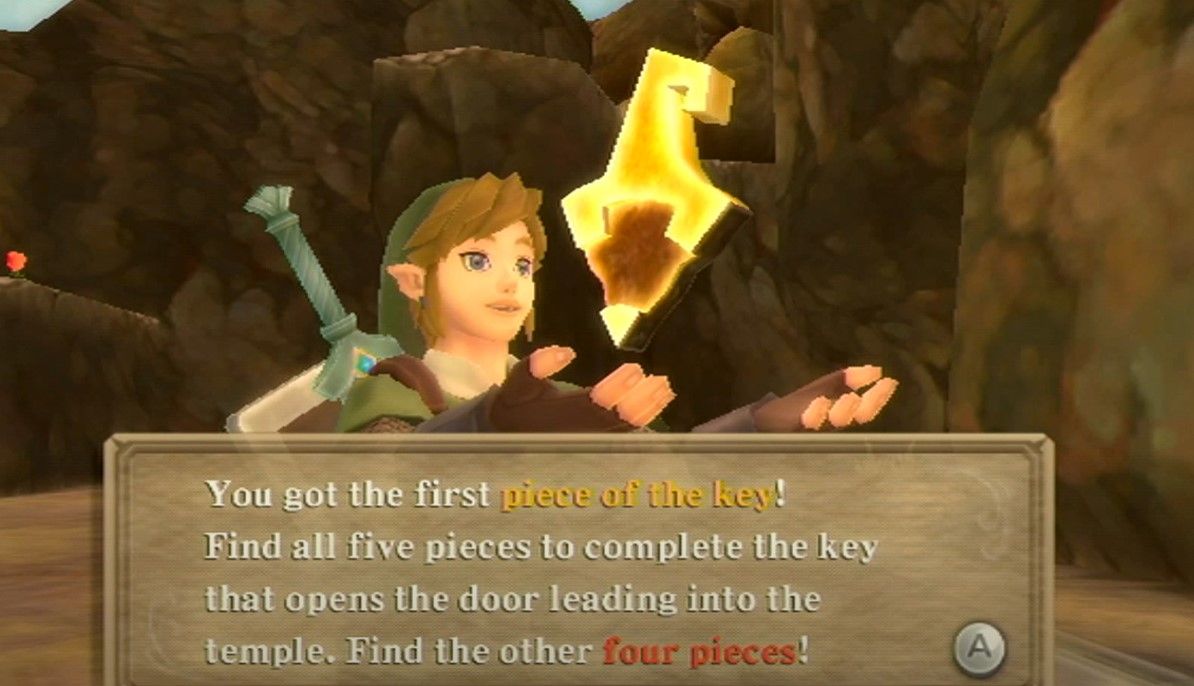
At the top we're finally face to face with the dungeon, the Earth Temple – but we can't get inside. It requires a key, which must be formed of five disparate parts. Oh boy, let's get ready for another Dowsing hunt. Make sure to change your Dowsing target to the Pieces of the Key.
Earth Key Piece 1
This is very easy – it's to the left of the temple, buried in the ground.
Earth Key Piece 2
The next is in the same area – you can roll a bomb down the hill to topple another wooden tower here, and it has the second key piece underneath the base.
Earth Key Piece 3
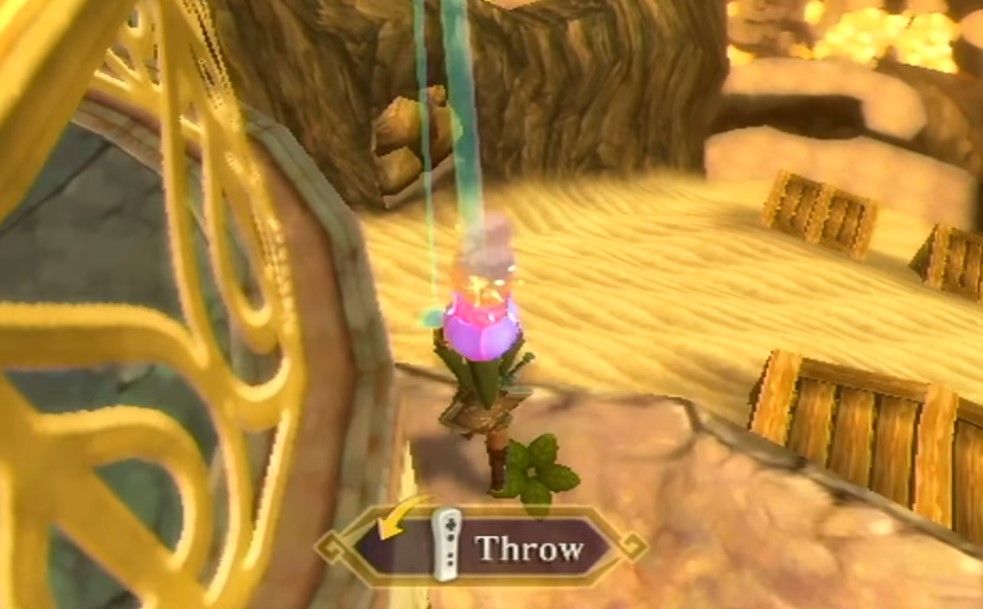
Back outside the front of the temple, look down the sandy hill you climbed up before, and go over to the bomb flowers near the overlook. Throw the bomb flowers at the vulnerable rocks on the side of the hill – you'll need to roll them a bit, and you might need to attempt this a few times. The third key piece is buried inside.
Earth Key Piece 4
Now we need to move a bit further. To the right of the Earth Temple entrance there's another Bokoblin camp – wipe them out, and bomb the wooden tower again. Cross the tower and climb up the ramp.
In this room we need to lay the bridge down – go to the left immediately after entering the room, approach the edge and press A to hang. Climb across and up, and then leap off of the end of the path, grabbing the vines on the wall opposite. Move down the vines and underneath the entrance, up around to the other side. You will be able to now enter, and hit a button to extend the bridge. Nearly there now…
The next room doesn't have much to find, but the room after is burning hot, and will hurt you. Run in and go to the right immediately to slide down another path.
You'll be sliding here, so there's not much time to think. First, take the right path and go up the updraft you see. From here look down at the slide below, and you'll be able to see a small portion of rock you will be able to stand on – this is your target. While on this next platform, look to your left – there are two volcanic vents sending out updrafts. When you see both updrafts, jump inside, and it will carry you across to another platform – this one will have fourth key piece buried on it. Only one more to go!
Earth Key Piece 5
From this platform, jump back onto the slide to head to the bottom. Jump onto the centre platform here, and move inside the cave with lava inside. Grab a bomb flower, and drop it down into the lava just outside the entrance to blow a hole in the side and drain some of the lava out. You can now roll a bomb along the sandy wall and have it detonate against a vulnerable wall – and yes, the fifth key piece is inside, finally.
Exit this room and head to your right – you will be able to find an updraft that will take you back up to the top, and a vulnerable wall you can bomb, which is actually a shortcut to that wall we mentioned that you could not detonate earlier. Take the updraft to find yourself next to the hot room from the Key Piece 4. Now just head over to the Earth Temple and you can get inside at last.
Next: Skyward Sword Boss Guide: Ghirahim