Genshin Impact is a game the continues to add more and more new content for players to enjoy. Currently, the game has two regions to explore, over 25 playable characters, and dozens of world quests to complete. A core part of the gameplay is fighting enemies and gathering the materials you need to ascend your favorite characters. With so many enemies in the game, though, it can be hard to keep up with what enemy drops the proper materials for your character. Since most players are working on leveling up several characters at once, things can get even more confusing. The guide below lists every type of enemy currently in the game and which items they drop.
Related: All Genshin Impact Quest And Boss Guides And Walkthroughs
Updated August 18, 2021, By Jessica Thomas: After update 2.0, Genshin Impact now has new enemies, new drops and an entirely new region. This guide has been updated to include new foes you'll face in Inazuma and to make all the information easier to understand.
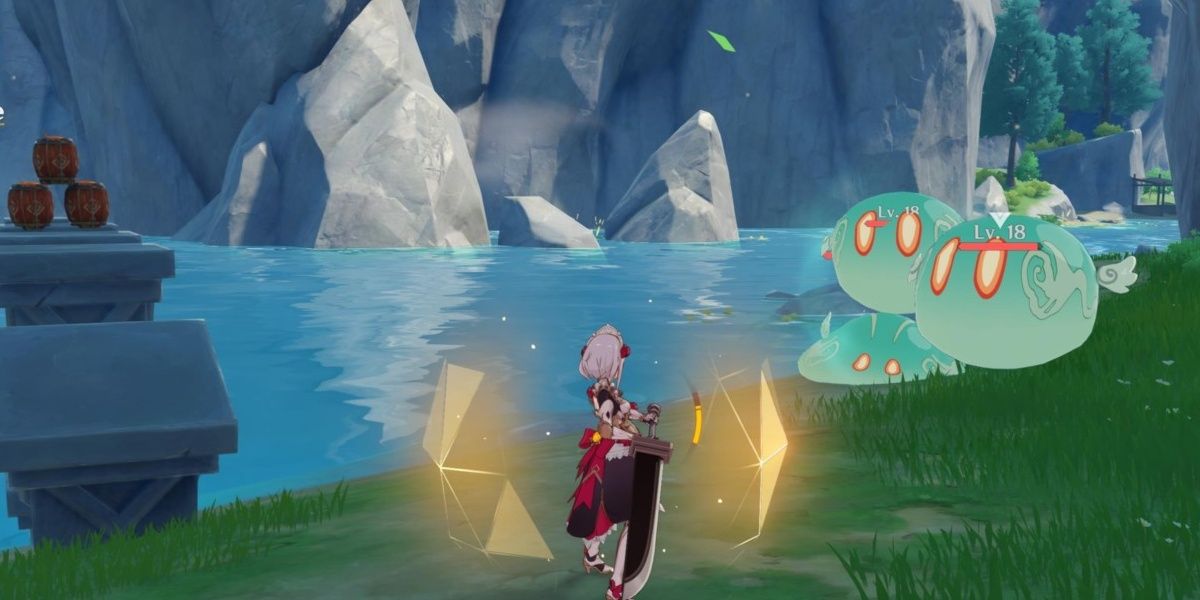
Slimes

Slimes are the weakest enemy in the game and are found all throughout Teyvat. Both big and little slimes exist, and they come in all elements, although each one drops the same items. The slimes you can expect to find are:
| Cryo Slime | Dendro Slime | Hydro Slime | Pyro Slime | Electro Slime | Geo Slime | Anemo Slime |
| Big Cryo Slime | Big Dendro Slime | Big Hydro Slime | Big Pyro Slime | Big Electro Slime | Big Geo Slime | Big Anemo Slime |
From defeating slimes, you can get Slime Condensate, Slime Secretions, and Slime Concentrate.
Hilichurls
These are simple small enemies that will charge at or throw explosives at you. The normal, grenadier and shield versions of Hilichurls all drop Damaged Masks, Stained Masks, and Ominous Masks.
If you want these drops you'll need to look for the following types of hilichurl:
| Hilichurl | Hilichurl Fighter | Hilichurl Berserker |
| Pyro Hilichurl Grenadier | Cryo Hilichurl Grenadier | Wooden Shield Hilichurl Guard |
| Stone Shield Hilichurl Guard | Ice Shield Hilichurl Guard | Unusual Hilichurl |
Hilichurl Shooters
Hilichurl shooters usually appear on ledges and shoot arrows at you from afar. Their drop items are Damaged Masks, Stained Masks, Ominous Masks as well as specialty items Weathered Arrowheads, Sharp Arrowheads, and Firm Arrowheads. Look out for the following:
- Hilichurl Shooter
- Electro Hilichurl Shooter
- Cryo Hilichurl Shooter
- Pyro Hilichurl Shooter
Samachurls
Samachurls are magic casters who stand back to assist the other enemies on the field. They can attack you, heal other enemies, or erect towers and obstacles.Their drop items are Damaged Masks, Stained Masks, Ominous Masks as well as specialty itemsForbidden Curse Scrolls, Sealed Scrolls, and Divining Scrolls. Look out for the following:
- Electro Samachurl
- Geo Samachurl
- Anemo Samachurl
- Dendro Samachurl
- Hydro Samachurl
- Cryo Samachurl
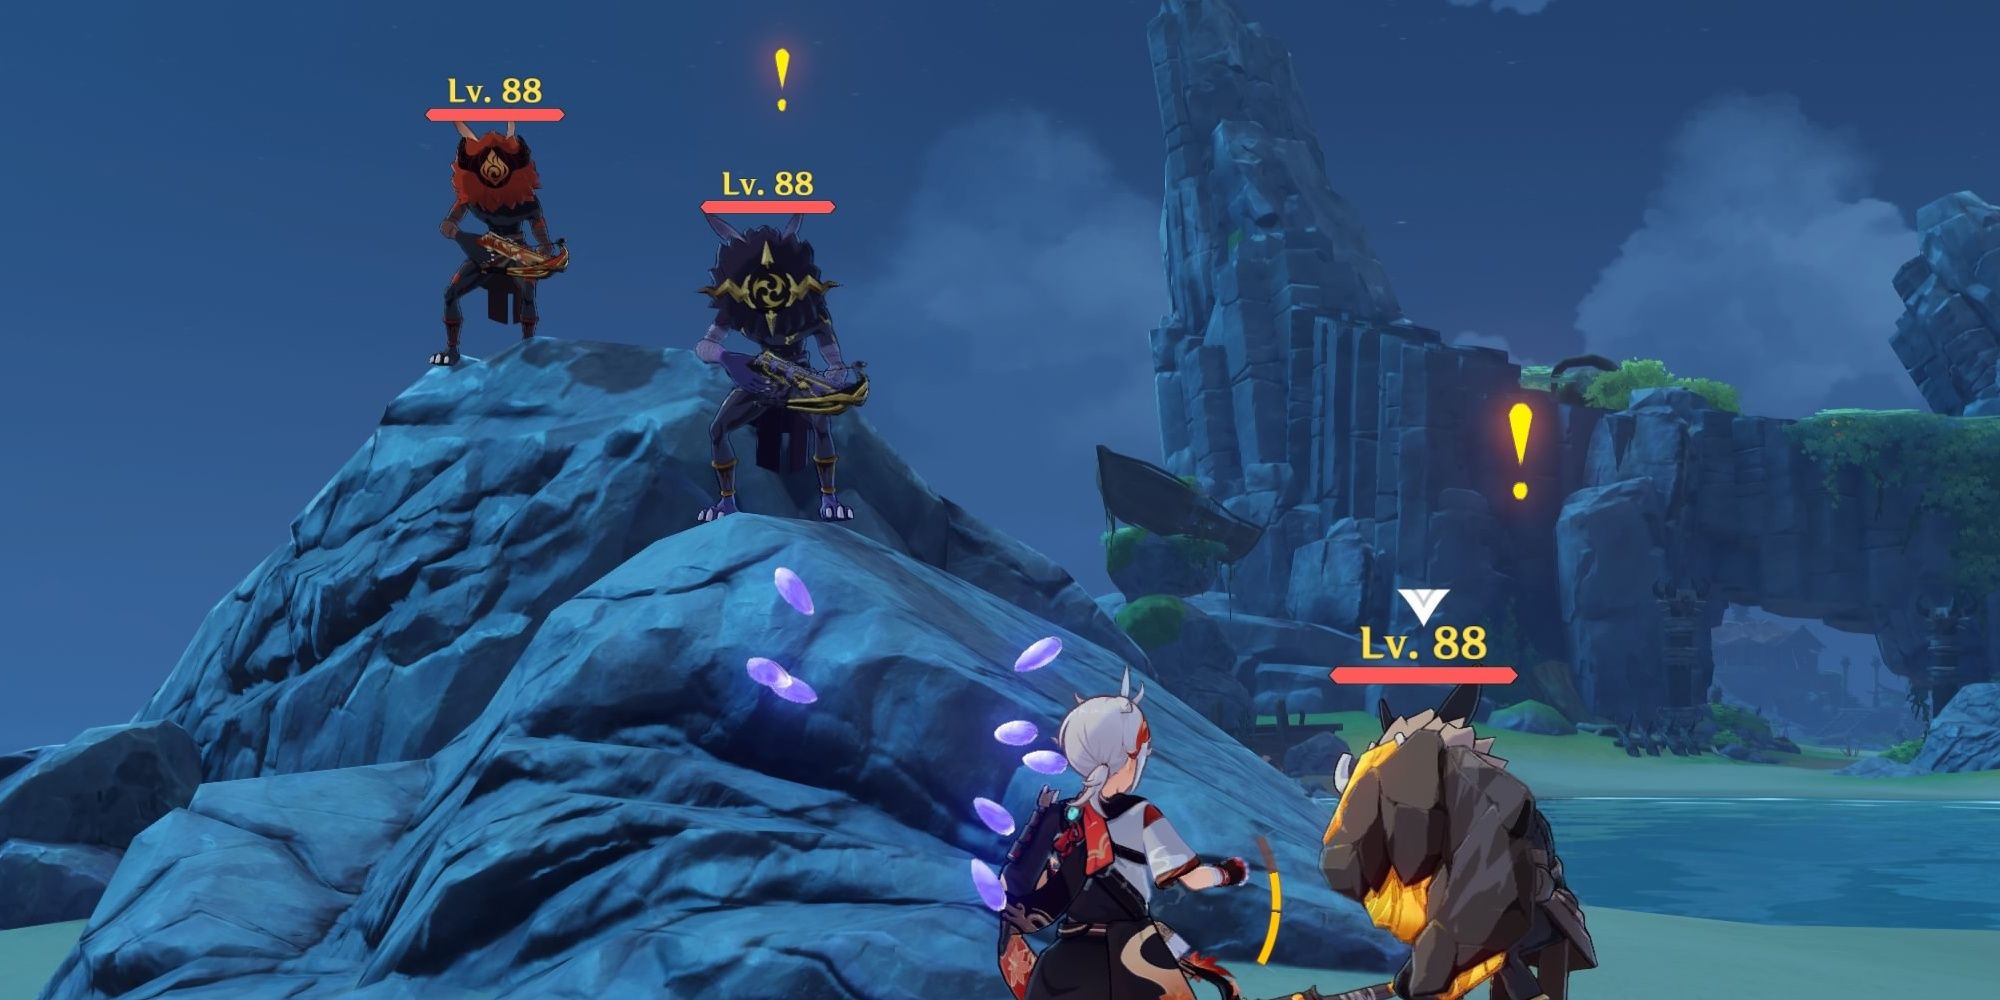
Hilichurl Bosses
Hilichurl Bosses are the larger tankier versions of hilichurls who charge at you or use their massive axes to deal wide AoE damage. They also drop Damaged Masks, Stained Masks, and Ominous Masks. Their special drops are Heavy Horns, Black Bronze Horns, and Black Crystal Horns. You can expect to see the following types:
- Blazing Axe Mitachurls
- Wooden Shieldwall Mitachurl
- Rock Shieldwall Mitachurl
- Ice Shieldwall Mitachurl
- Stonehide Lawachurl
- Frostarm Lawachurl
- Thunderhelm Lawachurl
Treasure Hoarders

Treasure Hoarders can be found around ruins and come in large groups. In every group, there are both ranged and close-ranged enemies you will have to deal with. Treasure Hoarders all drop Treasure Hoarder Insignias, Silver Raven Insignias, and Golden Raven Insignias. Look out for the following:
| Scout | Gravedigger | Marksmen | Pyro Potioneer | Electro Potioneer | Cryo Potioneer |
| Hydro Potioneer | Crusher | Seaman | Handyman | Pugilist |
Related: Genshin Impact: Where To Find Treasure Hoarders
Nobushi

Nobushi are samurai enemies who are common around Inazuma and found in groups. They can be found with the Fatui, Treasure Hoarders, or even with Kairagi. Nobushi drop old handguards, Kageuchi handguards, and famed handguards and come in three types:
- Hitsukeban
- Kikouban
- Jintouban
Kairagi
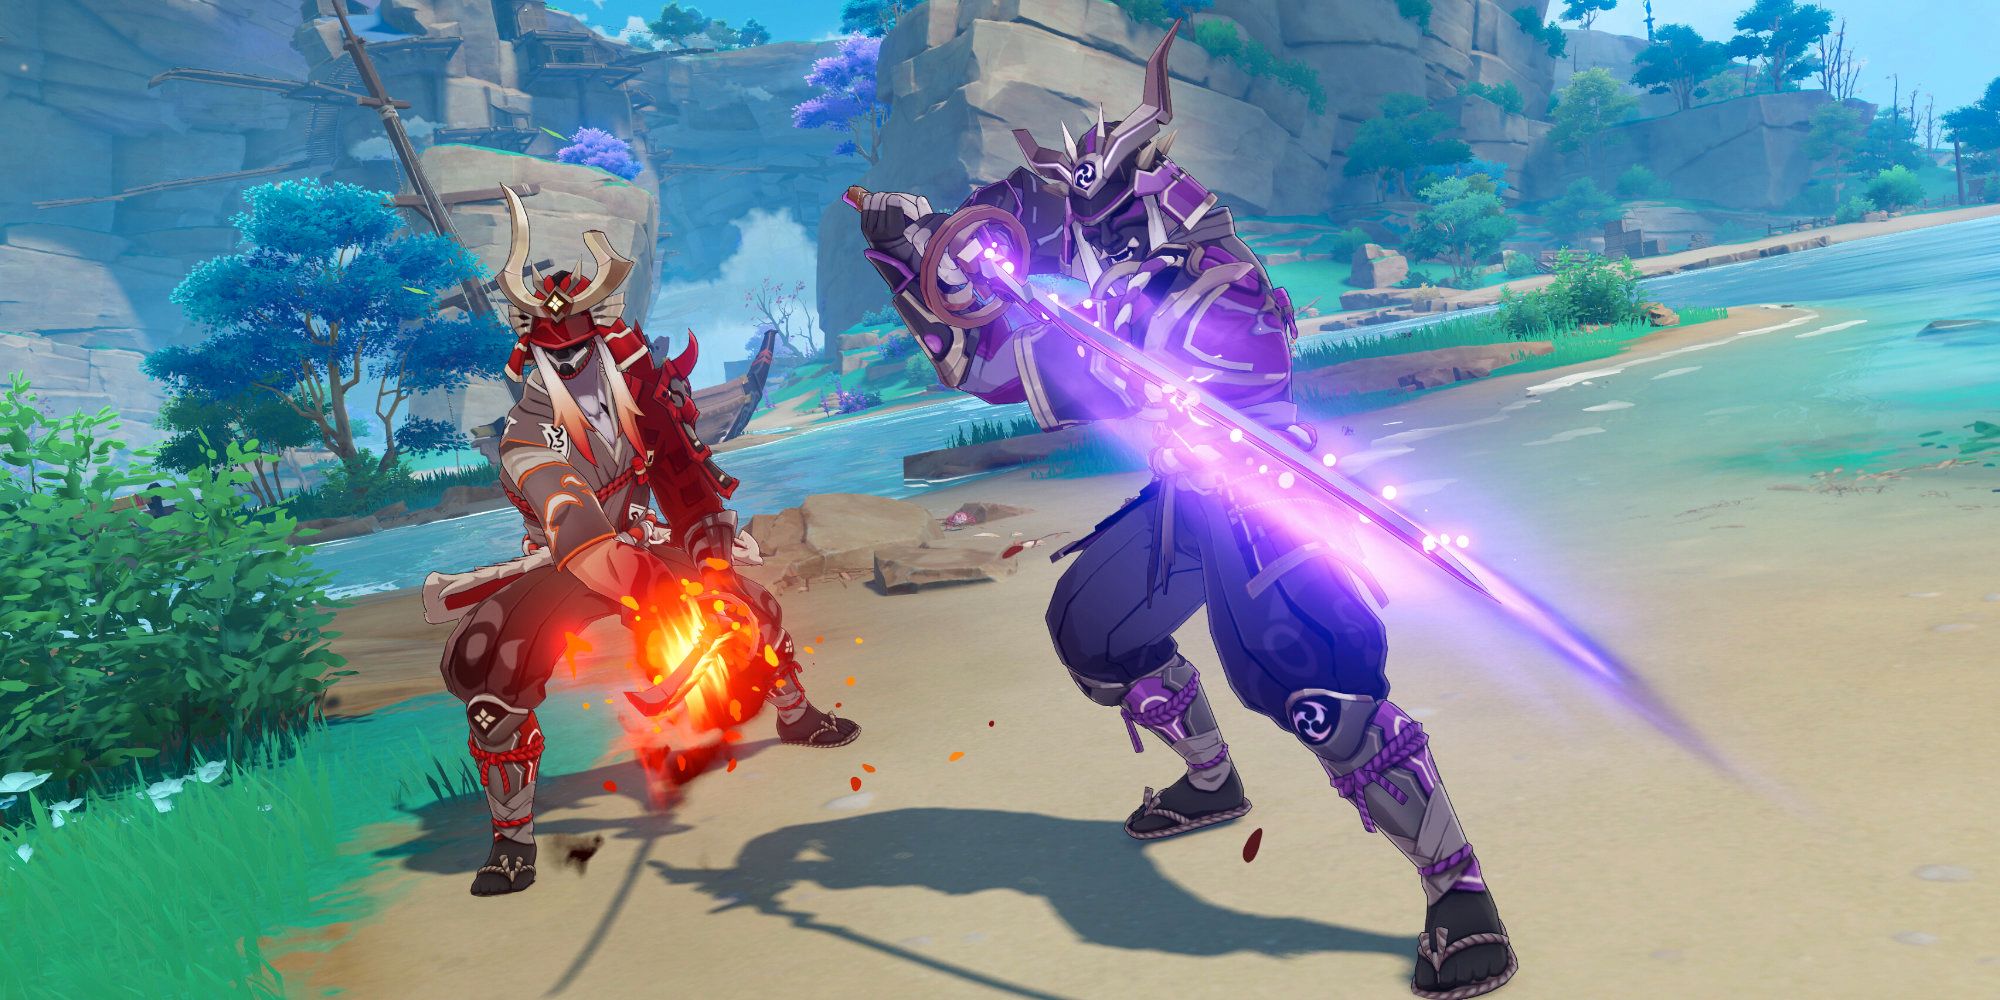
Kairigi are larger enemies that either have pyro or electro abilities. Their moves are easy to read, but if they hit you, they deal a considerable amount of damage. They drop old handguards, Kageuchi handguards, and famed handguards. The two types of Kairigi are:
- Dancing Thunder
- Fiery Might
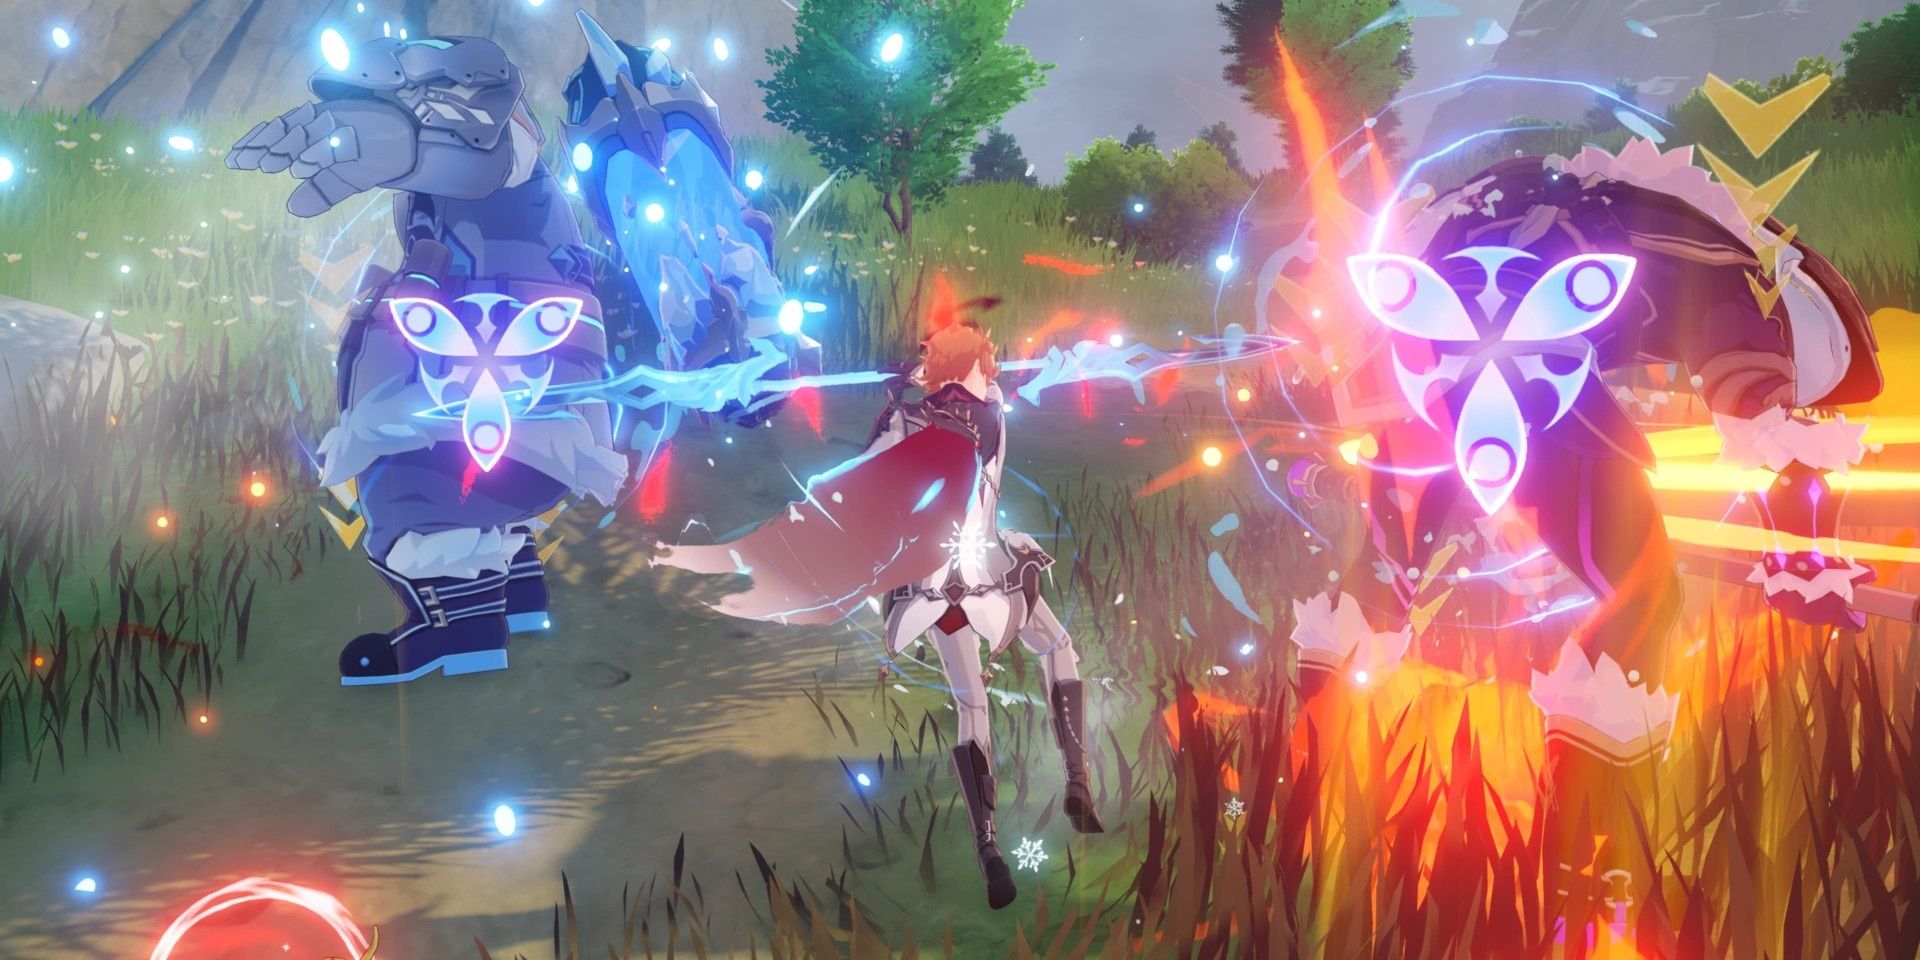
Whopperflowers

Whopperflowers are elemental enemies who shoot cryo, electro, and pyro attacks at players. They generally have a decent amount of damage resistance and can hide in the ground. They all drop Whopperflower Nectar, Shimmering Nectar, and Energy Nectar. You'll find the following elemental types:
- Pyro Whooperflower
- Cryo Whooperflower
- Electro Whooperflower
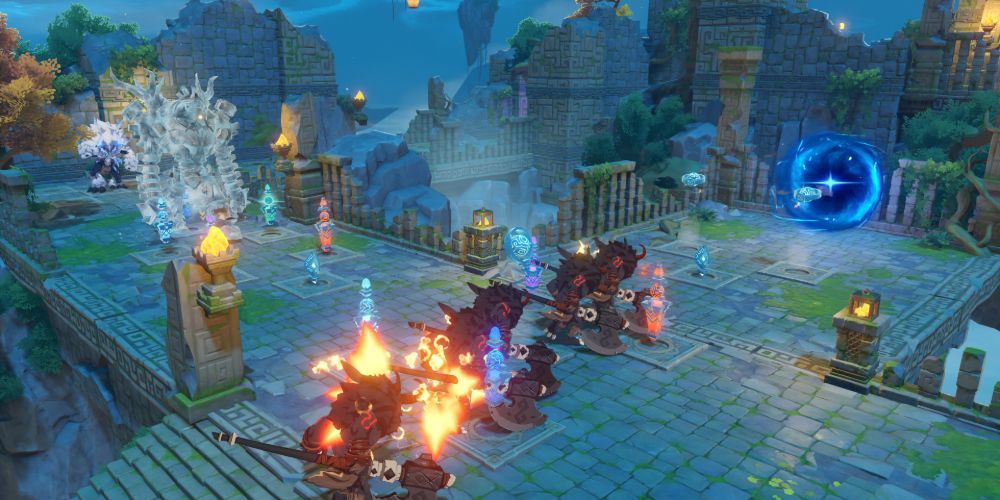
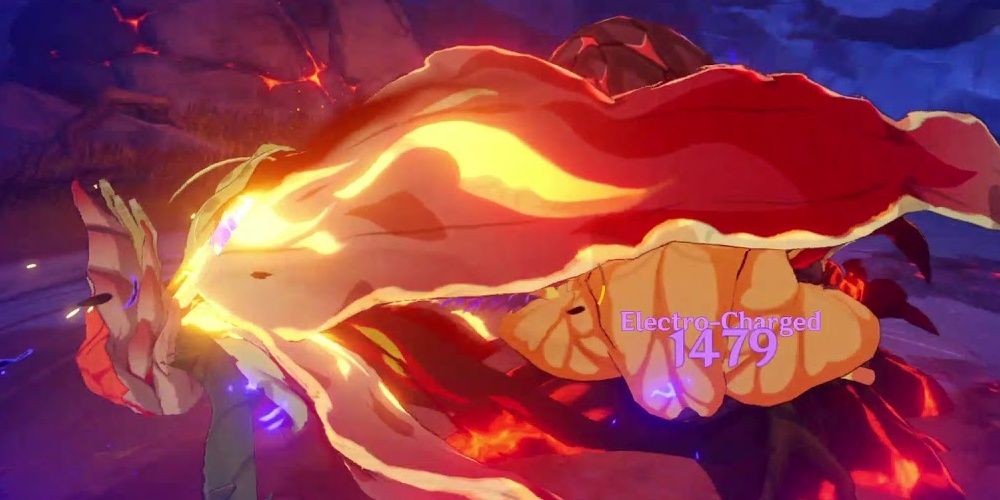
The Abyss Order

There are currently four different types of Abyss enemies, with more being hinted at by Dainsleif. Each Abyss Mage starts out with an elemental shield that must be broken down and will attack using ranged magic. There are decently easy on their own and hard to deal with when together. Abyss Mages can drop Dead Ley Line Branches, Dead Ley Line Leaves, and Ley Line Sprouts. Look out for the following:
- Hydro Abyss Mage
- Cryo Abyss Mage
- Electro Abyss Mage
- Pyro Abyss Mage
Abyss Bosses
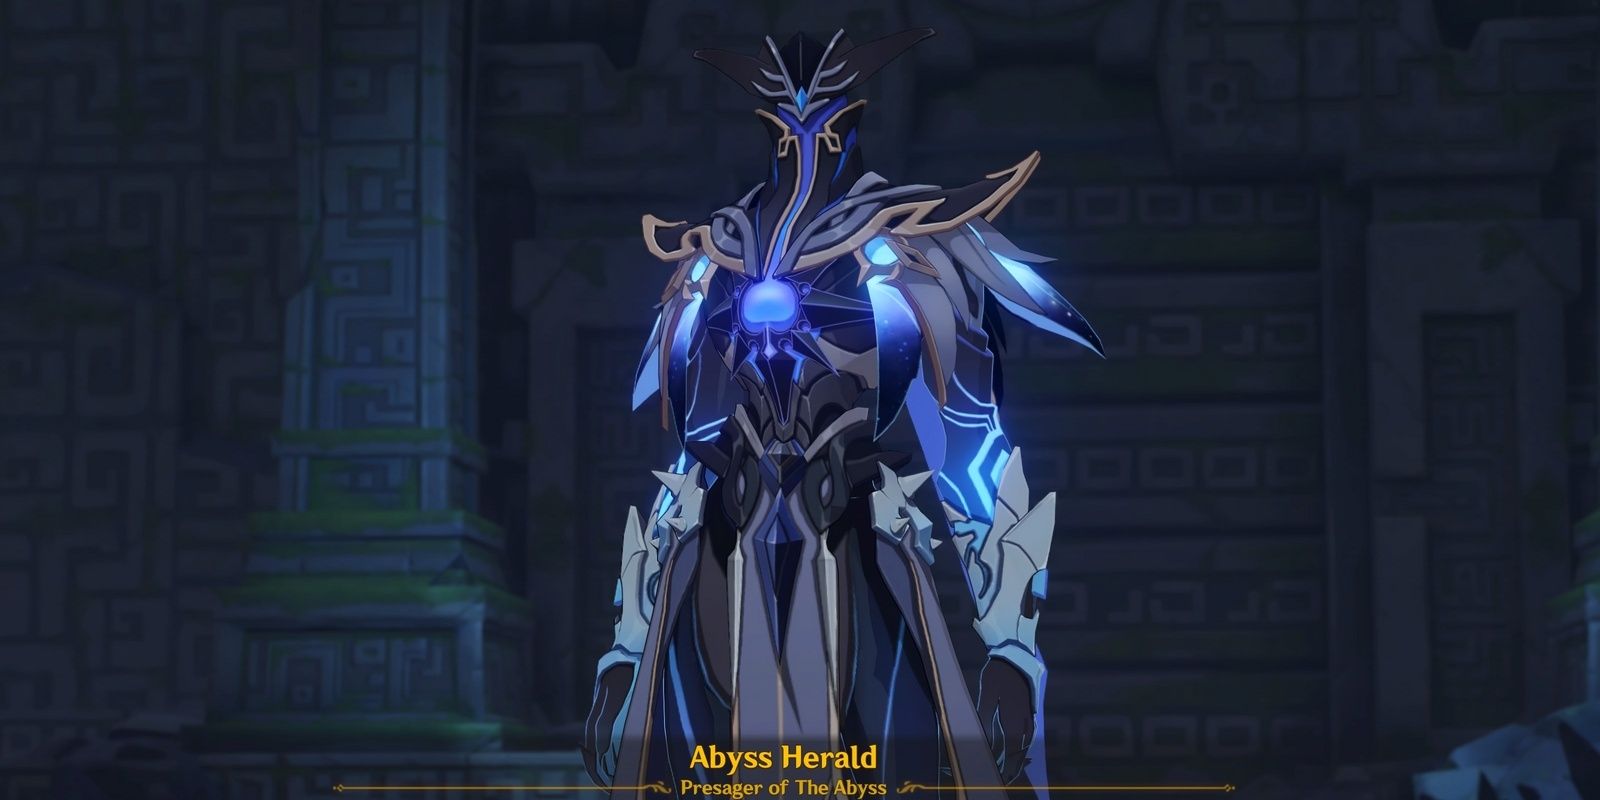
The Abyss Herald and Lector can only be fought at special locations and currently have no drops. They are elite enemies, and we have a guide on how to beat the Abyss Herald.
- Abyss Herald
- Abyss Lector
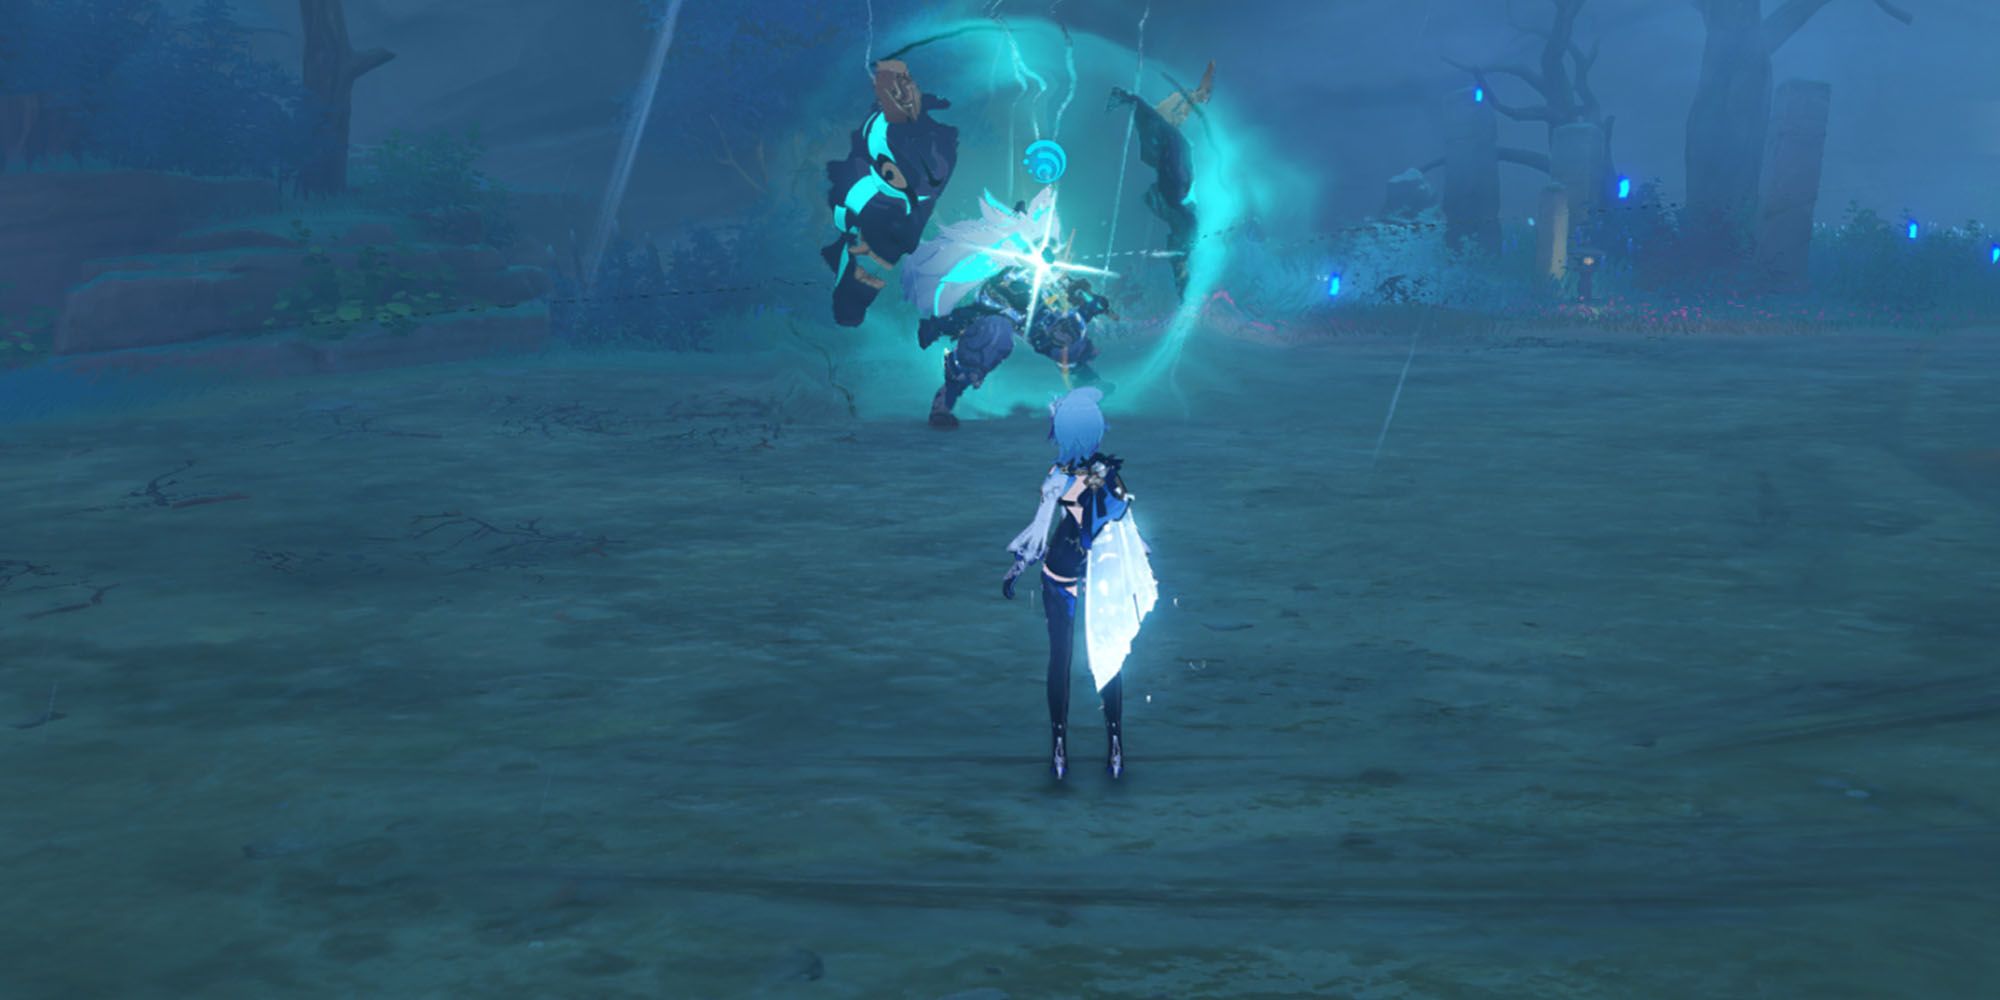
Fatui Agents
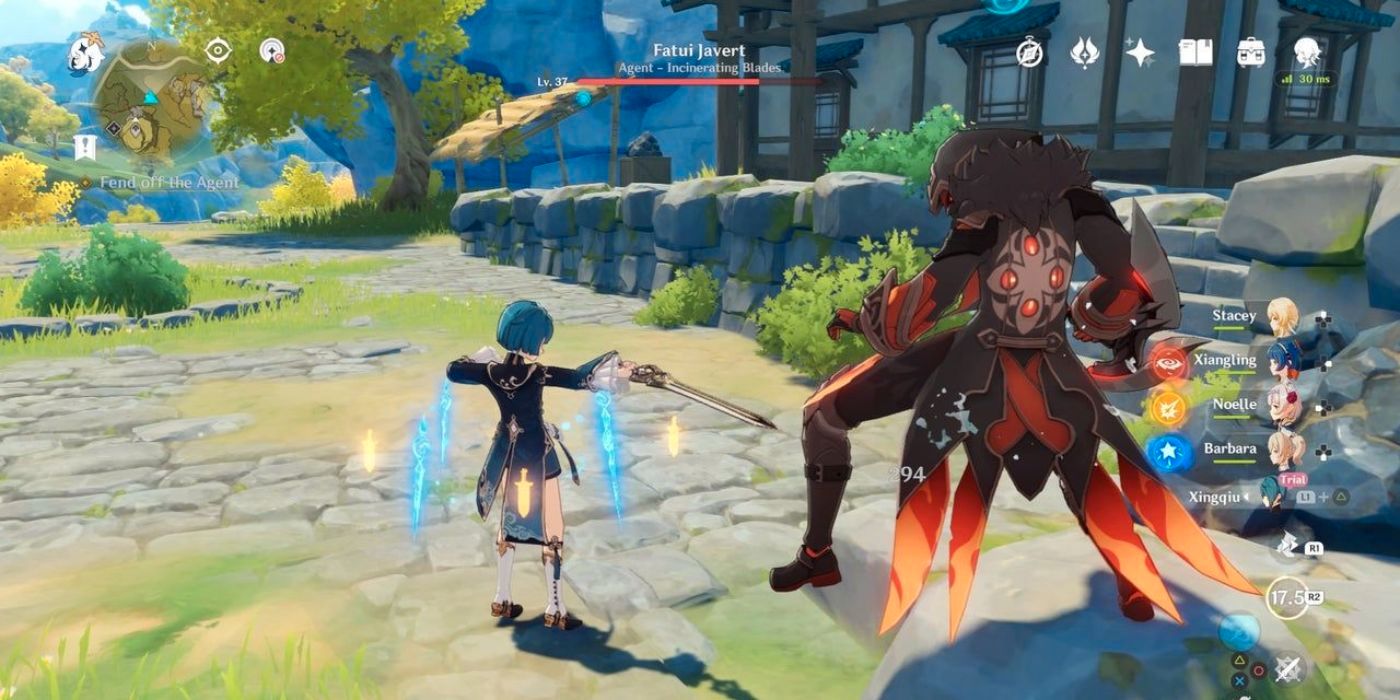
Fatui Agents work on their own and have the ability to turn invisible during the fight. They fight up close and can summon circling daggers to create a barrier around themselves.
Like all Fatui members, they can drop Recruits Insignias, Sergeants Insignias, and Lieutenants Insignias. Their unique drop items are the Hunter's Sacrificial Knife, Agent's Sacrificial Knife, and the Inspector's Sacrificial Knife.
Fatui Bracers and Legionnaires
Bracers and Legionnaires work together in groups for a mix of elemental attacks and fighting styles. They can drop Recruits Insignias, Sergeants Insignias, and Lieutenants Insignias. Look out for these enemies:
- Geochanter Bracer
- Pyro Bracer
- Cryogunner Legionnaires
- Hydrogunner Legionnaires
- Anemoboxer Vanguards
- Electrohammer Vanguards
Fatui Mages

Cicin Mage's are ranged attackers that can summon small elemental enemies to deal damage to players. They drop Recruits Insignias, Sergeants Insignias, and Lieutenants Insignia like all Fatui. Their unique items are Mist Grass Pollen, Mist Grass, and Mist Grass Wick.
The Mirror Mage drops are a bit different; they drop Dismal Prism, Crystal Prism, and Polarizing Prism.
Look out for these enemies:
- Mirror Maidens
- Electro Cicin Mage
- Cryo Cicin Mage
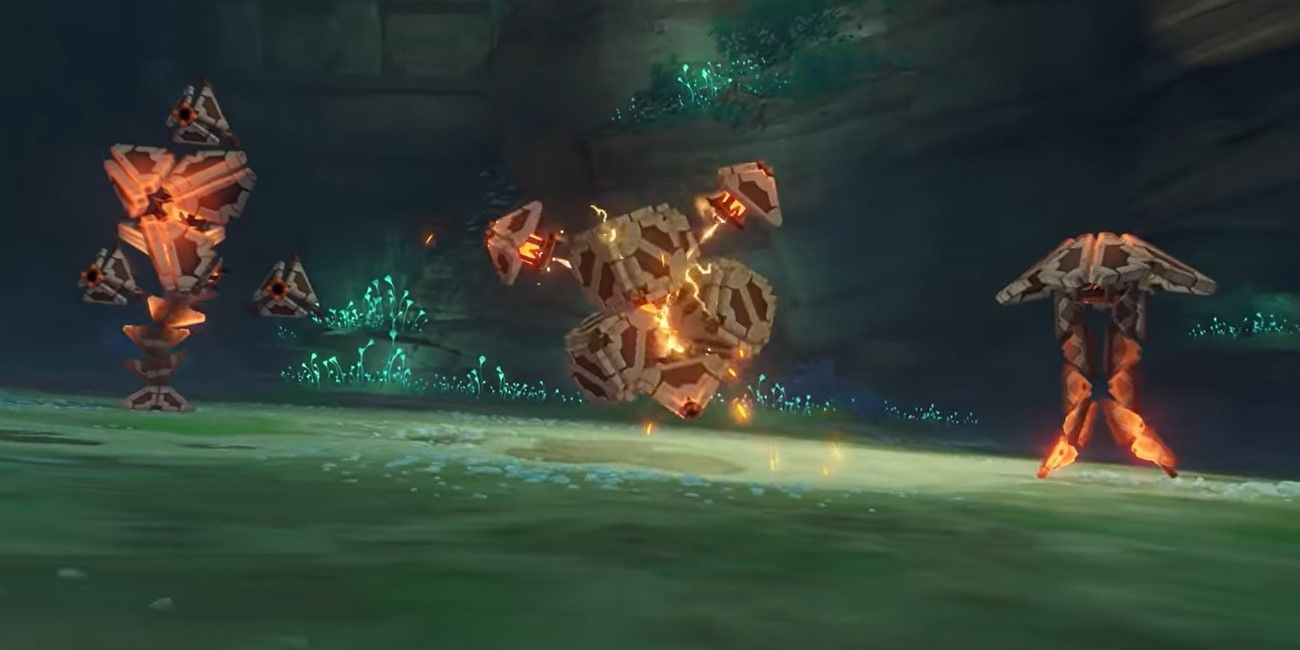
Automatons

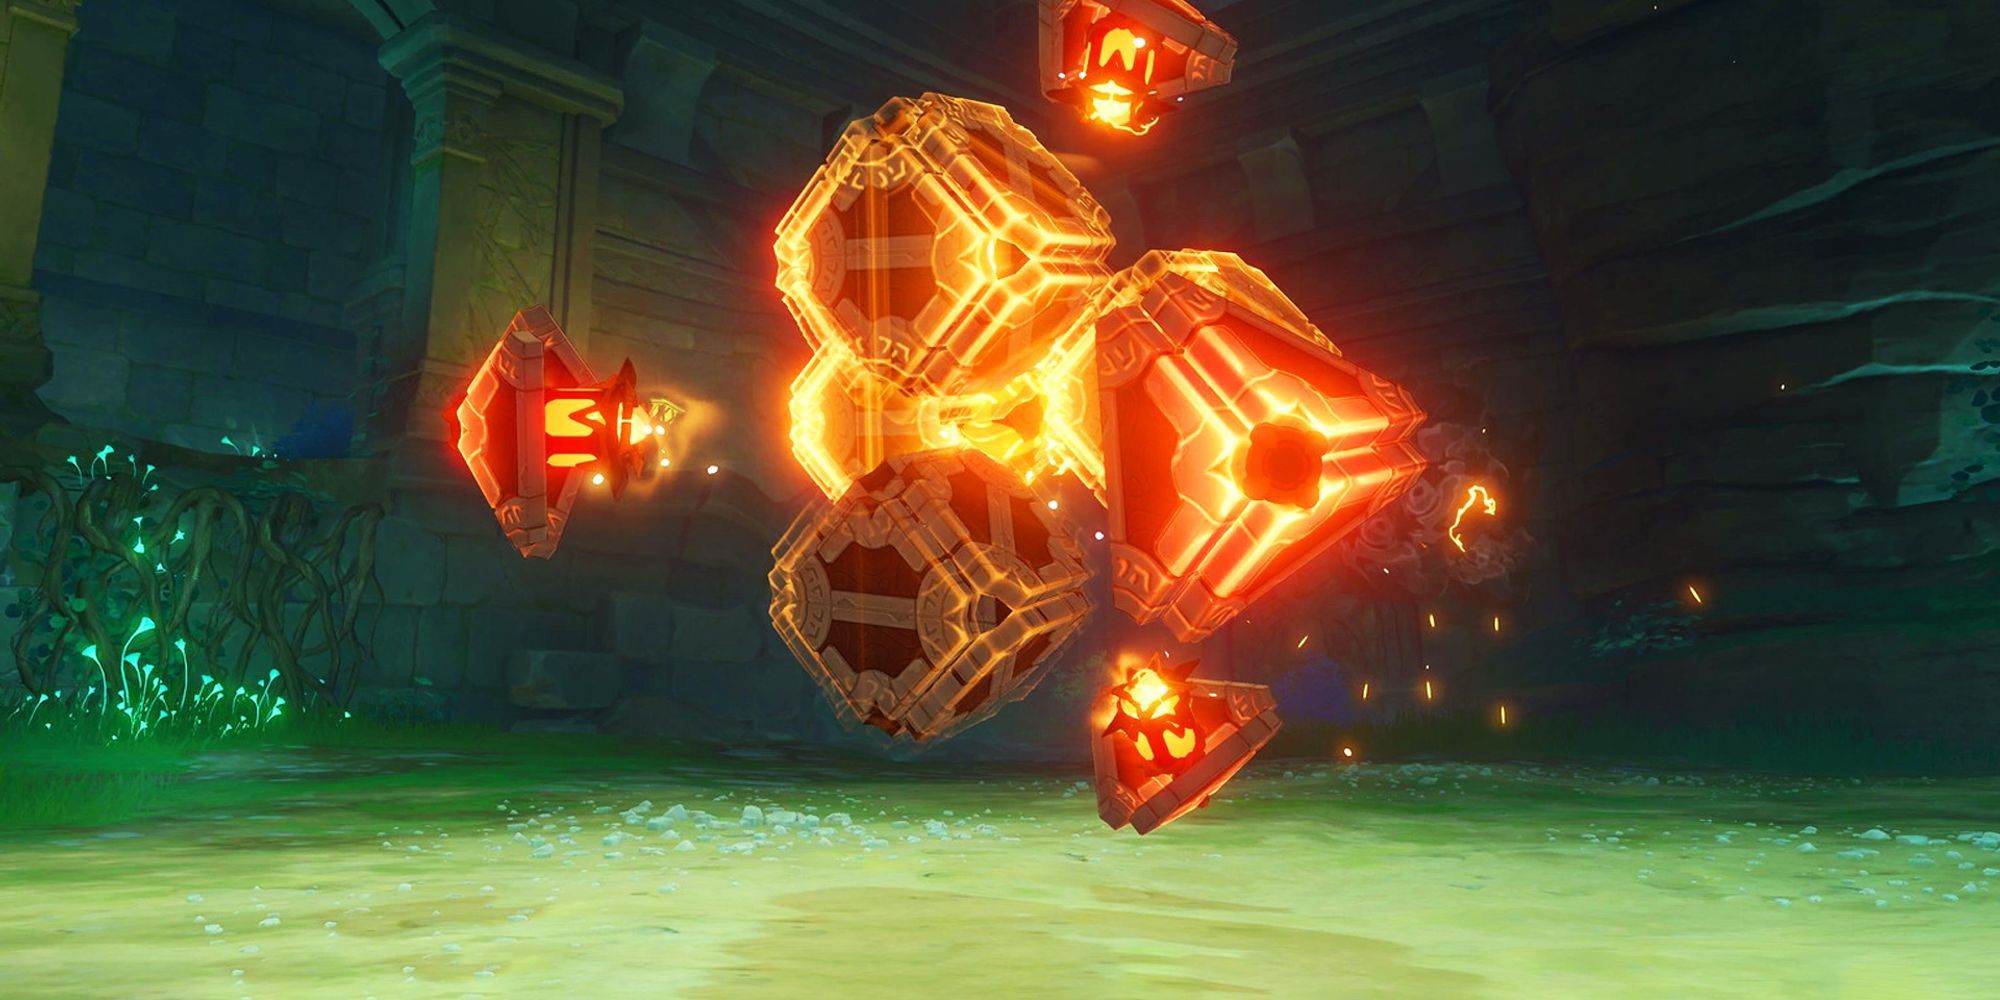
Automatons are large machines that are usually found near ruins and attack using missiles and close-range attacks. They have a large health bar, and taking them on in groups can be troublesome. These enemies all drop Chaos Devices. Chaos Circuits and Chaos Cores. Expect to see the following:
- Ruin Guards
- Ruin Hunters
- Ruin Graders
Ruin Sentinels
Ruin Sentinels are usually found in groups and use attacks such as lasers for whittling down your heath. They drop Chaos Gears, Chaas Axis, and Chaos Oculus. They come in four types:
- Ruin Cruiser
- Ruin Defender
- Ruin Destroyer
- Ruin Scout
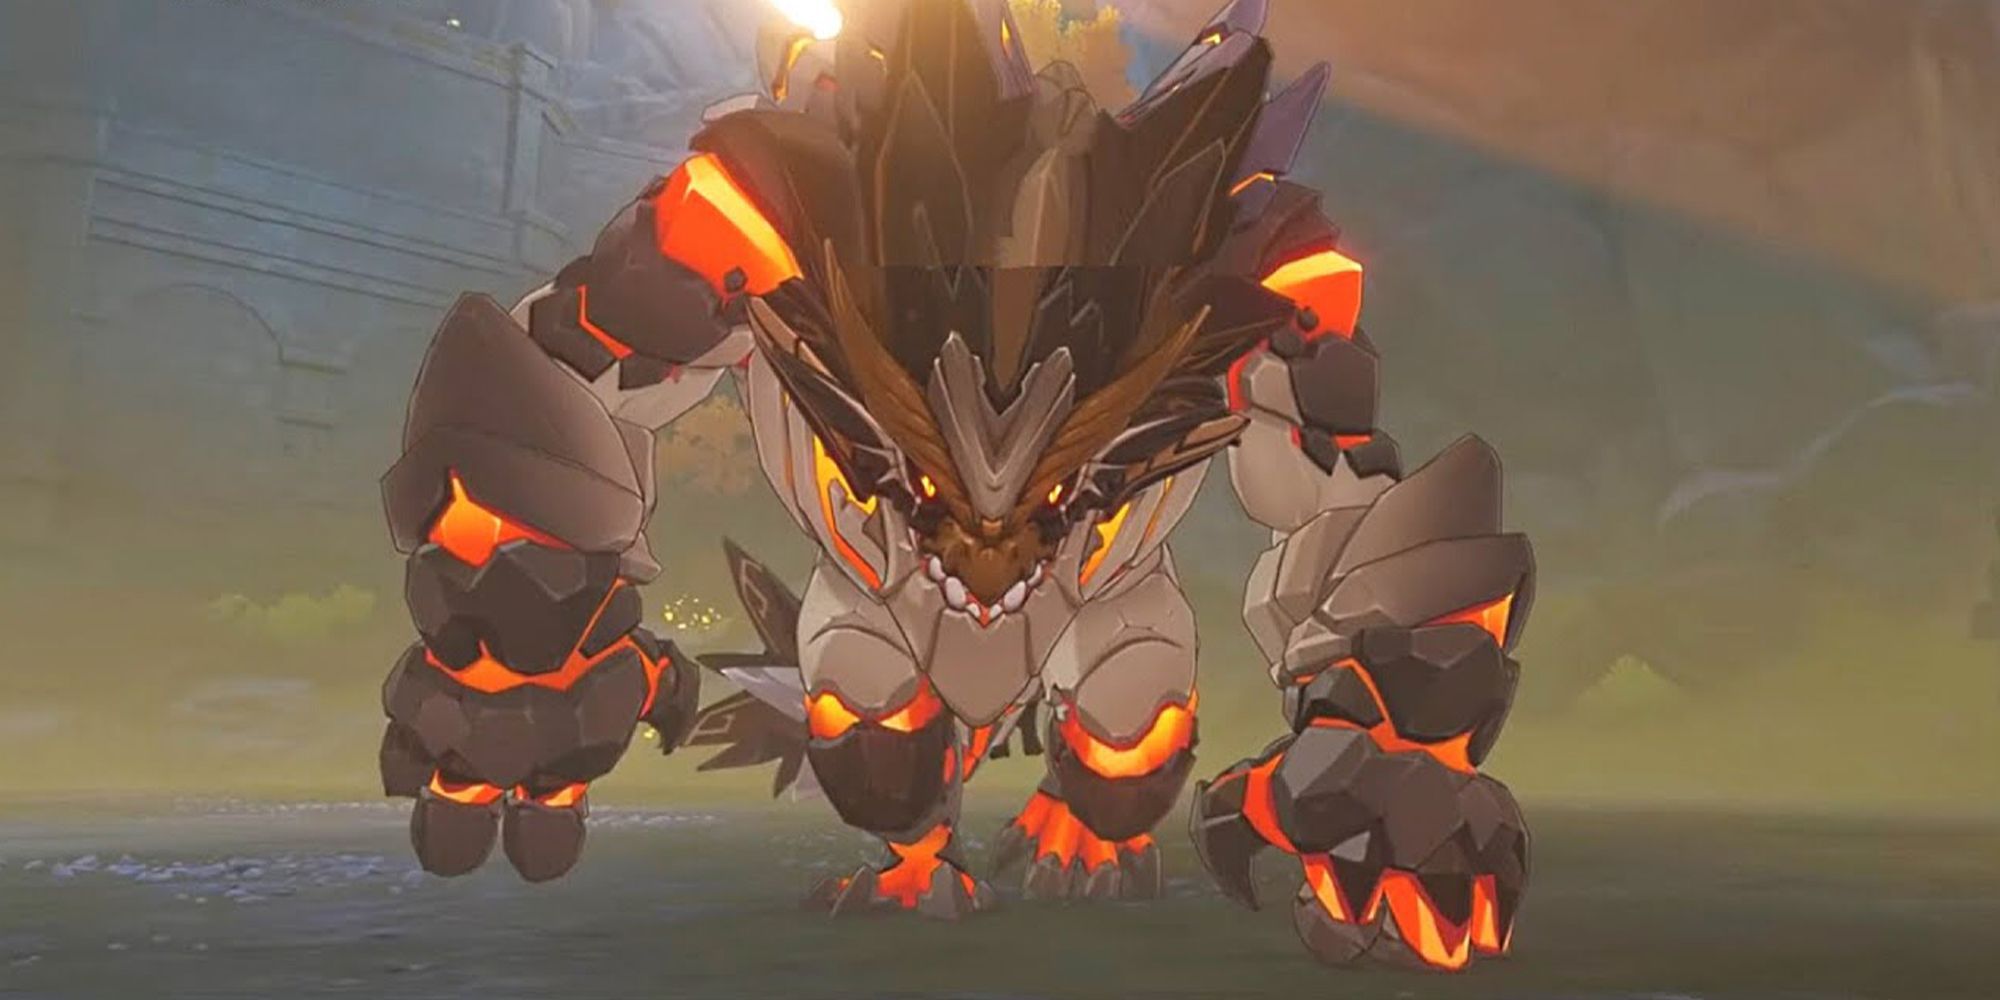
Geovishaps

Geovishaps are fast-moving enemies that curl into balls and hurl themselves towards enemies. These enemies drop Fragile Bone Shards, Sturdy Bones Shards, and Fossilized Bone Shards. Look out for:
- Geovishap Hatchling
- Geovishap
Eye Of The Storm
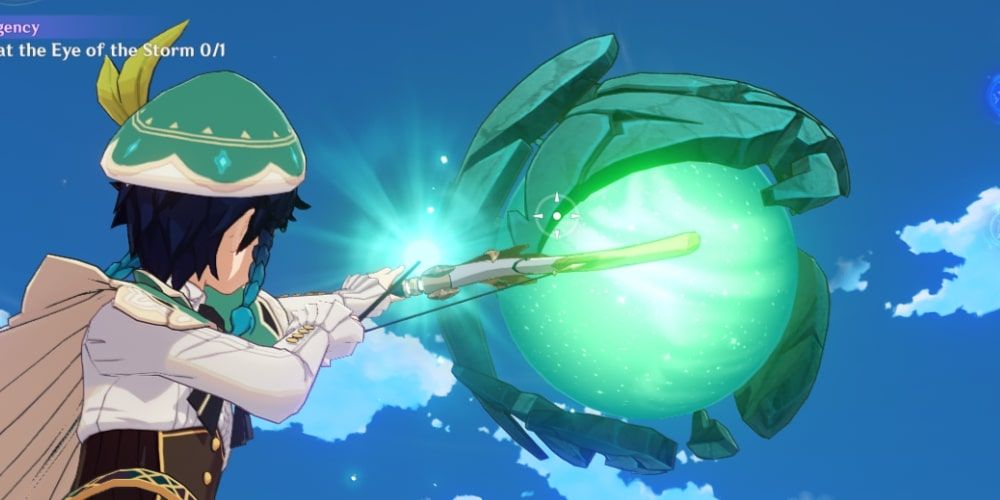
This is an Anemo enemy type that relies on creating tornados or slamming into the ground to attack opponents. These enemies drop artifacts instead of ascension materials.
Hypostasis
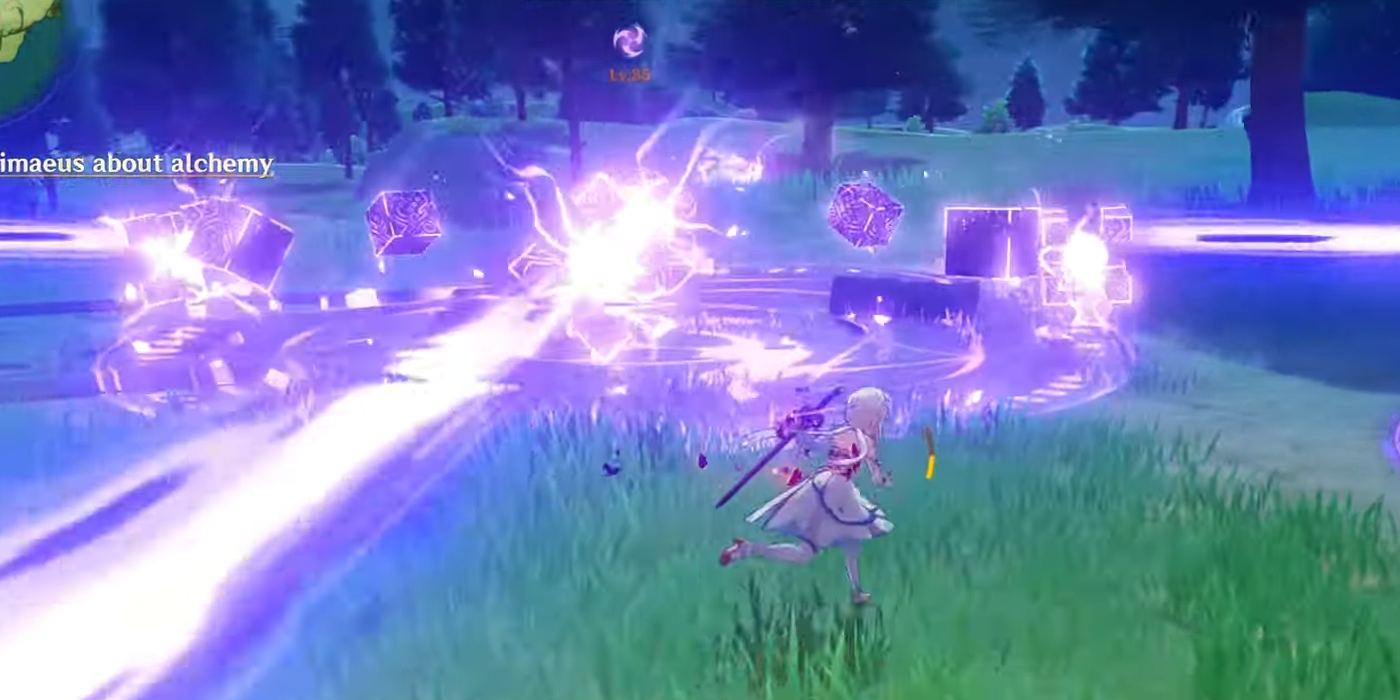
Hypostasis' are elemental boss enemies that all drop a range of ascencion materials and artifacts and use attacks corresponding to their given element. Here's a chart of each Hypostasis and their drops.
| Hypostasis Type | Ascension Gems | Boss Materials | Two-Star Artifacts | Three-Star Artifacts | Four-Star Artifacts | Five-Star Artifacts |
|---|---|---|---|---|---|---|
| Pyro |
|
|
|
|
|
|
| Cryo |
|
|
|
|
|
|
| Electro |
|
|
|
|
|
|
| Geo |
|
|
|
|
|
|
| Anemo |
|
|
|
|
|
|
Perpetual Mechanical Array
The Perpetual Mechanical Array is a neutral boss that doesn't use any elemental abilities. It isn't weak or resistant to any elements and is able to summon smaller machine lifeforms to fight for him. Here's its loot table.
| Ascension Gems | Boss Material | Two-Star Artifacts | Three-Star Artifacts | Four-Star Artifacts | Five-Star Artifacts |
|
|
|
|
|
|
Regisvines
Regisvines are elemental flowers that grow cores. The cores will switch between the flower and the bottom of the plant. You must target the cores when they appear while avoiding elemental attacks. Below is the loot table for them.,
| Regisvine Type | Ascension Gem | Boss Materials | Two-Star Artifacts | Three-Star Artifacts | Four-Star Artifacts | Five-Star Artifacts |
| Pyro |
|
|
|
|
|
|
| Cryo |
|
|
|
|
|
|
Primo Geovishap
The Primo Geovishap is an enemy that will change elements and is the only way to get Xiao's level-up material. He has several high damage close range attacks, elemental AoE attacks and can dig underground and charge at the player. When fighting him, long-ranged damage and shields users are advised. This is his loot table:
| Ascension Gem | Boss Material | Two-Star Artifacts | Three-Star Artifacts | Four-Star Artifacts | Five-Star Artifacts |
|
|
|
|
|
|
Related: Genshin Impact: How To Defeat The Primo Geovishap
Maguu Kenki
The Maguu Kenki can use both anemo and cryo attacks to cause devastating damage to players. It also has the ability to make a shadow and attack two areas of the field at once. Here's its loot table:
| Ascension Gem | Boss Material | Two-Star Artifacts | Three-Star Artifacts | Four-Star Artifacts | Five-Star Artifacts |
|
|
|
|
|
|
Oceanid

The Oceanid Rhodeia is a hydro boss that fights players using hydro summons. The summons resemble animals, and all have their own attack styles that players must adapt to. Here's Rhodeia's loot table:
| Ascension Gems | Boss Material | Two-Star Artifacts | Three-Star Artifacts | Four-Star Artifacts | Five-Star Artifacts |
|
|
|
|
|
|
Weekly Enemies

These enemies can only be fought once a week and offer a treasure trove of drops. There are four so far and the boss materials will be required to ascend to characters to the highest levels.
| Boss Name | Ascension Gem | Boss Material | Two-Star Artifact Sets | Three-Star Artifact Sets | Four-Star Artifact Sets | Five-Star Artifact Sets |
| Azhdaha |
|
|
|
|
|
|
| Stormterror |
|
|
|
|
|
|
| Lupus Boreas (Wolf of the North) |
|
|
|
|
|
|
| Childe (Tartaglia) |
|
|
|
|
|
|
Next: Genshin Impact Complete Guide And Walkthrough