Quick Links
- What Are The Requirements To Unlock Inazuma In Genshin Impact?
- How Do I Get To Inazuma In Genshin Impact?
- How Do I Get To Inazuma City?
- Setting Sail
- Confessions Of An Outsider
- Ritou Escape Plan
- Three Wishes
- The Meaning Of Meaningless Waiting
- To Treat The Well-Meaning Well
- A Swordmaster's Path Is Paved With Broken Blades
- A Flower Blooms In Prison
- Police Detention Center Domain
- Tips For Completing The Domain
Genshin Impact's Version 2.0 update is finally here and with it comes the brand new nation of Inazuma. The electro nation is an archipelago with a very strict policy on outsiders. We learned a little about it from Kazuha's questline but now we can go and see the island for ourselves and find out what exactly is going on.
However, getting to Inazuma, and more importantly, being allowed to roam around the islands, does require you to follow a few steps and meet some pre-requisite conditions. Here's how to get to Inazuma and when you'll unlock the freedom to explore.
Related: Genshin Impact: The Immovable God And The Eternal Euthymia Update Details
What Are The Requirements To Unlock Inazuma In Genshin Impact?

In order to access the quest chain to unlock Inazuma you'll need to meet the following requirements:
- Reach Adventure Rank 30 or above.
- Complete the Archon Quest Chapter Two: Prologue – Autumn Winds, Scarlet Leaves.
You'll learn a few basics about Inazuma during the Autumn Winds, Scarlet Leaves quest chain and this story will set up your passage to the islands.
How Do I Get To Inazuma In Genshin Impact?
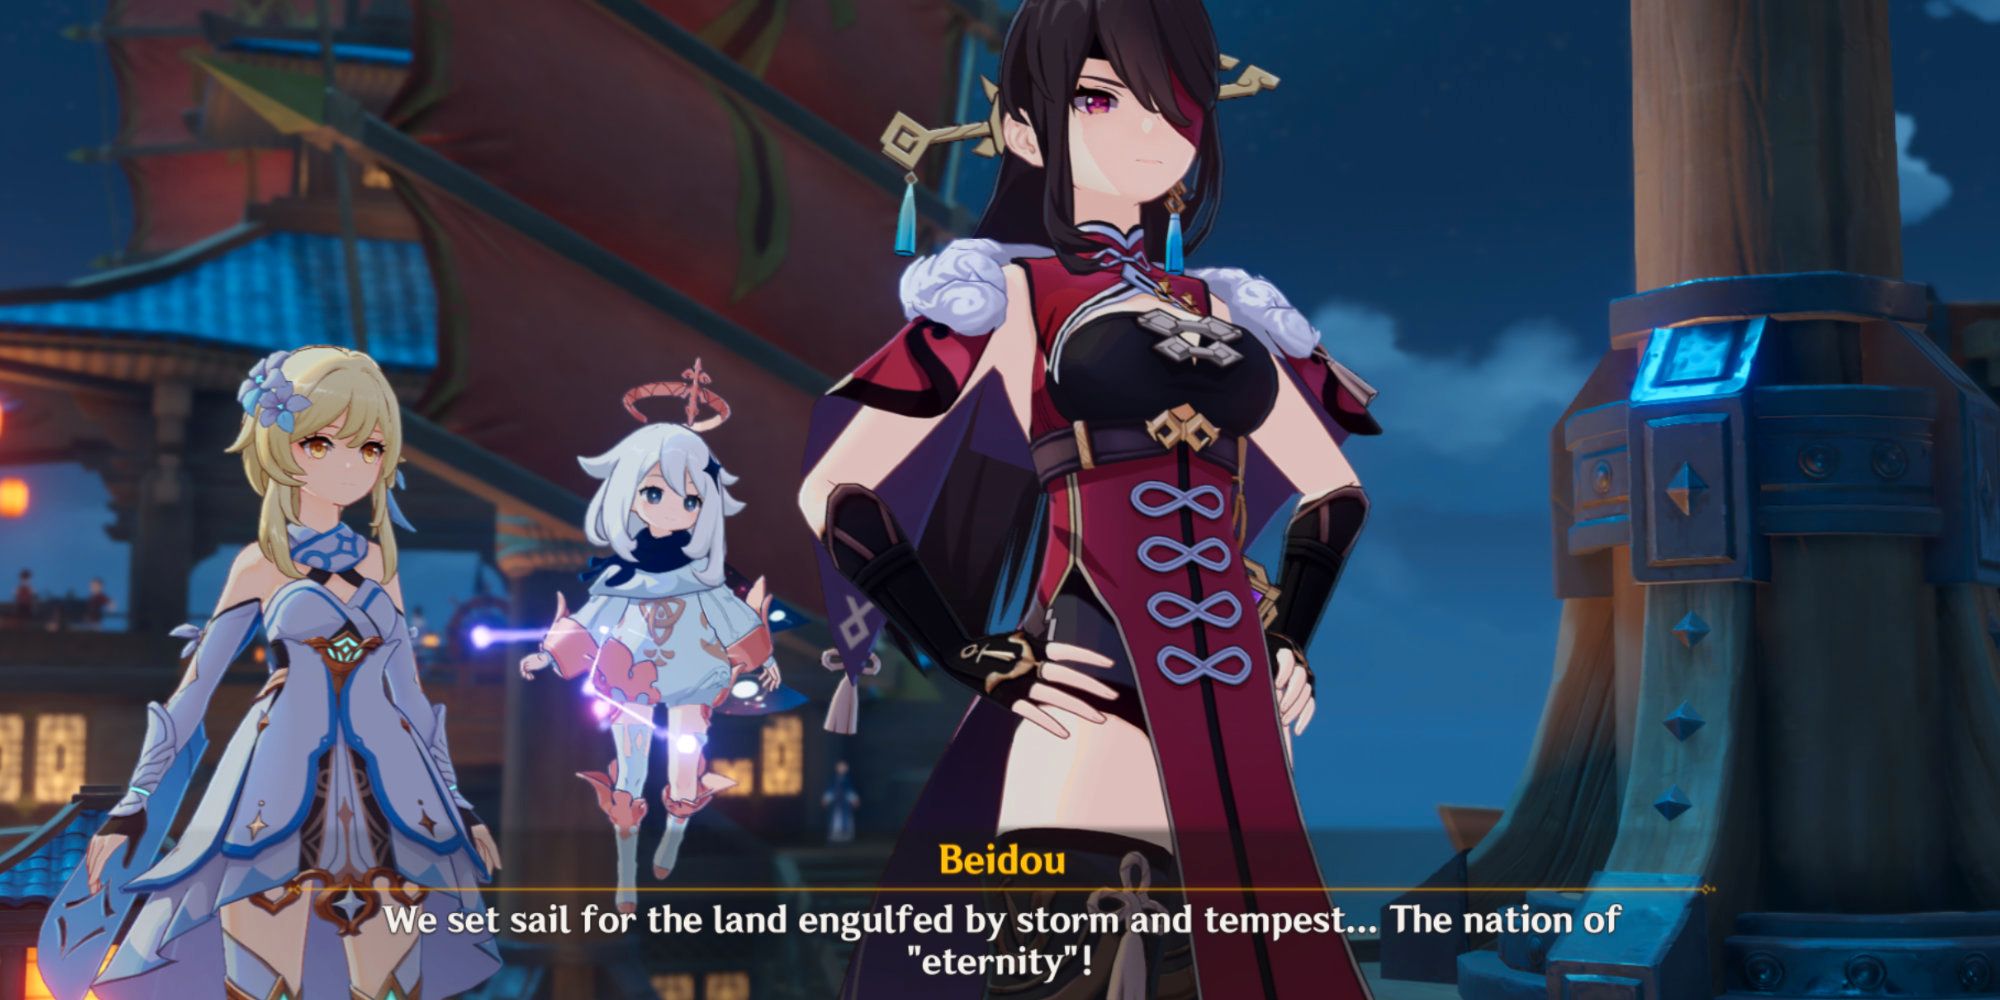
Once you have met the requirements set out above the Archon Quest Act I – The Immovable God and the Eternal Euthymiawill automatically be accepted. This will ask you to go over to Liyue and see Katheryne. While you are there someone will come and escort you to Beidou's ship.
As promised, she will offer you safe passage to Inazuma. However, once you get through the storm the difficulties have just begun and before you can roam freely around Inazuma you'll need to do a few tasks for your new friend Thoma.
Related: Inazuma Could Be Genshin Impact's Best Region If It Understands Traversal
How Do I Get To Inazuma City?
You'll need to progress further through the quest chain in order to unlock access to the city itself and free passage across the islands.
You'll need to allow a couple of hours to get through this quest chain, longer if you take time to explore along the way.
Here's a rundown of what you'll need to do:
Setting Sail
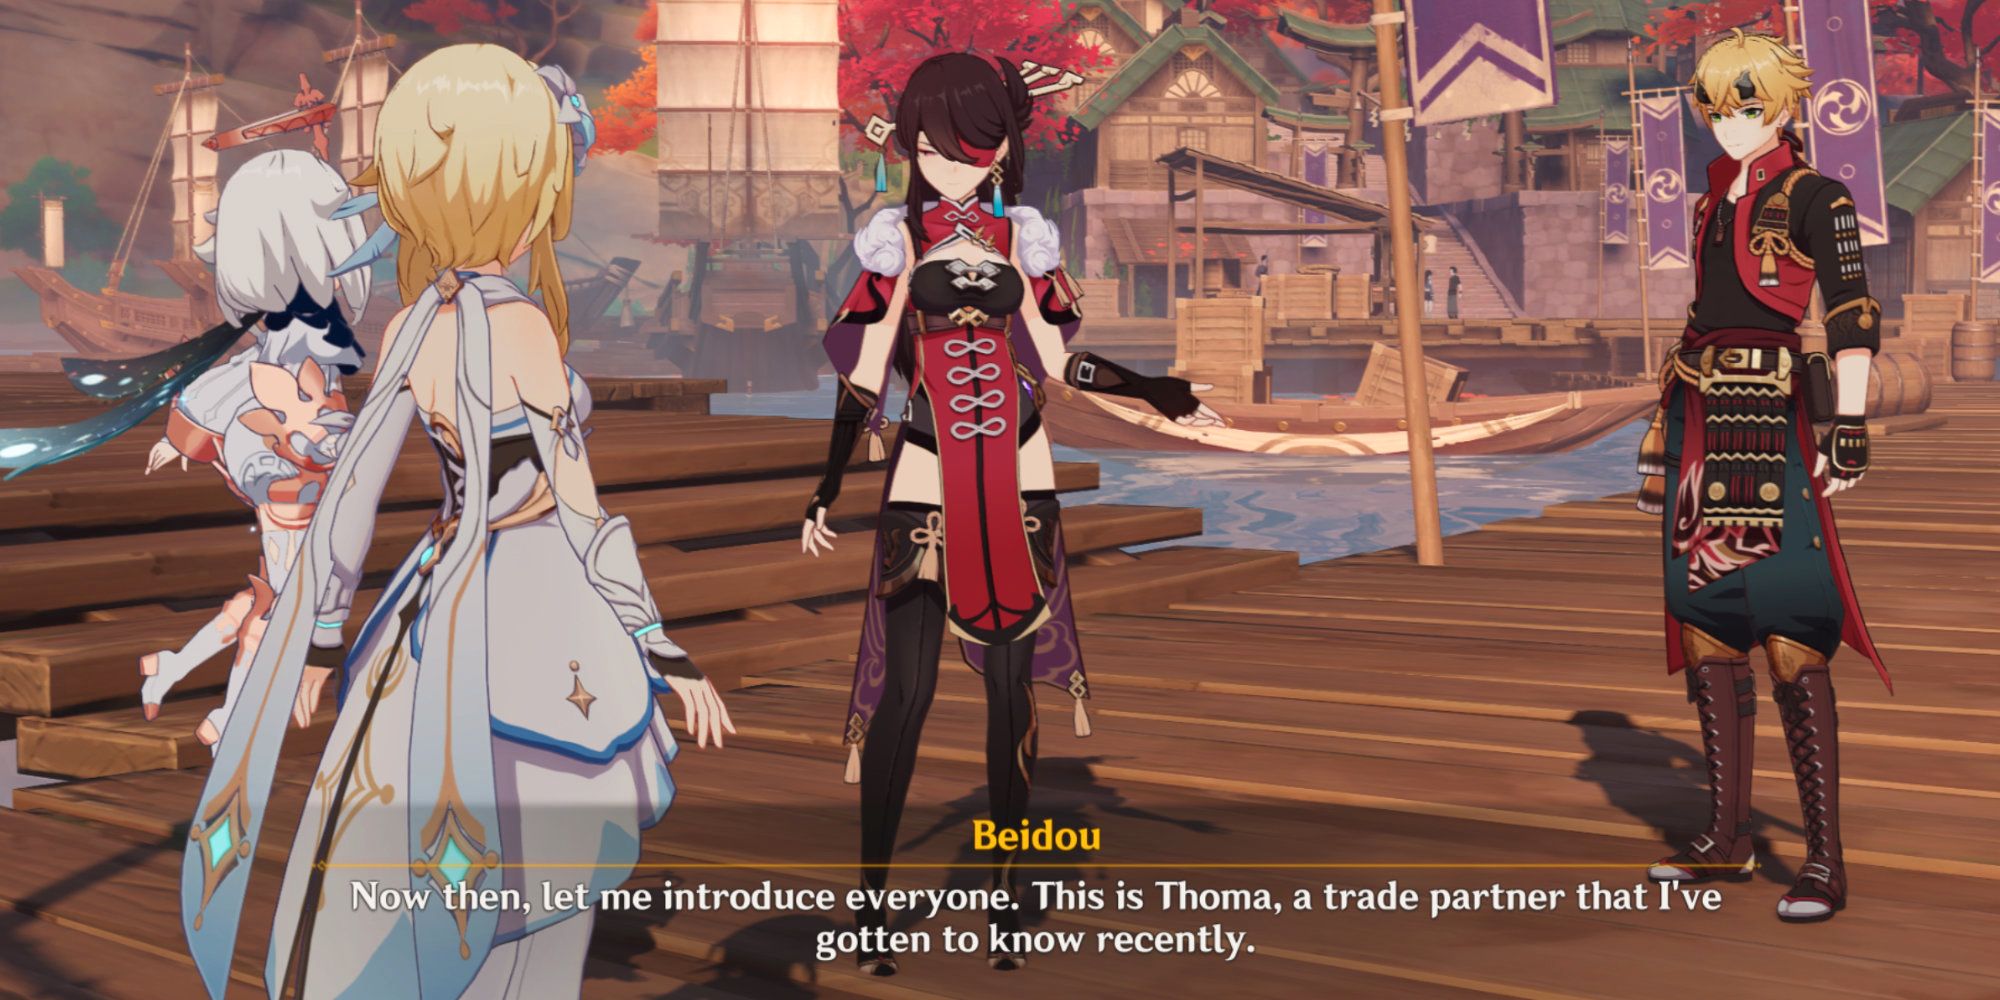
This is a continuation of the original quest and introduces you to Thoma, Beidou's business partner. He will help you follow Inazuma's procedure for outsider's which involves entry papers and processing. This part is far simpler than it sounds.
Confessions Of An Outsider

The next part of the quest chain sees you solve an issue for Thoma's merchant friend. Mostly this is just a case of following breadcrumb quests around the area, talking to different people. However, it does involve a stealth section.
When you get to this part you'll notice that your target has an eye icon above his head. If you get too close to him a red circle will begin to appear above this. If you see this move back slightly and it will fade. Make sure not to move too far away or he will vanish out of sight.
After the stealth quest, you'll be sent to visit the Komore Teahouse. Along the way, there are a couple of waypoints you can unlock. Keep an eye on your map to get an idea of their location – they appear as faded icons – then keep an eye out for the red light. As with previous waypoints you just need to click them and they'll be unlocked.
Ritou Escape Plan

At this point, you realize that you need to get off the small island you are on. With Thoma nowhere near to ask for advice, Traveler forms their own plan. It involves a few more breadcrumb quests and an escort quest.
The escort quest works in the same way as daily escort quests do. You'll need to accompany a balloon across the water to the neighboring island, fighting bandits along the way. This is the first time you'll encounter the Nobushi, samurai-type enemies who are similar to treasure hoarders but a little tougher.
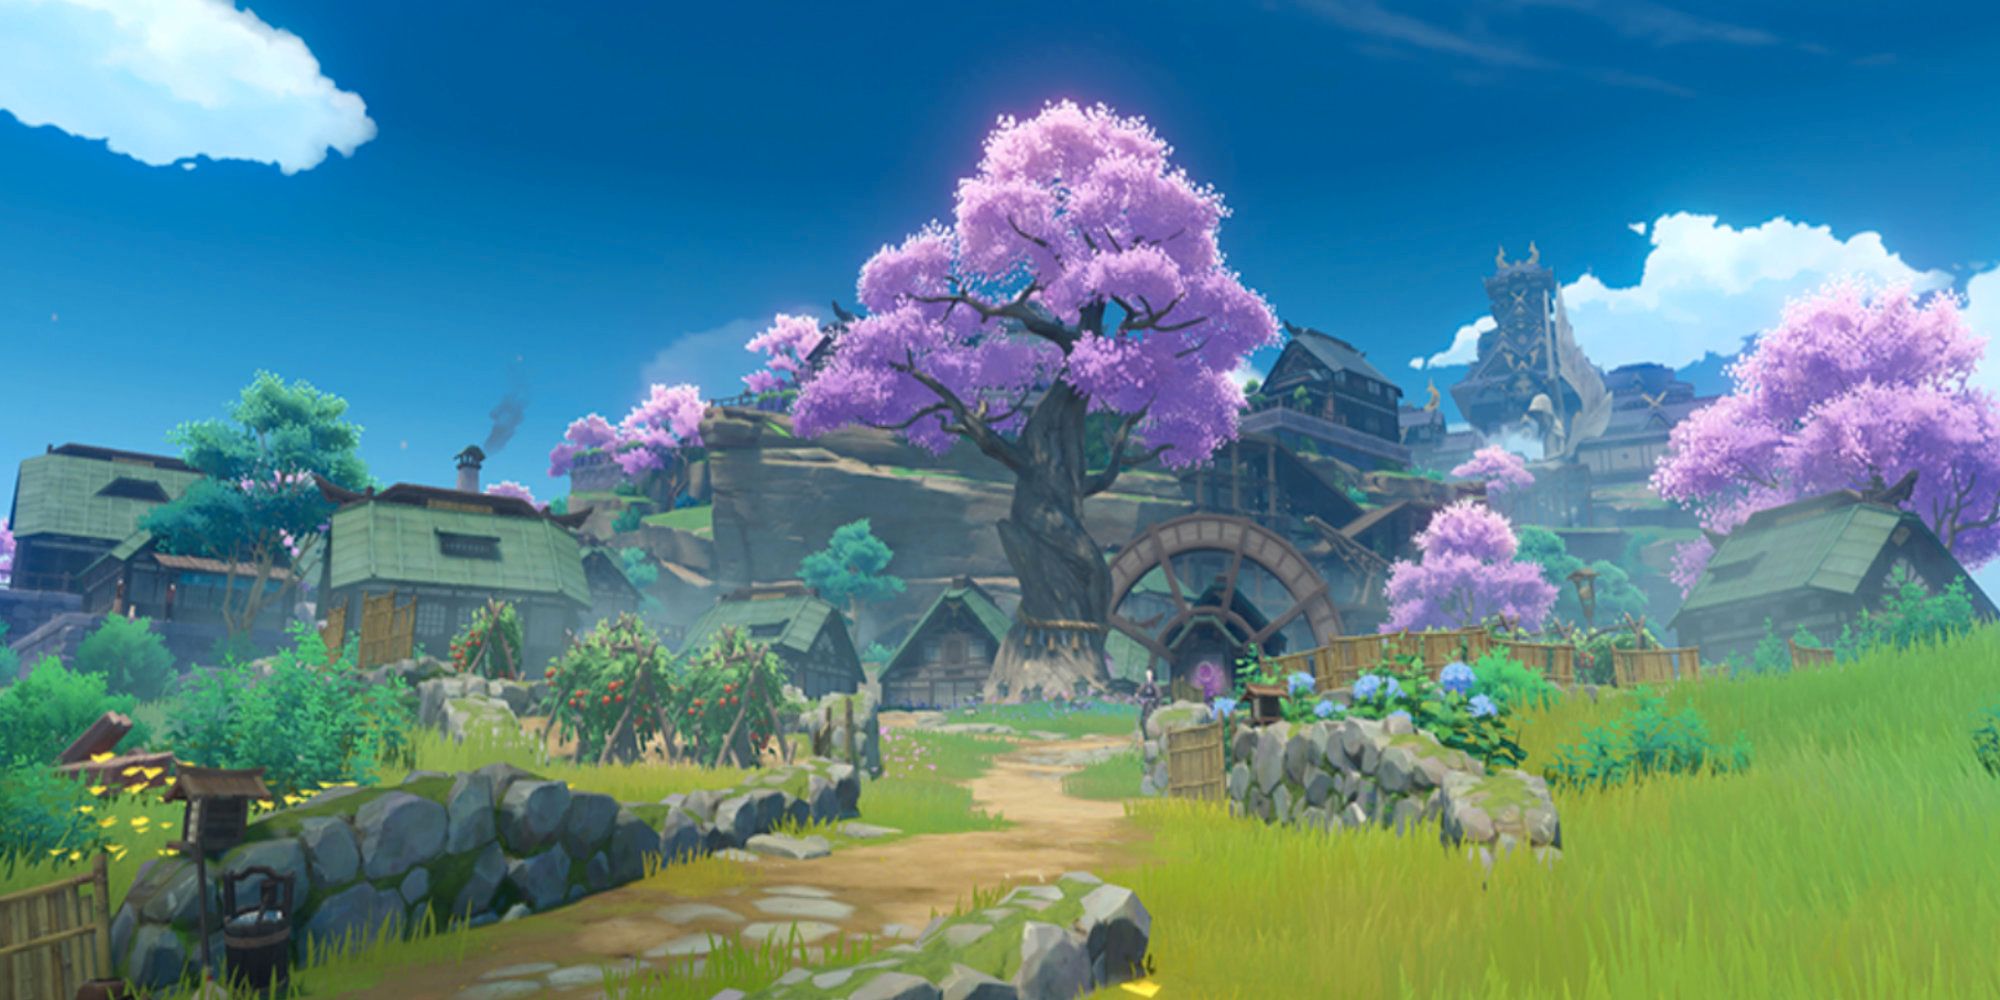
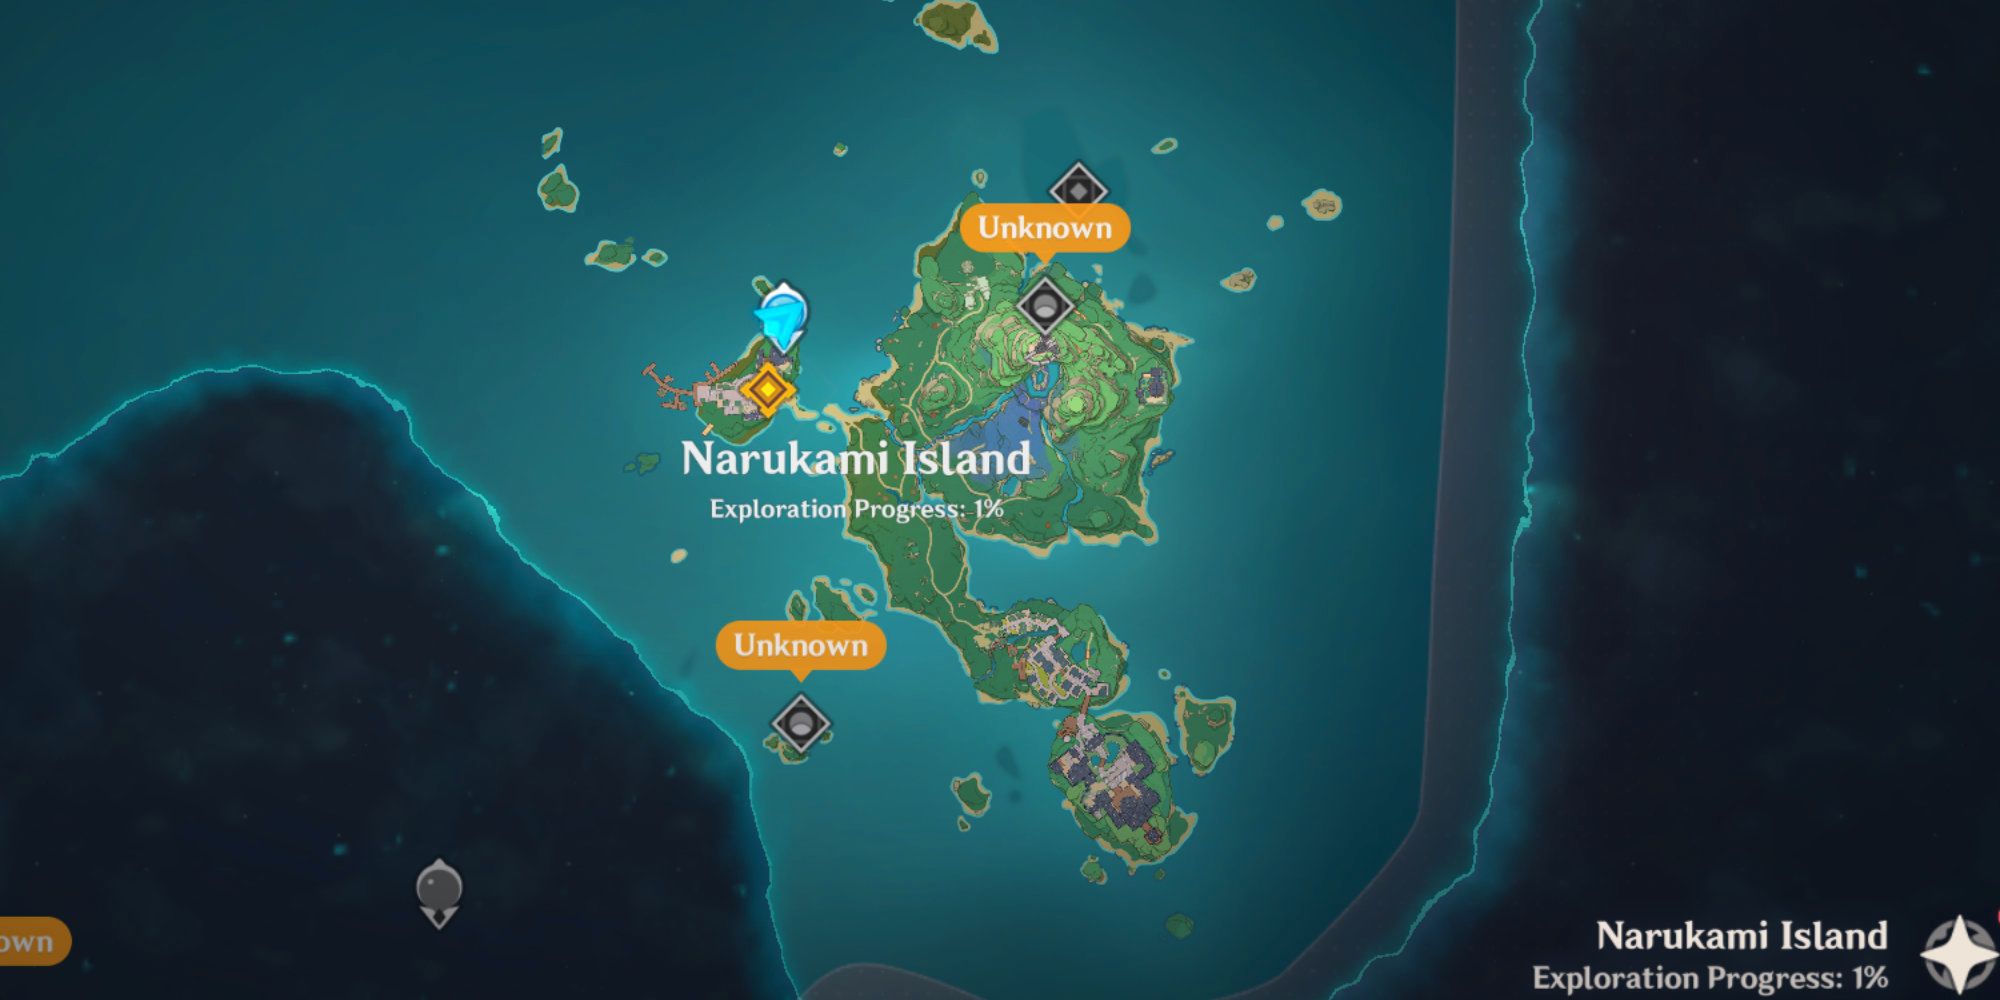
Once they are dispatched you'll be on the main island of Narukami and can explore more freely. There are waypoints to unlock and side quests will start to appear. You can also wander down to Inazuma City.
If you want to take a breather from the main quest chain this is a good time to do it. The side quests are mostly fetch quests and will send you around the island.
Related: Genshin Impact: Every Playable Character's Age, Height, And Birthday
Three Wishes
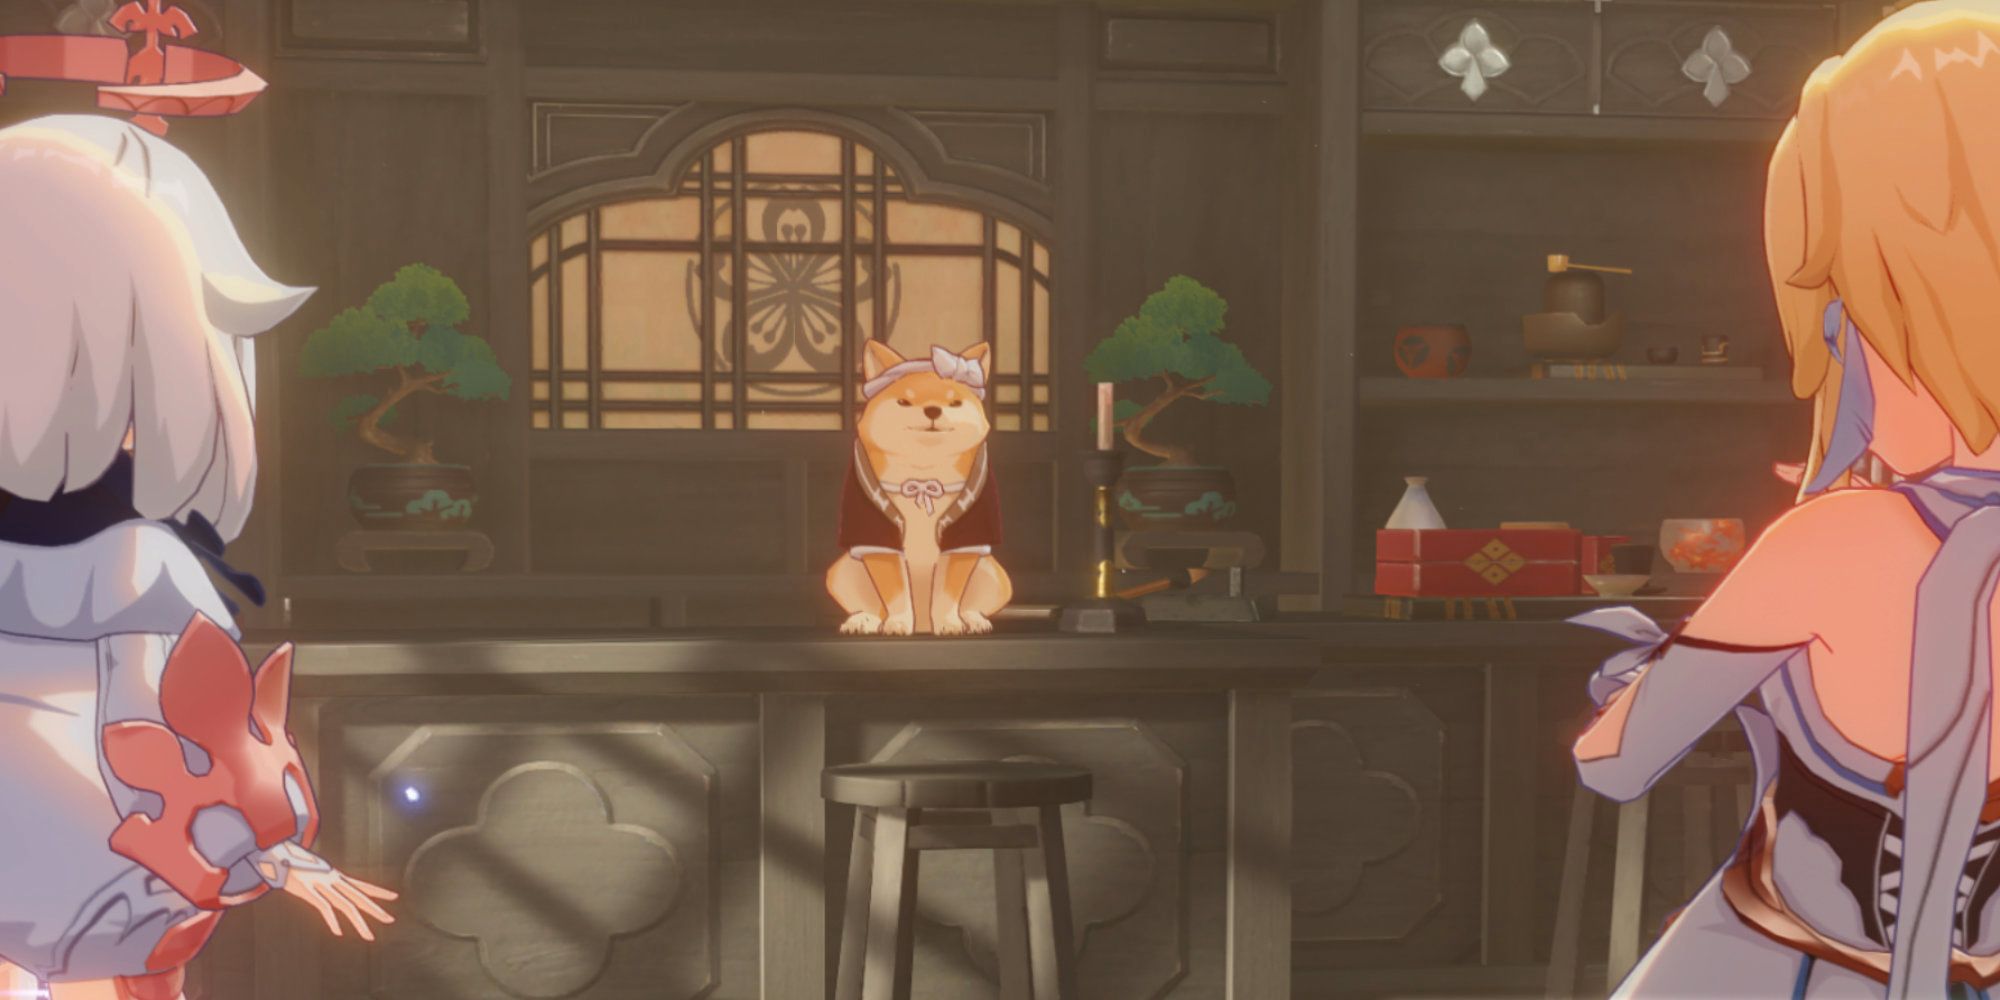
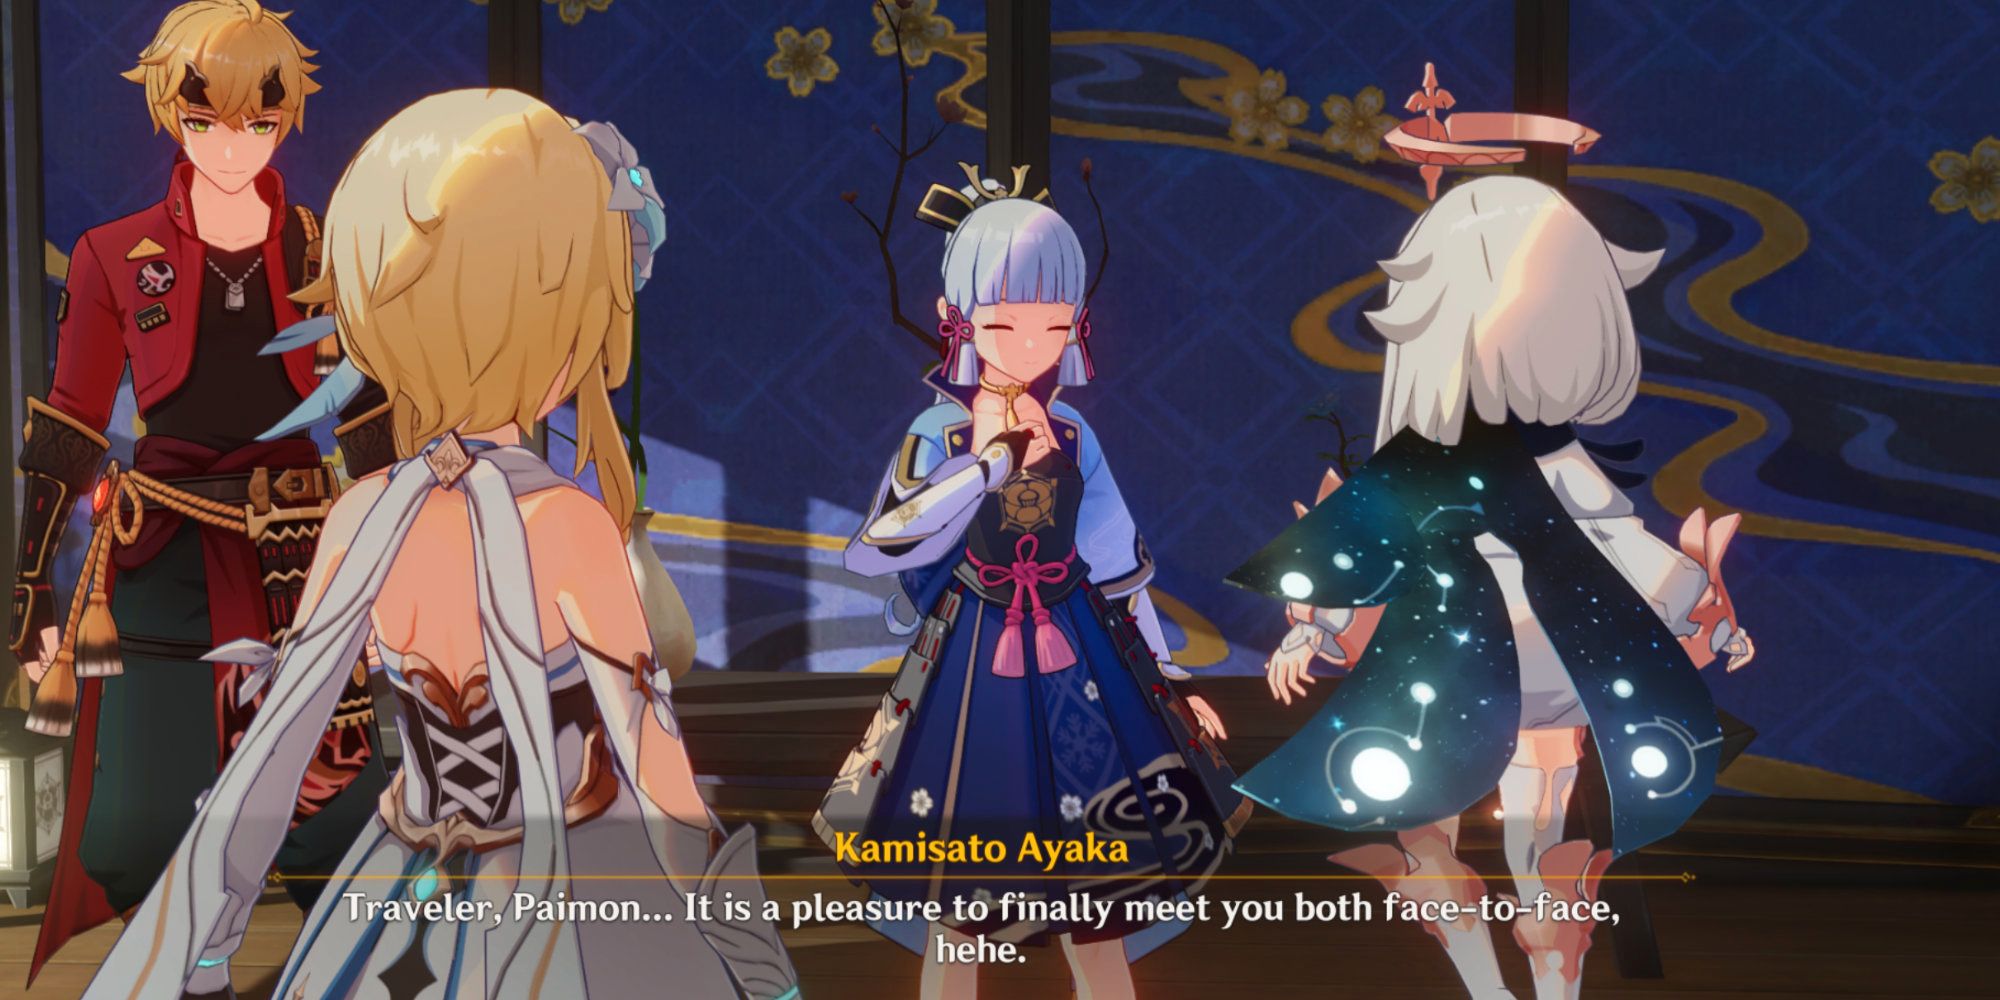
Now you are finally at the teahouse, you'll be reunited with Thoma. After learning some more about Inazuma's history and the Vision Hunt Decree you'll take a trip to the Kasimoto residence.
It's here that after a conversation with Ayaka you'll be asked to visit three people who have had their visions removed during the Vision Hunt.
The Meaning Of Meaningless Waiting
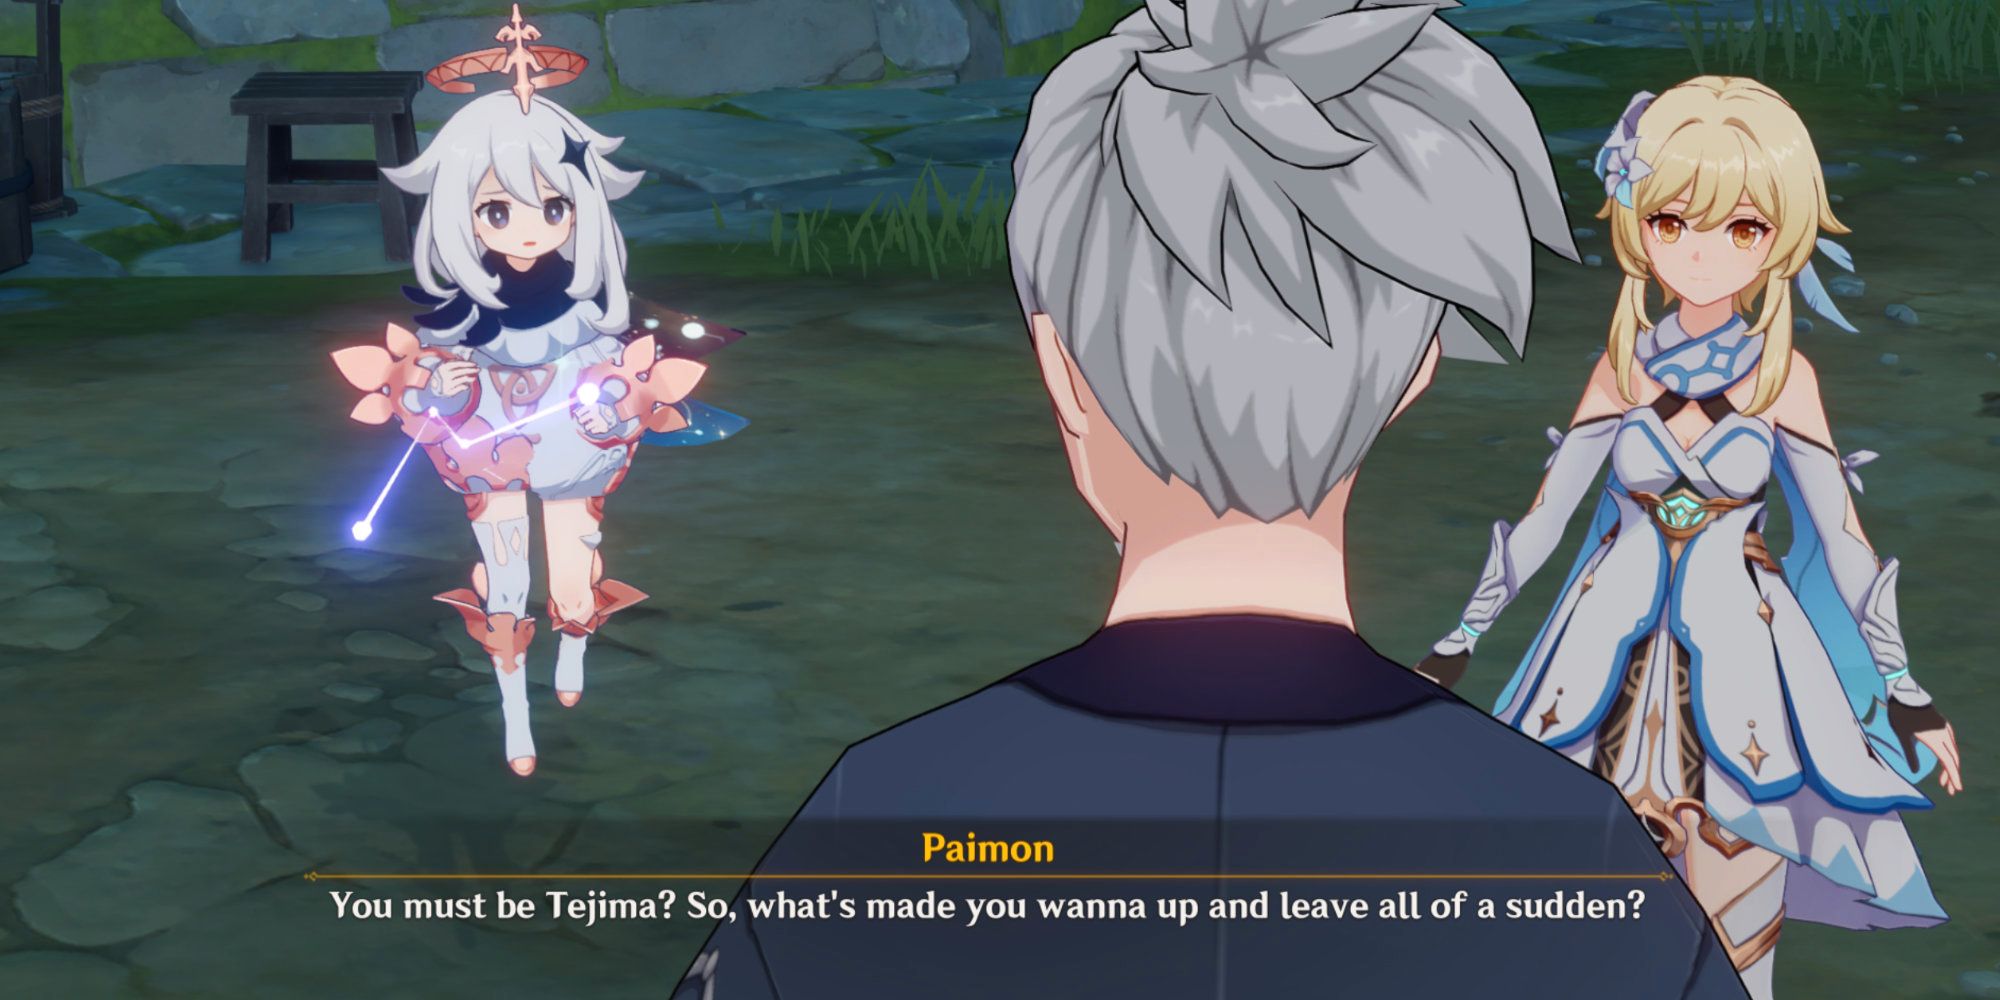
The first person you'll visit is Tejima at Konda Village. He'll talk to you about losing his vision and you'll need to do a couple of fetch quests to help piece his story together.
Once you've figured out what's going on you can answer some questions for him before you need to move on to the next person.
To Treat The Well-Meaning Well
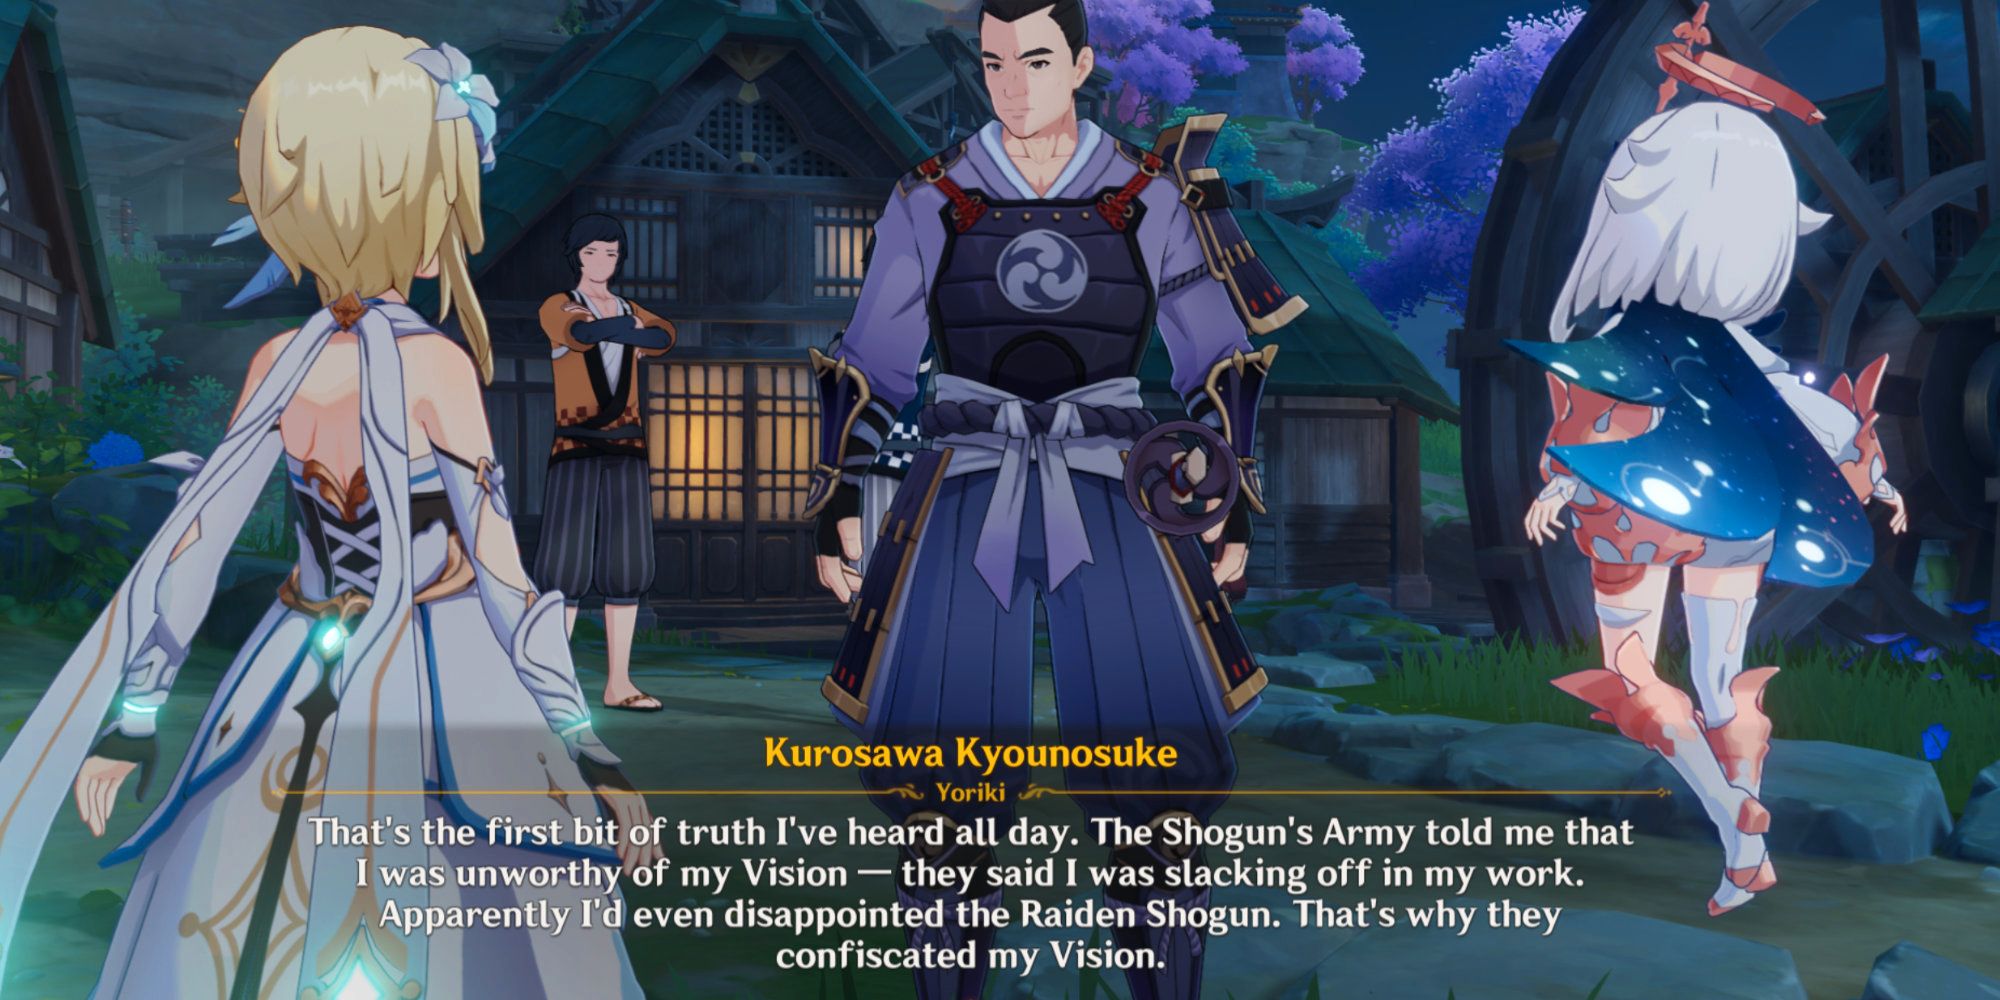
The next person is a samurai, one of the government's own. Everyone appears to be mad with him and Traveler needs to work out why. This involves speaking to a few people and making a trip back to Inazuma City. This section of the quest chain also involves combat, although it's very minimal since you'll just need to deal with a handful of treasure hoarders.
Once you've unraveled the story behind Kurosawa then it's time to head over to the final person on the list, a skilled swordmaster.
A Swordmaster's Path Is Paved With Broken Blades
Domon's is the most complex story of them all. Once again the loss of a vision has resulted in a narrative you'll need to unravel. This is mostly done by asking questions and following clues.
Towards the end of the quest, you'll be sent to find Yae Miko. She will give you some answers, help Domon, and then you'll watch a resolution form. After the story is complete you'll need to go back to see Ayaka again, your task completed.
Related: Genshin Impact's Preservation Of Art Is Refreshing In An Increasingly Tech-Obsessed Industry
A Flower Blooms In Prison
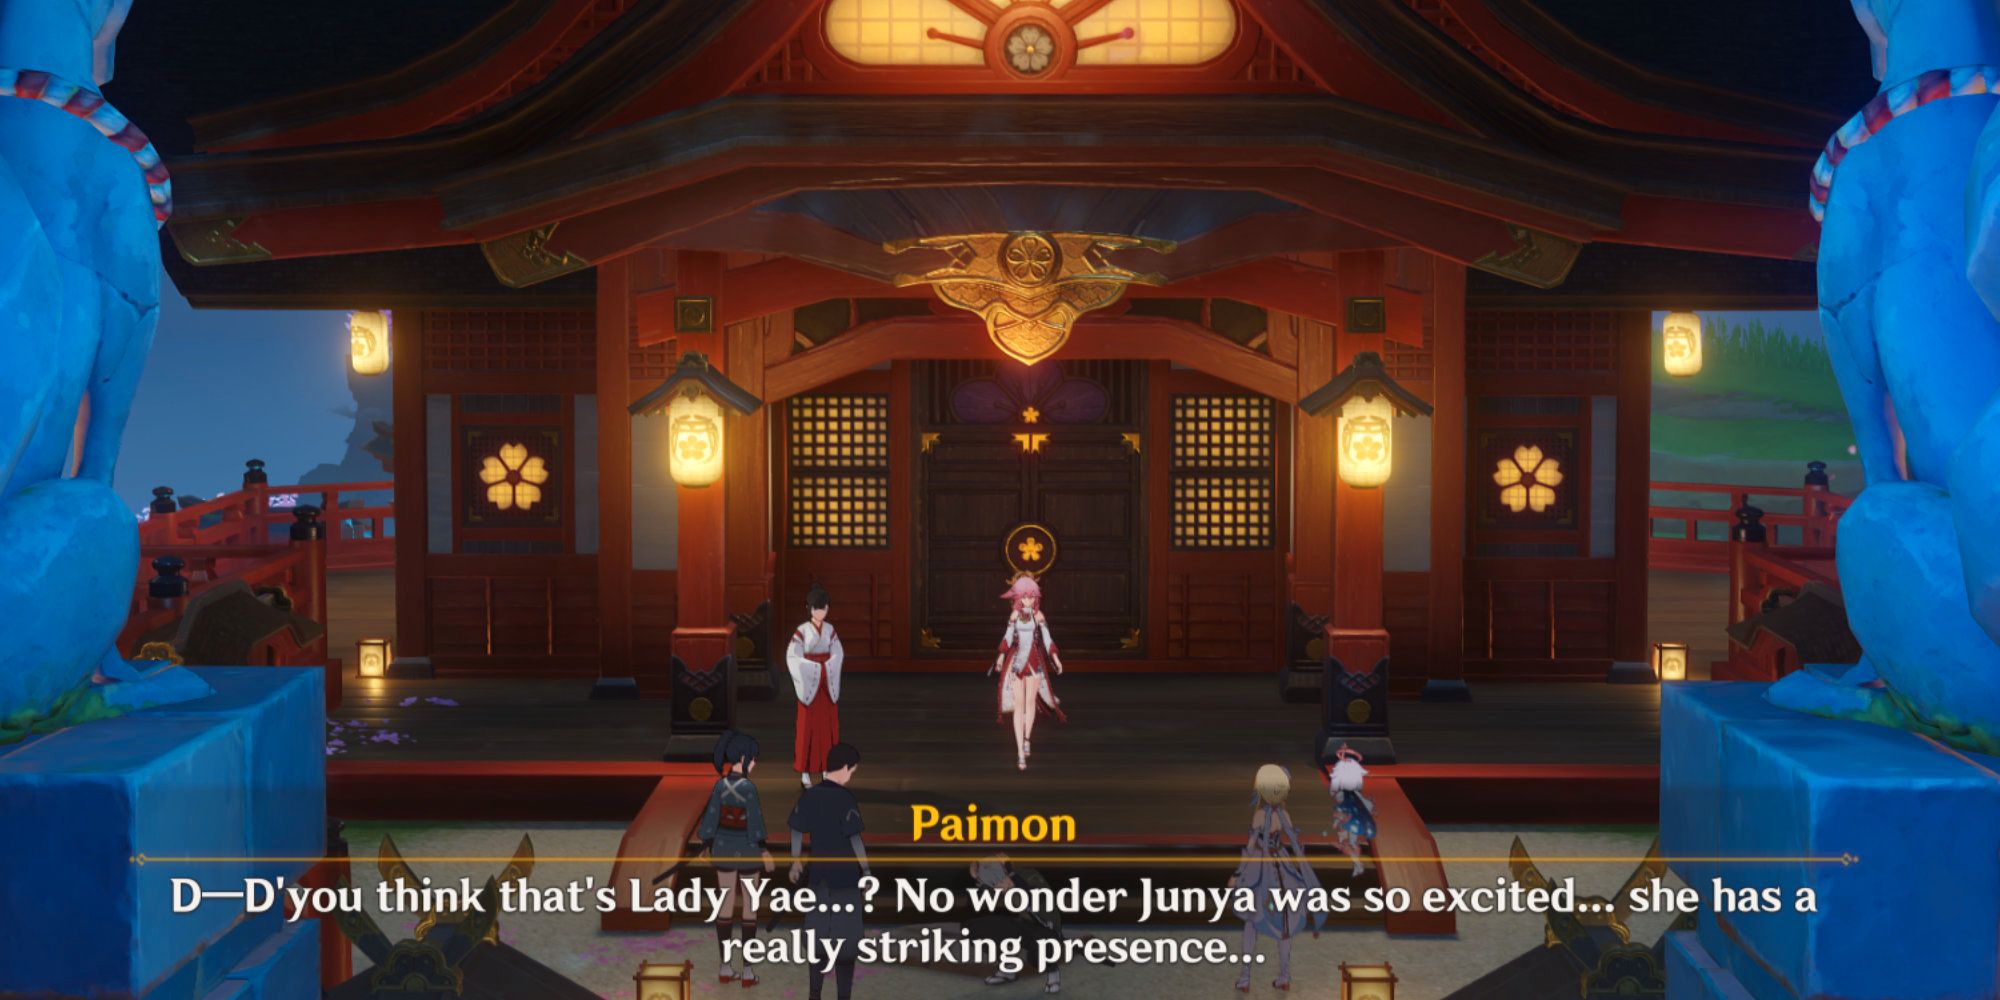
After speaking to Ayaka you'll join her cause and head out to seek help for the final stage of this quest chain. After witnessing the Vision Hunt in progress you'll meet up with Yoimiya who will join you as you venture into the final domain.
Police Detention Center Domain
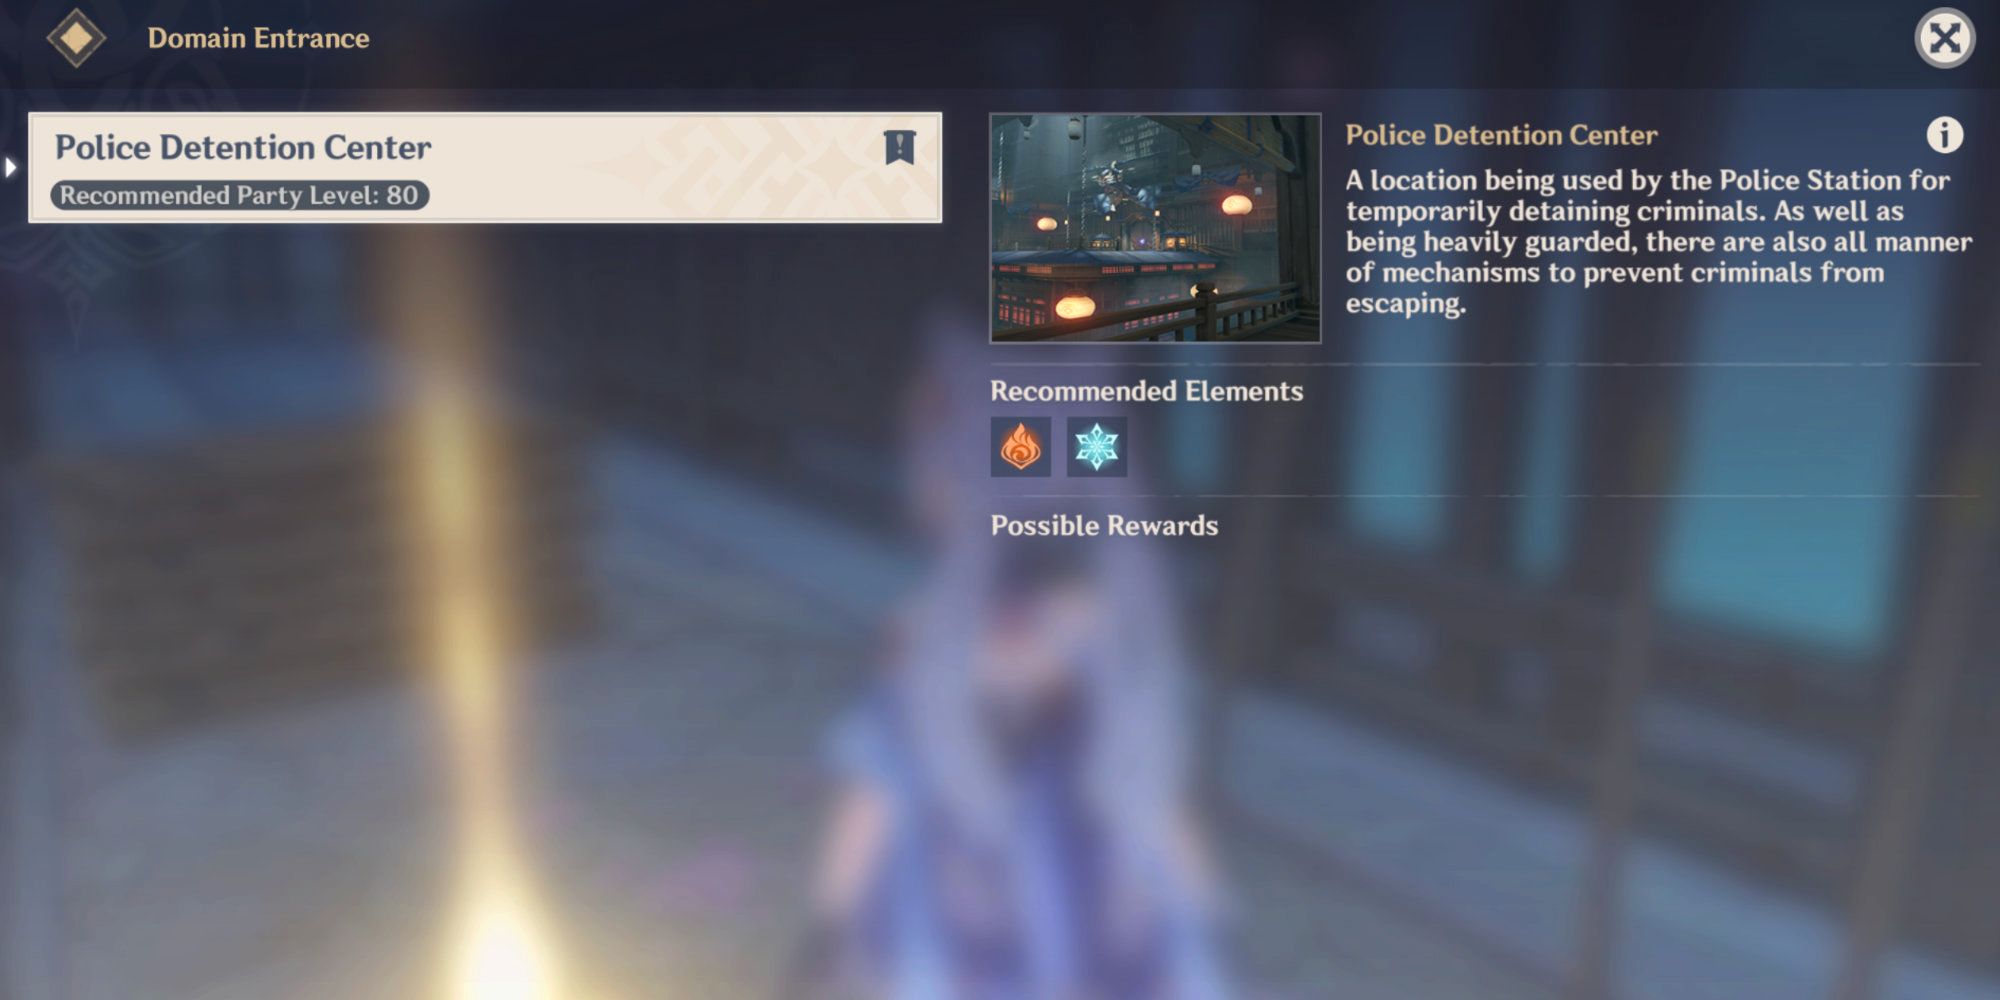
- Recommended Party Level: 80 (Based on World Level 6)
- Recommended Elements: Pyro, Cryo
The Police Detention Center is fairly simple but does have a few unexpected surprises. Here are some tips to help you navigate Inazuma's first domain.
Enemies

The main enemies are the Nobushi, who are the most commonly found enemies in Inazuma. There are three different types to look out for.
-
Nobushi: Hitsukeban
- These swordsmen will use their weapons as well as saltpetre powder attacks.
-
Nobushi: Jintouban
- These melee damage dealers are adept at swordsmanship.
-
Nobushi: Kikouban
- These samurai use crossbows to attack at range.
You'll also encounter some Kairagi. These are more elite enemies and hit much harder than the Nobushi. There are two types.
-
Kairagi: Fiery Might
- Uses Pyro attacks
-
Kairagi: Dancing Thunder
- Uses Lightning attacks
Try to watch the patterns of their weapon swings and aoe in order to avoid the deadliest blows.
Traps, Statues, And Electrified Flooring

There are actually some traps in the domain as well, which can be missed if you don't know they are there. The image above shows an electro trap. You'll see these in a couple of the corridors and they can be easy to miss.
Sparks of electro energy will intermittently come out of the hole in the center and they can hit quite hard, especially if they stack up, or your character is vulnerable to electro damage.
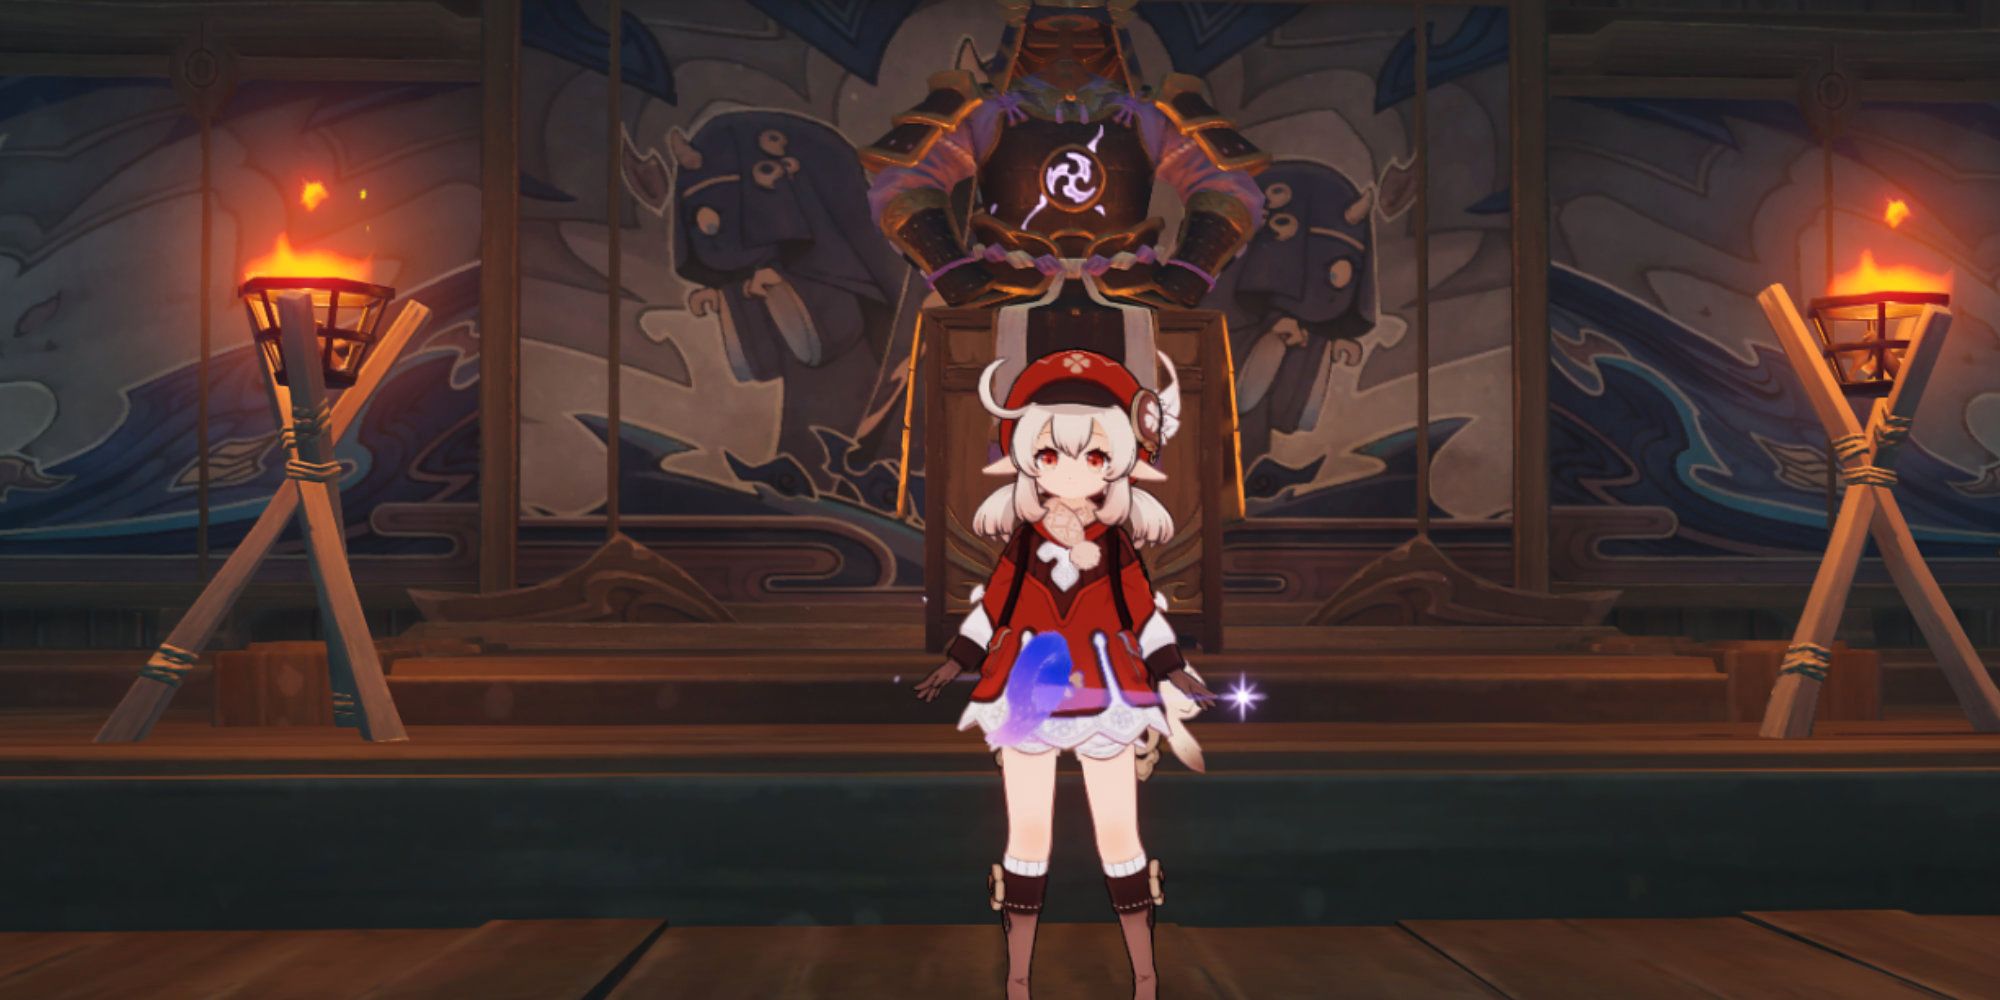
Electro damage is a theme in this domain and on a couple of occasions, you'll encounter a group of enemies glowing purple. The first time you see them Paimon will prompt you to locate the state you can see in the image above.
Simply approach the statue and interact with it. This will turn it off and the power boost nearby enemies are receiving will dissipate.

The final trap to watch out for is the electrified floor. It has three states which rotate. They are:
-
Purple
- This is electrified and will deal a large amount of electro damage while you stand on it.
-
Glowing Red
- This is the state change. The platform is currently safe but will change state very soon.
-
Brown
- Just regular flooring. This state is the shortest-lived so you'll usually have to jump when the floor is red.
The key here is to jump from one to another quickly as they change state. There's also a gap mid-way where you can stop before passing the final boards before the ladder.
Tips For Completing The Domain
The domain is quite simple and mostly serves as a walkthrough of the new mechanics and enemies you can expect in Inazuma. Here are a few other things you need to know:
- As you navigate the corridors you'll see three well-type shrines with amulets in. Make sure to collect these as you'll need them to open the door at the end.
- Climbing ladders and checking gaps will also yield some common chests as you venture around.
- Yoimiya will separate from you early on and you'll reunite towards the end of the domain challenge.
Once you've completed this domain expect an extended cutscene before the quest completes. This is the end of the Act 1 quest chain. Ayaka will tell you that you are free to explore Inazuma, although this will be immediately followed by a second quest chain in which she offers to take you on a tour.
Next: Genshin Impact: How The Epitomized Path And Pity Systems Work