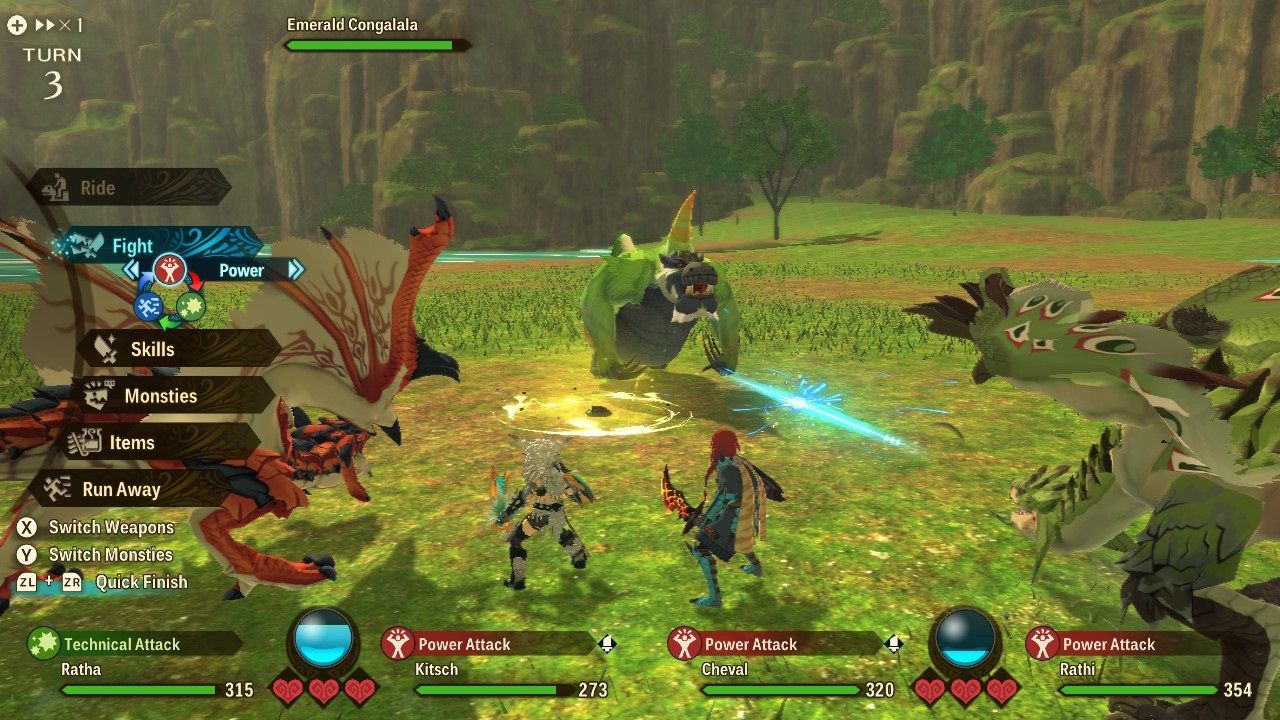
In Mr. Prepper, you're immediately prompted to build more bunker space. After making the first room for your workbench to fit in, you'll be asked to make another to start growing a small garden. That won't be enough, as you'll soon find out. As the world comes to an end you'll need an entire house underground to make it out alive. The more suspicious tools that you have, the more you'll need to experiment and stash things away in your bunker.
RELATED: These Aesthetically Pleasing Management Games Ensure Time Well Spent
Expanding your bunker starts off easy, but what gets complicated is figuring out how to upgrade rooms and build a base that supports itself. You will have to be able to create, grow, and supply most things from your bunker. Taking too much water from your normal sink will arouse suspicion with the Inspector, which is why you should eventually start building something to get water a different way. Below are some tips for expanding your base and getting things started.
Building New Bunker Rooms

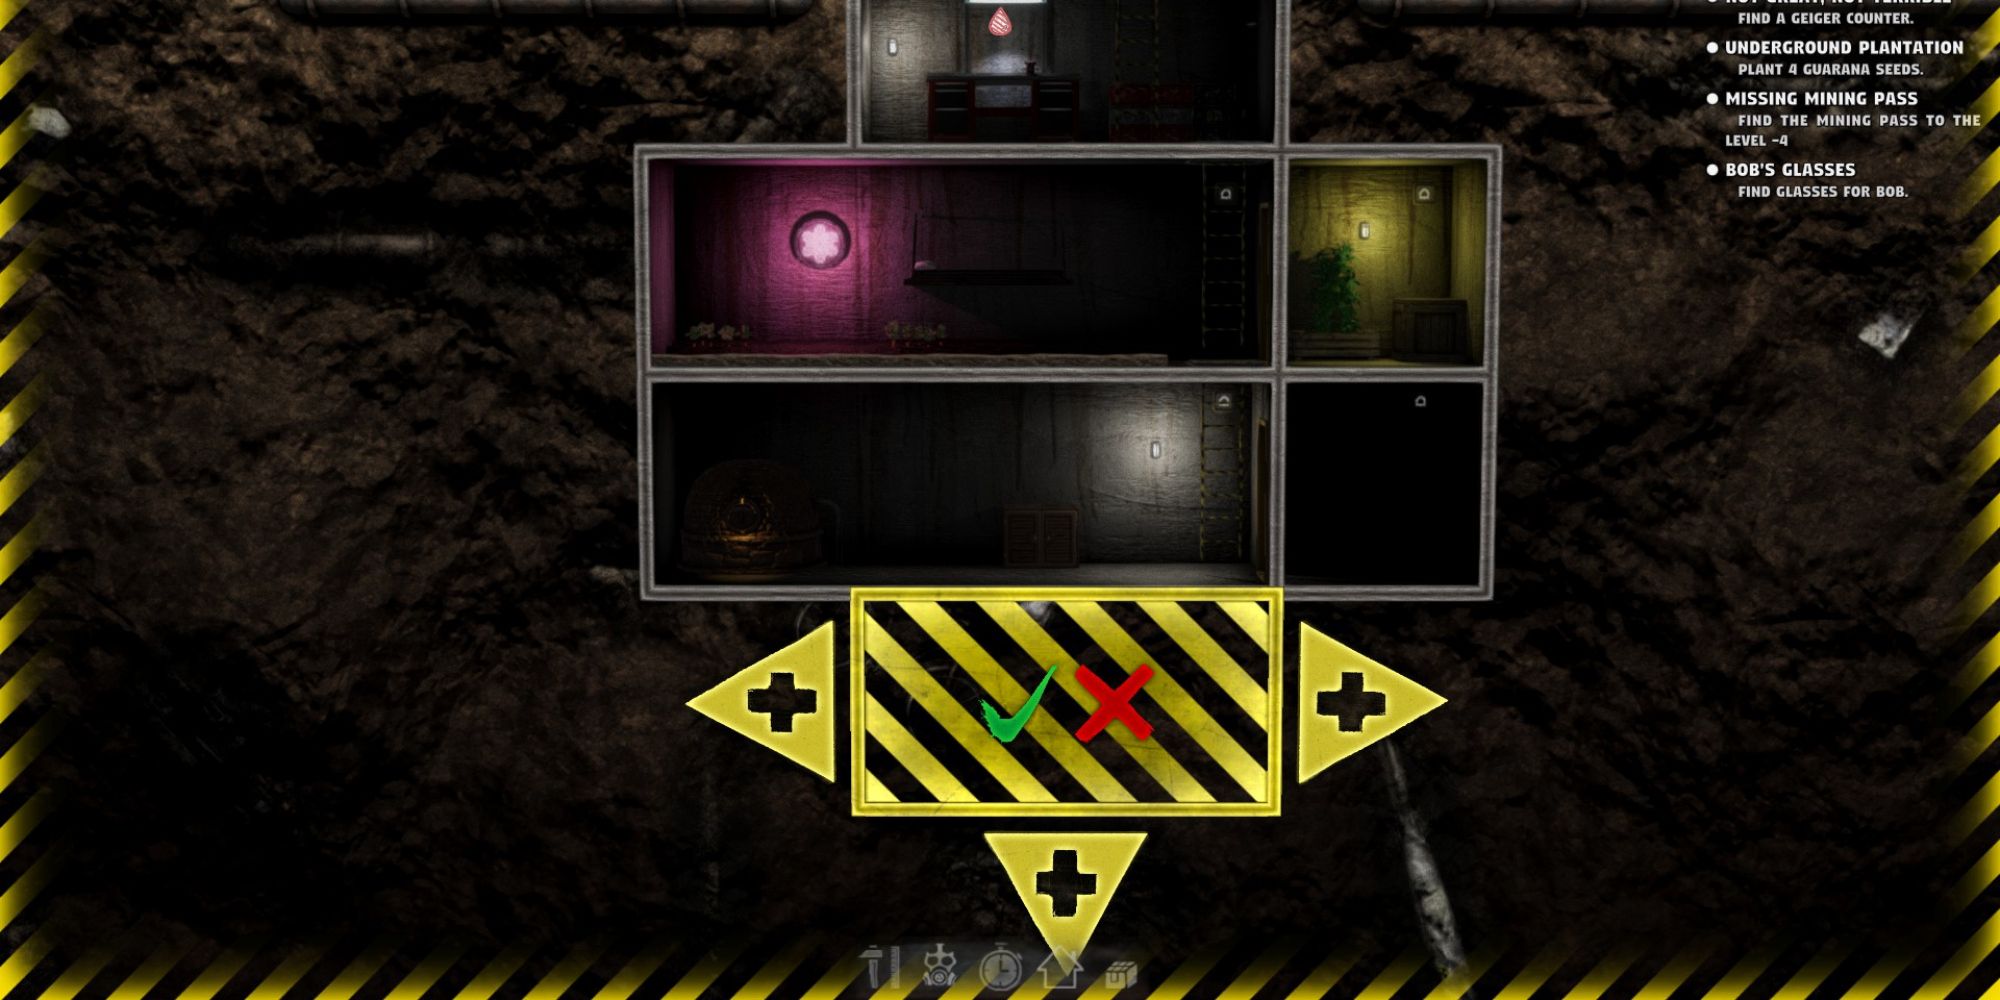
This is the easiest step.Building more rooms in Mr. Prepper costs nothing. All you have to do is press the icon of a house at the bottom of your screen. This enables the construction screen, where you can click a space where you want a new room. Once you do this, you can click the arrows to decide how wide and tall you want the room. Then all you have to do is press the green checkmark.
Building a room takes away some stamina and time, so there's no point starting it late at night or when your stamina is already low because you'll have to stop before you pass out. Time will automatically fast forward as you work to build the new room. As this happens, you'll receive a bunch of ground dirt, which can be crafted into soil patches for plants at your workbench. Once construction is finished you cannot access the room until you craft a ladder using your workbench and place it.
When you first start the game you'll probably have around three rooms already made before realizing there isn't enough power to keep any more rooms lit up. Though it's free to build more rooms, they are useless without power and light. Building a steam generator as soon as you can is important for expanding your bunker in Mr. Prepper.
To build a steam generator you need a level two workbench. You have to upgrade the workbench two times before the level two option is available since there's a level zero. Your next workbench upgrade will be the first listed item when opening the crafting menu. Here it will show you that you need 15 metal, 15 wood, and five stone to upgrade to a level two. A level two workbench allows you to craft a steam generator and a furnace. These are the first important machines you can craft that will allow you to run a supportive bunker.
Upgrading Bunker Rooms

Figuring out how to upgrade rooms in Mr. Prepper can get a little complicated. Each room you build will have a small house icon in the top right corner of the room. When you interact with it, it will prompt you to insert an item to upgrade the room. You cannot upgrade rooms until you progress through the main game.You get rewarded with specific room upgrades as you complete each phase of the main questline to escape.
Preparing The Rocketship
Your first Escape Plan objective is to get 50 stone, 20 metal, and ten glass for a rocketship. This will only create the room your rocketship will be in. There's still a lot more work to be done to actually build a rocket and escape. After completing this first phase, you'll be rewarded with greenhouse room upgrades.
You don't get to choose which room you upgrade, you just get rewarded with specific ones as you progress through the story. This is the order you get room upgrades in:
- Greenhouse upgrades
- Factory and Pumphouse upgrades
- Freezer and Powerhouse upgrades
If you're unsure of what type of room to build next to sustain yourself, you can just wait to complete phases of the Escape Plan and get specific room upgrades that will prompt you to work on one at a time.
Essential Items You Need When Expanding Your Bunker

Every room in your bunker needs to provide multiple things like power, food, water, rest, and more. Mr. Prepper needs to be able to live underground. Growing your own food and supplying yourself makes it easier to sustain your health states instead of scouring the forest every day for berries and spending all your coins trading. Multiple machines and tools will become available to you that will allow you to run operations more smoothly. It's important to build these machines and items before time runs out.
A Garden
A garden or greenhouse allows you to mass-produce organic food so that you don't have to keep buying overpriced goods when trading and so that you don't have to waste daylight scavenging for raw materials. If your stamina or health is low, all you would have to do is climb into your bunker and find a lush garden full of ripe vegetables.
At the beginning of the game, you're asked to create a small garden with soil patches. These are crafted from ground dirt you collect when building new bunker rooms. Soil patches are tedious and take up a lot of space, so you'll want to move out of that at some point. Later on, you'll be able to build greenhouses. These are like planters that provide their own light instead of you having to also place a bunch of wall lights down. These are crafted with a level three workbench.
You can craft a dryer, fridge, and freezer as well which aids in your production of underground fruits and vegetables. A dryer will dry any raw foods that can be dried and turn them into more edible food for recipes or consumption. A dryer comes with a level two workbench.
More Power
The power that goes to your house won't be able to handle the amount of electricity needed to power up the tons of machines in your bunker. As mentioned at the beginning of the article, you'll need to craft a steam generator with a level two workbench as soon as possible so that you can keep expanding the bunker. The steam generator needs to consume wood to work and costs 12 metal to make. With a level four workbench, you'll be able to craft a regular generator. This will cost you ten metal, six plastic, and four electronics to make.
Storage
You will have a lot of suspicious items on hand. A pickaxe, bat, recipe books… These will all make the Inspector arrest you or give you a bad score. When the Inspector comes, not only do you have to cover and flip questionable things in your house but you shouldput away anything weird in your inventory. The Inspector can see if something bad is in your cabinets, so it's best to have a storage box in your bunker meant for temporarily placing your equipment in when the Inspector comes over.
You won't just need extra storage to temporarily hide things, though. As you start producing a lot of materials for yourself, you'll get a heavy inventory and need some organizing. With the crafting of crates, refrigerators, and workshop shelves, you'll be able to do just that. All storage containers can be crafted with a level zero to two workbench.
Other Items You Should Have
Upgrading your workbench is important. It allows you to craft useful machines that will be needed down the line. Though storage and food are important, there are some other basic machines you'll be able to craft with a level three to four workbench that are mandatory once you have a bigger base set up. Once your base is bigger, you will need stronger machines to do a better job at keeping power and providing light for the operations you have.
- Irrigator
- Water tank
- Refinery
- Farming wall lamp
- Refueler
Next: The Best Base-Building Games, Ranked