Quick Links
- Quake
- Scourge of Armagon
- Dissolution of Eternity
- Dimension of the Past – Accessible on E5M6
- Dimension of the Machine – Accessible on MGE1M1
With Quake getting a turn in the spotlight for the first time in over 20 years, new players are discovering all of the hidden secrets that id Software so deviously placed across its levels. Much like classic titles Wolfenstein 3D and Doom, Quake continues in the grand id tradition of not only having open-ended level design, but by giving players a chance to find useful power-ups hidden behind halls and for hitting buttons in specific sequences.
Related: Quake: How To Access Nightmare Difficulty
Along with those hidden items comes hidden levels — the ultimate test of any Quake player's abilities. While these would normally just be a way to test your mettle before the final boss, the excellent re-release of Quake includes achievements and trophies tied to finding each of the secret levels contained within Quake and its expansions. Talk about demanding!
If you're here, you likely don't know how to access these hidden levels. Fear not, as we've scoured the depths of Quake for many years and are here to explain to you how to find the secret exits that will lead you to these bonus trials. Some are a bit more complicated than others, but we'll do our best to guide you in the right direction.
Quake

Episode One – Accessible on E1M4
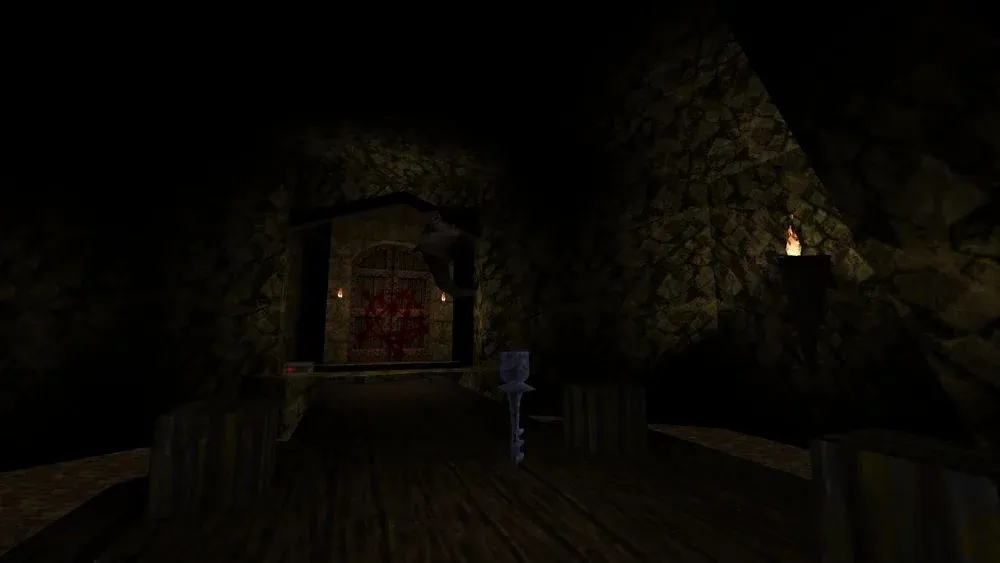
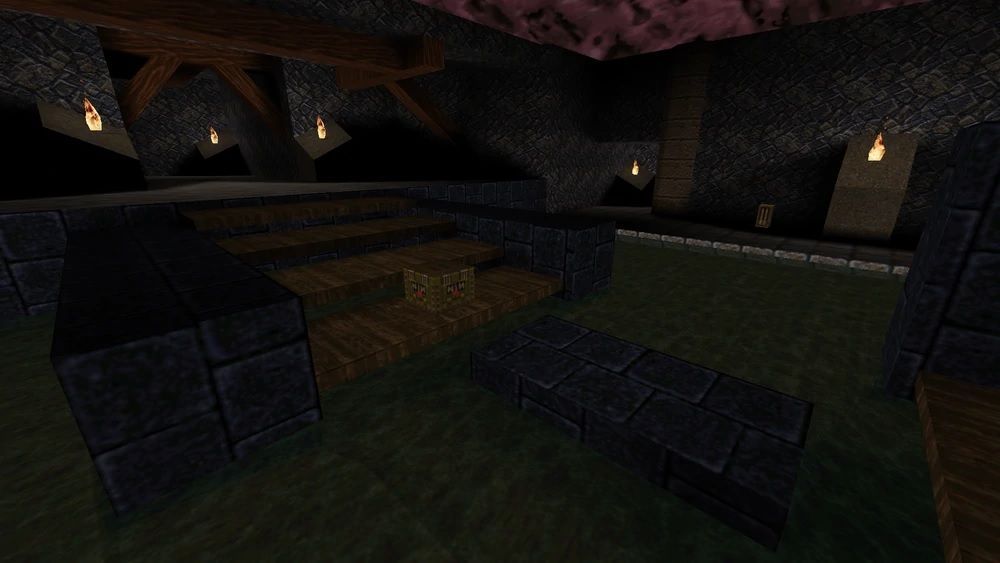
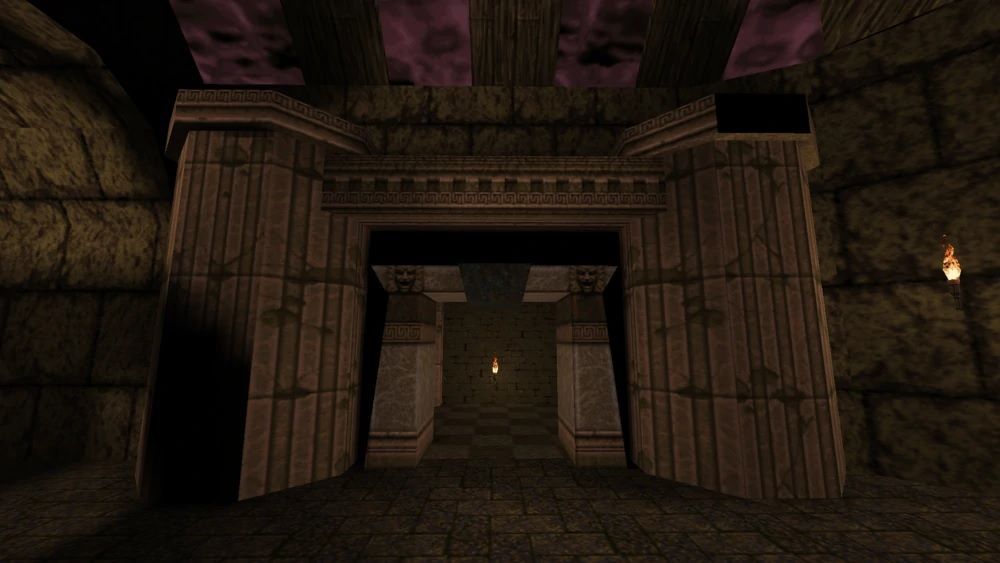
The first secret exit in Quake is contained within episode one's fourth level, "The Grisly Grotto." It is relatively straightforward to access compared to other secrets. Play through the level as normal until you reach an enclosed room with nail traps on the floor. When you enter, walls will drop on either side where Ogres are waiting to shoot grenades down at you.
You have a couple of options here.
- The safest would be to kill the Ogres, then ride the elevator up and press all of the buttons on the floor. They form a T pattern and are guarded by zombies and more nail traps, but everything is easily avoidable. From there, two holes will open on both sides of the room that will drop you down to where the Ogres were previously. Once down there, hit switches on either side to open a cave underwater in the central lake that will lead you to the secret exit.
- If you don't really care about taking some damage, you can also rocket jump up to where those Ogres are and skip going up the elevator. The same steps will still apply (you'll need to hit the switches), but you'll just need to backtrack a bit to enter the central lake and cave.
Episode Two – Accessible on E2M3
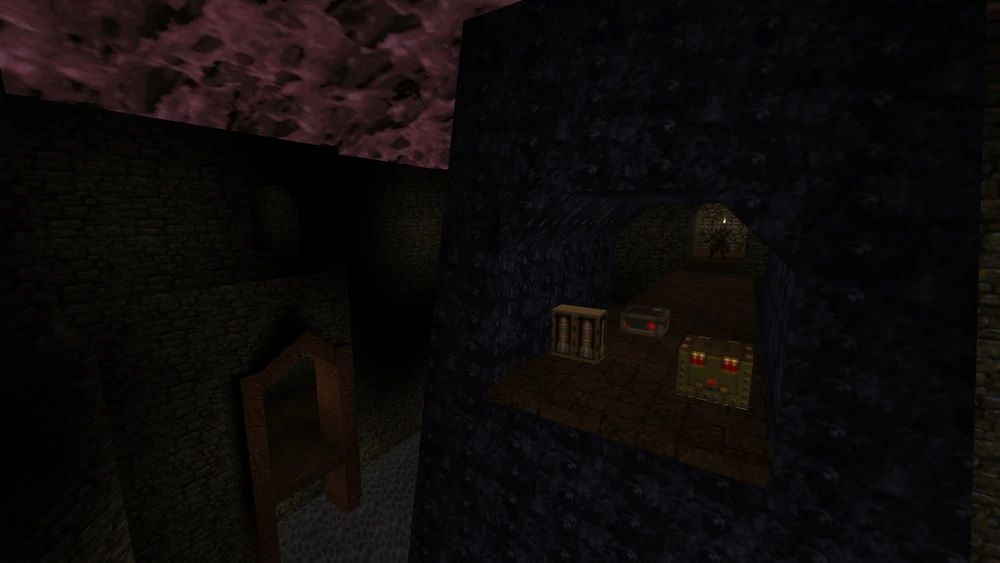
The secret exit in episode two is found within the third level, "The Crypt of Decay." This is actually very close to the hidden Dopefish room that is required for another achievement/trophy, which makes accessing the secret exit easier.
Proceed through the level as normal until you're near the top of the map. You'll be running through a hallway with some nail traps on the wall that exits out to a bridge overlooking water with multiple paths. Proceed forward to find the regular exit on your right and a seemingly dead-end room on the left.
In that dead-end room (which spawns a Shambler on higher difficulties), shoot a switch on the ceiling and notice that the wall in between some boxes opens up. Jump through there, collect the armor and press a switch. You'll see a message on the screen that states an underwater passage is now open. Return to the bridge area from before and proceed to kill all of the enemies to make the next section easier.
Once the coast is clear, look back at the door toward the nail trap hallway and you'll see some ledges on either side. Jump to the right and follow a very narrow ledge around to a hole in the wall. Jump into the hole, navigate around, and fall down into the water below. You'll now be in the "Well of Wishes" with the Dopefish and this will exit out into another secret which contains the secret exit.
Episode Three – Accessible on E3M4
Finding the secret exit in episode three is actually rather easy. You are liable to stumble upon it by accident due to how obvious it is. Contained within the fourth level, "Satan's Dark Delight," the hidden exit is rather close to the regular exit for this level. You won't need to do anything fancy, just make sure to pay attention to your surroundings when you reach the end.
You'll eventually come to a stairway downward that leads you to a lightning gun. A Shambler will spawn once you reach start proceeding down it. After dealing with him, if you look behind you and down to the lava below, you'll see a square hole in the middle of the molten lake. Carefully descend into that hole and you'll be thrust through a wind tunnel that takes you to the secret exit. Easy peasy.
Related: The Best Games For LAN Parties
Episode Four – Accessible on E4M5
The secret exit in episode four is probably the hardest to reach. The steps required are simple, but the execution you need is where the problems will start. Basically, play the level as normal until you collect the Silver Key (which, oddly, comes after the Gold Key). From there, head to the hallway with the regular exit and you'll be tasked with jumping across on very small posts across a pit of lava. Falling in will kill you, so you can quicksave beforehand.
Once across the gap, instead of entering the main exit, turn to the left. Use the Silver Key to unlock the door and the secret exit is just a few more steps away. The real pain has only just begun for this episode, though.
Scourge of Armagon
Episode One – Accessible on HIP1M2
This is likely the hardest secret level to access in Quake. Found within Scourge of Armagon's second level, "Storage Facility," you're going to need to access the proximity launcher and keep enough multi-rockets on hand by the end to access this. The door to the secret exit is contained within the room with the force field bridge, which also houses the Silver Key. You'll be mostly finishing the level before you attempt this, but keep that in mind.
Once the majority of the enemies are dead, return to the hallway that leads you to the force field bridge. Outside of the door is a shootable switch above the doorway. Shoot a proximity mine on the switch and go to where the Silver Key was. Once there, shoot another proximity mine to blow up the previous one and a bridge should extend to the secret exit. This bridge stays active for a short while, so you may need a few attempts if your mine detonates early.
Episode Two – Accessible on HIP2M1
Scourge of Armagon's second secret exit is contained within the first level of its second episode. Say that sentence ten times fast. Anyway, the location of the exit can be spotted rather early on in the level. During the beginning, a metal door will open upward to let you enter the main castle area. If you double back around, you can jump on top of this door to press a button and open a wall to your right. There is a proximity launcher in here and some bars that block the hidden exit.
Now proceed to the regular end of the level. Above the final portal is a shootable button. Shoot it and return to the previously explained secret to find the bars lowered. You can now enter the hidden exit.
Related: The Best FPS Developers According To Metacritic, Ranked
Episode Three – Accessible On HIP3M3
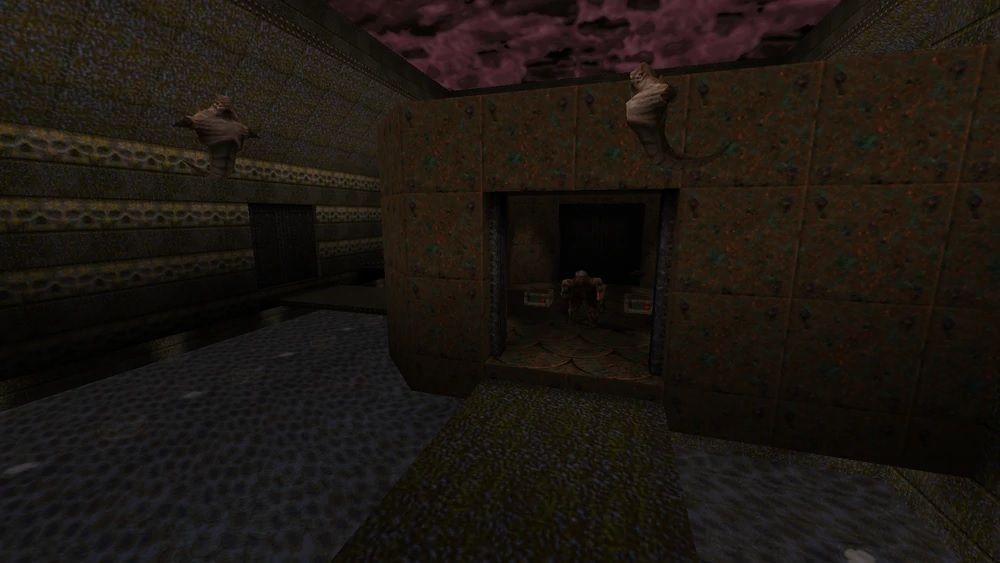
This one is a multi-room affair that is a bit hard to describe. Contained within episode three's third level, "Limbo," you'll need to shoot two switches in different rooms that will then give you access to the secret exit.
- The first switch is found in the Silver Key room right above the big sewer opening. You'll see two demon faces on either side of the walls and a red button above the waterfall. Shoot it.
- The second switch is contained in the room with the Gold Key. Above a small pool of water is a big white cross on the wall. Shoot that after having shot the previous switch and the bars in the pool of water will raise. Now swim underwater and emerge to find the hidden exit for the rather forward-thinking "The Edge of Oblivion."
Dissolution of Eternity
For some unexplained reason, Quake's second official expansion does not have any secret levels. There are certainly a ton of secret areas, but those vary in terms of how useful they are. At least for this set of 15 levels, you will not have to worry about completing small puzzles or jumping over hazardous pits to get achievements/trophies.
Dimension of the Past – Accessible on E5M6
Set across a single long episode, the secret exit in Dimension of the Past is located within the expansion's sixth level, "The Underworld." For some strange reason, it's incredibly easy to find, though also easy to miss. Players will need to ride a platform over lava to access the ending portal, but that's not what we want. Instead of jumping directly into the portal, ride the platform around until you need to jump on a bridge. From there, turn right and walk into the exit portal to access the secret level, "The House of Doom."
Dimension of the Machine – Accessible on MGE1M1
While MachineGames' second expansion contains small episodes of about two or three levels, finding the secret level doesn't require you to plow through most of the expansion. You'll be able to access this from the very first level of the first episode. Once you've selected your difficulty, head to the left and enter the portal for "The Realm of the Machinists." In the first level, "The Pain Drain," is where you'll find the secret exit.
This one requires you to play a decent chunk of the level before you can access it. Once you're past the first locked door, you'll find a central elevator that brings you up and down to different levels. Remember this area as it will be important later. For now, continue on until you're in the room with the Gold Key.
In the Gold Key room, you'll need to find two S runes on the walls and shoot them. Take the Gold Key on your way out and return to that elevator room. In here, go to the middle level and enter the very dark hallway opposite a blocked-off door. In here, you'll need to shoot another two S runes on the wall. They will light up red when you’ve successfully shot them.
If you managed to hit all four, a message stating "A door has been opened" will appear on the screen. Now, double back to the elevator room and go to that previously blocked door. In it should be a biosuit and a button on the floor. Step on the button and the game will inform you of a grate being lifted. Jump into the acid water at the bottom of the elevator room and swim through the newly opened grate to find the exit for the final hidden exit in Quake.
Next: 20 Years Later, Devil May Cry’s Dante Is Still A Lovable Loser