You don’t have to install a third-party utility to check hardware details on your PC. You can easily check necessary details using in-built processes on a Windows PC. If you wonder what Graphics card you have installed on your computer, you can quickly check in just a few steps. In this tutorial, I will show you how to identify Graphics card on Windows 10/11 PCs.
Identify Graphics Card Windows 10/11
It doesn’t matter whether you have the new Windows 11 OS or the older Windows 10 installed. The process to check your graphics card is essentially the same for both OS. So, if you are curious to learn more about the graphics card, follow the steps below:
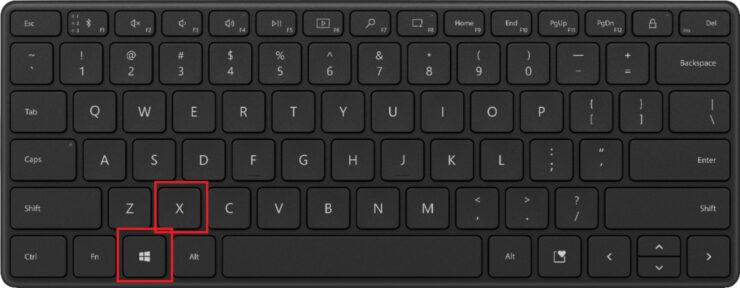
Step-1: Open the WinX menu using the shortcut keys Win + X. (You can also open the WinX menu by right-clicking on the Windows icon on the taskbar)
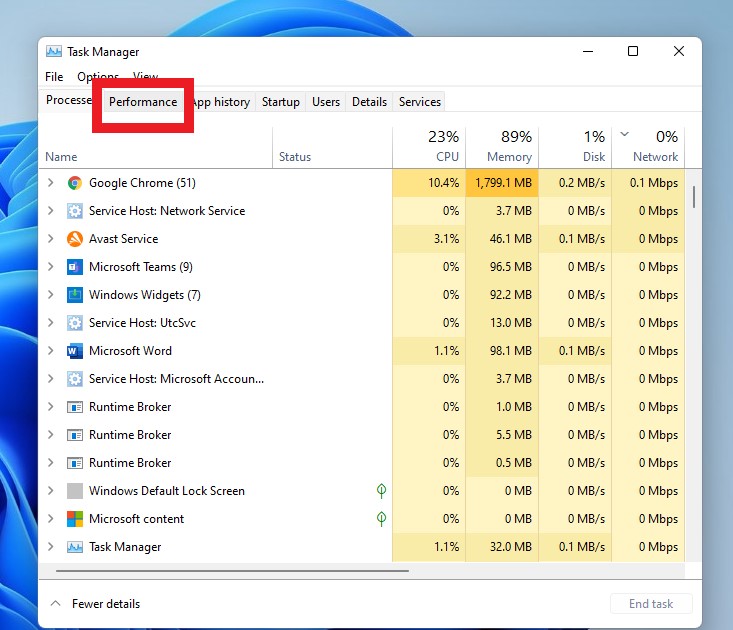
Step-2: Select Task Manager.

Step-3: Once the task manager opens, click on the Performance tab at the top of the window.
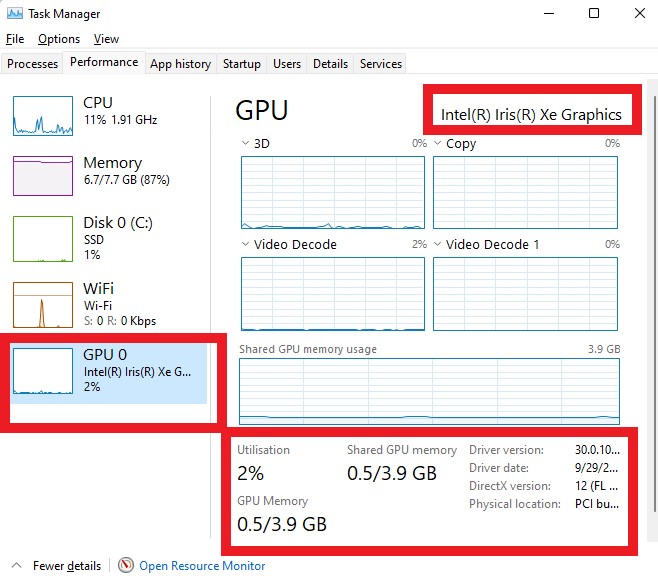
Step-4: On the left side, you will see various options. Click on GPU 0 (you may have more than one graphics card installed on your system, so you may see more than one GPU option on the left)
Step-5: Your graphics card type will be shown in the top left corner. You will also see other details like memory, driver version, etc., shown at the bottom of the window.
I hope this helps. Let us know in the comments below.
The post How to Identify Graphics Card on Windows 10/11 Pcs by Zarmeen Shahzad appeared first on Wccftech.