Quick Links
- Where Is Kraid?
- What Suit Upgrades Should You Have?
- How To Beat The First Phase
- How To Beat The Second Phase
- Bonus: How To Instakill Kraid
Were you surprised to see Kraid with a bunch of birds in Metroid Dread? Us too! You’ll need to defeat him to get the Diffusion Beam upgrade. This guide will walk you through the process, step by step! We even know how to instakill him. Read on!
RELATED: How Long Does It Take To Beat Metroid Dread?
Where Is Kraid?

Kraid is located in an area called Cataris, one of the game’s seven main zones.
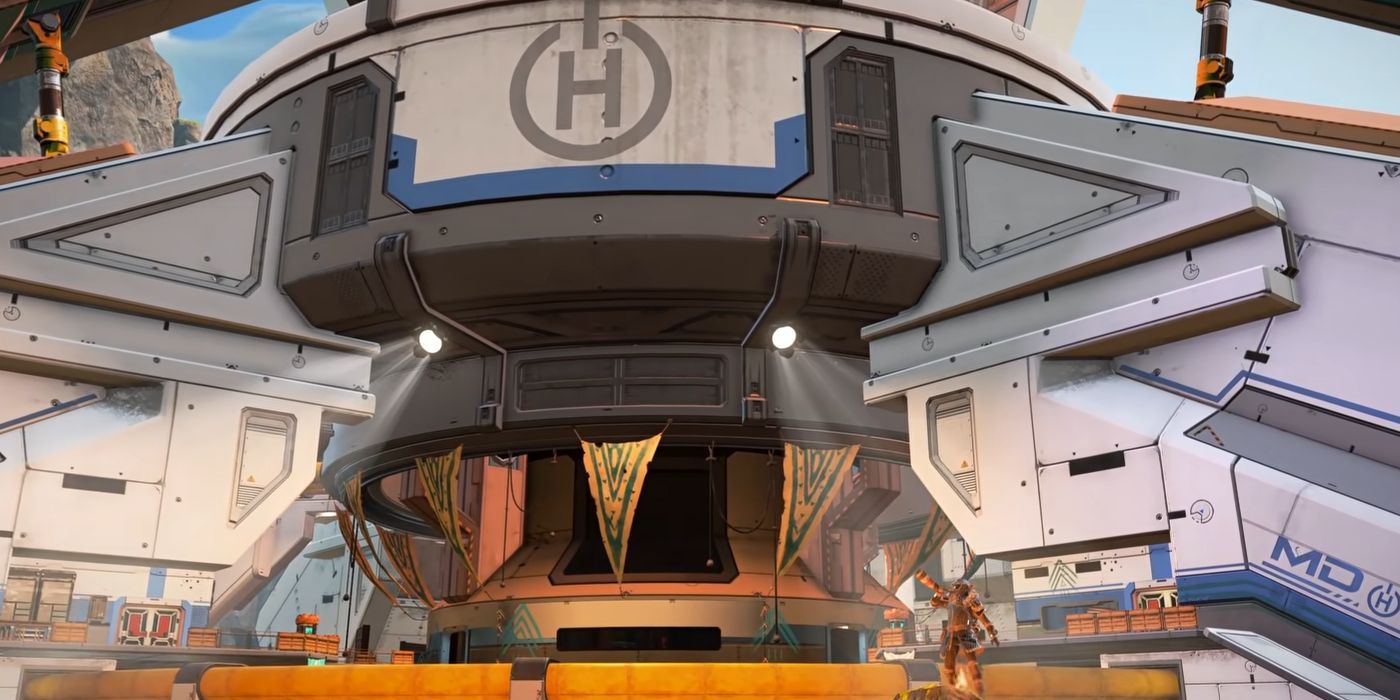
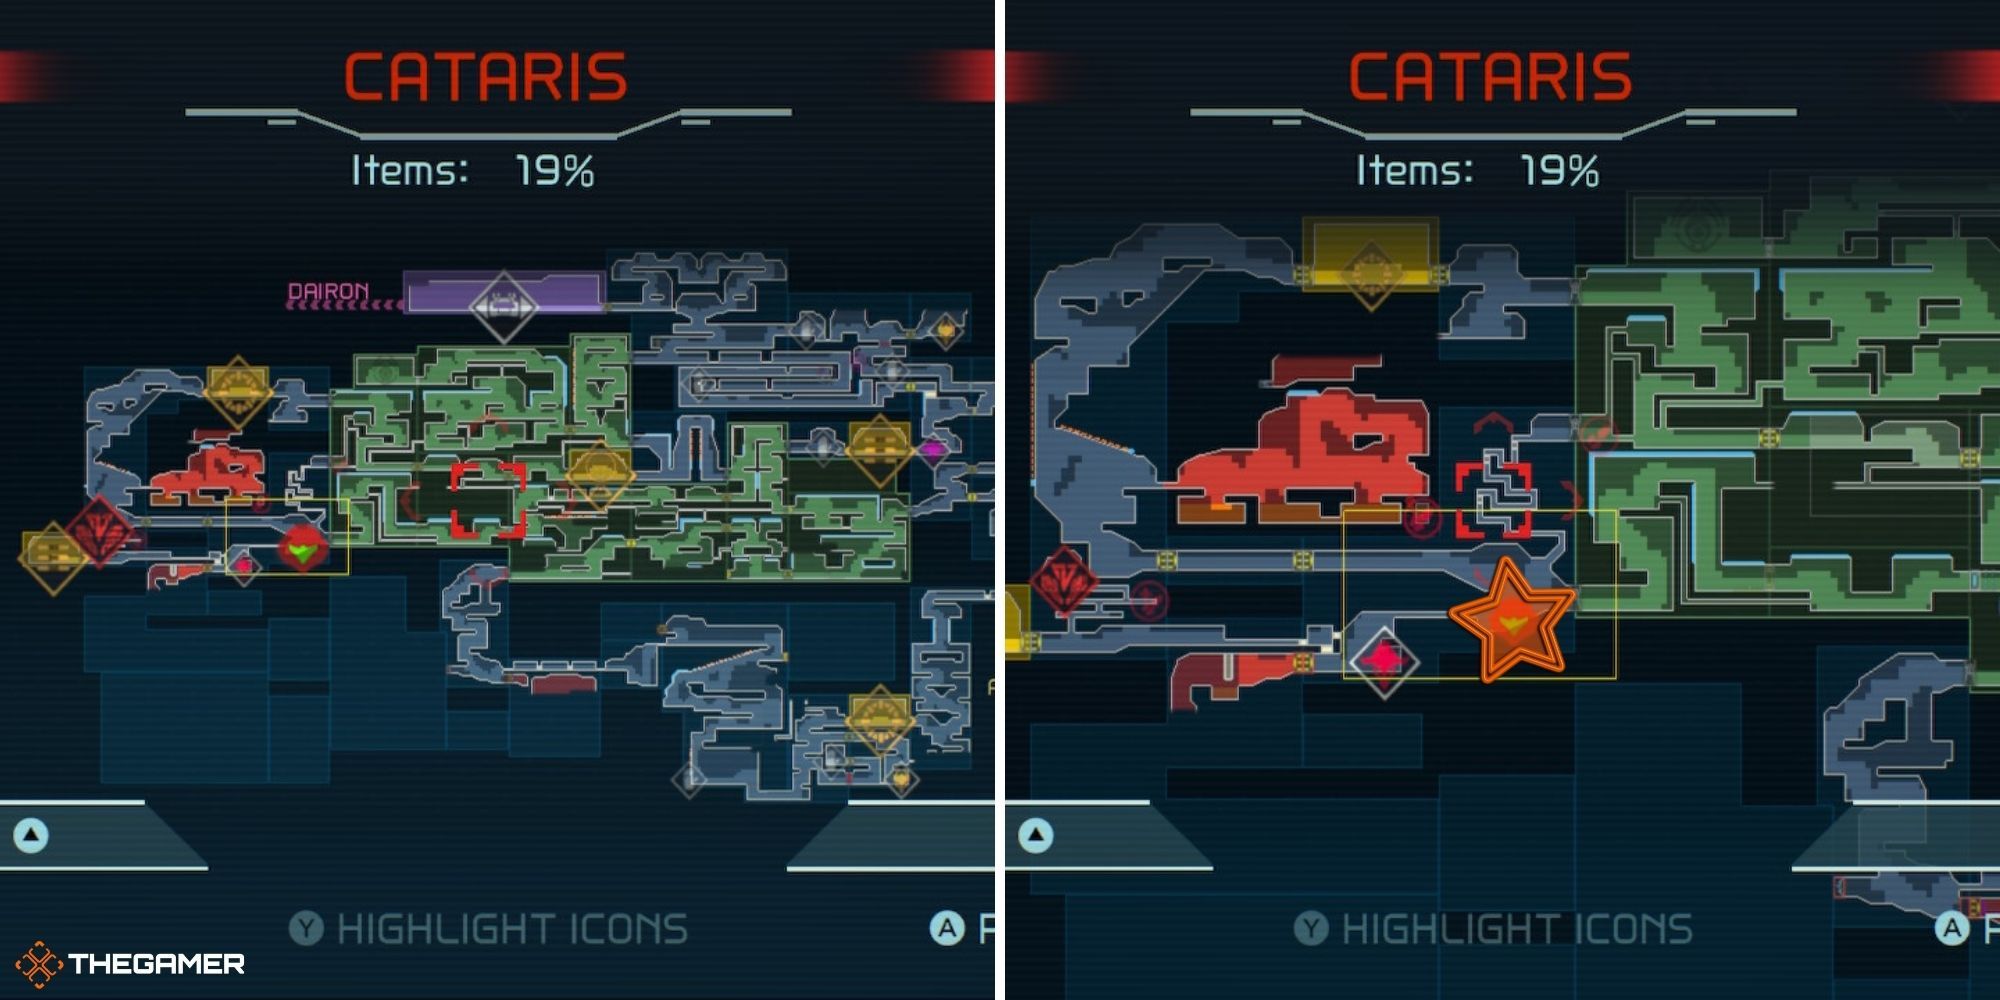
He’s in the bottom/middle left of the map. Once you reach the statue of his head and enter through the mouth (marked by the star on the map above), it’s very straightforward. Just follow the path! If you come to a dead-end, shoot the wall.
When you come to the end, there’s a monster door. When you approach it, it will flash and you can parry it. If you don’t manage to parry it, just shoot into the centre with missiles when it exposes itself.
After passing through the monster door, there’s a long hallway. You should slide into the whole ahead of you if you want to fight Kraid, or take the path up by breaking the block if you want to save or leave.
RELATED: Lingering Questions We Have After The End Of Metroid Dread
What Suit Upgrades Should You Have?

By the time you challenge Kraid, you should have:
- Wide Beam
- Charge Beam
- Phantom Cloak
- Varia Suit
- Morph Ball
- Spider Magnet
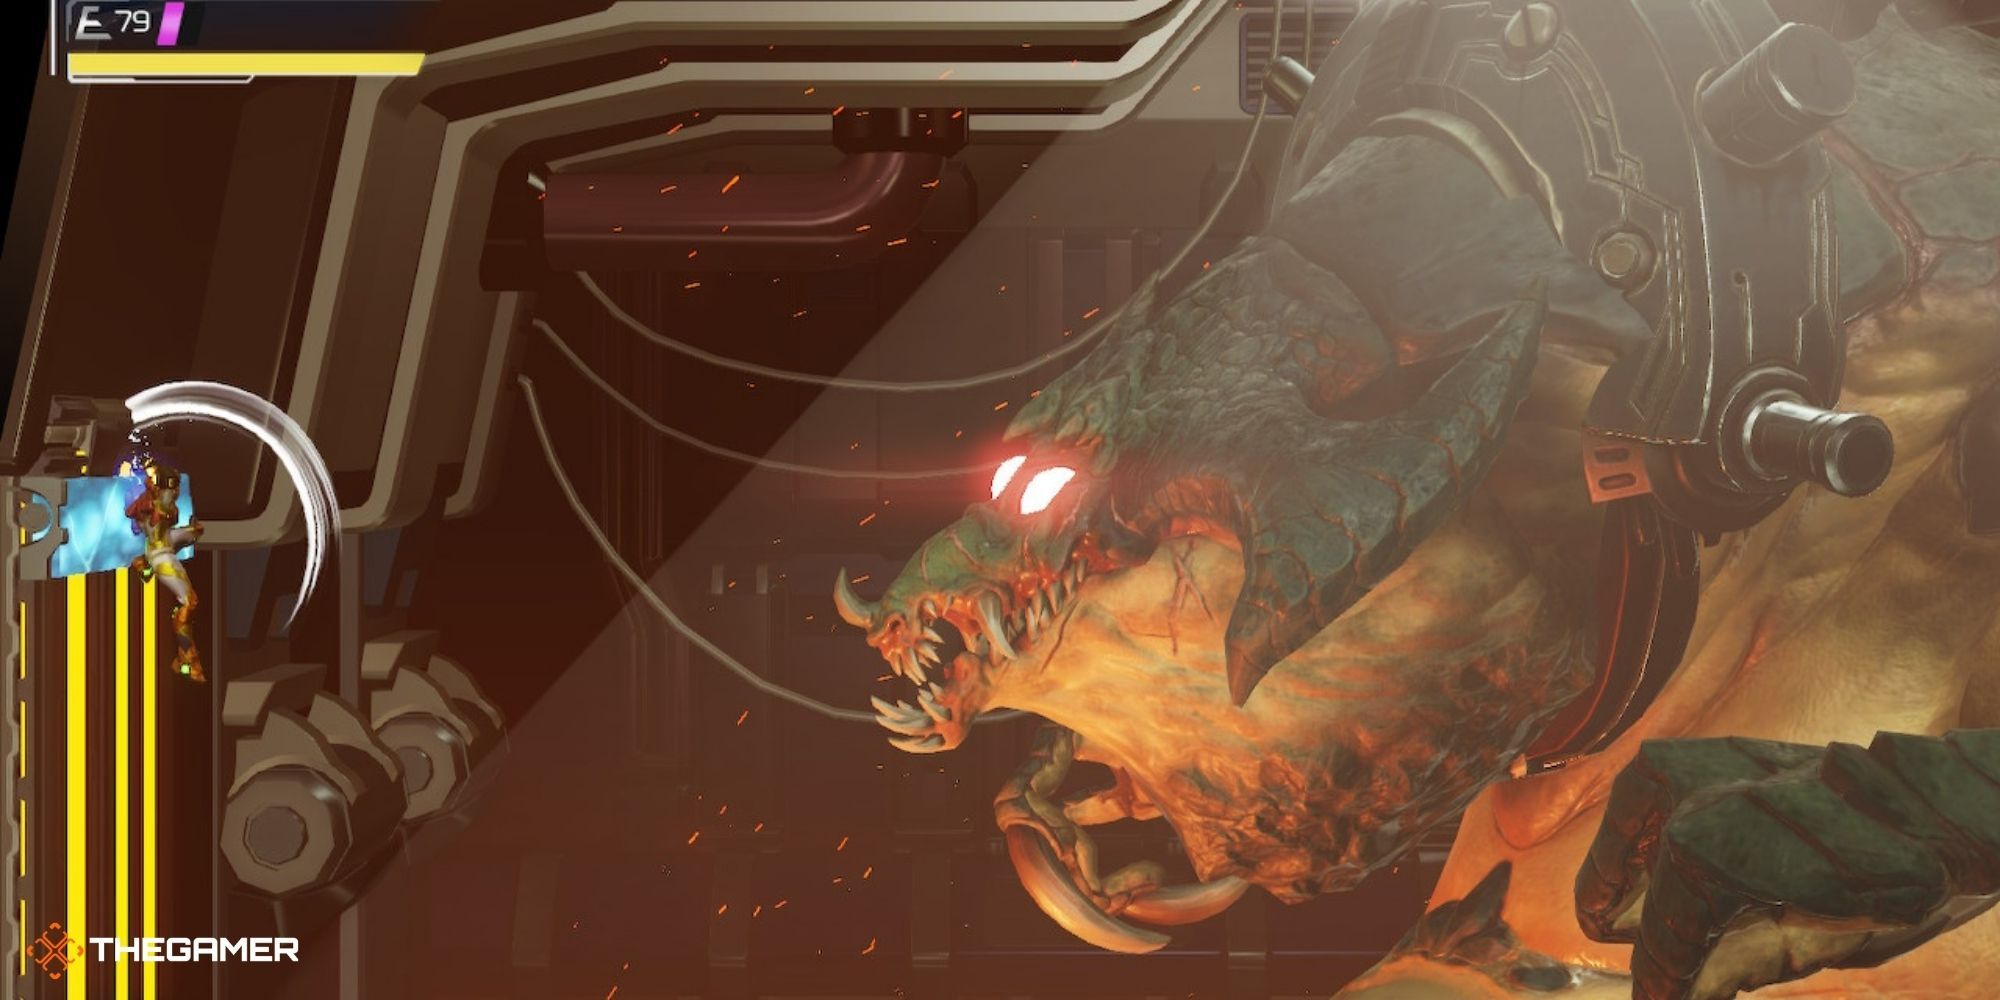
How To Beat The First Phase

During this phase, just take shots at Kraid. He only takes damage when you shoot the inside of his mouth. To get him to open his mouth, just shoot at him.
Projectile Nails
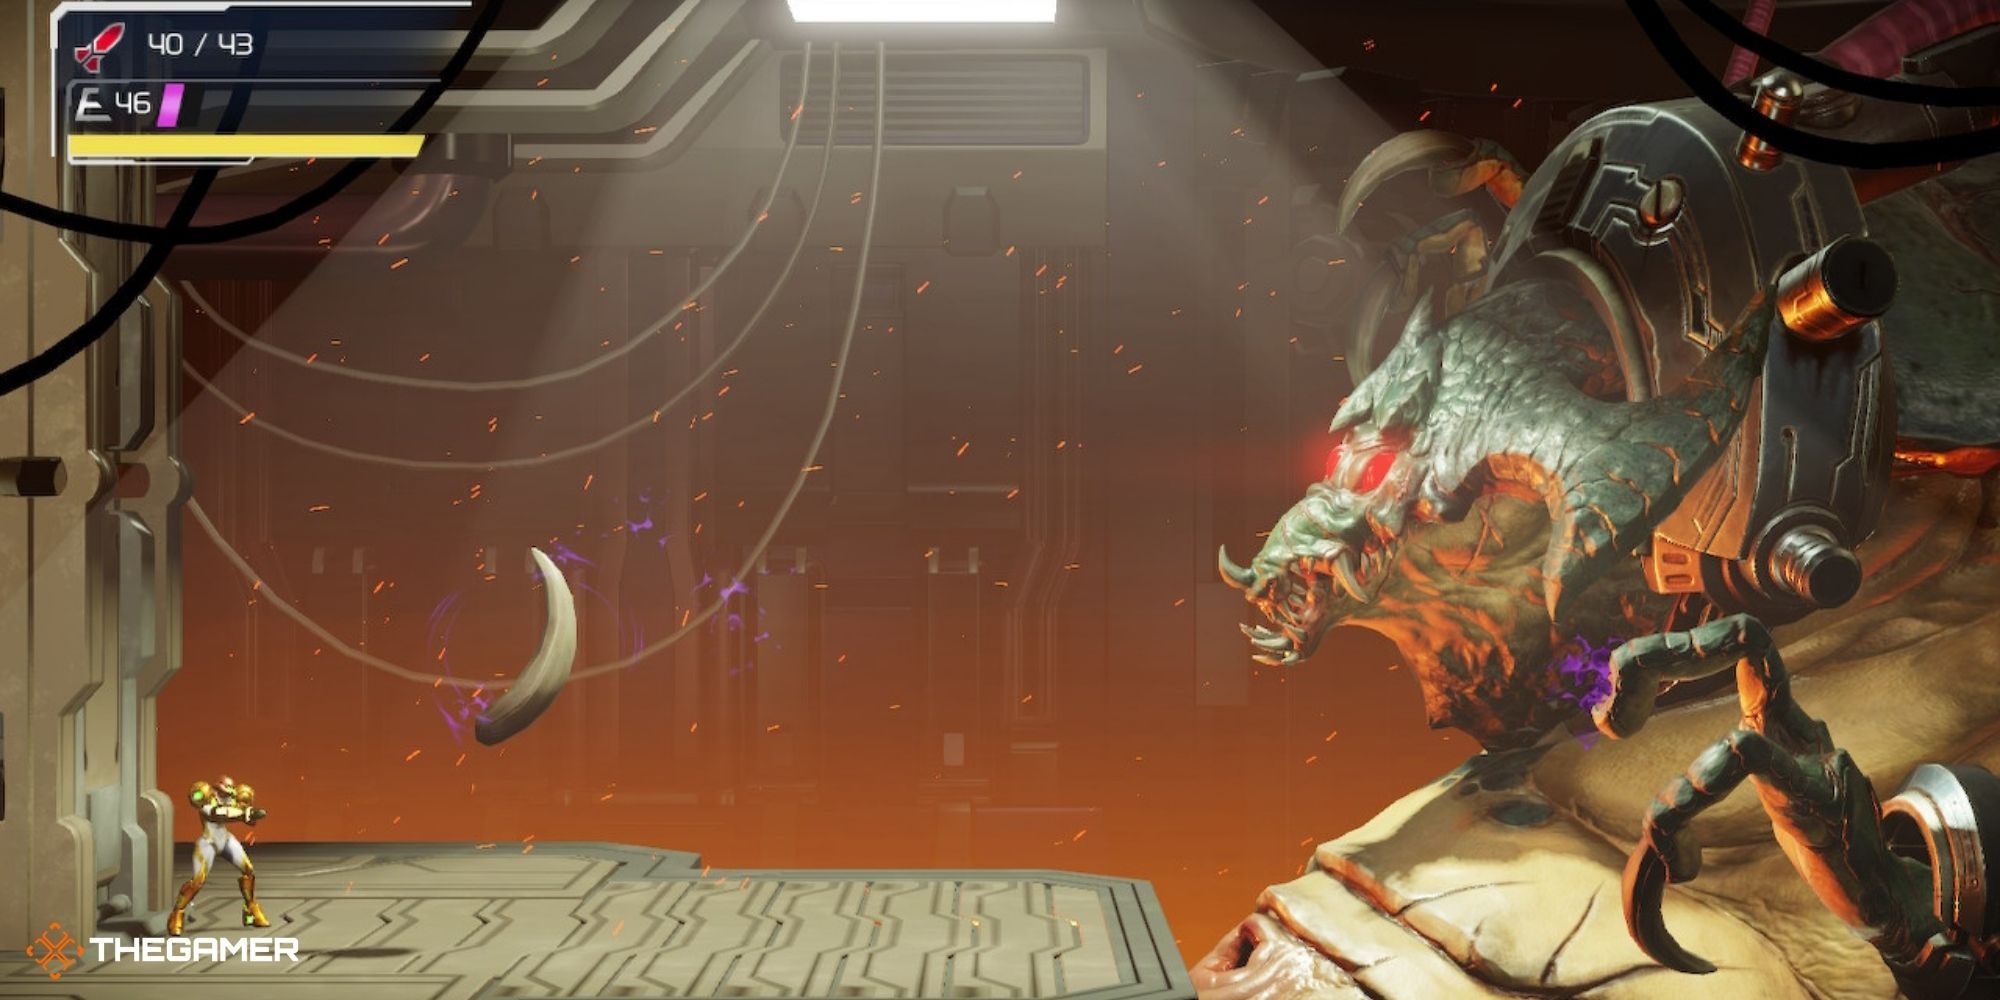
Keep shooting at Kraid with missiles unless the nail he throws is curved in a high arch. In that case, shoot up at it (with missiles still) and destroy it. When he throws low nails, they’ll just get destroyed in the crossfire.
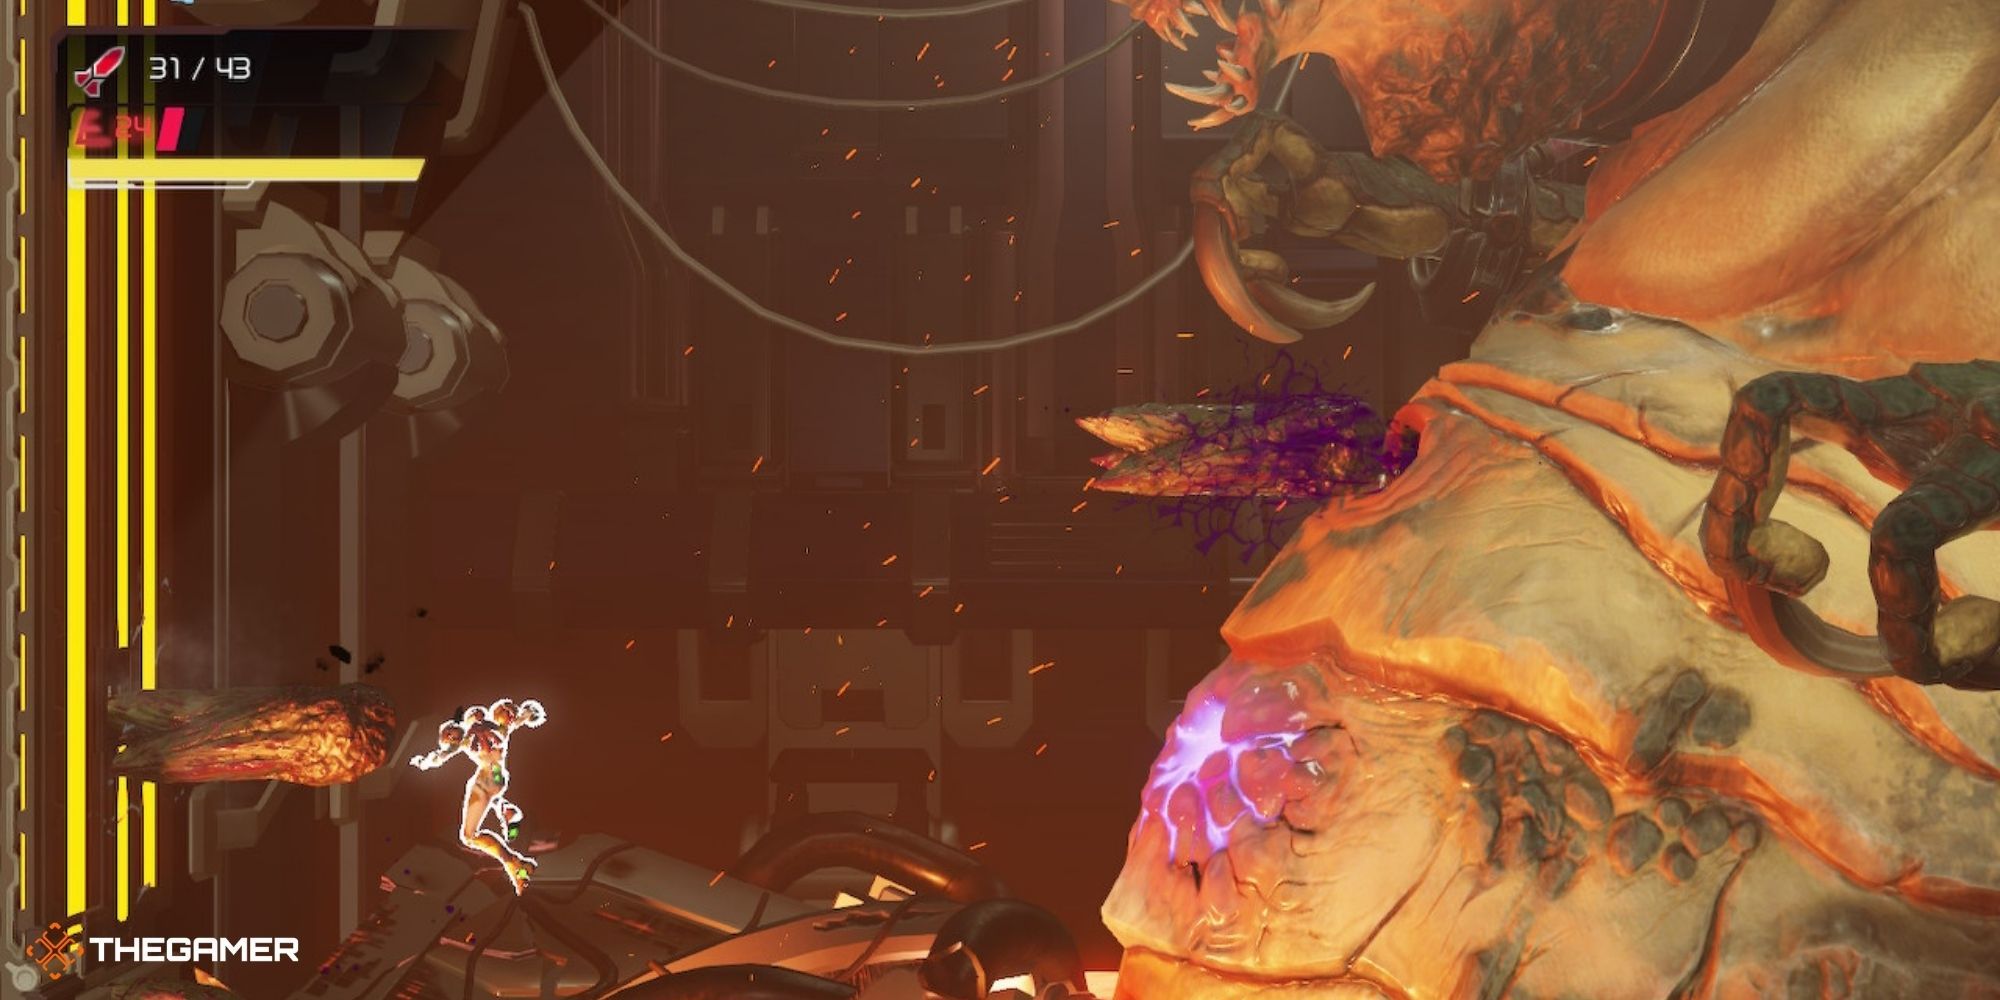
Projectile Globs of Goo
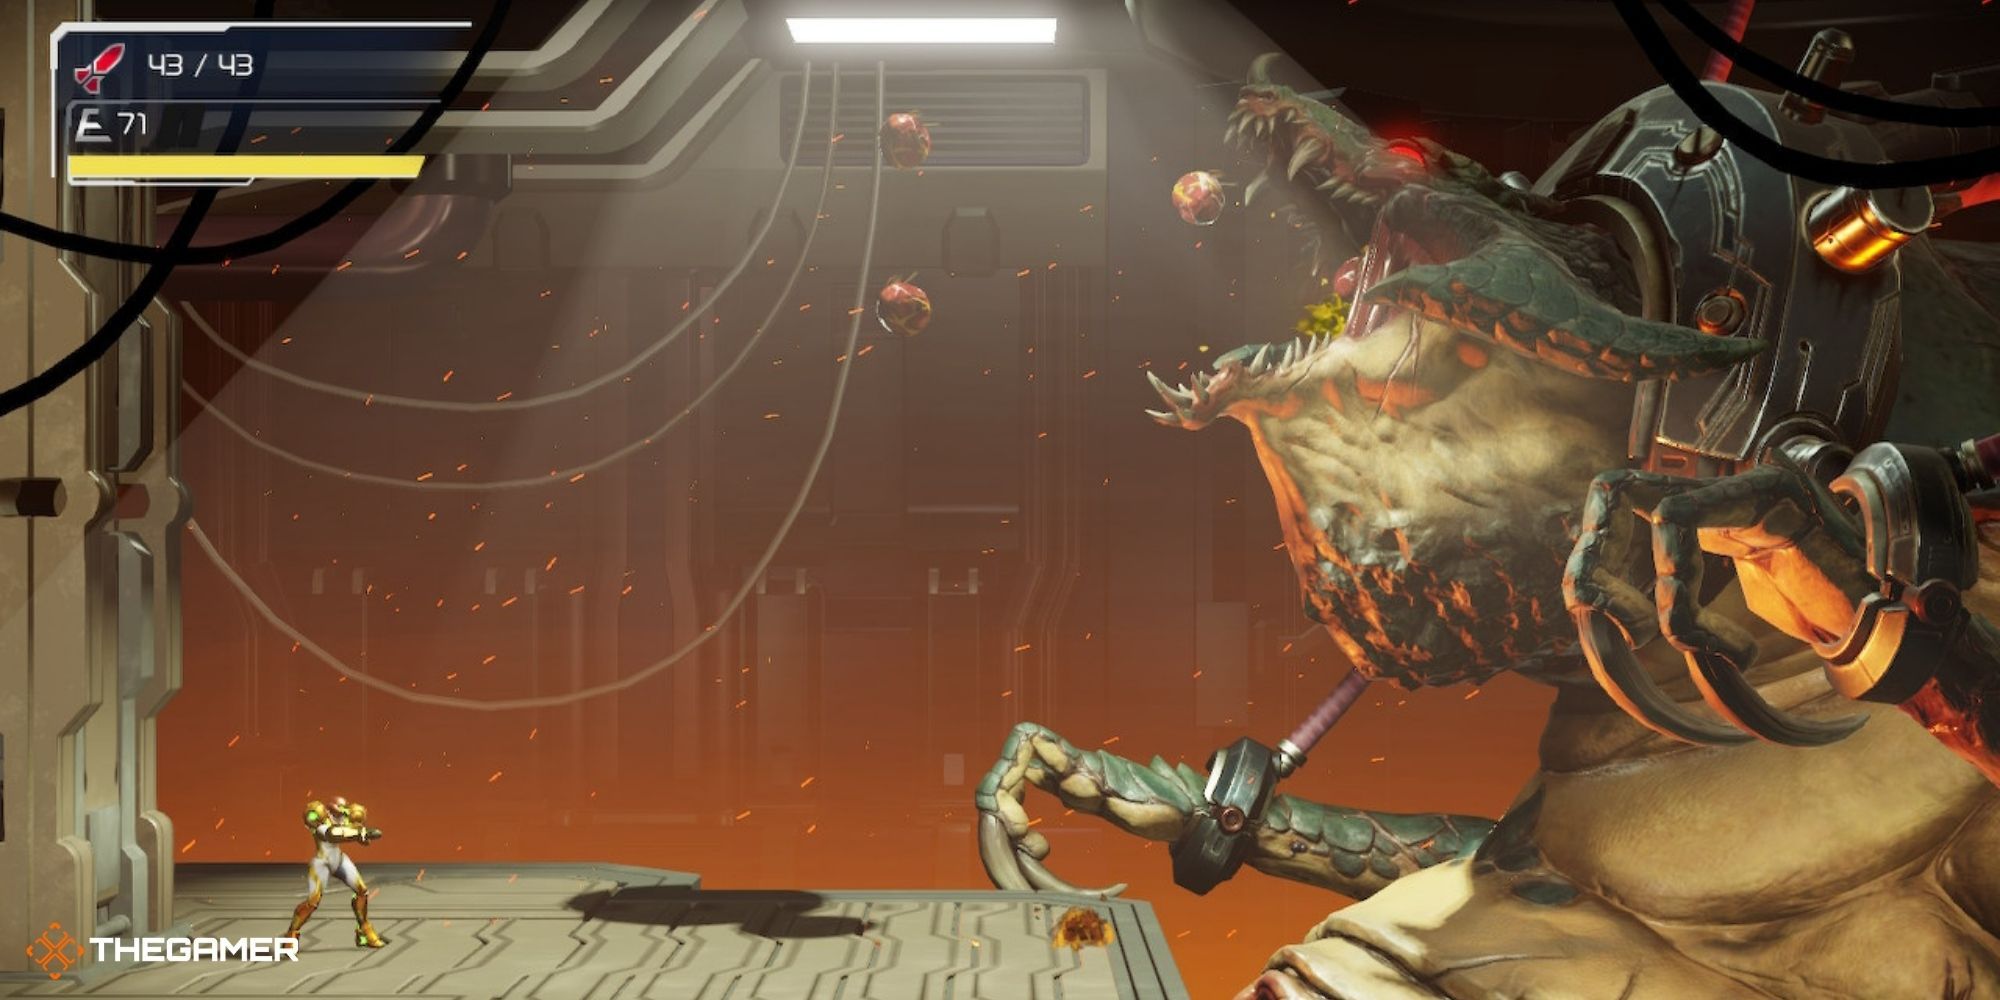
Don’t focus on Kraid. Shoot the goo with the Wide Beam to get health and ammo. Beware the balls of fire, which you can’t shoot and destroy. When they spawn, they are set to fall on your current position; just move to avoid them.
RELATED: Things That Make No Sense In Metroid Dread
How To Beat The Second Phase
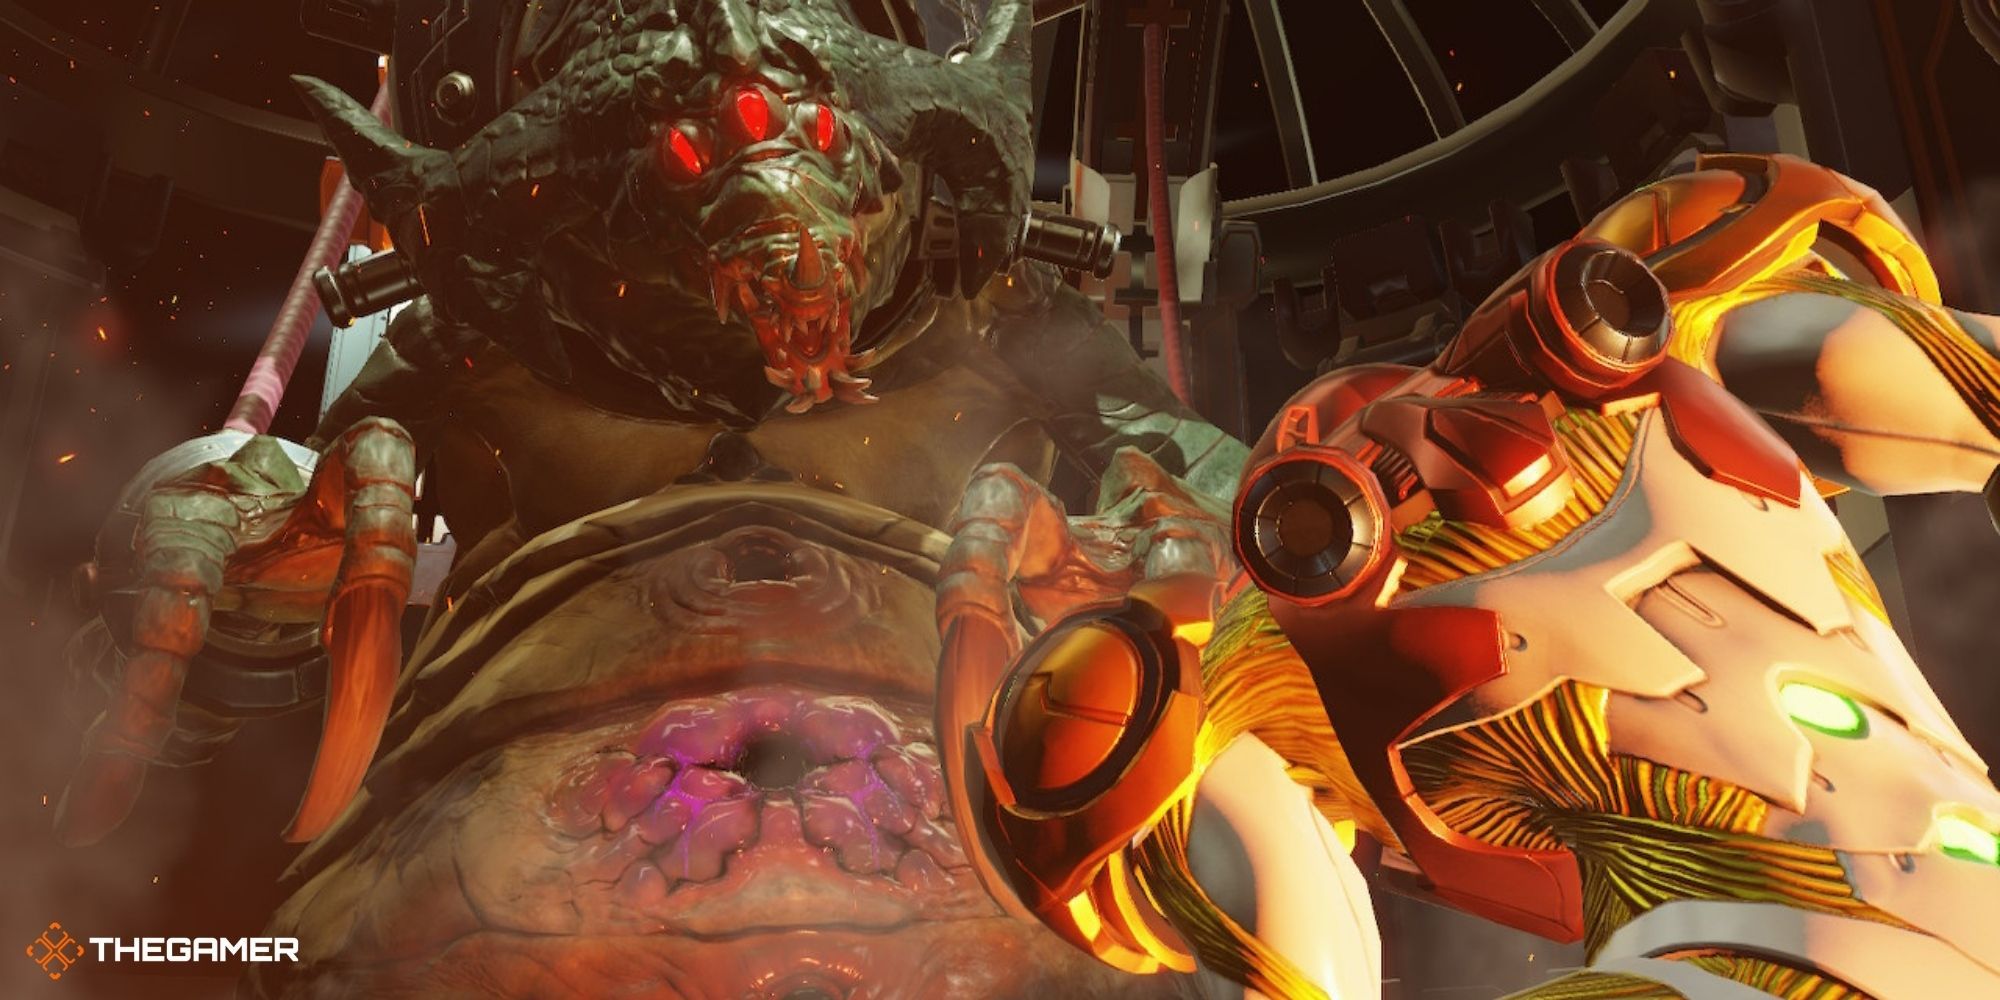
This phase has attacks of two kinds. One set is used if you’re on the ground next to Kraid. The other set is used if you’re attacking him from on the Spider-Magnet wall. The Spider-Magnet wall will come down to the ground if you’ve done enough damage to Kraid, but you can reach it early if you want by jumping up Kraid’s spike attack.
While you’re on the ground, only his purple belly button can take damage. While you’re on the wall, only the inside of his mouth can take damage.
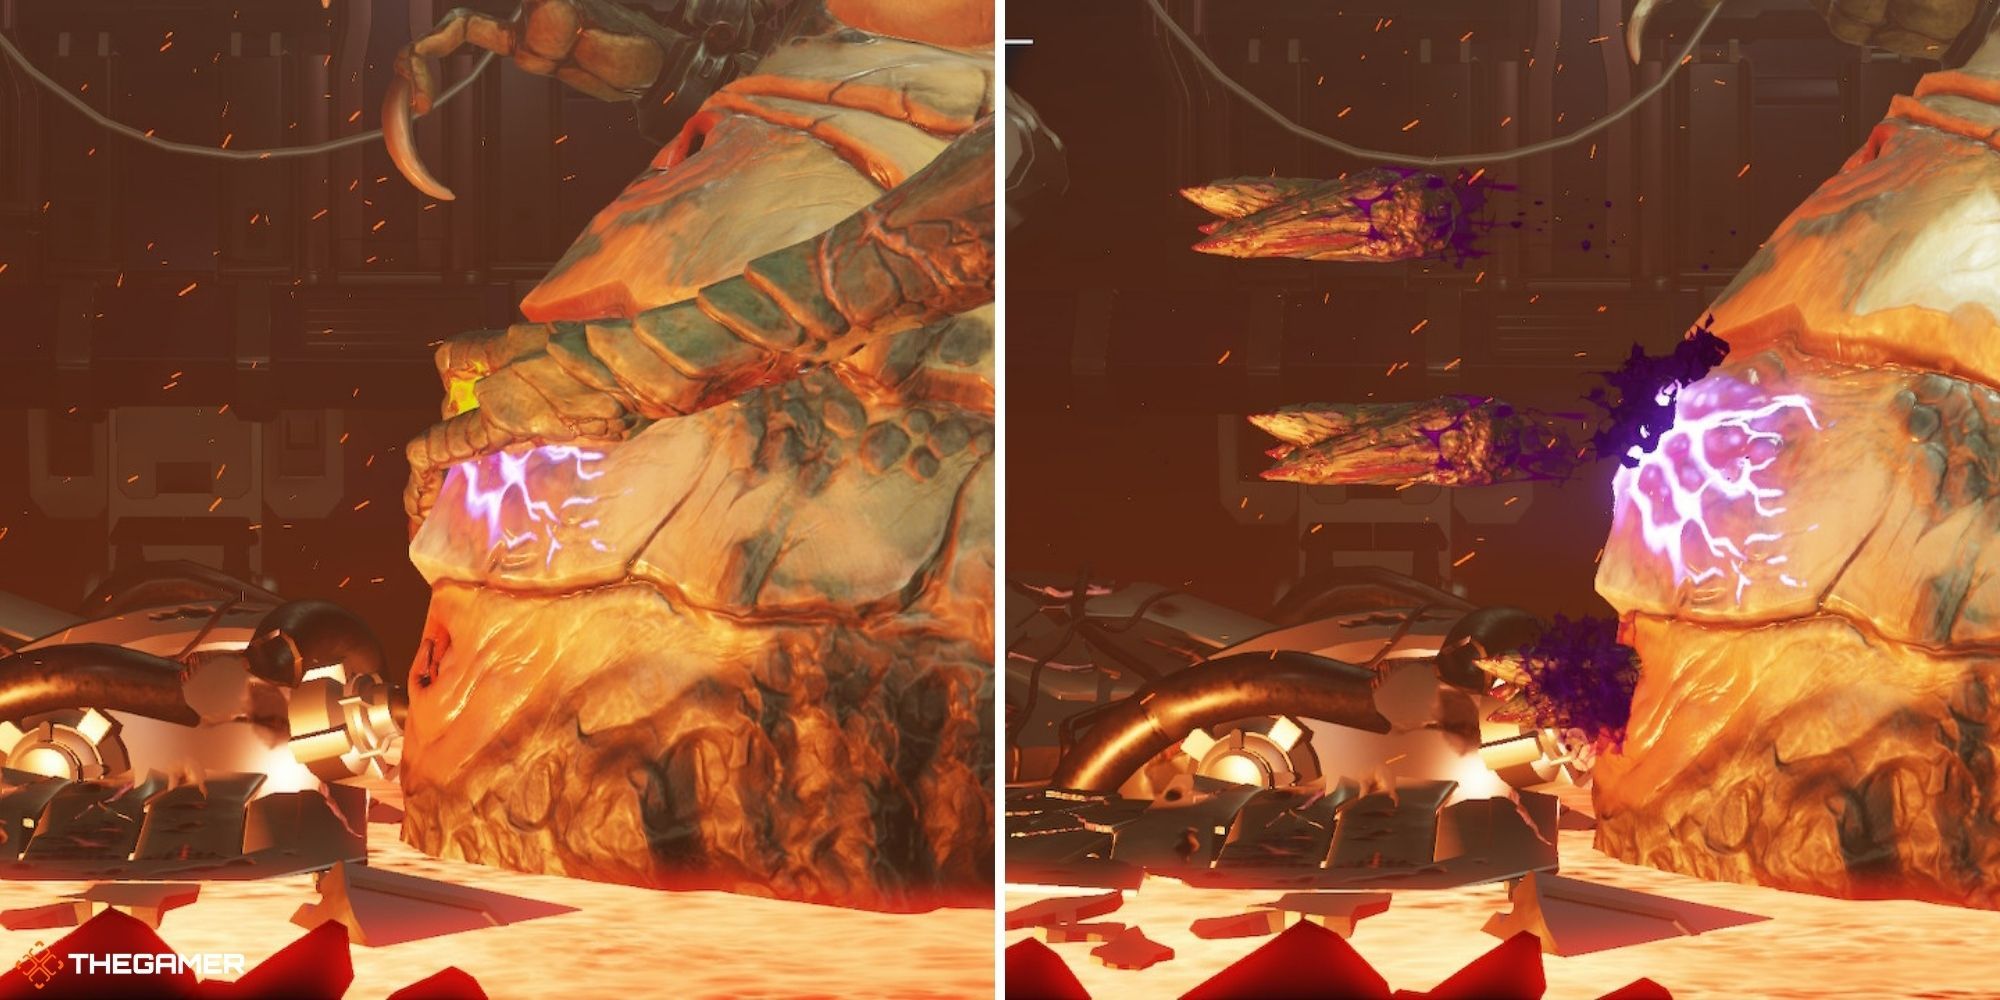
On The Ground: Projectile Purple Bouncing Balls
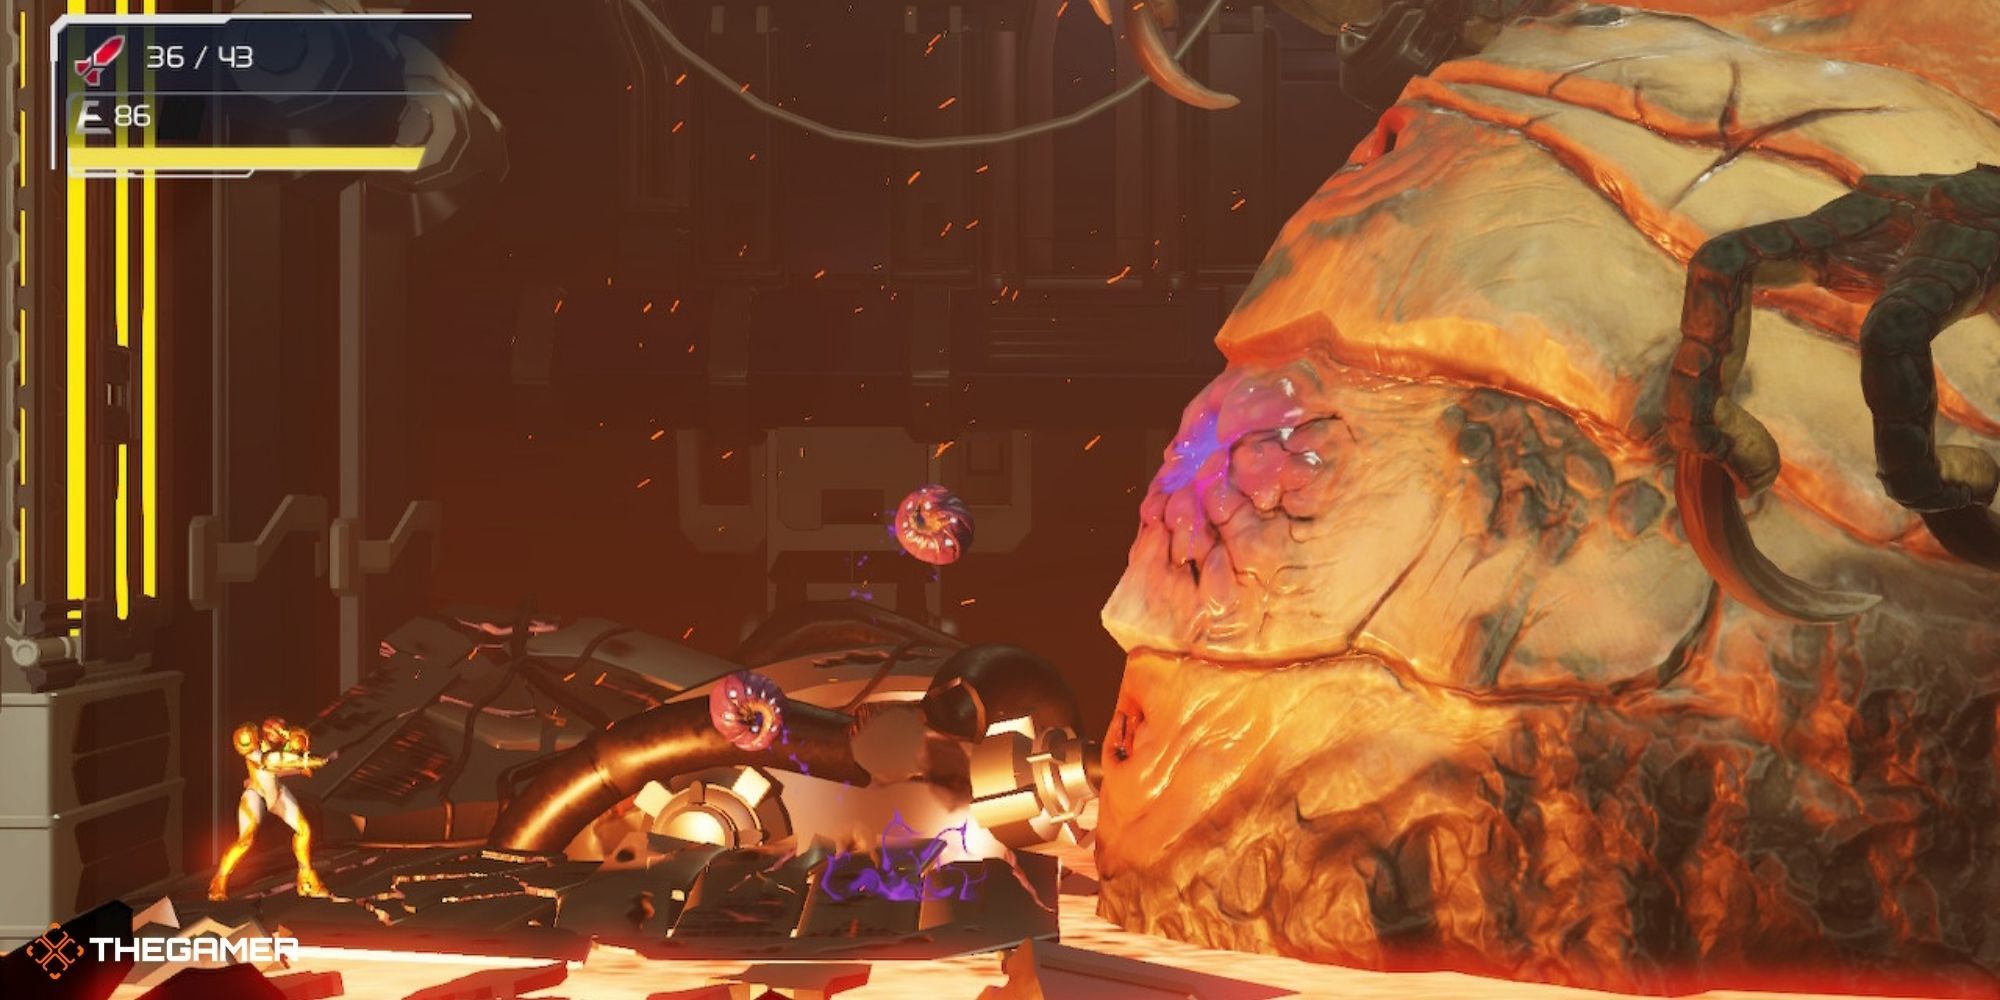
Head to the back left corner and continue to shoot as his belly button. When the bouncing balls come out, aim for them using the Wide Beam (because it will hit Kraid and the balls at the same time).
On The Ground: Splattering Purple Goo

This splatter always shoots to the middle, so if you’re in the back corner you don’t need to do much – just jump over the waves of goo that appear when it hits the ground.
On The Ground: Projectile Spikes
If you don’t want to climb the wall, turn into a morph ball to duck below the spikes.
If you do want to climb the wall, you’ll notice that the spikes always shoot the bottom first, then the middle, then the top. Jump from one to the other as they emerge to reach the top of the wall early.
If you’ve done enough damage to his belly button, Kraid will cover it and proceed to shoot three spikes at once instead of in a row. After they’re gone, the Spider-Magnet wall will come down to meet you on the ground, allowing you to get up to his head naturally.
On The Wall: Projectile Nails
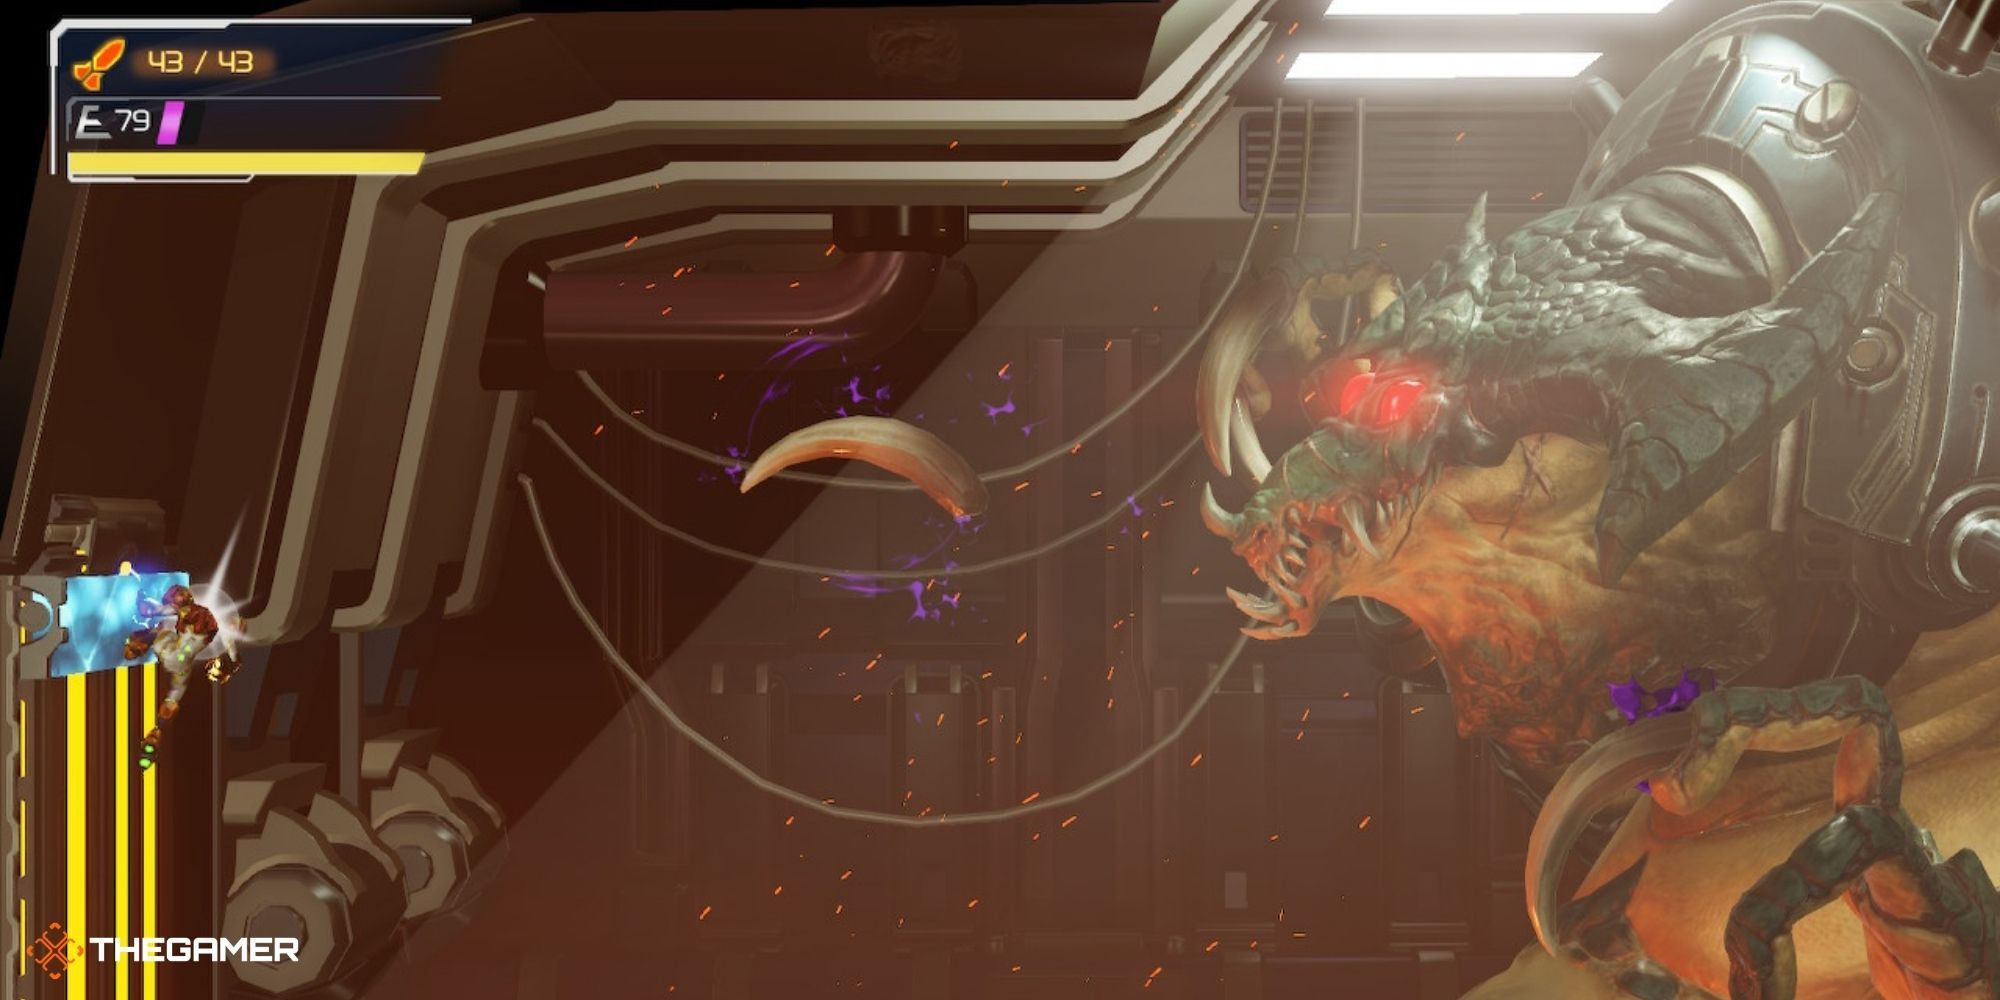
Shoot Kraid when you get the chance, but prioritize taking out the nails because they will take you all the way down to the ground on just one hit. Note that the nails can’t be parried.
We recommend that you wait for the nails to get close to you rather than having to frantically aim for them.
On The Wall: Swipe

This attack is parry-able. He’ll raise his hand once, first, to telegraph the attack. When he pulls back again, that’s when you want to parry because the attack is about to come. Thankfully, the parry timing is fairly forgiving.
When you do successfully parry, shoot as many missiles as you can into his mouth – this is where most of the damage comes in this phase!
On The Wall: Punch
This attack isn’t parry-able. You’ll know it’s coming because his eyes will start to glow red. To avoid it, you just need to jump above it (though you should keep holding left to cling to the wall).
Unfortunately, this one is a little less easy to see coming – like the swipe, he’ll pull back, then pull back again, but unlike the swipe, he’ll wait for a beat longer after the second pull-back before he attacks you. The only thing to do, really, is just to get a feel for the timing.
RELATED: Ranking Every Metroid Game From Worst To Best
Bonus: How To Instakill Kraid

If you sequence break and get the bombs before going into the Kraid fight, it’s possible to kill him near-instantly.
To do the sequence break, you need…
- Wide Beam
- Morph Ball
- Varia Suit

The Bomb upgrade is in Dairon, a different zone of the map. To get the bomb this early in the game, you need to pull off a slide jump at the location marked with a star above. Then, progress to the location marked with a treasure chest – that’s where you get the upgrade! Check out TheSeventhForce’s video on YouTube for a full tutorial.
Finally, return to the Kraid boss battle.
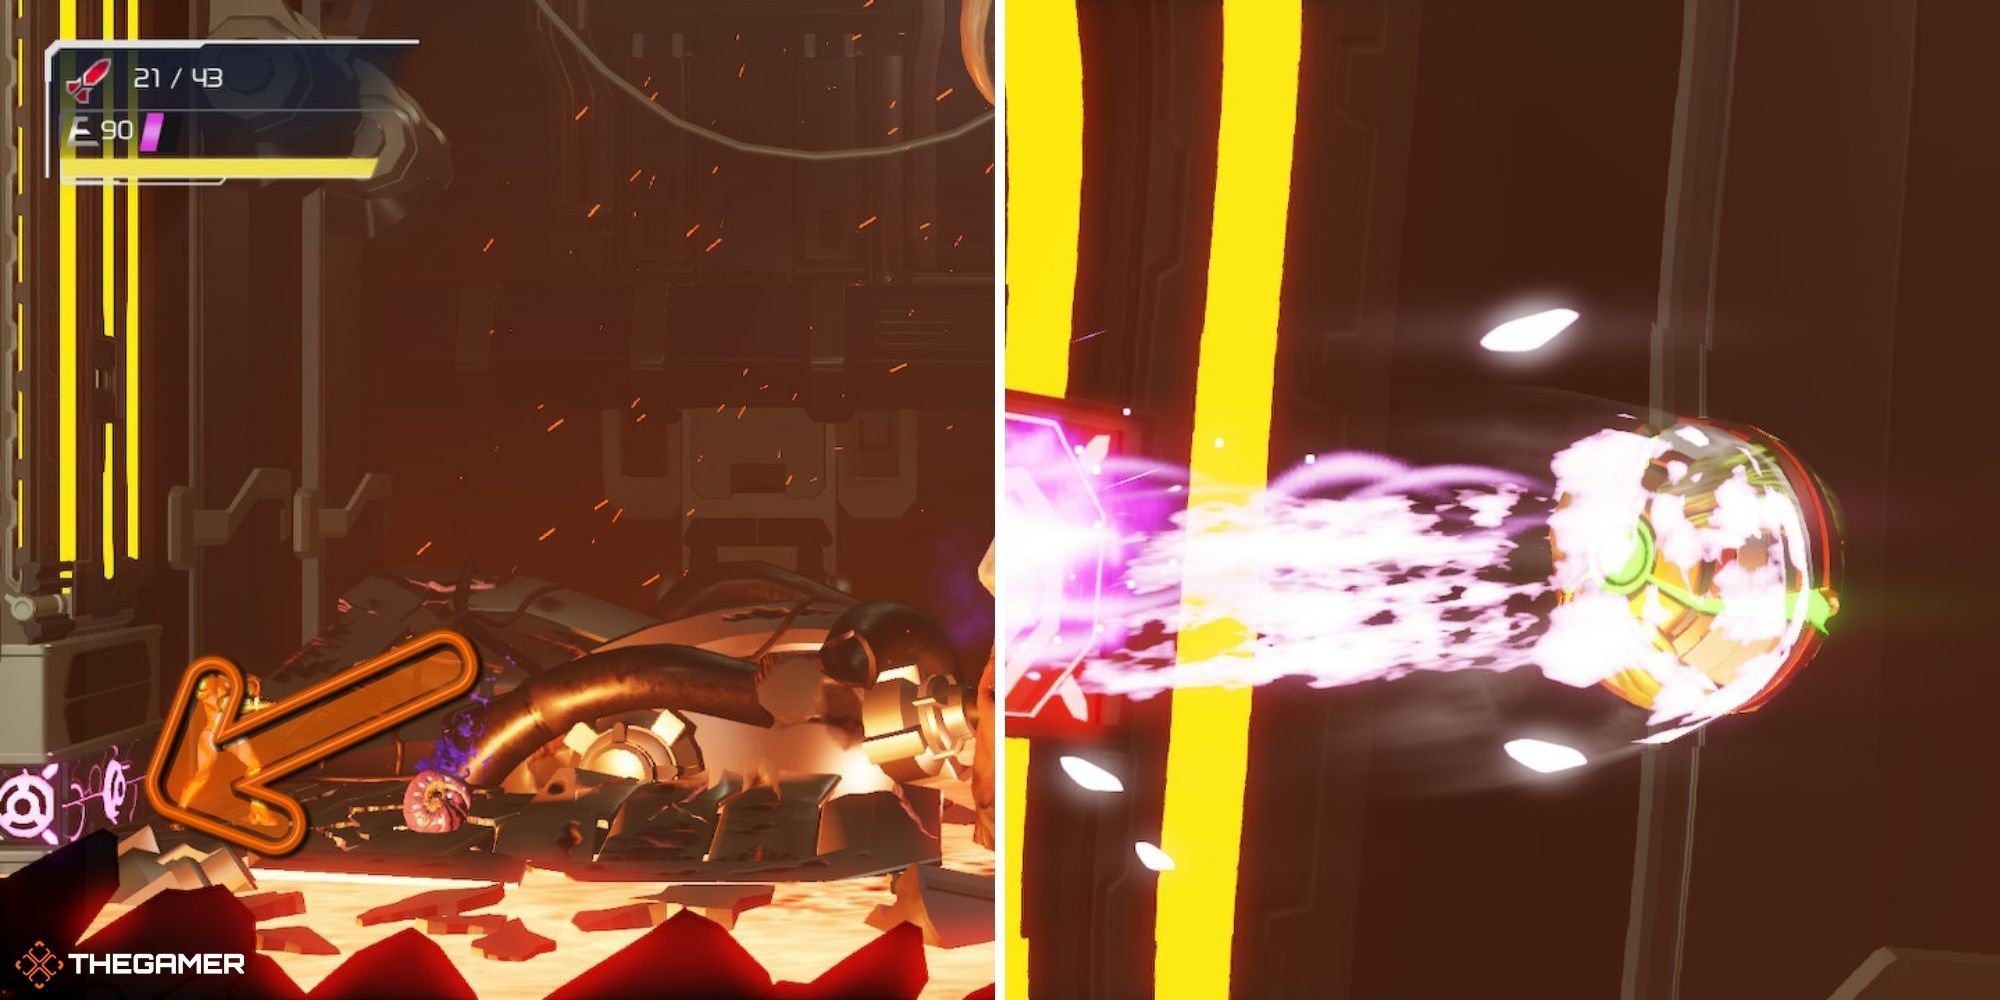
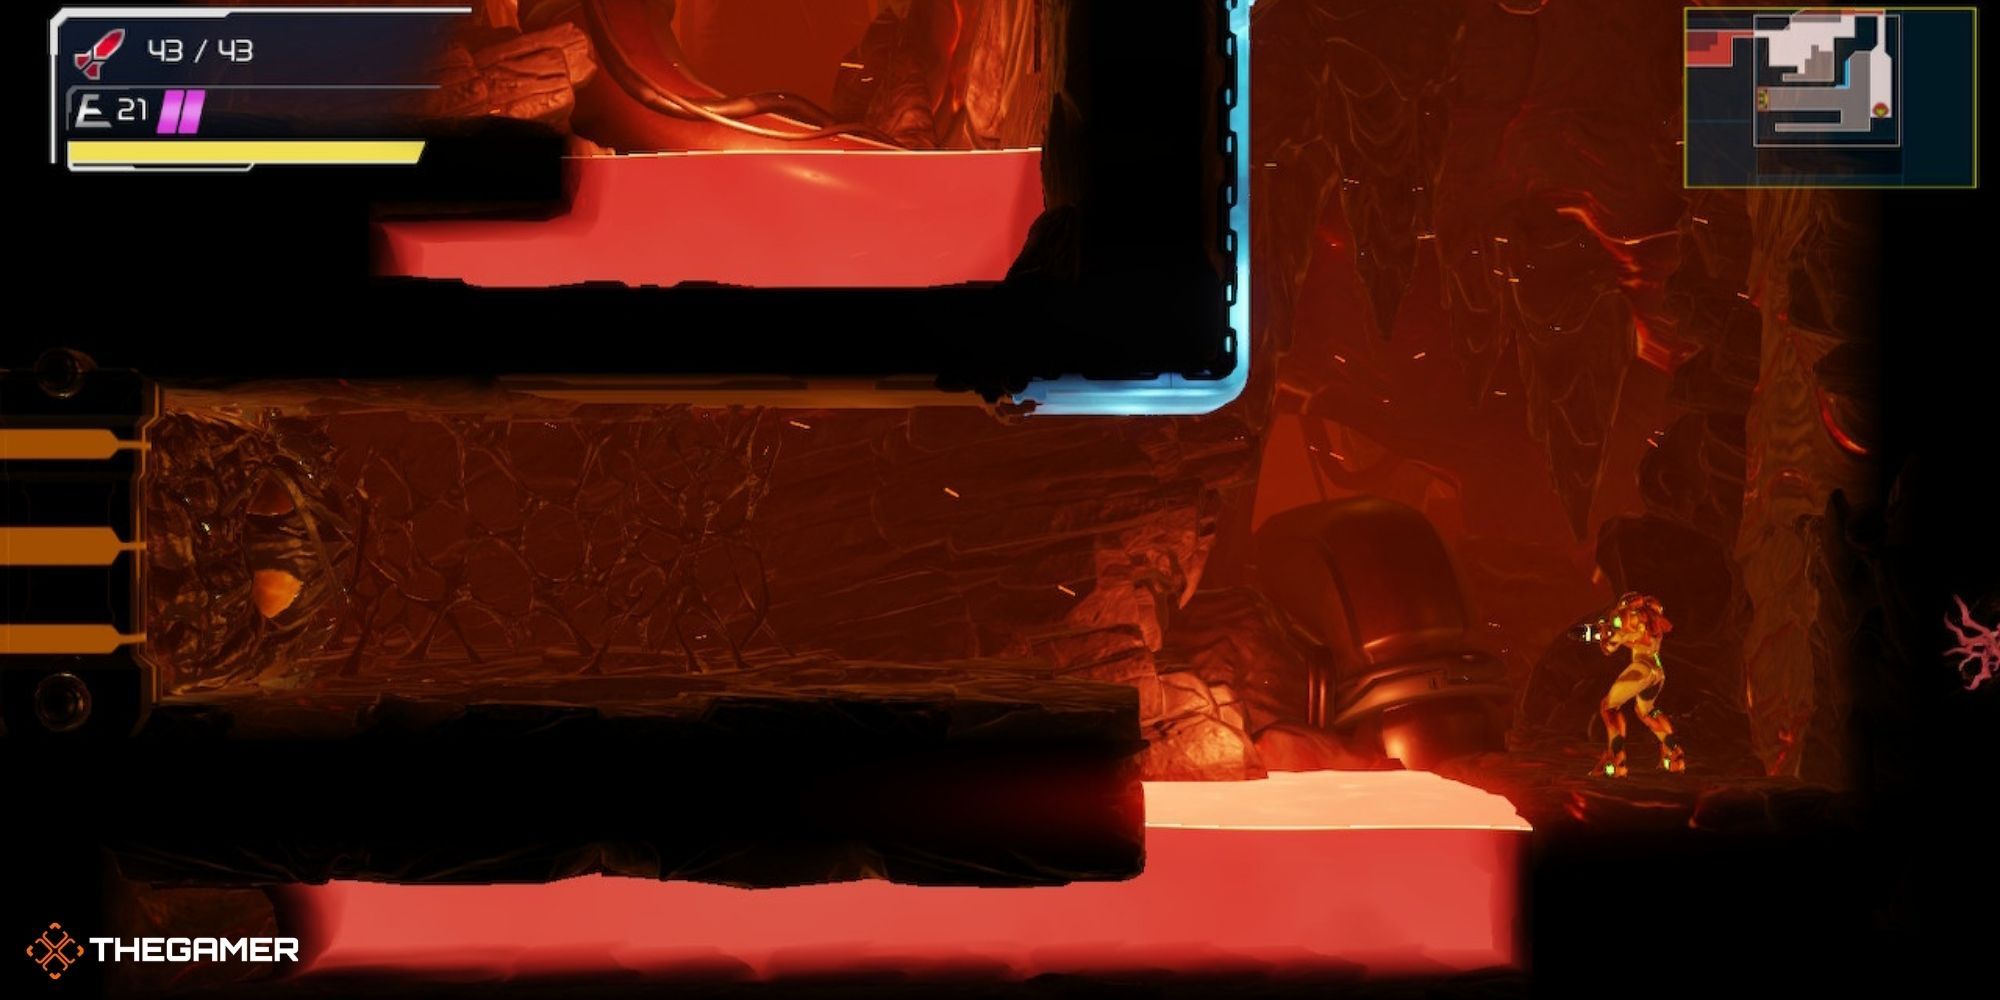
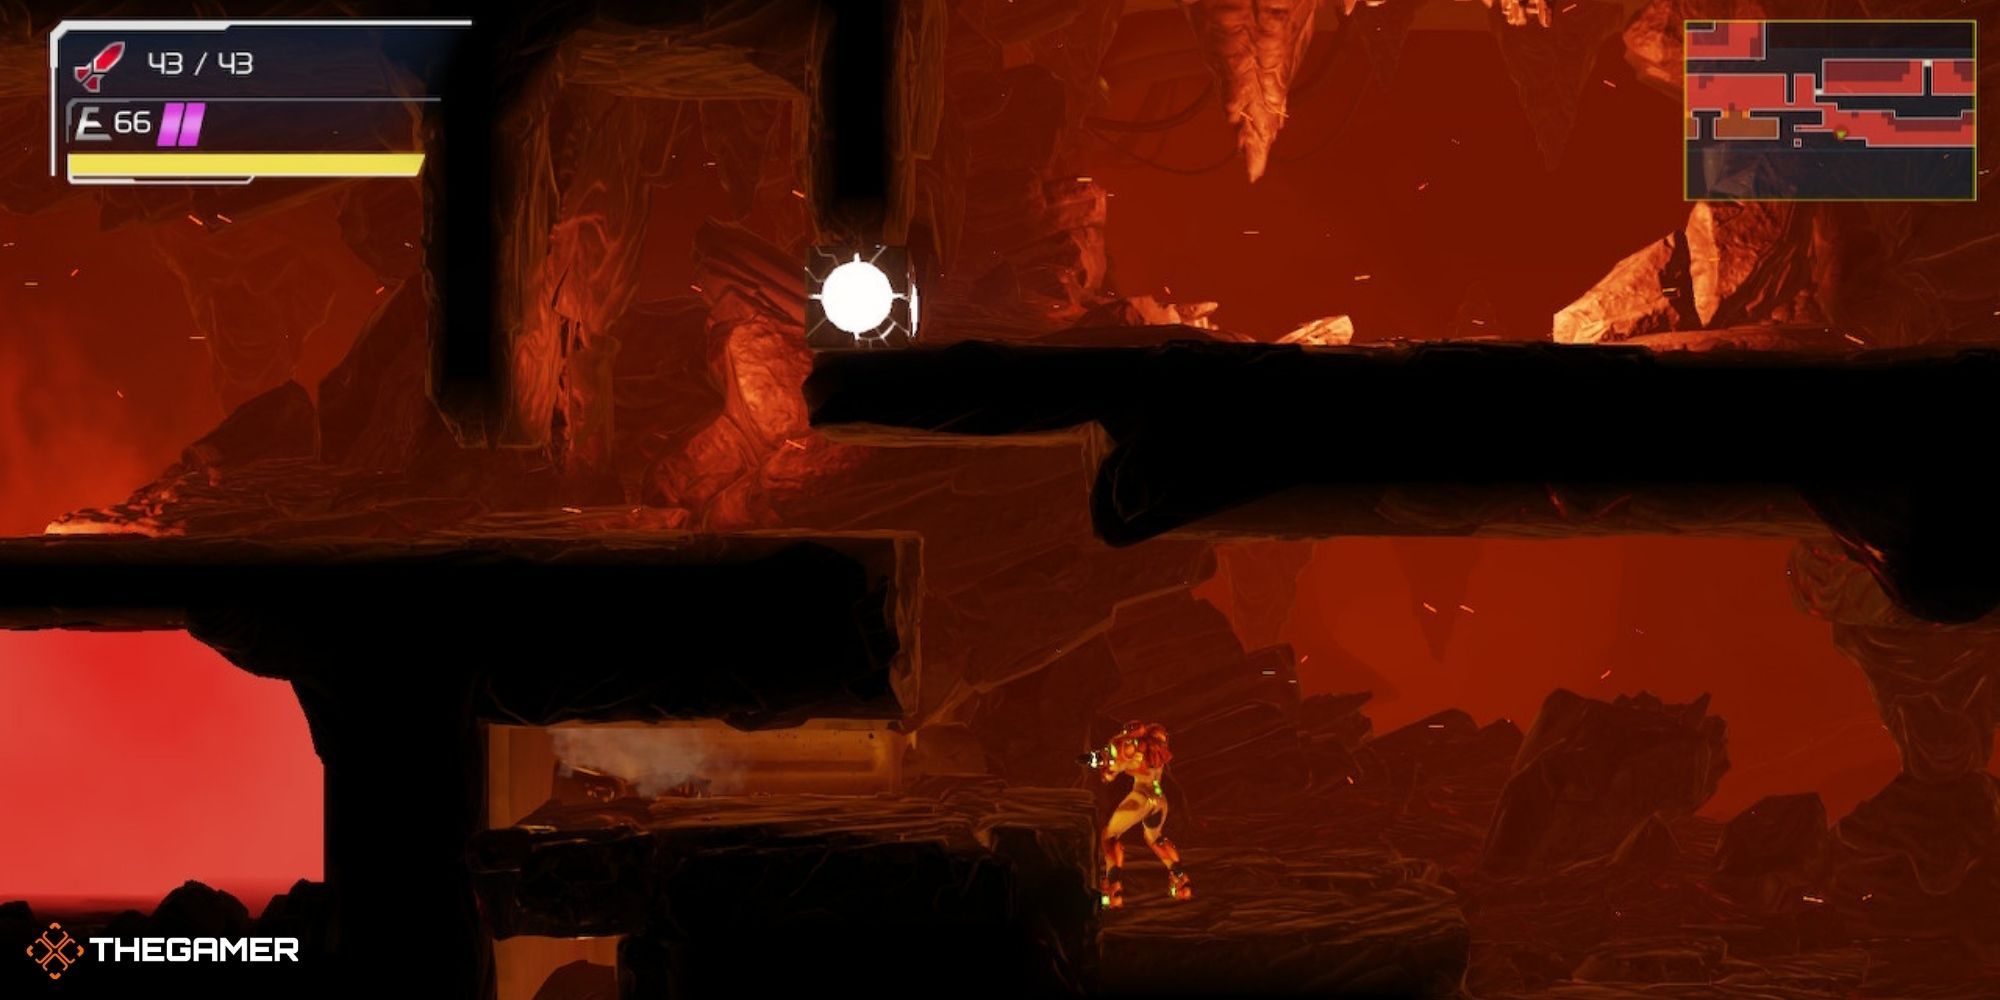
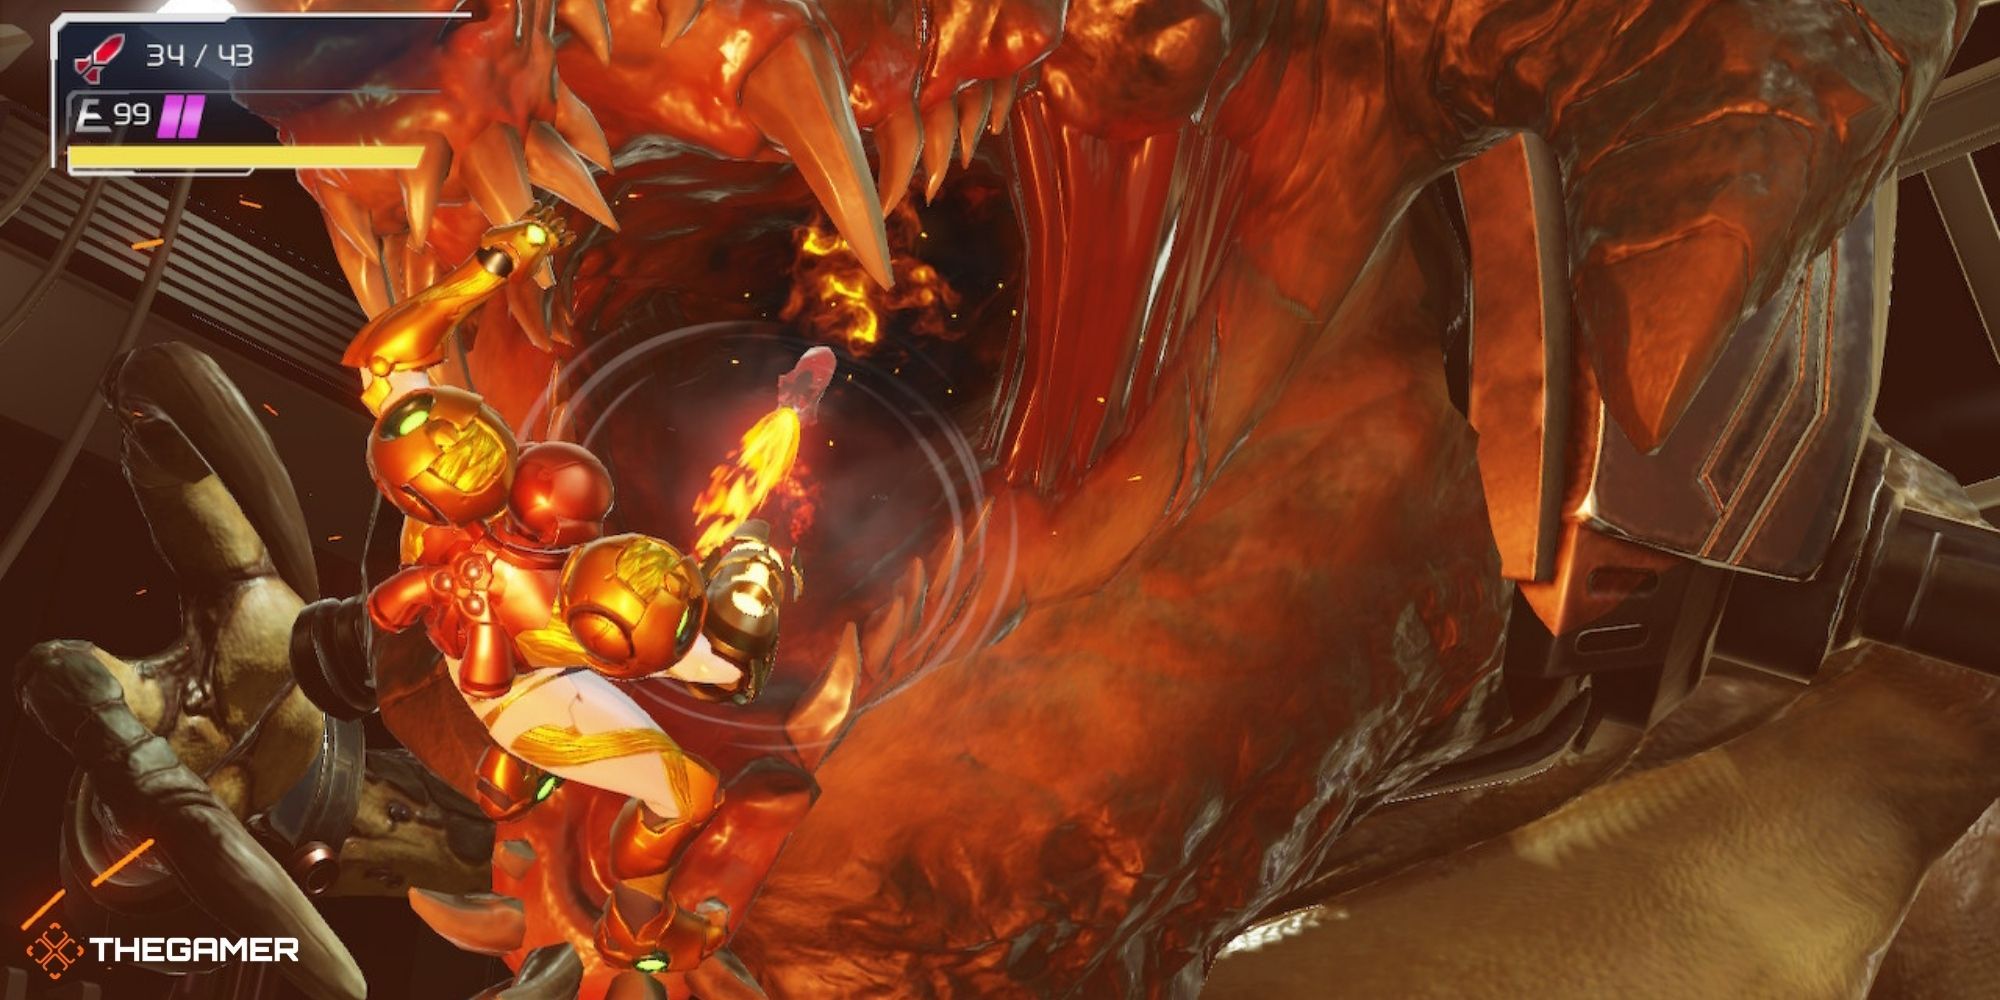
You’ll need to get through the first phase of the fight, so refer up to that section for tips (but it’s the much easier part of the fight). Once the second phase begins, you can stop attacking. There’s a secret block you can bomb in the bottom left. Then, use Morph Ball to enter the tube. Once inside, drop a bomb. When it detonates, it shoots you out into Kraid’s belly button.
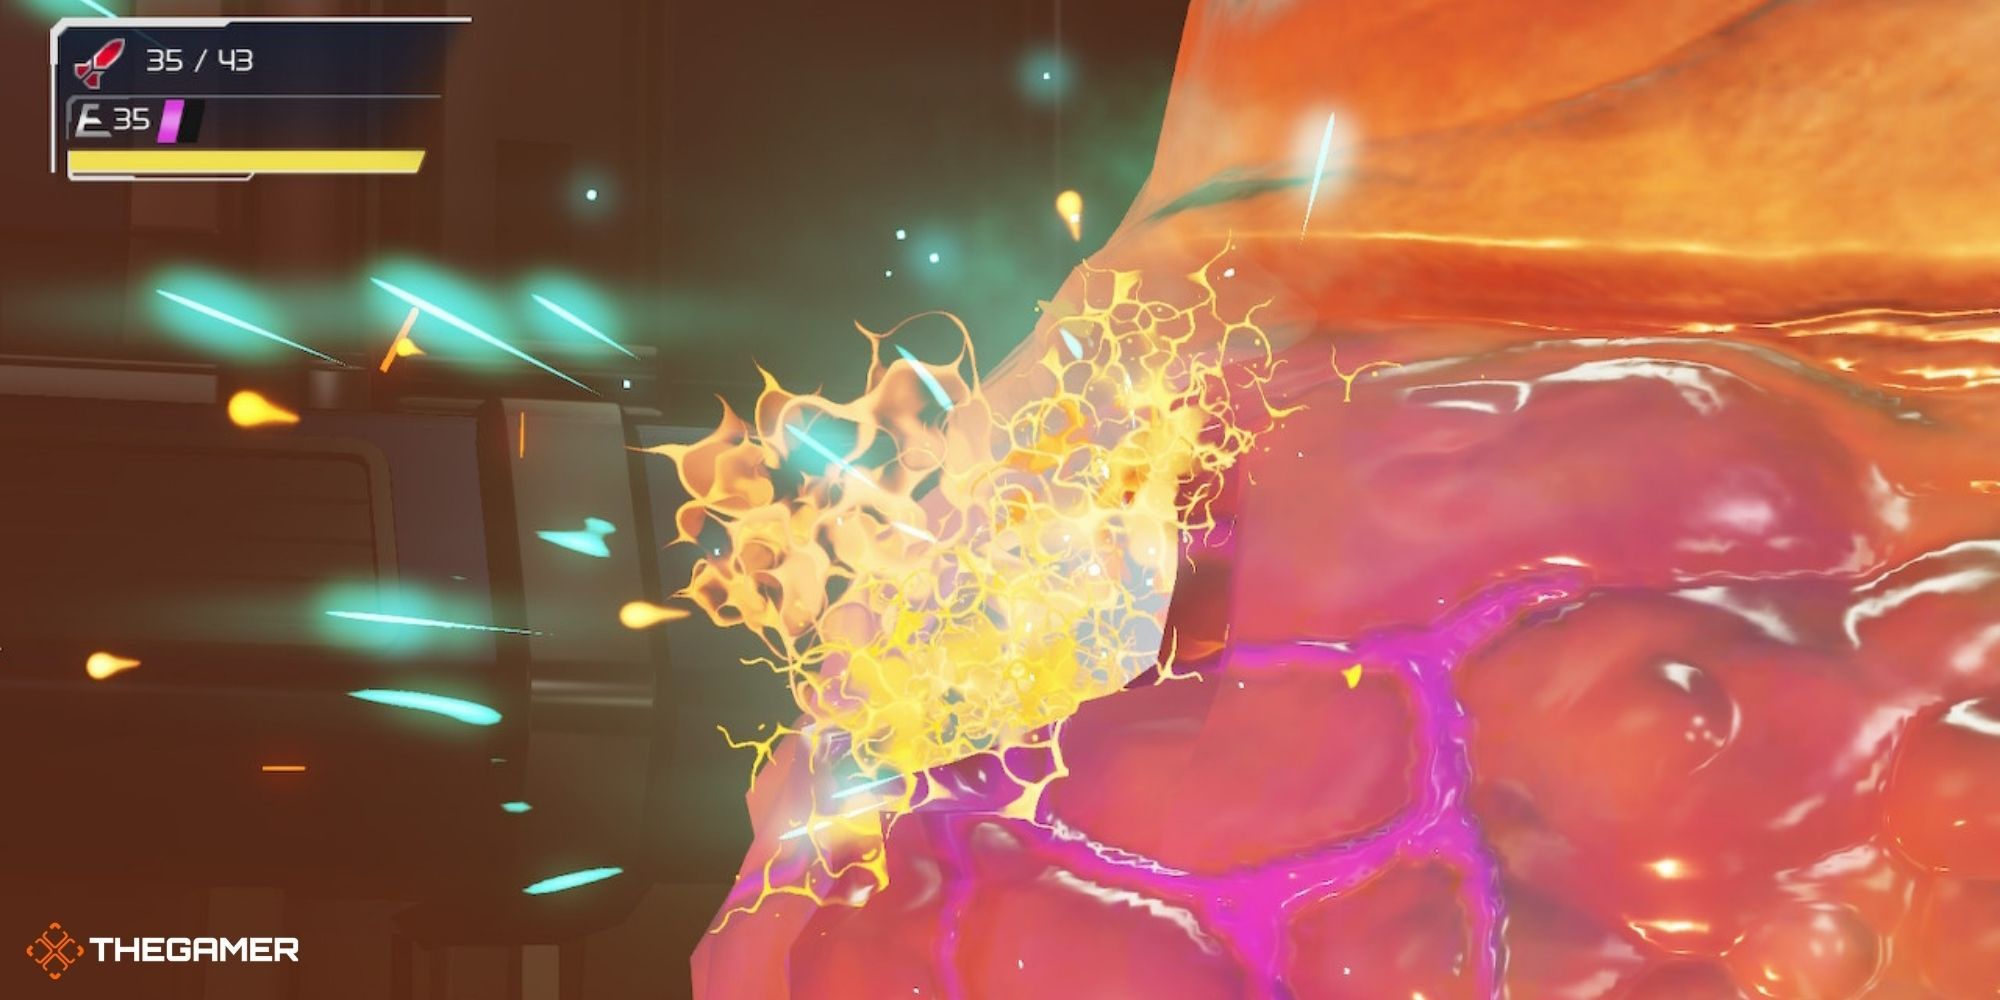
Once inside there, just keep mashing the bomb button!
NEXT: Beginner Tips For Metroid Dread