Quick Links
- Sky Keep Room 1, Dungeon Map – Zelda: Skyward Sword HD
- Sky Keep Room 2, Woods – Zelda: Skyward Sword HD
- Sky Keep Room 3, Timeshift Trek – Zelda: Skyward Sword HD
- Sky Keep Room 4, Volcano Chamber – Zelda: Skyward Sword HD
- Sky Keep Room 5, Dreadfuse The Pirate – Zelda: Skyward Sword HD
- Sky Keep Triforce 1, Quicksand Chamber – Zelda: Skyward Sword HD
- Sky Keep Triforce 2, Locked Door, Moblins – Zelda: Skyward Sword HD
- Sky Keep Triforce 3, Water Drop Lava – Zelda: Skyward Sword HD
We are, at long last, onto the final dungeon in our complete walkthrough of The Legend of Zelda: Skyward Sword HD. In this installment, we're tackling the most unique dungeon in the game, the Sky Keep.
Related: Skyward Sword: Where To Find Every Piece Of Heart
The Sky Keep is unique in that you can actually shift around all of the rooms in the dungeon, aside from the one you're in. This means that many of the rooms will be inaccessible. At first, and will require a degree of experimentation in order to get things right.
Since you can access pretty much any of these rooms in any order – aside from the first – we'll breakdown each of the eight room individually, and give you some tips on how to link things up in order to access all three pieces of the Triforce and complete the dungeon.
Sky Keep Room 1, Dungeon Map – Zelda: Skyward Sword HD
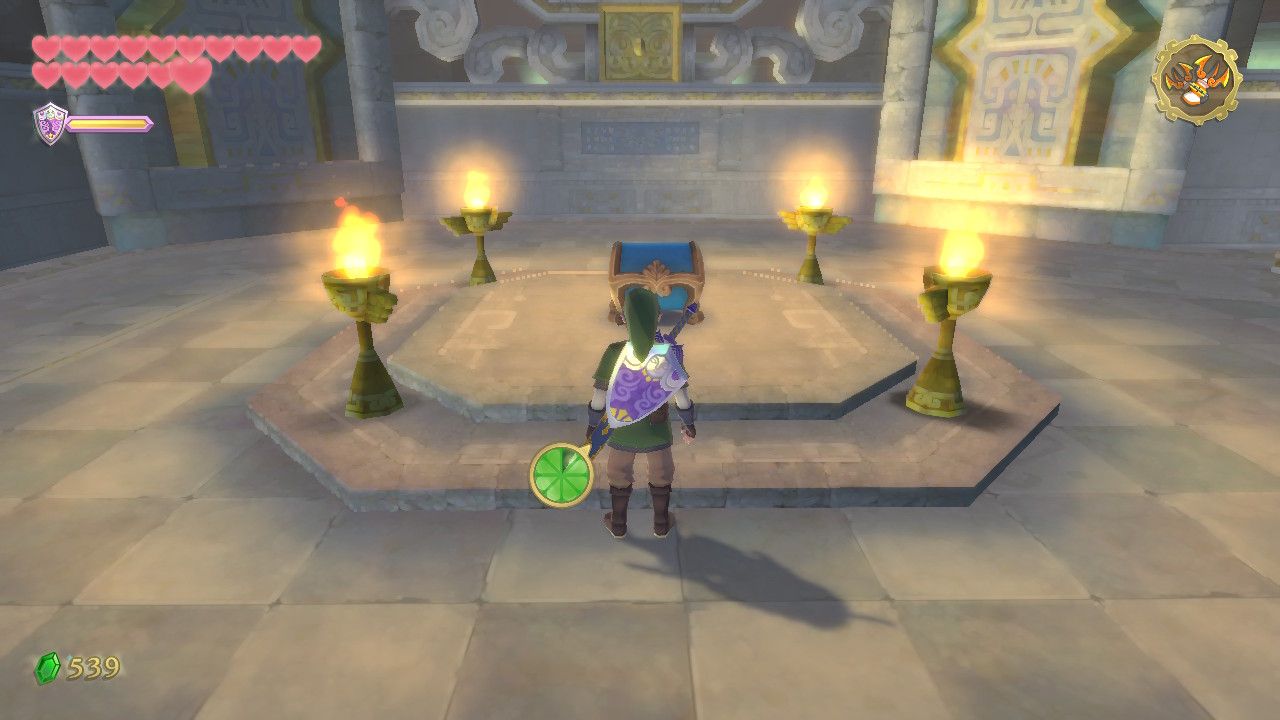
The first room is a right angle that only allows you to turn to the right – you can access a chest immediately, which gives you the Dungeon Map. You will also gain access to an altar – this altar's blocks relate to the dungeon's rooms. As you move the dungeons, your map will also change. You can use your map to keep track of which rooms you have and haven't visited.
Sky Keep Room 2, Woods – Zelda: Skyward Sword HD

The next room you're likely to visit is based on Faron's Woods. As you enter head right through the trees, and when you approach the gap use your Beetle to cut the distant rope, then use your Whip to swing onto it. Once across, Clawshot onto the vined stone cylinder, from there onto the next, and then finally you'll be able to use your Clawshot on the grapple point on the wall.
From here, use your Beetle to pick up a bomb from the smaller cylinder, and then use that bomb to destroy the flamethrowing lizards living in the wall to your left. Now you can swing across, land on the platforms, and use the Gust Bellows to have the platforms push you all the way over to the left. Go to the end of this corridor and flip the switch to open the shortcut back to the entrance.
Sky Keep Room 3, Timeshift Trek – Zelda: Skyward Sword HD
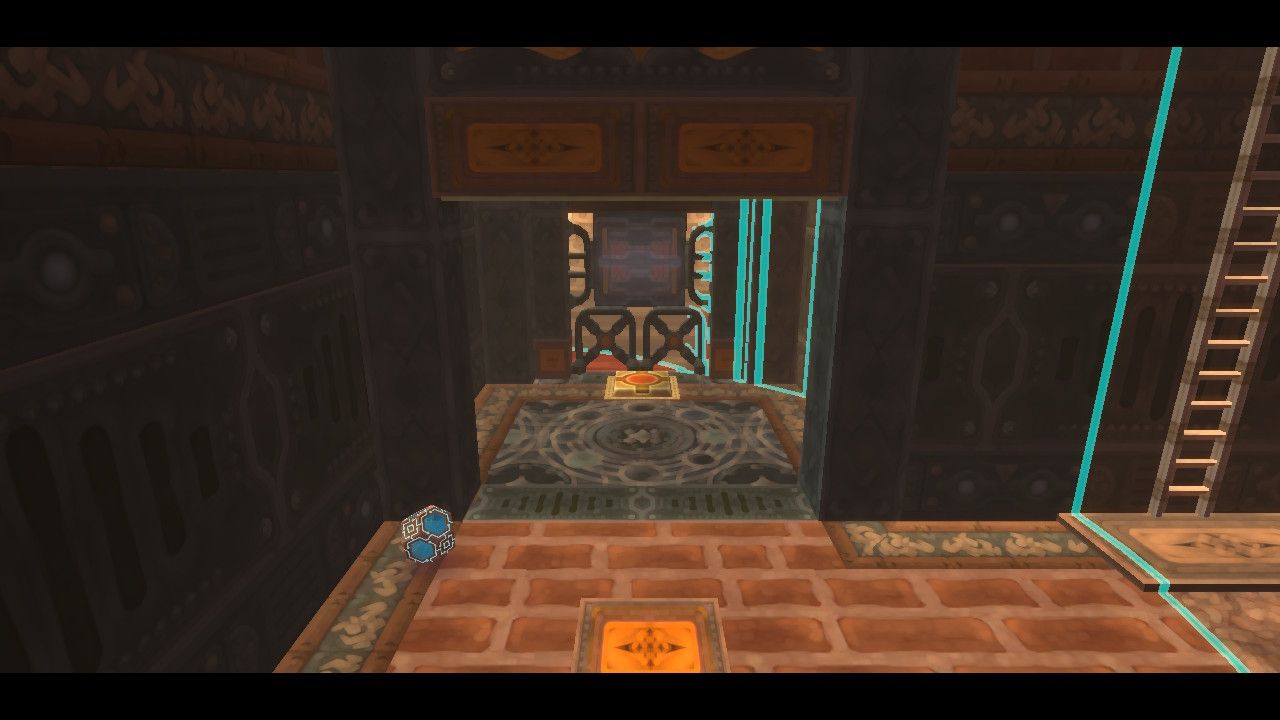
Okay, in this hallway you'll see a timeshift orb to your left, just like from the Sandship. Pick it up, and run to the right. Down the stairs, put the timeshift orb near the gate, and then climb the ladder. This will make the switch available – pull it to open the gate. Take the orb inside, and throw it onto the treadmill. Climb the ladder to go get the orb and continue.

In the next room, place the timeshift orb on the propeller platform, and use the Gust Bellow from the left side of the room to move the platform across. You'll need to stand on a switch and blow in order to open a gate. Once the platform has moved far enough you'll be able to shoot and eye high up on the wall with your bow, and use the switch at the end to finish this room.
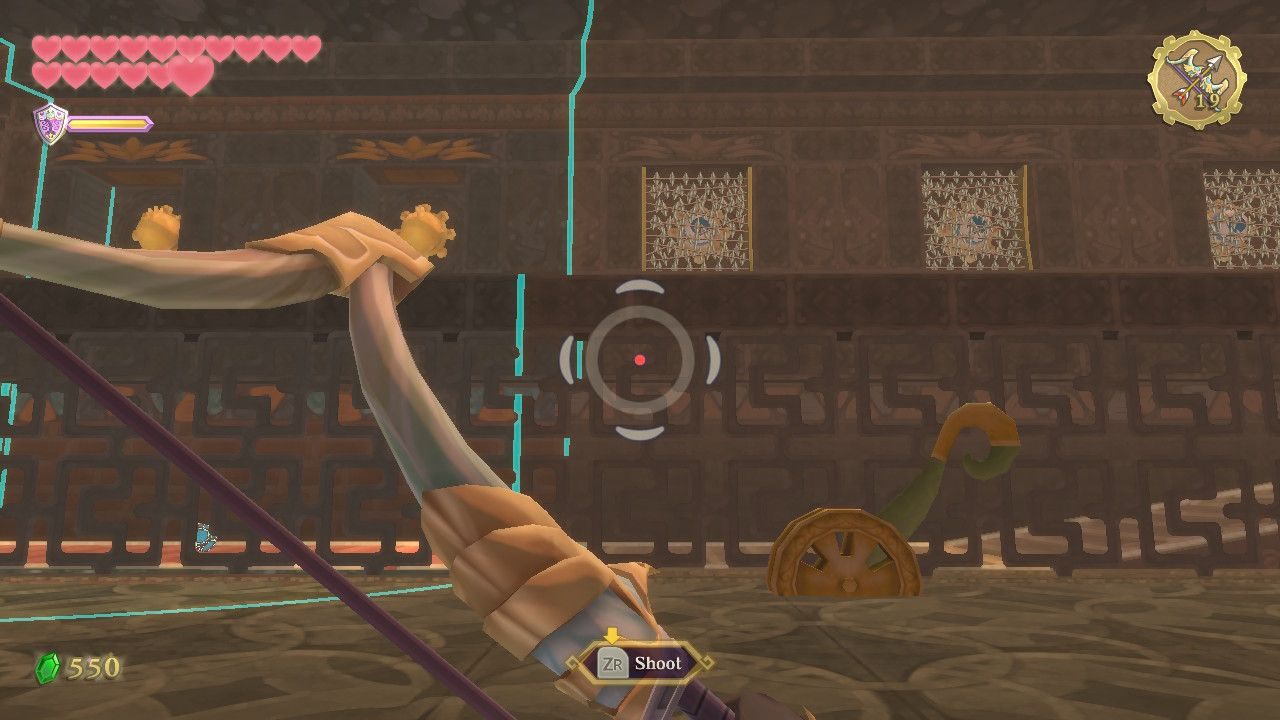
Take the orb again, and in the next room put it on the treadmill once more – after flipping the switch in here, that is. Take out the enemies that spawn, and make sure to hit the five eye targets above the treadmill with your Bow as the timeshift orb passes them. You can change the direction of the treadmill with the Whip switch in the centre of the room. Once done, you'll have access to another altar to change room order, and a shortcut through this area.
Sky Keep Room 4, Volcano Chamber – Zelda: Skyward Sword HD

This room takes after Eldin Volcano, and is the first of two heated chambers to work our way through. Move left and cut the grass here – you'll notice a crawlspace in the wall. Head to the end, and then left. From this small room, roll a bomb flower through the hole to open it up, then crawl through. Dig into the soft soil here to go underground. You can just flip the red switch here, and go back through to find the gate from before opened up.

Move on through and take out the Lizalfos – now there's a fun puzzle. You need to find three switches, and hit them in order of height, from lowest to highest. First, let's unlock them. To your immediate right there's a stone cup door – bomb it, as usual, to unlock the first switch. Next, from the small round platform, roll a bomb down the sandy path. With a good shot, using the curves of the path, you can roll it straight into the bomb cup on the next door. Once it's open, run down inside. You now strike this switch.

Climb the vines in here, and at the top you see a bunch of trees to your right. You can bomb or Skyward Strike the trees to cut them down, but using a Beetle and bomb is definitely the easiest way. After, use the Beetle bomb to get the next cup door down. Shoot the first switch you uncovered from up here, and then the final one. This will unlock the gate.
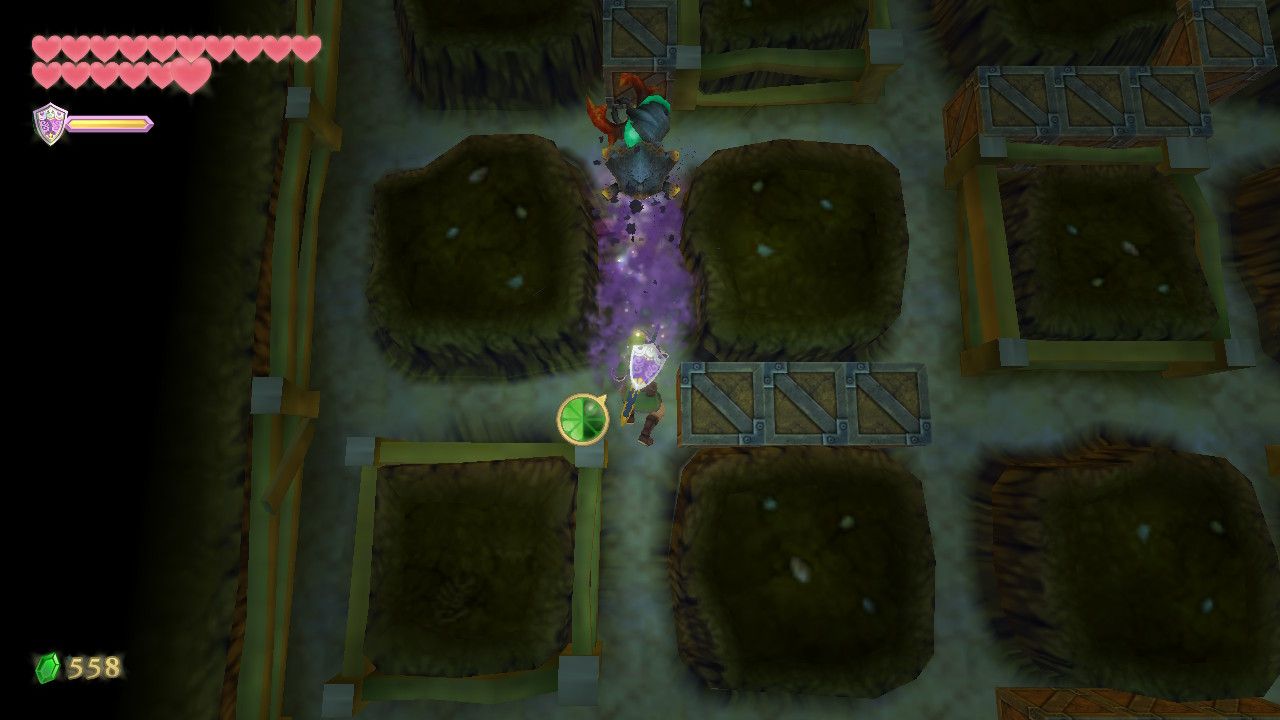
In here, go inside the soft soil again, and use the bomb to open up the paths – you'll need to strike the bombs twice in order to get them into the right areas, so be quick. Take the top left path, and hit the blue switch. Go back around to the exit, and that gate from before will again have move, giving you a brand new place to explore. In this area there's yet more soft soil to crawl inside, but this time you actually have to defeat two centipede monsters by attacking their backsides. Top tip: if they chase you and hit a wall, they will become momentarily stunned. Take the top right exit when you finish in order to find a new shortcut, and another altar to change the dungeon layout.
Sky Keep Room 5, Dreadfuse The Pirate – Zelda: Skyward Sword HD

In the fifth chamber in our little adventure we're going up against Dreadfuse the Pirate, who is very similar to Scervo, who we met on the Sandship. Don't worry though, Dreadfuse isn't any tougher than his counterpart. We have a guide to this fight right here.
Once you finish this fight you'll find a Small Key, in addition to another altar to change the dungeon layout. The Small Key is necessary to getting one of the pieces of the Triforce, and making the dungeon easier to navigate.
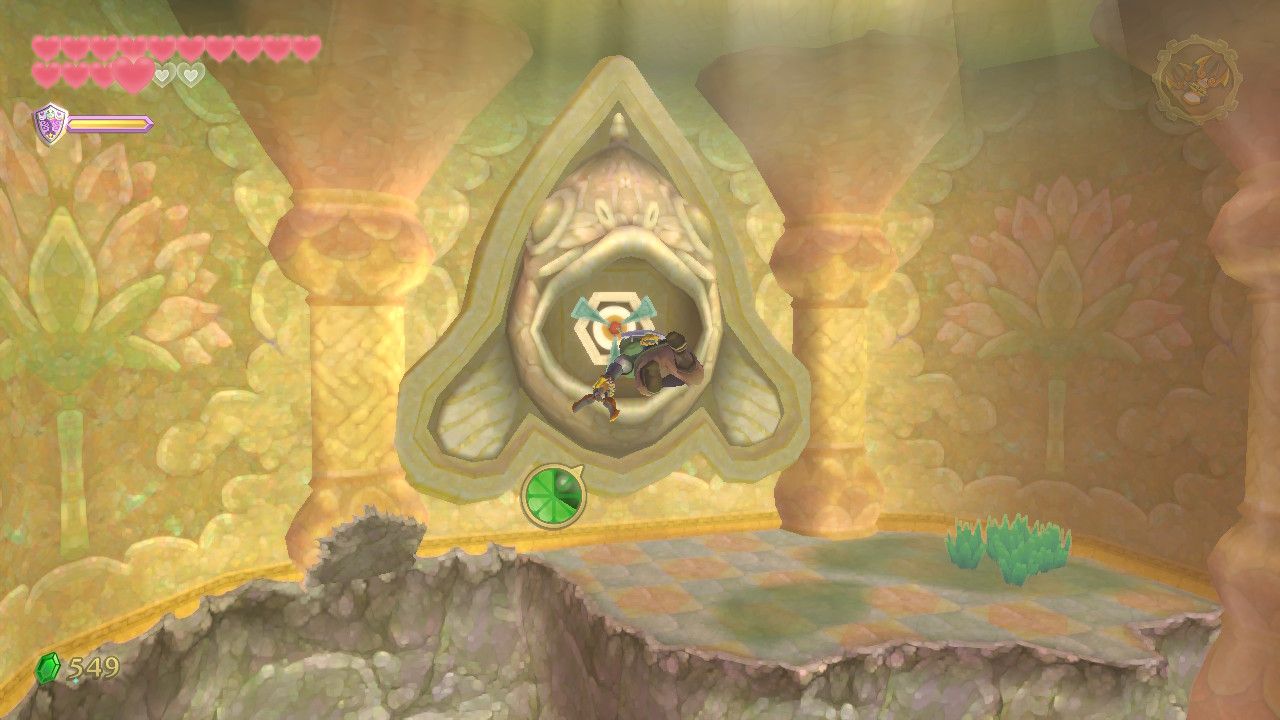
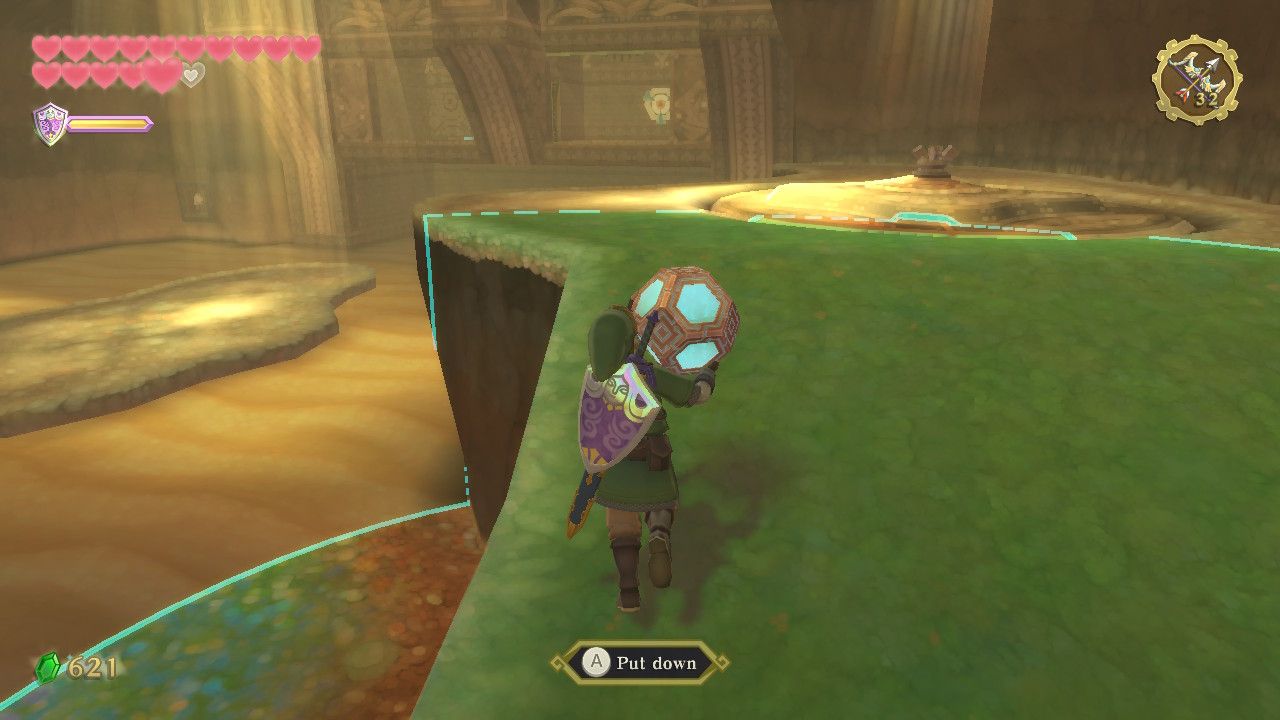
Sky Keep Triforce 1, Quicksand Chamber – Zelda: Skyward Sword HD
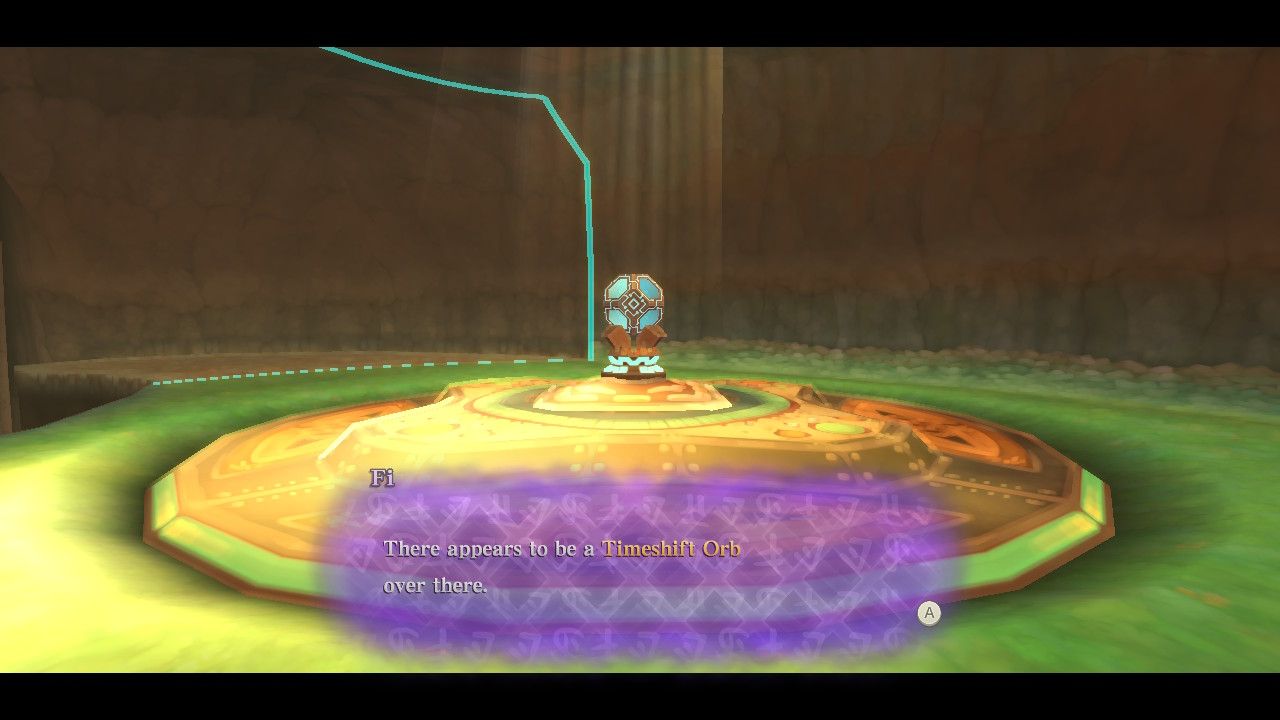
In here you'll be able to find one of the pieces of the Triforce, accessed by another timeshift orb puzzle. Let's go grab the timeshift orb from the right side of the stage. There's a switch covered by barbed wire on the right side of the stage – if you walk over there with the timeshift orb, you'll find a rug on the floor. Place the orb here, and run back up to where you found it. An eye target will be available, opening the gate to the left of the orb.

Go into the gated door with the timeshift orb. Go to the end of the hallway, and place the timeshift orb in the back corner, keeping it just of range of the landmass which raises when within the time range. You can then shoot the eye target by standing on the switch and looking through the air vent. This opens up the gate which hides a Clawshot grapple point behind it.
Return to where you found the timeshift orb, and go to the far wall. Approach the edge with the orb, and a landmass will appear. Jump across to the second pillar, and then throw the orb onto the floor towards the Clawshot grapple point. Get it close enough, and the barbed wire over the door will be removed. Now you can grapple across, and claim a piece of the Triforce by thrusting your sword into the mystical symbol.
Sky Keep Triforce 2, Locked Door, Moblins – Zelda: Skyward Sword HD
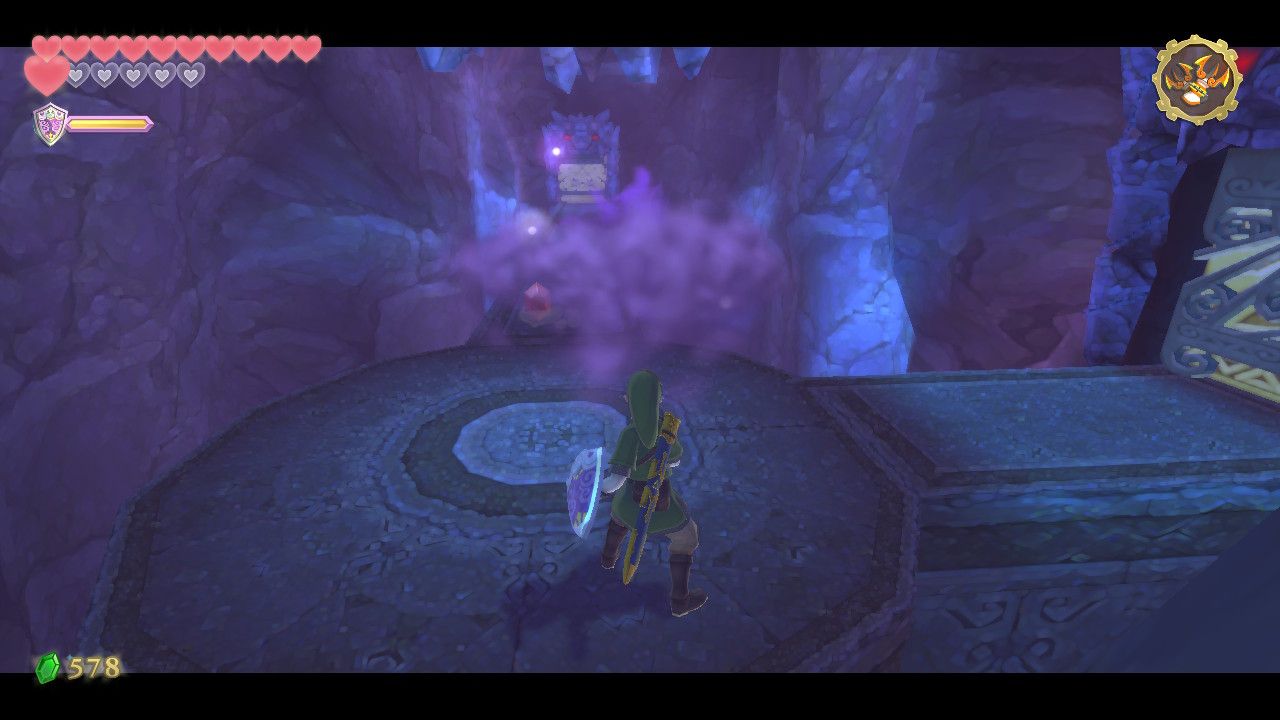
In this room you basically only have the option to open a locked door – make sure you've got the Small Key from the Dreadfuse room first. Through the door you have to take down two Moblins – you can sprint over their heads by climing their shields, and then attack them from behind, but don't get caught between them.
The next room will just have a lot of Bokoblins and a couple of Stalfos – use your Bow and sword skills to take them all out to open the door. The next room will have a Stalmaster, backed up by a bunch of zombie Bokoblins. This is a tough first, but you can do it with determination. In the next room, you can claim another piece of the Triforce and open up the shortcut.
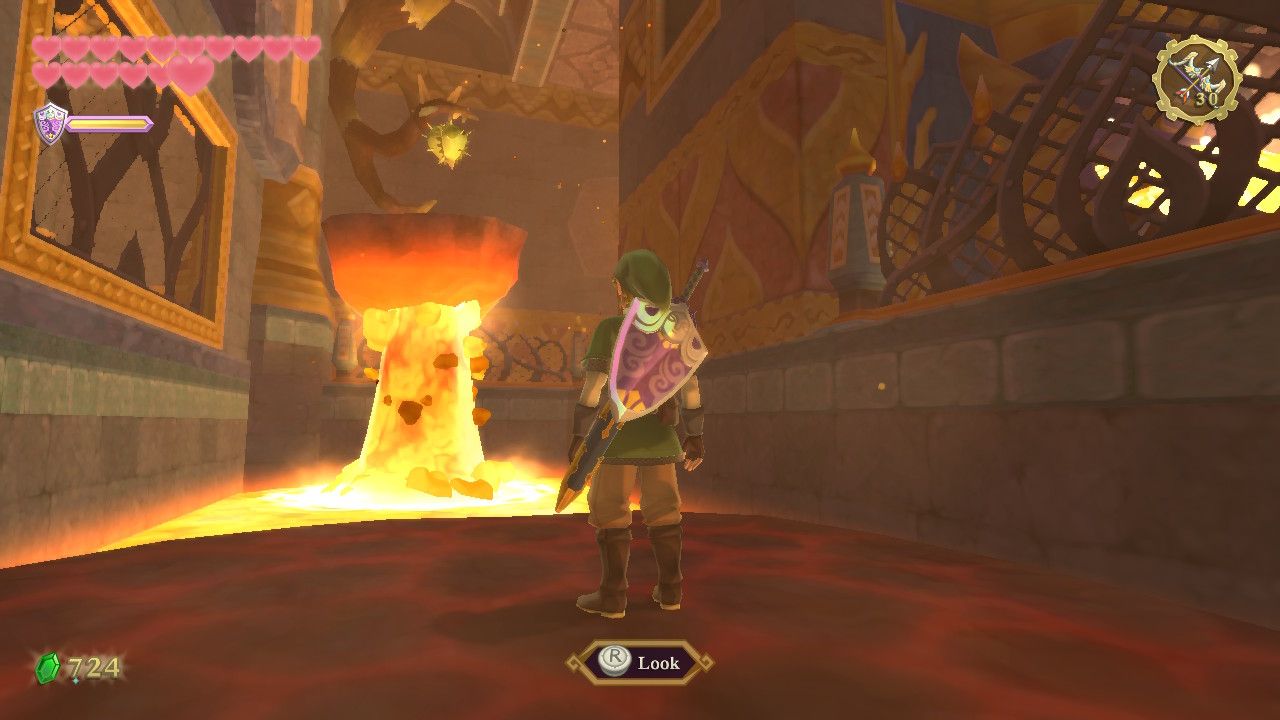
Sky Keep Triforce 3, Water Drop Lava – Zelda: Skyward Sword HD
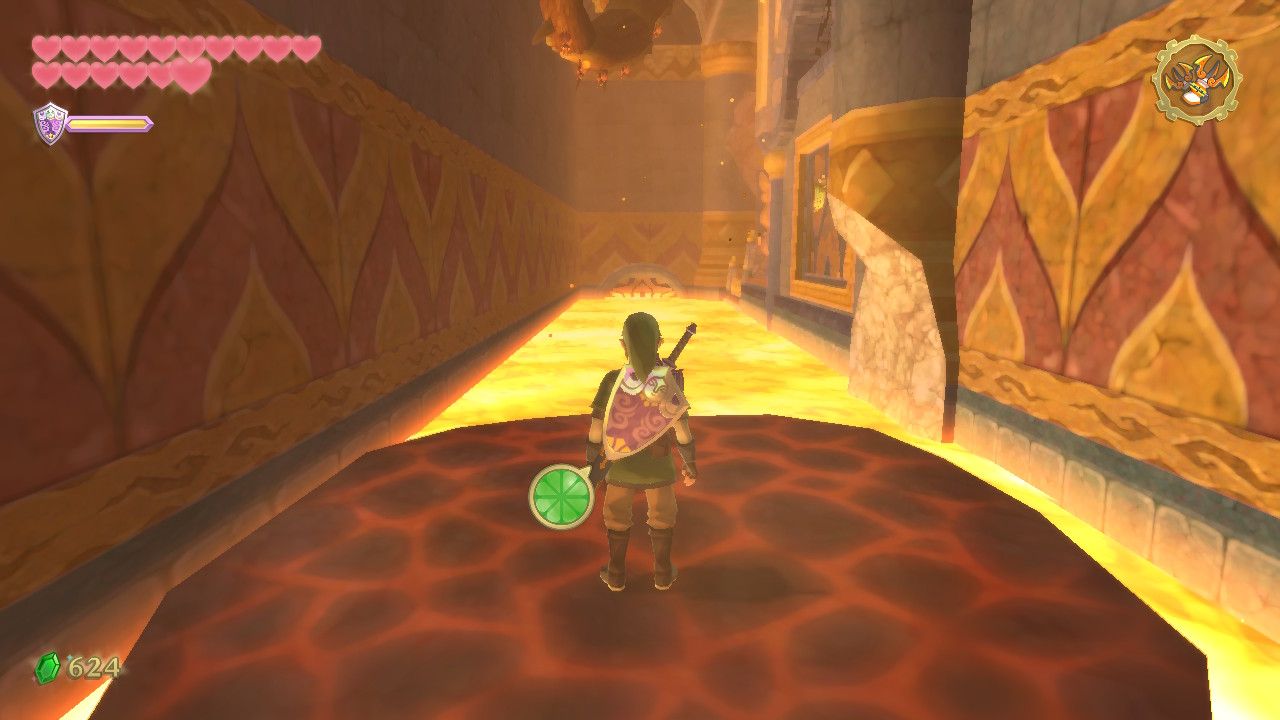
Hey, isn't this similar to the Fire Sanctuary again? You can only enter this particular room from the left side, so make sure to adjust the dungeon layout accordingly. First go left and knock down the water drop plant, ride the stone to the end, and the strike the gem on top of the Lion's head to your right, follow that up by making another platform with the water drop plant. Once across, look in the direction you're going and once again aim the switch above the lion's head to stop the lava flow you're heading towards. Jump onto the platform at the end and open the shortcut.
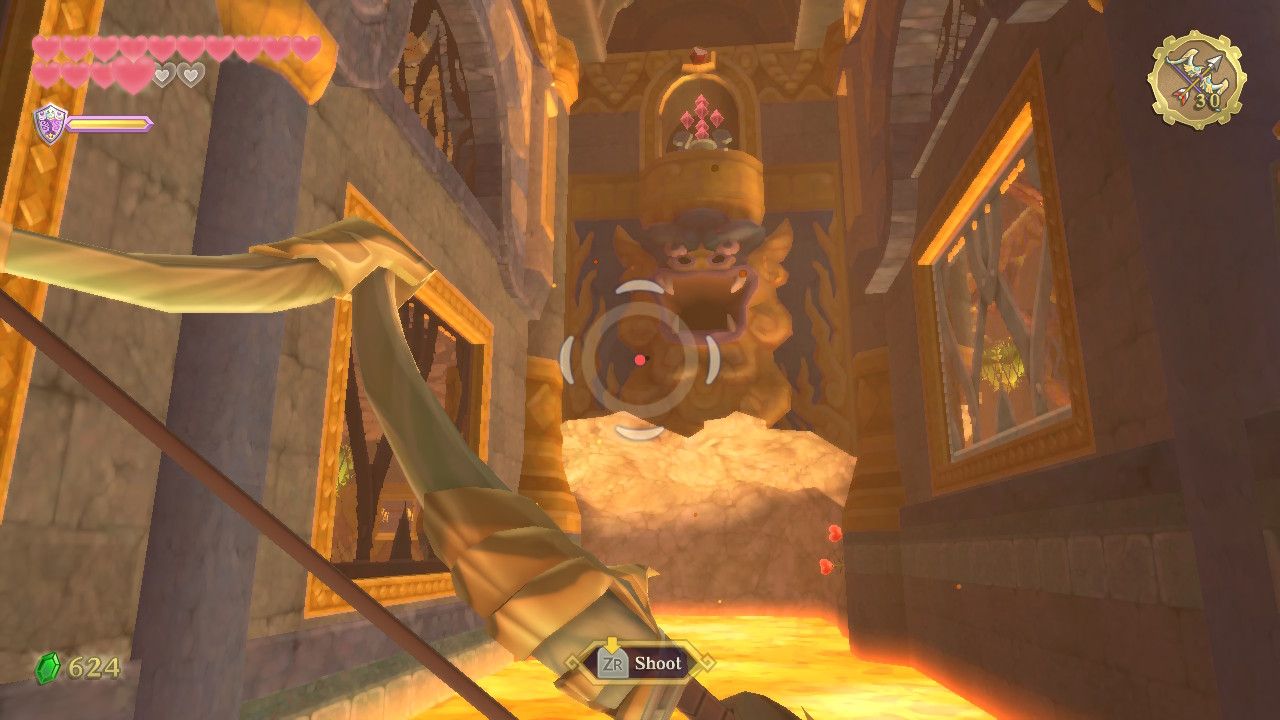
Knock down the next platform and ride it. Again, on the right will be a lion with a switch on it's head – hit it, and then the plant to make a platform. Ride this platform until you can climb onto the rock which is being raised by the lava. Climb on top. From here, use your Beetle to go back to the last switch you hit, and strike it again to reverse the lava flow. Now you can hit the next plant to make a platform, and begin to ride that.
In here you can climb on a metal grate while your platform travels underneath – take out the enemies ahead with your Bow while you can, and then Clawshot to the grapple point at the end and open up the shortcut. This is where you'll find the final Triforce piece and complete the dungeon – hopefully!

Next: Zelda: Skyward Sword Complete Guide And Walkthrough