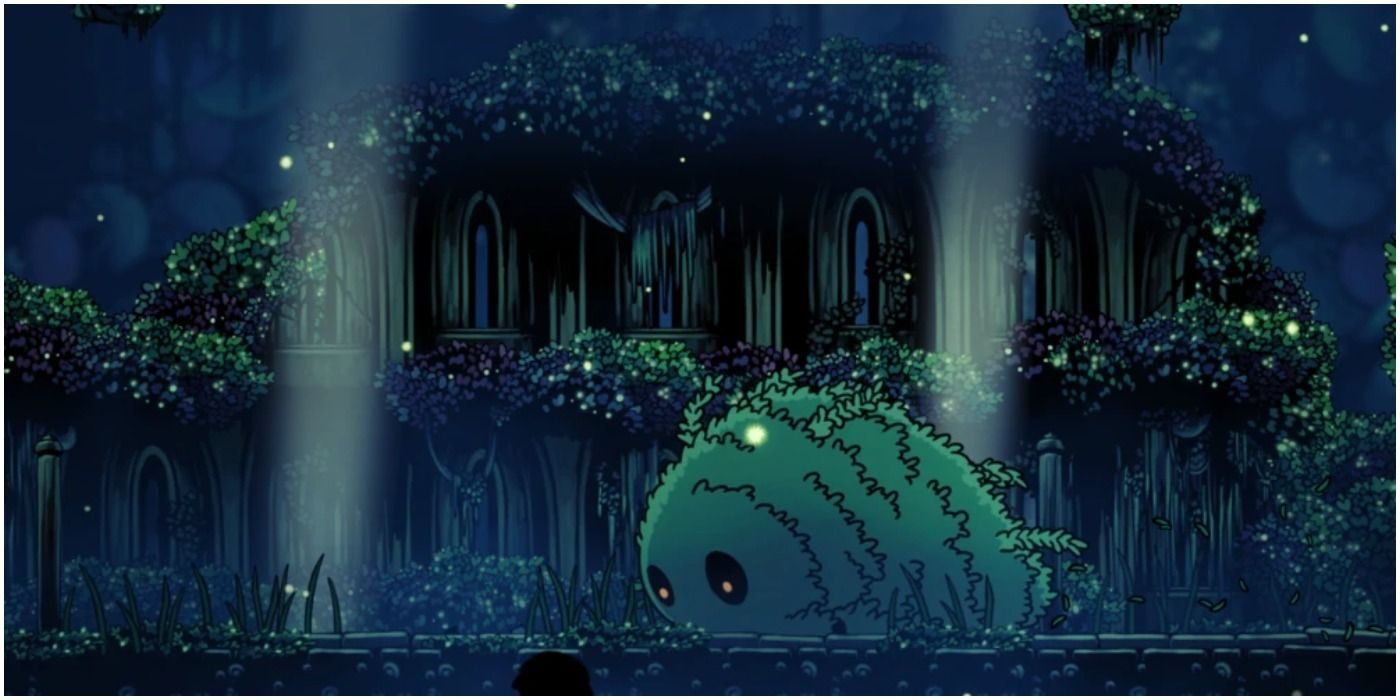
One of the key aspects of progress in any Metroidvania is the boss battles. Although these battles are often not very linear given the nature of this genre, completing them often shows you just how powerful the protagonists have become, and Hollow Knight is an especially good example.
RELATED:Ranked: The Hardest Hollow Knight Bosses With Tips To Beat Them
With so many adversaries spread across the land, there's no set order for you to encounter them, as every playthrough is different. However, it's good to have an idea of what boss is best to knock out before others, and that's exactly what this guide will help you do.
The False Knight
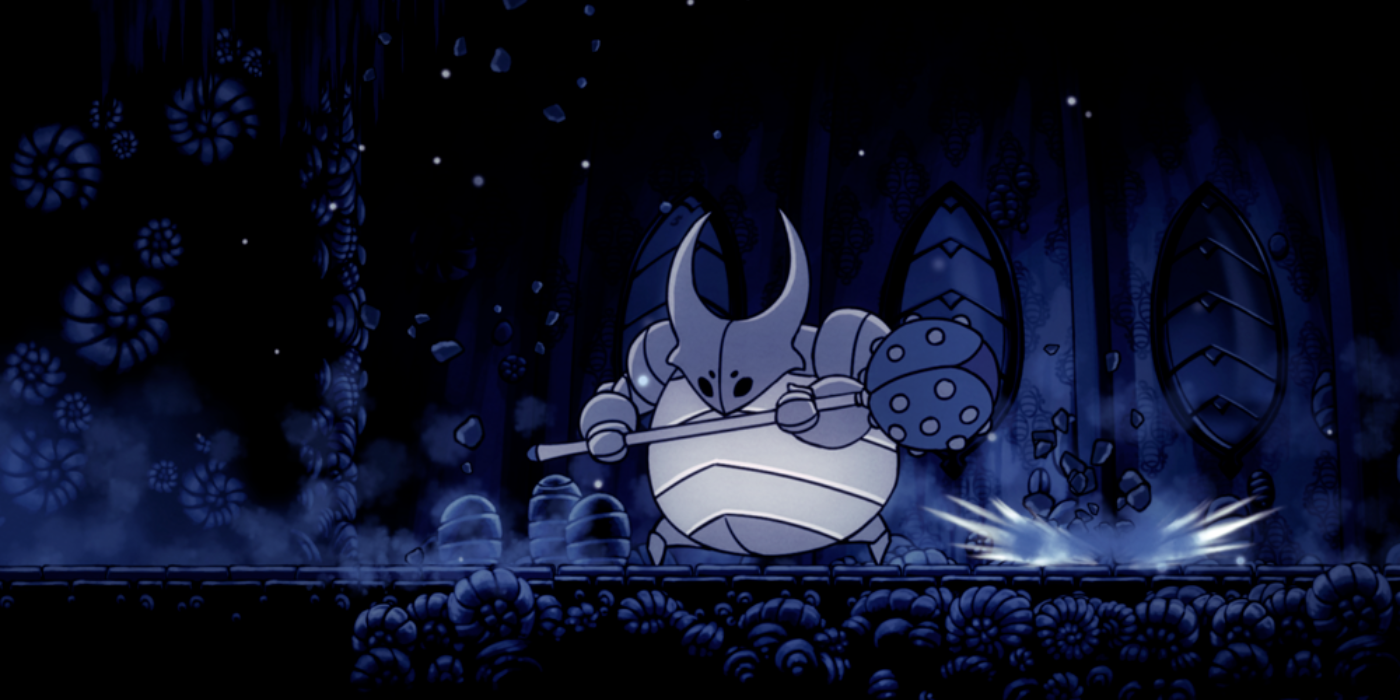
The False Knight is perhaps the easiest boss in all of Hollow Knight, and the first many are likely to encounter. While additional abilities like dashing and spells will make this fight much easier to tackle, this boss is simple enough to be conquered without them. You will encounter the False Knight in the middle of the Forgotten Crossroads.
The False Knight attacks by slamming his massive mallet into the ground to create shockwaves, which can be jumped over. The swings are slow at first, so landing a couple of hits after dodging and walking away is the best way to rack up damage. You can mark the transition between the phases of the fight by the number of times he slams his weapon wildly into the ground, causing rocks to fall around him. In the second phase, a massive swing will cause rocks to fall as well as shockwaves, and in the final phase, all swings will. Beating The False Knight rewards the City Crest, which is required to access the City of Tears.
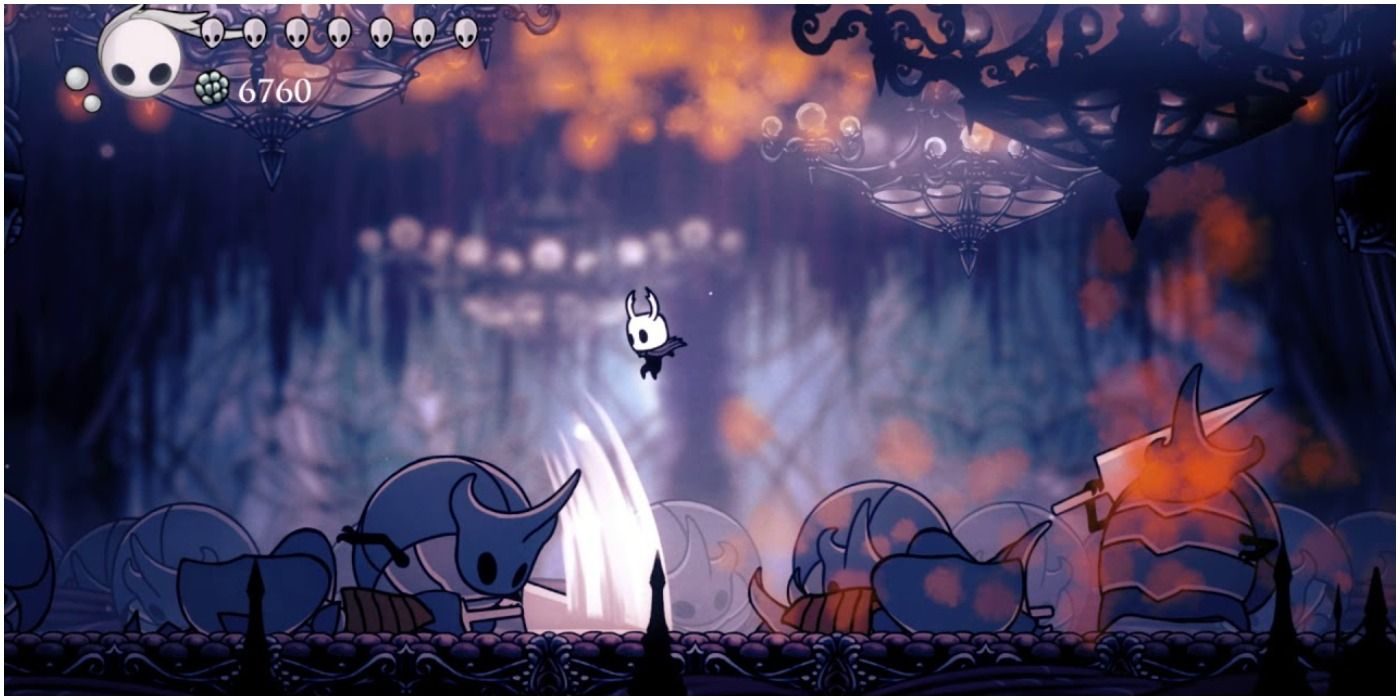
Gruz Mother
The Gruz can be encountered at the bottom of the Forgotten Crossroads, blocking the gate that leads to an abandoned village area. While it is possible for you to have access to the Vengeful Spirit spell and the Mothwing Cloak before fighting the Gruz Mother, it is recommended that you fight her beforehand as these items are not needed to defeat her and this battle unlocks the second half of the area for exploration.
The fight involves the Gruz Mother charging at the Knight directly, bouncing off the ceiling to move across the room, and flying around. Your best bet is to simply hit her as much as possible and move away as fast as you can when she attacks. The bouncing can be avoided by moving back and forth to her with your nail and is also the best opportunity to heal. The fight is not over until you also kill the swarm of Gruzzers that she spawns upon death.
Vengefly King

The first time you'll be able to encounter a Vengefly King is rather early, as you make your way to Greenpath for the first time. Killing this Vengefly King is completely optional, and whether or not you do will alter certain aspects of the game, namely achievements you can unlock, as well as your completion of the Hunter's Journal. It is for the latter reason that we recommend you face him right away, but it is still up to you.
Luckily, this battle is rather easy as well, as the Vengefly King only has two attacks: a charge attack and a summoning call. He will either charge at the Knight and drag his jaw across the floor to deal damage or summon Vengefly enemies to assist him. The best strategy is to jump and pogo off his body to deal damage when he charges, then kill the enemies as soon as possible. You can choose to return to face him up until you obtain the Mantis Claw.
Hornet Protector

The first fight against Hornet takes place shortly after you enter Greenpath. Defeating her allows you to progress through the western half of the area as well as earning yourself the Mothwing Cloak, which gives you the ability to dash.
RELATED:Hollow Knight: How to Get the Mothwing Cloak
She has five main attacks:
- Lunge where she simply lunges forward at the Knight.
- Aerial Lunge where she jumps into the air then lunges downwards.
- Gossamer Swarm, which is an area-of-effect attack she usually performs in the air.
- Throw where she pulls the nail back before firing it at the Knight.
- Leap, where she jumps around the arena.
The best strategy is to jump over and under her lunge attacks and gain SOUL from nail hits. You should have Vengeful Spirit at this point, so use that from a distance for extra damage and heal out of range of her Throw and Gossamer Swarm attacks.
Massive Moss Charger
The Massive Moss Charger can be encountered along the Pilgrim's Way in Greenpath, which leads to the Fog Canyon. It should be noted that beating this boss is not required to actually progress through the area and it is more of an enemy encounter.
Its only two attacks are Charge, where it charges at you, and Belly Flop or Jump, where it jumps out the ground and tries to fall on you. It is recommended to have the Mothwing Cloak during this fight so you can dash over and under the Massive Moss Charger's attacks, as well as using Vengeful Spirit to hit it as it crawls back under the ground.
Mantis Lords
The Mantis Lords can be encountered at the bottom of the Fungal Wastes in Mantis Village. Defeating them grants access to the lower eastern section of the Deepnest, but it is recommended that you do not venture through Deepnest without first purchasing the Lumafly Lantern. It is also recommended to have your nail upgraded at least once, which requires Pale Ore.
In the beginning, you will only fight one Mantis Lord who has three main attacks:
- Lance Lunge where she lunges at the Knight directly.
- Lance Drop where she'll appear over the Knight before thrusting her nail into the ground.
- Blade Boomerang, a projectile she throws while hanging off the wall that either starts low and rises up or starts up and descends.
Once she is defeated, the other two will attack you at the same time with the same attacks. It is recommended that you stay in place and only move when you see either of the Mantis Lords coming toward you or if you have to avoid both boomerangs, which can be done by simply bouncing off them with your Nail (or double jumping if you have that ability).
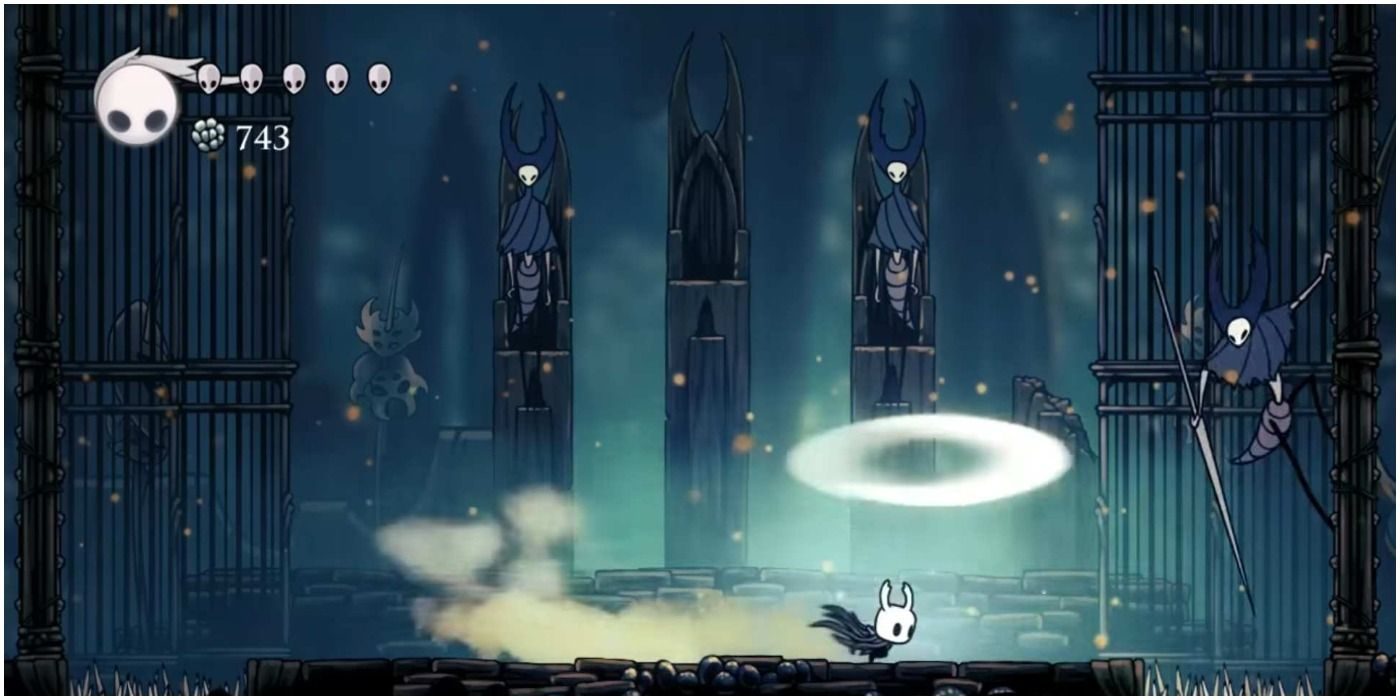
Soul Warrior
There are actually two Soul Warriors that you will encounter in the Soul Sanctum. The first one protects the main entrance to the upper level of the Soul Sanctum, and the second requires you to have the Elegant Key in order to access it.
Both battles will always begin with the Soul Warrior teleporting above the Knight and doing a downward slash. His main attacks include said downward slash, a dashing slash, and firing an orb of soul energy that homes in on you. The second Soul Warrior also summons up to 24 Folly enemies to assist it. Make sure to get a few hits in after the first downward slash and jump over the dash slashes to land hits from behind or with a down pogo. The homing attack is easier to dodge since it is on the ground. Don't focus on the Follies too much in the second battle unless you have to.
Soul Master
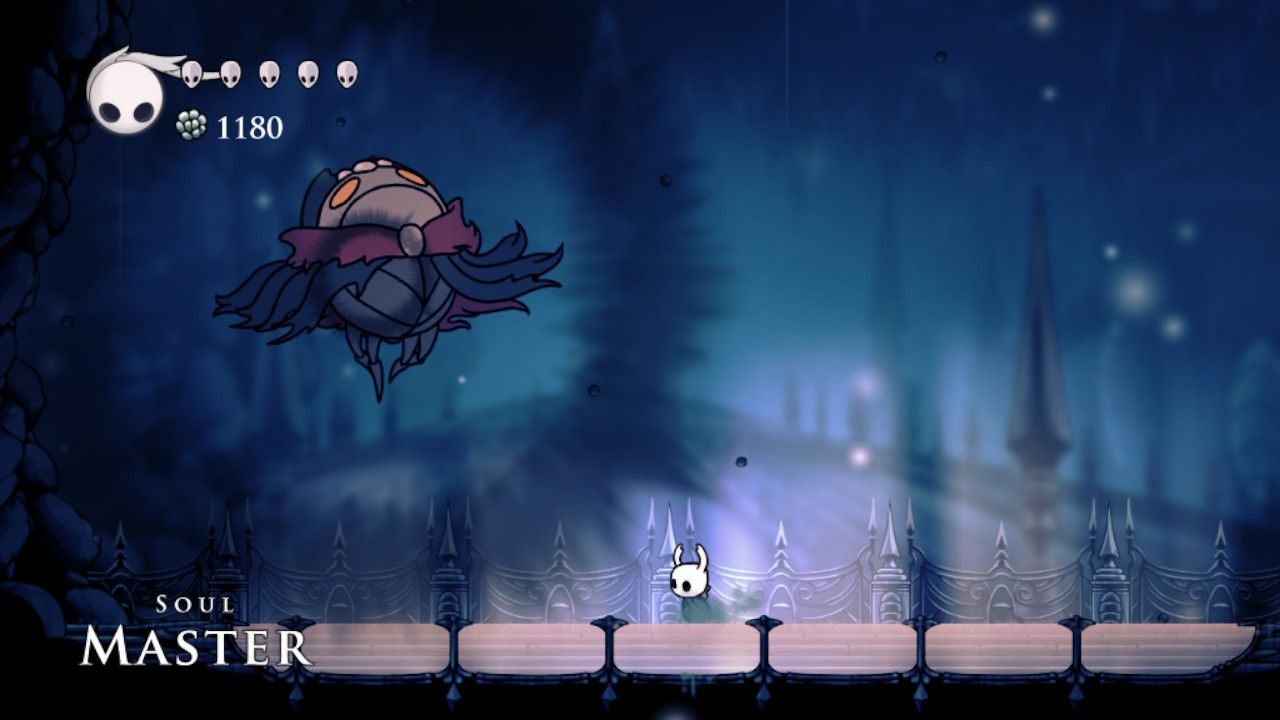
The Soul Master is the final battle of the Soul Sanctum and is encountered in the upper part of the area. Defeating him rewards you with Desolate Dive. The main difficulty with this boss lies in the fact that telling which attack he going to do next is troublesome because of the subtle differences in how he telegraphs them. He also teleports around the arena frequently.
RELATED: Hollow Knight: How to Get Every Spell
He has a number of attacks to watch out for:
- Dash attacks from one end of the arena to another.
- Fires an energy orb from anywhere that homes in on you.
- Moves across the arena surrounded by four glowing orbs that rotate either clockwise or counterclockwise and boomerang back once he disappears.
- Slams directly into the ground, creating shockwaves on either side of the arena.
- Fake-out slam attack where he cancels it before beginning another.
The best strategy is to not move around too much and pay attention to the Soul Master at all times. There is a second phase where he slams frequently into the ground and floats in place while conjuring orbs from all across the area. Make sure to heal before starting this phase.
Dung Defender
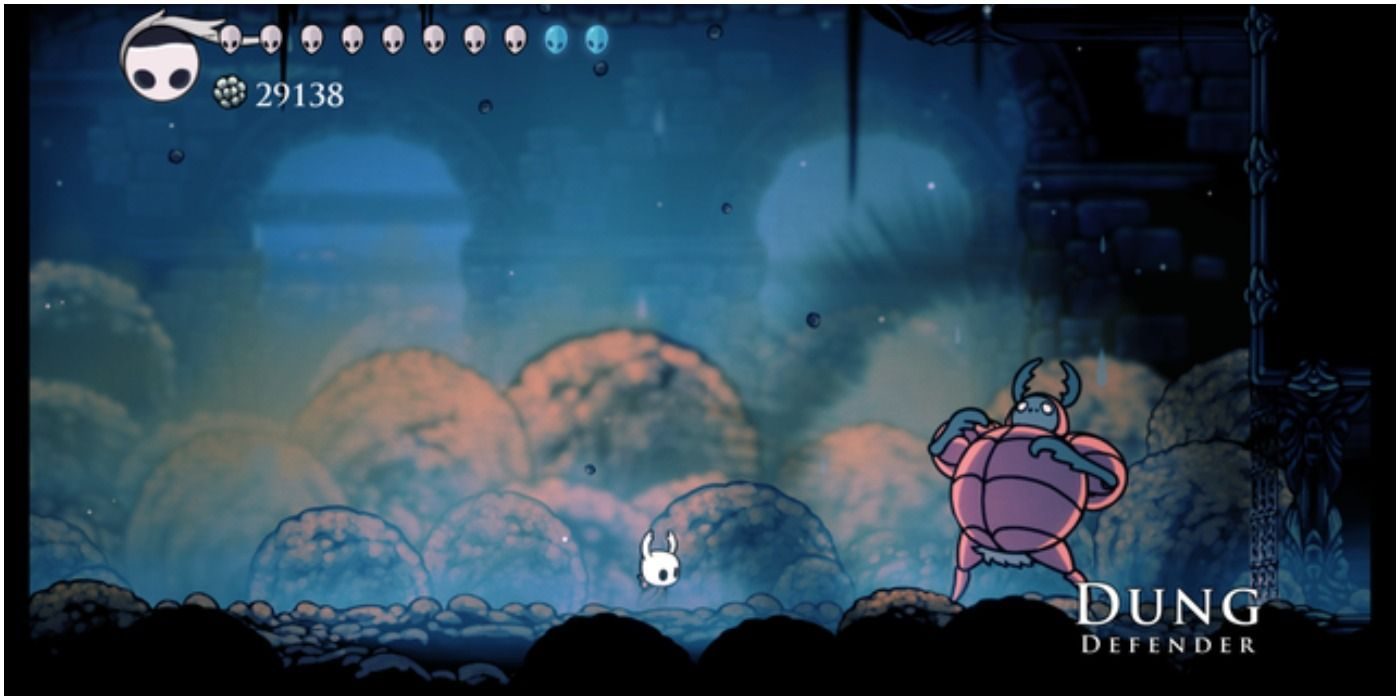
The Dung Defender is found in the eastern section of the Royal Waterways, right before the entrance to Isma's Grove where the Isma's Tear item can be found. He must be defeated in order to gain access to Isma's Grove, as well as to obtain the Defender's Crest Charm.
The Dung Defender mainly attacks by tossing balls of dung into the air that can bounce all over the arena, either one or multiple, and sometimes along with himself. He can also burrow underground and swim towards the Knight, then burst forth to send smaller balls that shatter on impact. He'll let out a roar at half health to signal a chain of burst attacks. The best way to defeat him is to use Desolate Dive to damage him while he is underground. Keep tabs on where he is underground as well as where the balls fly to.
Broken Vessel
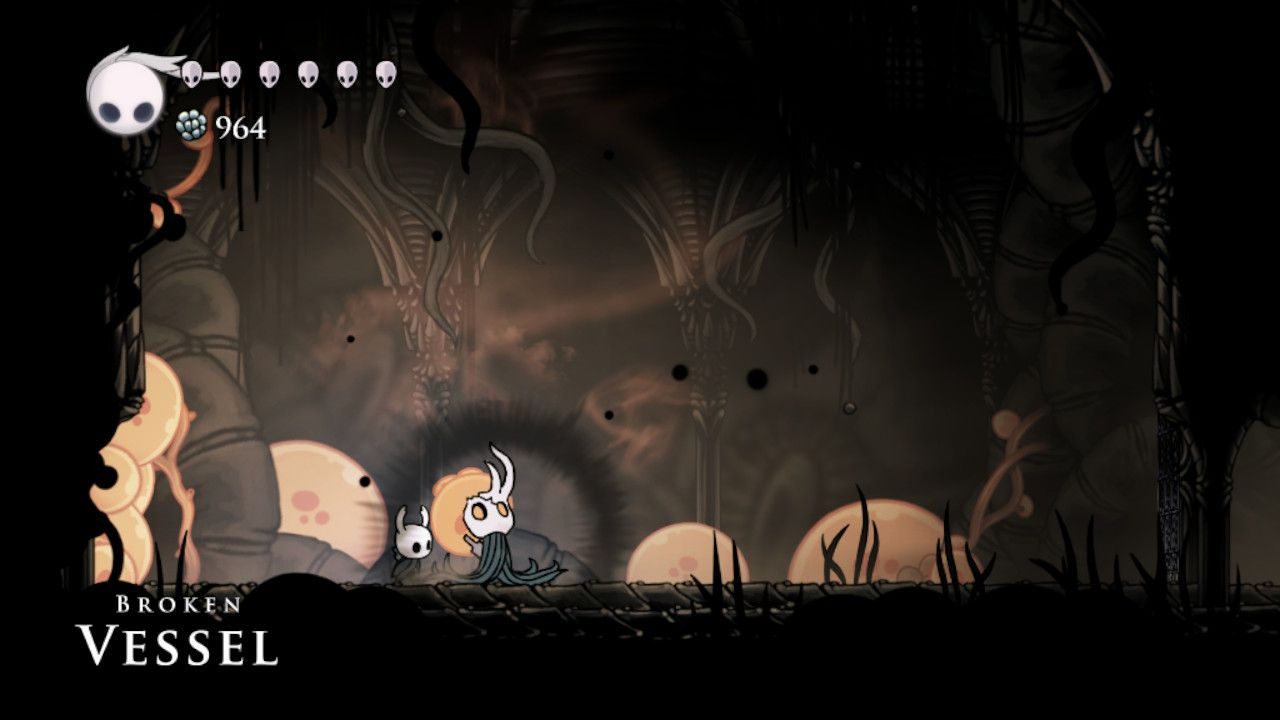
The Broken Vessel is encountered in a room to the far west in the Ancient Basin. He must be defeated in order to receive the Monarch Wings ability. Be careful of the following moves:
- Slash attack that covers about 75 percent of the arena.
- Aerial Slash is the same, but simply in the air.
- Will flail his nail rapidly over his head.
- Can jump onto the Knight.
- Slams into the ground and spawns multiple balls of Infection that rise into the air.
- Jumps into the center of the area, waves his head around, and conjures a cascade of Infection blobs that rise rapidly from the ground.
- Summons Infection Balloon enemies that home in on the Knight.
Because the Broken Vessel moves a lot and is difficult to get close to, keep your distance and make sure to use Spells in combination with your nail attacks.
Crystal Guardian / Enraged Guardian
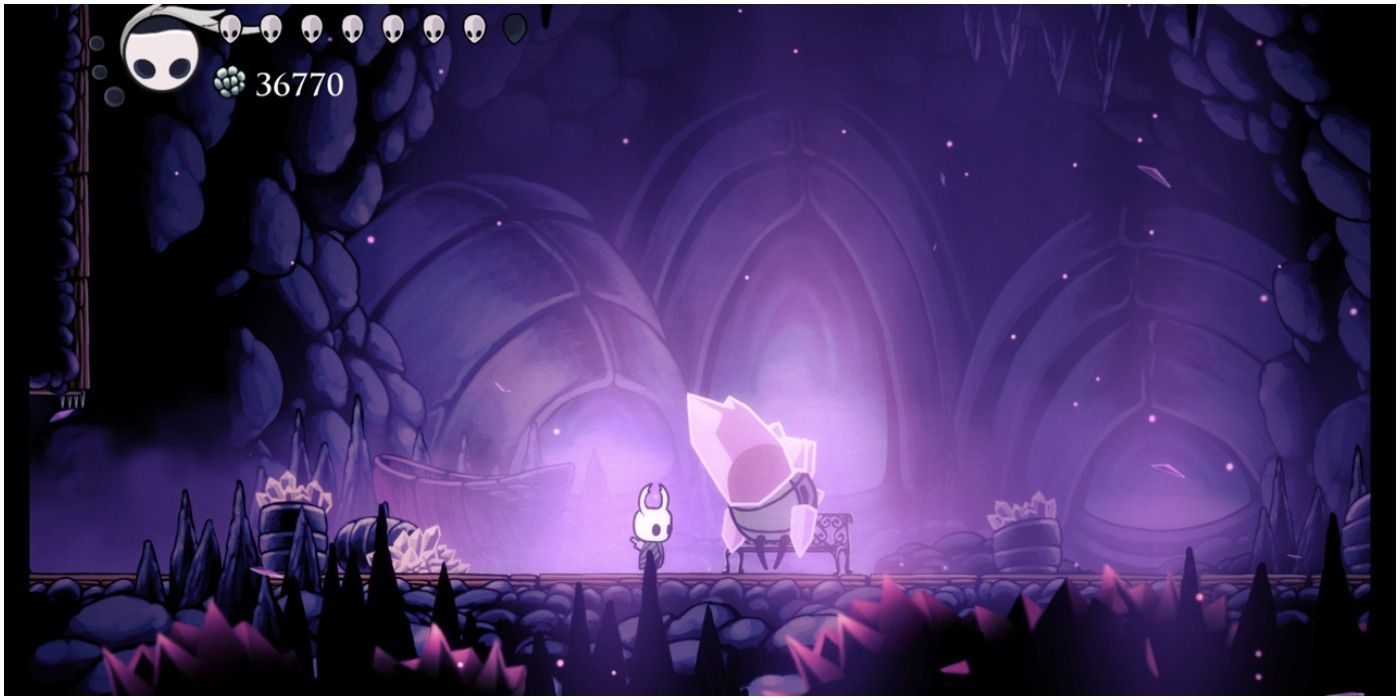
The Crystal Guardian is first found sitting on the center bench in Crystal Peak. The only way to sit on the bench yourself is to defeat him, and afterward, he will jump to the room above and becomes the Enraged Guardian. This room cannot be accessed until you get the Monarch Wings, which can only be done by defeating the Broken Vessel. You can return to this room at any time after receiving this item, and defeating the Enraged Guardian rewards a Mask Shard.
Both forms attack by charging and firing a laser beam from their hands that shoot in one direction, summoning multiple lasers from the ceiling, and hopping around. The Enraged Guardian is simply faster and stronger. Every beam is telegraphed, so waiting for the right opportunity to dodge and getting damage in while he is standing still is the best strategy.
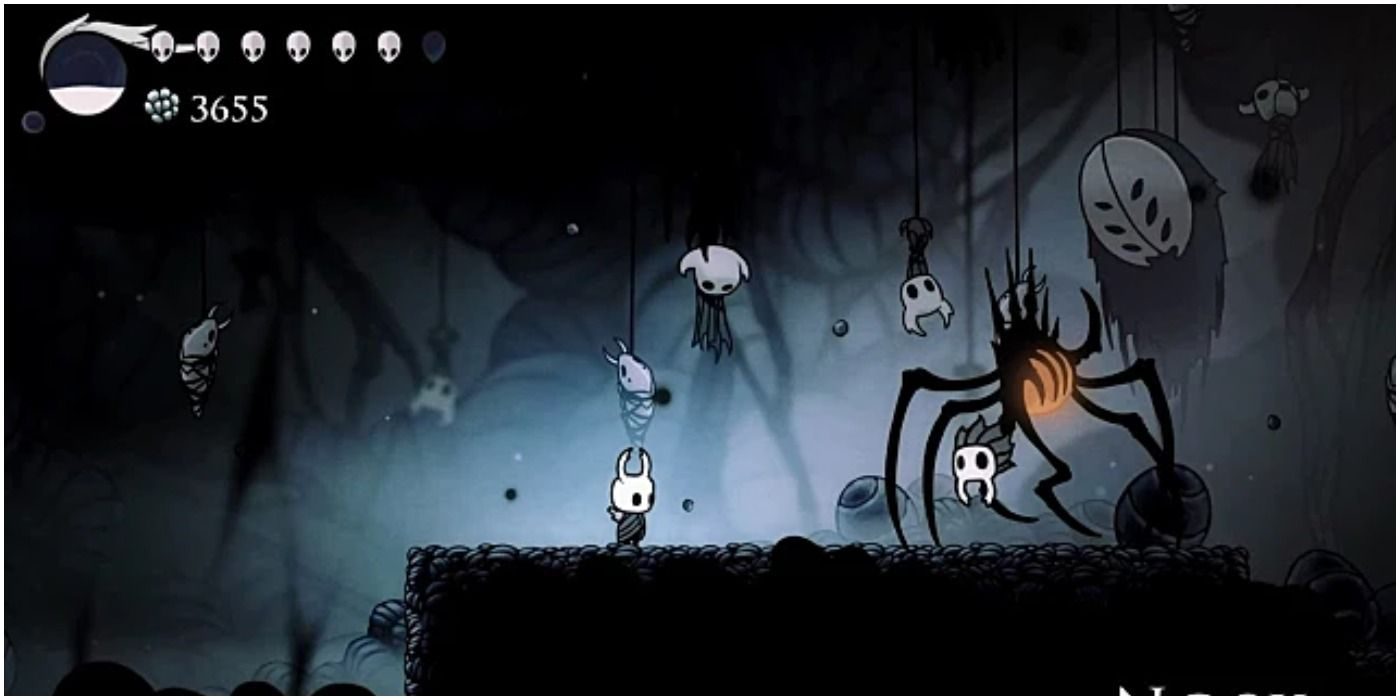
Brooding Mawlek
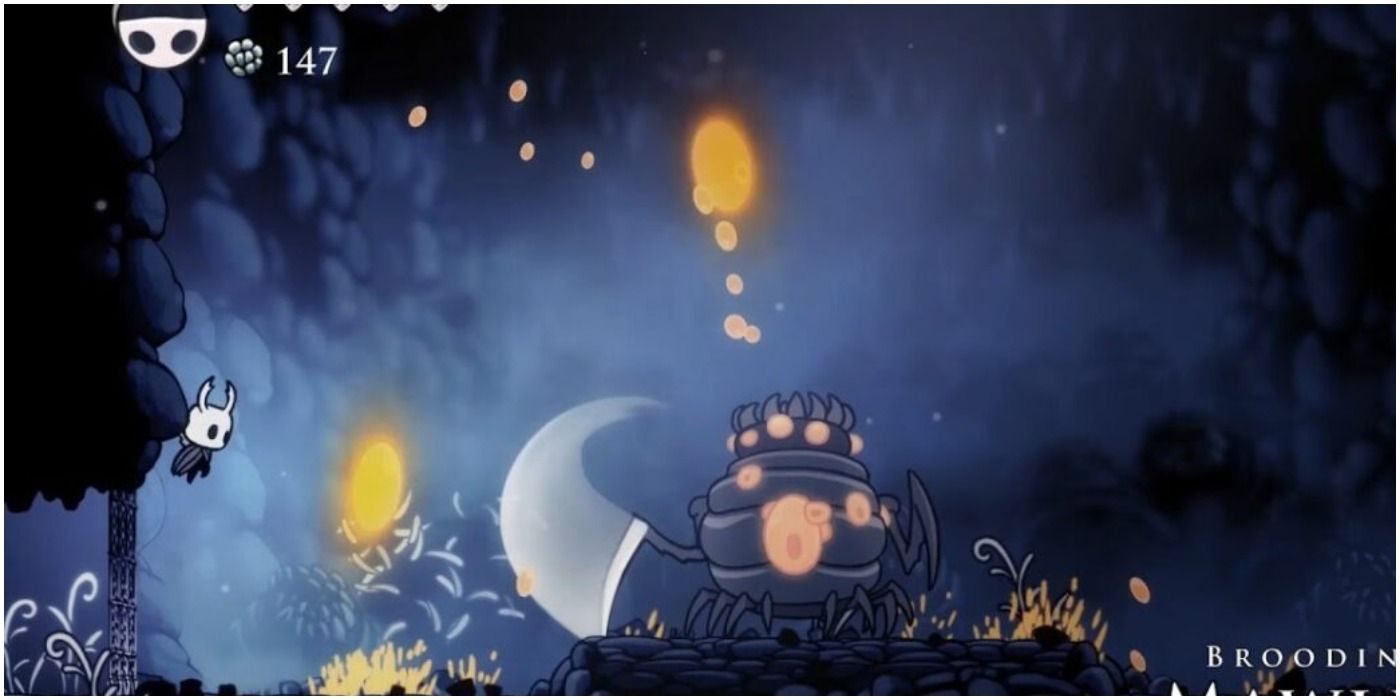
A single Brooding Mawlek can be encountered in the Forgotten Crossroads. To the left of the vertical shaft filled with Gruzzers and Tiktiks, there is a blocked room that requires the Mantis Claw to get over. Another is found in the Coliseum of Fools.
The Brooding Mawlek constantly spits up blobs of Infection in an arc as it moves across the arena, occasionally spitting out a massive rain of blobs that fall on whatever side of the field the Knight is in. A good strategy is to get in a few hits, then walk away to avoid the blobs, and jump/pogo over the Brooding Mawlek during its blob rain attack. Another reason to move way after each hit is to avoid its claw that slashes at you if you get too close.
Flukemarm
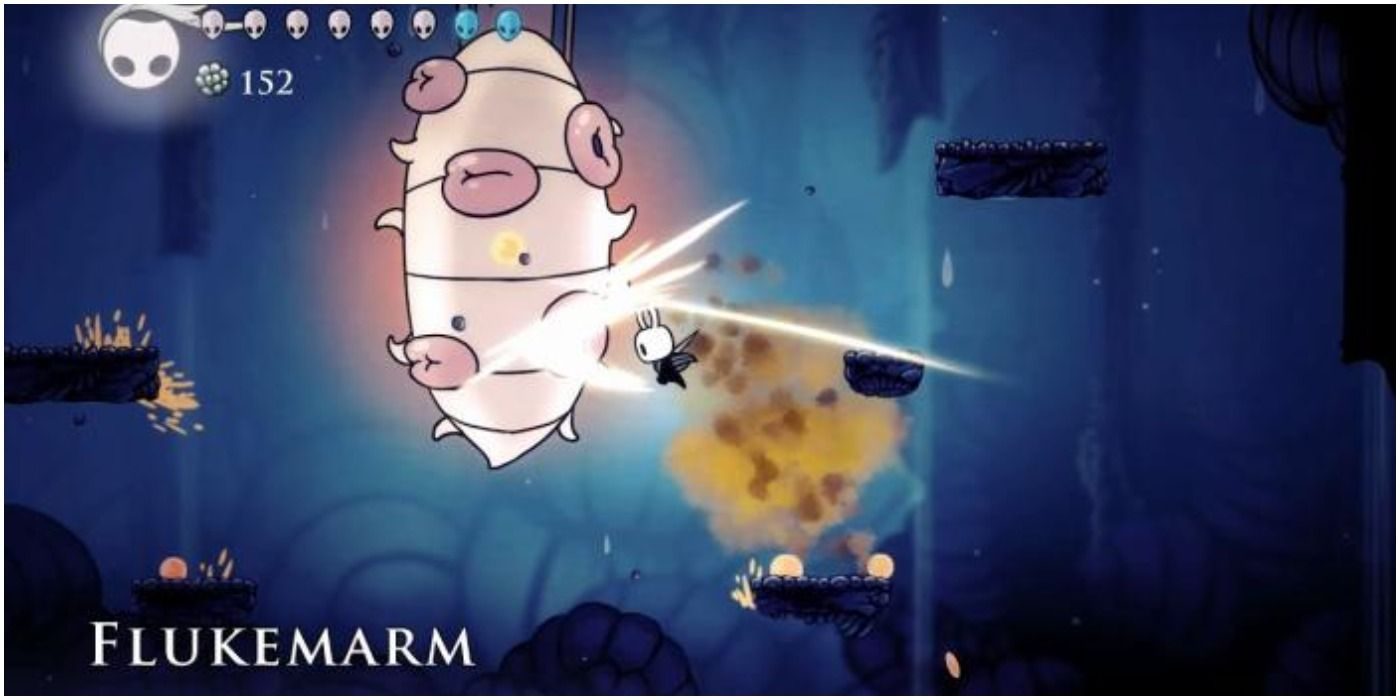
The Flukemarm can only be reached accessing a secret area in the Royal Waterways with the Desolate Dive/Descending Dark spell, to the southeast. She is the mother of all Flukes in the area and defeating her rewards you with the Flukenest Charm.
Her only attack involves spawning Flukes from any of the openings in her body. They appear at regular intervals and there can only be up to six on the screen at a time. The two best tactics are to focus on the Flukes to collect SOUL from them, then damage the Flukemarm with spells, or simply hit the Flukemarm between spawns and pogo right above to damage both her and any Flukes that come towards you, though how exactly you approach her depends on your current arsenal.
Traitor Lord

The Traitor Lord can be found in the upper section of the Queen's Gardens, but he is only accessible through the use of the Shade Cloak ability. If Cloth was rescued before this battle, she will assist you. If she was not and you defeat the Traitor Lord first, she will be found in Dirtmouth.
The Traitor Lord will frequently jump and dive diagonally toward you, dash toward you while swiping its massive claws, and perform either the Dancing Glaive or the Ground Pound attack. The Dancing Glaive fires two spinning orange blades across the arena towards the Knight, while the Ground Pound creates Giant shockwaves on either side. If you do not have the Shade Cloak, it is recommended that you try to stay close to the Traitor Lord and avoid his telegraphed physical attacks. While the Shade Cloak can help, don't rely on it too much.
The Collector
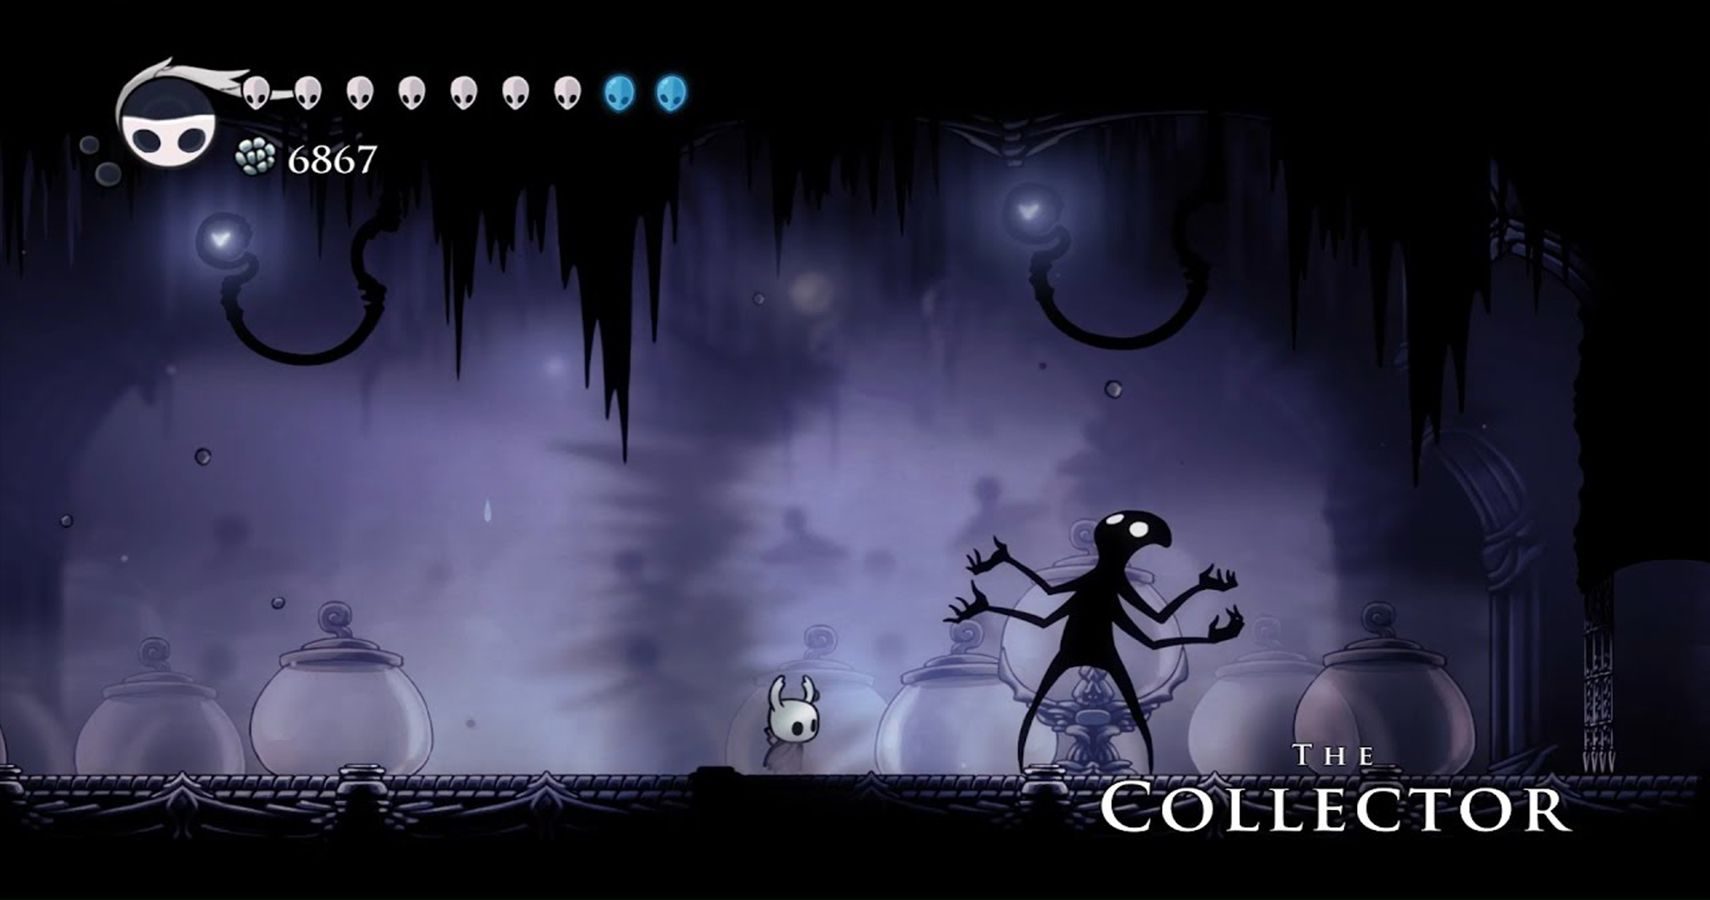
The Collector is the boss of the Tower of Love, an area that can only be accessed from a locked door in the Kingdom's Edge area. The door can be opened by obtaining the Love Key from the Queen's Gardens. Defeating the Collector will grant you the Grub Map, which shows the location of every Grub you have yet to find.
RELATED: Hollow Knight: How to Get the Grub Map
It should be noted that, because the Collecter is a Void creature, hitting him does not give you SOUL and your only way to gain SOUL is to hit the enemies that break from the jars. The Collector will be constantly hopping around the arena, forcing you to keep up with him until he jumps into the ceiling and drops several jars containing different enemies, including Venegeflies, Buldurs, and Aspid Hunters. Where the jars fall is telegraphed, and it is important that you take care of the enemies as soon as possible. Watch out for his occasional grab attack as well.
Hornet Sentinel
Hornet Sentinel is the second form of the character Hornet that you have to face. She is encountered to the far east in Kingdom's Edge, right before the chamber that leads to the Cast-Off Shell, where the King's Brand is found. The King's Brand is necessary for accessing The Abyss, a late-game area central to the story.
Hornet Sentinel is essentially the same as Hornet Protector in terms of her attacks and pattern, aside from a few differences. She is much faster than before and has two new skills in her arsenal: Parry and Spike. Parry has her put up her nail and immediately counter when hit, while Spike allows her to summon several spike balls that stay suspended in the air. Approach this fight mostly the same as you did with Hornet Protector, but make sure to back off/heal whenever she parries and get rid of the spike balls as soon as possible with either a spell or a swing of your nail.
Oblobbles
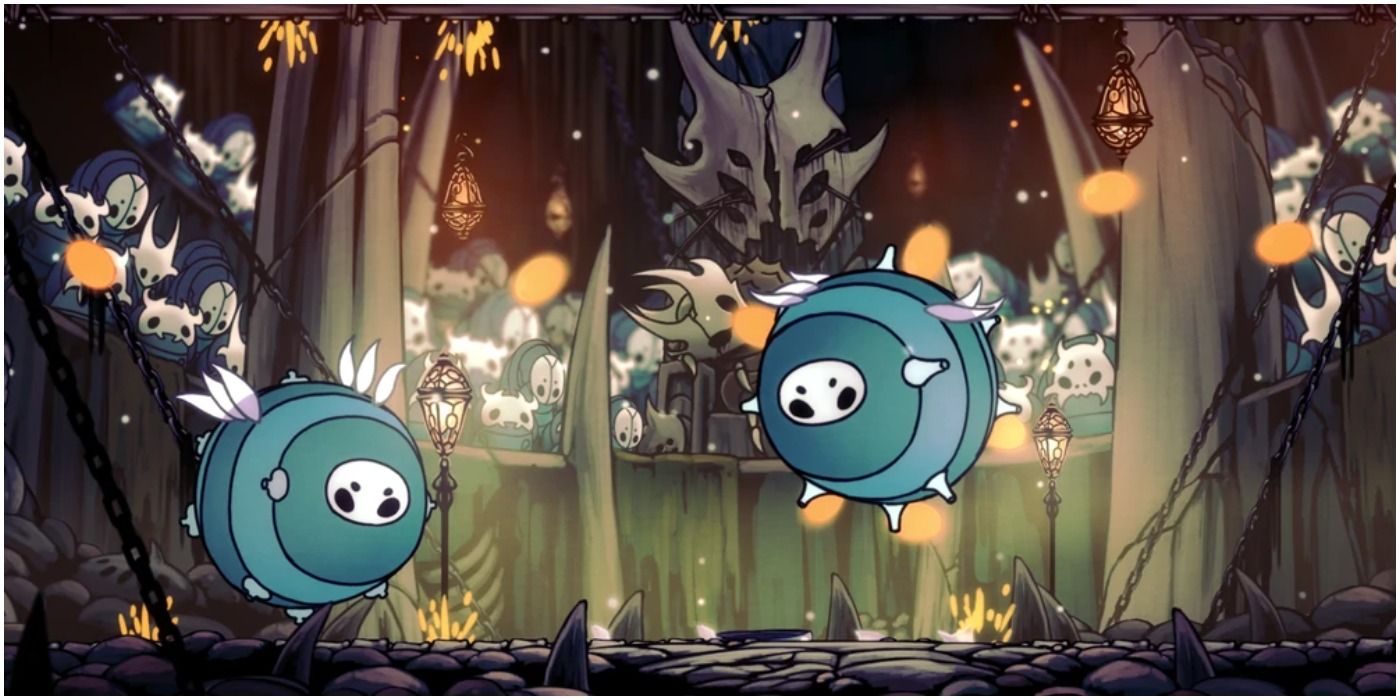
The Oblobbles are the final bosses of the Trial of the Conquerer, the second trial in the Colosseum of Fools at the top of Kingdom's Edge. Defeating them rewards you with Pale Ore, up to 2,024 Geo, and the Conquerer achievement.
The Oblobbles only attack by floating around the arena and occasionally firing a series of Infection blobs from all of the holes on their bodies. These blobs can actually be dodged fairly easily if you simply keep your distance, so it is actually very easy to get a few good hits before backing off to a corner to heal/avoid the blobs. A good idea is to hit one, then the other, and keep the number of hits equal between them. Once one dies, the other will go into a rage and start shooting out blobs at a much faster pace, but these can still be avoided with the same tactic.
Watcher Knights
The Watcher Knights are the bosses of the Watcher's Spire, who guard the entrance to the chamber of the Dreamer Lurien the Watcher. When the Knight defeats the first one, two more will appear and attack at the same time. There are a total of six.
Their only two attacks include swinging their large nail when the Knight is close, and either rolling or bouncing towards them when the Knight is further away. Try to avoid being cornered by or being in-between two Knight at once, and make sure to jump over their attacks to land hits and keep your distance. Spells are also incredibly helpful, especially if you can damage two at once.
There's actually a breakable wall that leads to a hidden path above this boss fight. By heading up here, you can knock down a chandelier and take out one of the Watcher Knights before the fight even begins.
Nosk
Nosk can be found within the walls of Deepnest, directly west from the Hot Springs Chamber and past a breakable wall that leads through a series of tunnels. Either the Monarch Wings or the Crystal Heart ability is needed for access. Defeating it rewards a piece of Pale Ore.
Nosk primarily attacks by charging towards you, leaping up to three times across the arena platform, spewing large blobs of Infection from both sides of its body in a parabolic arc, and jumping into the ceiling to rain down blobs of Infection in a line. The charge attack can mostly be dodged by standing on the lower edges of the middle platform and jumping, and the blobs can mostly be avoided with careful maneuvering. The Shade Cloak and the use of spells can also be greatly effective against Nosk.
Uumuu
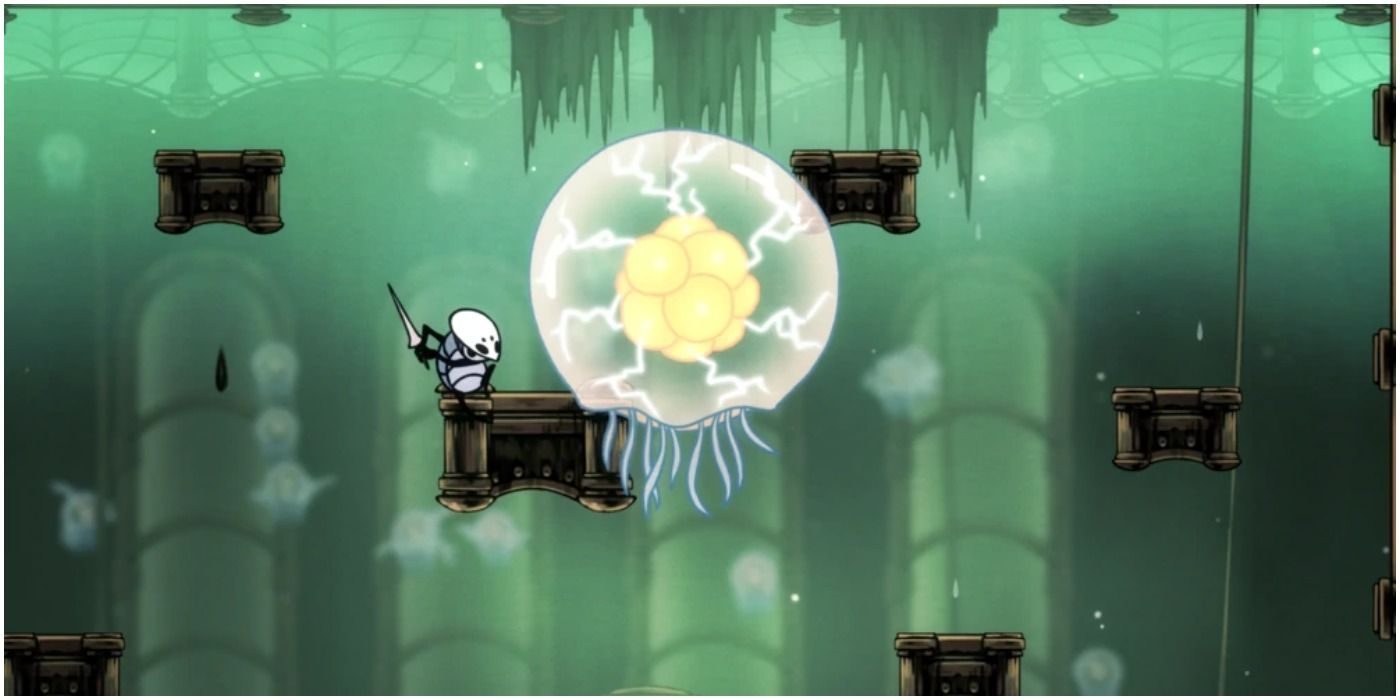
Uumuu is unique from most bosses because you actually have help when fighting it the first time. Defeating Uumuu is necessary for gaining access to the chamber of Monomon the Teacher, one of the three Dreamers. The character Quirrel actually helps you during the battle, making your job much easier than it otherwise would be.
Uumuu primarily attacks with one of two lightning-based attacks. It can create several small bursts of electrical energy all across the battlefield, which can mostly be avoided by standing on the bottommost platforms and confusing a trail of electricity that follows you around the arena for six seconds. Its body is completely invincible from any form of attack up until Quirrel shows up to assist you. From there, attack it as much as possible with your nail and as many Spells as you can get out, though make sure to keep some SOUL for healing if you accidentally fall into the acid while avoiding its attacks.