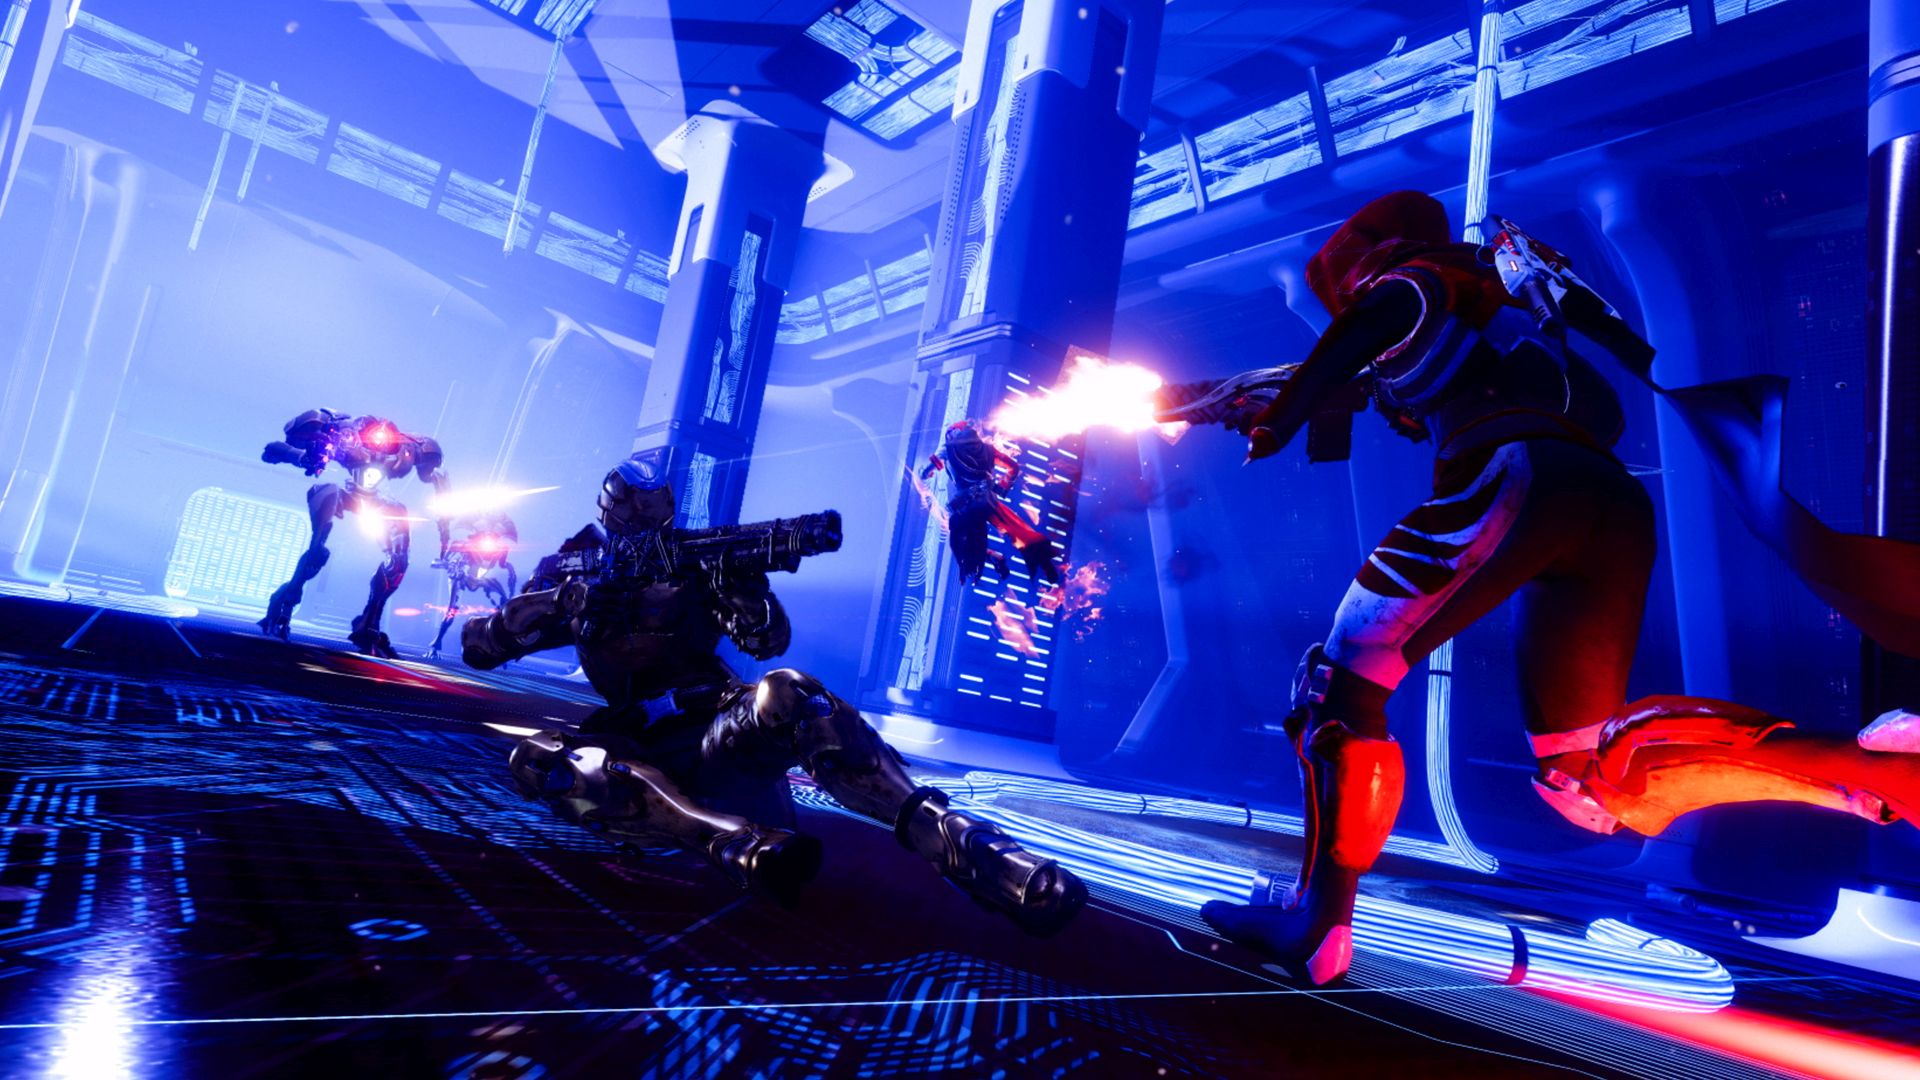
There aren’t a ton of new armor sets to unlock in Destiny 2: Beyond Light. But if you fancy the new Crystocrene armor from Europa, then there are multiple ways to get it. First, finish the expansion’s campaign. You’ll then unlock different side quests with Variks to locate different armor pieces. The gloves and boots are in Eternity and Bray Exoscience respectively. The class item can be found in Perdition while the chestpiece is located in the Technocrat’s Iron.
The catch is that each armor piece is located within a chest sealed by Stasis. Of course, finishing the campaign grants the Stasis subclass so use to unseal them.
The helm, however, is slightly more complicated. It requires finishing an Empire Hunt to defeat Kridis. After this, head to the Well of Infinitude to locate a chest. You can also earn Crystocrene armor pieces by taking down High Value Targets and completing Heroic Public Events, though keep in mind that the drops are random.
As for the weapons, you can unlock the Hailing Confusion pulse rifle, Bonechiller shotgun and Subzero Salvo grenade launcher by playing through the campaign. Once Empire Hunts are unlocked, you’ll have the opportunity to earn three additional weapons on their completion.
Here’s what can drop from each Empire Hunt:
- Phylaks, The Warrior – Thermal Erosion machine gun
- Praksis, The Technocrat – Coriolis Force fusion rifle
- Kridis, The Dark Priestess – Biting Winds bow
The High Albedo sidearm can be earned by completing the quest “A Hard Rain Falls” for the Exo Stranger. You’ll need to complete patrol missions and Public Events in the current Eclipsed Zone, which is indicated on the map. The location changes each week so make sure to check the map before plotting a course. Upon completion, speak to the Exo Stranger and the sidearm is yours.
The Arctic Haze auto rifle is much tougher to earn. You’ll need to farm public events on Europa for a chance to have it drop. Getting the right random roll can also take some time. A future quest may allow for earning this weapon more easily so keep an eye out.
All Entropic Shard Locations
Entropic Shards are key to unlocking new abilities for Stasis but you’ll need to complete the Exotic quest to earn Salvation’s Grip first. Without the latter, you won’t be able to destroy the Shards. Here are the locations for all of the Shards:
- Cadmus Ridge – Near the entrance to Bray Exoscience. Look to the right-most corner.
- Asterion Abyss – Climb the Vex building and look for the Shard in the corner.
- Concealed Void Lost Sector – In the room with the final boss, look upwards where the light is streaming in from.
- Creation – When jumping down towards Clovis’s location, keep an eye out before the very last jump in the same giant room with all the flying tram cars passing through. The Shard will be right in front of you.
- Riis-Reborn Approach – Remember the room where Phylaks appeared while escaping in the campaign? Upon walking through the first time, you probably noticed a door on the right which couldn’t be opened without Stasis. Return here later and then venture up the gravity lift. There will be a staircase ahead. Instead of walking up it, look around behind it to find a Shard.
- Technocrat’s Iron – In the room where you fought the large Fallen Brig during the factory mission. It will be on top of the right-most pillar upon entering.
- Kell’s Rising – At the very end platform, jump up to the building on the right. Look under the staircase for the Shard.
- Eventide Ruins – When approaching from the Asterion Abyss side, you’ll find a destroyed overpass (which has a snowy slope to its right). Look underneath it to find the Shard.
- Bunker E15 – After freeing two sets of BrayTech robots and entering in the open space where the Vex Cyclops spawns in, turn around and look up at the window behind. Just next to the large window in the right-most corner is a Shard.
For a better idea of each Shard’s location, check out the video guide below from Evade on YouTube.
