Quick Links
Snowchants Hunting Grounds are a part of the Frozen Wilds expansion for Horizon Zero Dawn. As with everything else in the expansion, the Hunting Grounds are harder than the ones you will encounter in the base game. It brings together a variety of skills and tools that you will learn from the Frozen Wilds story.
RELATED: Horizon Zero Dawn: All Frozen Wilds Machines Ranked
If you haven't completed the story in the base game, then it is strongly advised that you do so. By completing the base game, you will give yourself a much better chance at completing and enjoying the Frozen Wilds world. This is especially true of Snowchants as you will need to have a high skill level to be able to take the challenges on successfully. You will also have to call on all of your knowledge of machines to be able to pass.
Pro Tips:
- Complete the rest of the game before moving to Frozen Wilds, especially the Hunting Grounds
- Collect Bluegleam in the Frozen Wilds world to get higher quality weapons to use here
- Fill your health bar and health carry capacity before beginning
- Wear the Shield Weaver Armor if you have it — if you don't, here's how to get it.
The Control Trial

Goal: Destroy 6 Machines and 1 Ravager with the Stormslinger Weapon.
Time Limit: 55 Seconds
Equipment: Stormslinger (A Frozen Wilds Weapon)
It may sound counter-intuitive, but the key to getting the Blazing Sun for this trial is to cause chaos the second you get down the rope.
At the top of the rope, stop and look around to assess where each machine is. The Ravager should be pacing around near the back of the area. Also, make sure your Stormslinger is equipped in your weapons wheel with full ammunition.
Tip: It's extremely useful to have upgraded your Stormslinger's ammunition capacity to the maximum capacity.
When you're ready, head down the rope — but when you are halfway down the rope, press square to jump off of it. This will leave you a fair distance away from any machine, and you do not want to get too close too quickly.
Look around you and there should be some Scrappers as well as Red-Eye Watchers in front of you. Quickly aim at them using L2 and fire by pressing and holding R2. You will get a few shots in succession before Aloy needs to stop to re-fill the weapon.
By this point, you may have taken down a few machines or weakened some. You will definitely have caught the attention of the others, including the Ravager. This is what you need.
When the Ravager is close to you, you must focus the fight on them. Keep dodging and rolling out of the way using circle, as it can take you a while to get back up if it knocks you down.
Fire repeatedly at the Ravager and don't stop until it has gone down.
Tip: If it runs away from you, don't waste time chasing it. If it does this then take out the other smaller machines first and it should come back around to you.
When the Ravager is down, you can now focus on taking out your remaining machines. Scrappers and Red-Eye watchers typically take 2 or 3 shots from the Stormslinger to be taken down.
This trial is designed to be difficult so don't be too disheartened if it takes a few more tries to get it.
The Onslaught Trial

Goal: Take out the waves of machines until none remain
Time Limit: 3 Minutes 40 Seconds
Equipment: Any bow with Hard Point Arrows, Shadow Blast Sling, and Shadow Tripcaster.
This trial happens in 3 stages. You have to defeat the waves in each area to progress to the next one.
Potential Spoiler ahead if you haven't finished the game!
Wave One – The Watcher Squad
This wave is the easiest of the three. When you drop off of the wire, head directly in front of you to where the large bark gate is — it will open and two Watchers will appear. Take them down by running up to them and do a heavy spear strike using R2 (it's faster than using weapons at this point).
When they're dead, another 2 Watchers will appear. Take them down in the same way then move to the next area through the open wooden gate.
Wave Two – A Longleg And Several Watchers
When you are in the new area, the first set of machines will come from your left. Ahead of you, there will be a ramp/path leading up to a higher part of the new area. Use your Tripcaster to place wire traps across this area to completely cover it. If you stay where you are and shoot the Longleg with an arrow, it will typically use this path to come down to you.
As you know, if it touches the Blast Wire it's going to be seriously damaged — if you're lucky it will damage the Watchers too.
Use heavy spear strikes against the Longleg. (If you do not have Sylen's lance then you can use Hard Point arrows or Blast Bombs to take it down quickly).
Once the Longleg is down, take care of the Watchers if you need to. Then you need to go up the ramp and head to your right.
Halfway along this path, more Watchers will come down from a slope on your left. If you are in close proximity with them then the best bet is to use a heavy spear strike. If you want to use your bow, use Hard Point arrows and target their eyes.
Once this squad of machines is down, follow the path around and yet more machines will appear. This time it will be a Scrapper and two Watchers. You can quickly put several blast wires across the path, it's a narrow space so the machines have to move here.
Alternatively, you can just use the heavy spear strike on them again. When they're down, move into the final area.
Wave Three – Chaos And A Ravager
Tip: You need to move quickly in this area or it can devolve into chaos very fast.
Your first machines will be on your right as you head into this area, your main focus should be destroying the Longleg. You can deal with the Scrappers afterward.
Lay down blast wires or shock wires across the front of the Longleg. Usually, you can tell where machines are going to walk as they walk the way they are facing. If it's facing you then it's safe to assume it will walk towards you.
If it doesn't go down straight away then use heavy spear strikes against it or use hardpoint arrows to aim at the Longleg's weak spots. Use your focus to highlight the machine, the weak points will become yellow.

When the Longleg is down, you can now take out the Scrappers in your preferred way. If you have the strong lance then it's easy to get them down with a heavy strike.
After this, more machines will appear from a slope on the side of the mountain. These should be Watchers and Scrappers so you can either lay wires down, use bows, or use heavy strikes to take them down.
Which attack you use will depend on your distance from your targets — if you're close, use the spear strikes. If you're mid-distance then lay down the wires. If you're far away, use your bow.
Once they're down, head to the risen piece of rock in the middle of the area. It will be surrounded by water and have ropes coming off of it in three separate directions.
By the time you get up here, there will be 3 more machines waiting for you. Again, they will be Watchers and A Scrapper. Use your spear strike on them as they're going to be very close to you.
When they are down you need to quickly get onto one of the ropes and head out until you are sat in the middle of it. Stay here — you will be safe from the machines below for a while.
RELATED: Horizon Zero Dawn: Tips You Need To Know When Fighting Machines
At this point, the Ravager will come down with smaller machines. Your focus needs to be the Ravager. If you're on the wire it will come over to you and prowl around below you.
Equip the Sticky Bombs in your Shadow Blast Sling and repeatedly fire them at the Ravager. Make sure you're aiming directly at it so the bombs stick. After a delay, the bombs will explode and if you have enough on them then the Ravager will be taken down very quickly.
Now, you can take care of the remaining machines. They'll be Watchers and Scrappers, so a few hits with Hard Point arrows should do the trick.
Again, this trial was designed to be difficult so don't be too worried if you can't get it right the first time.
The Chieftan's Trial

Goal: Defeat each set of big machines in each area before time runs out.
Time Limit: 4 Minutes 30 Seconds
Equipment: Stormslinger, Any Bow with Hard Point Arrows, and a Shadow Tripcaster.
Important: Before attempting this trial, you should read up on how to defeat a Frostclaw first. Knowing this is going to be extremely important in this trial.
This trial is you versus a few of the game's most dangerous machines. This trial comes in three parts.
Tip: It would be a good idea to complete the Stormslinger Trial first as this weapon will be needed in this trial, so mastering it would be useful.
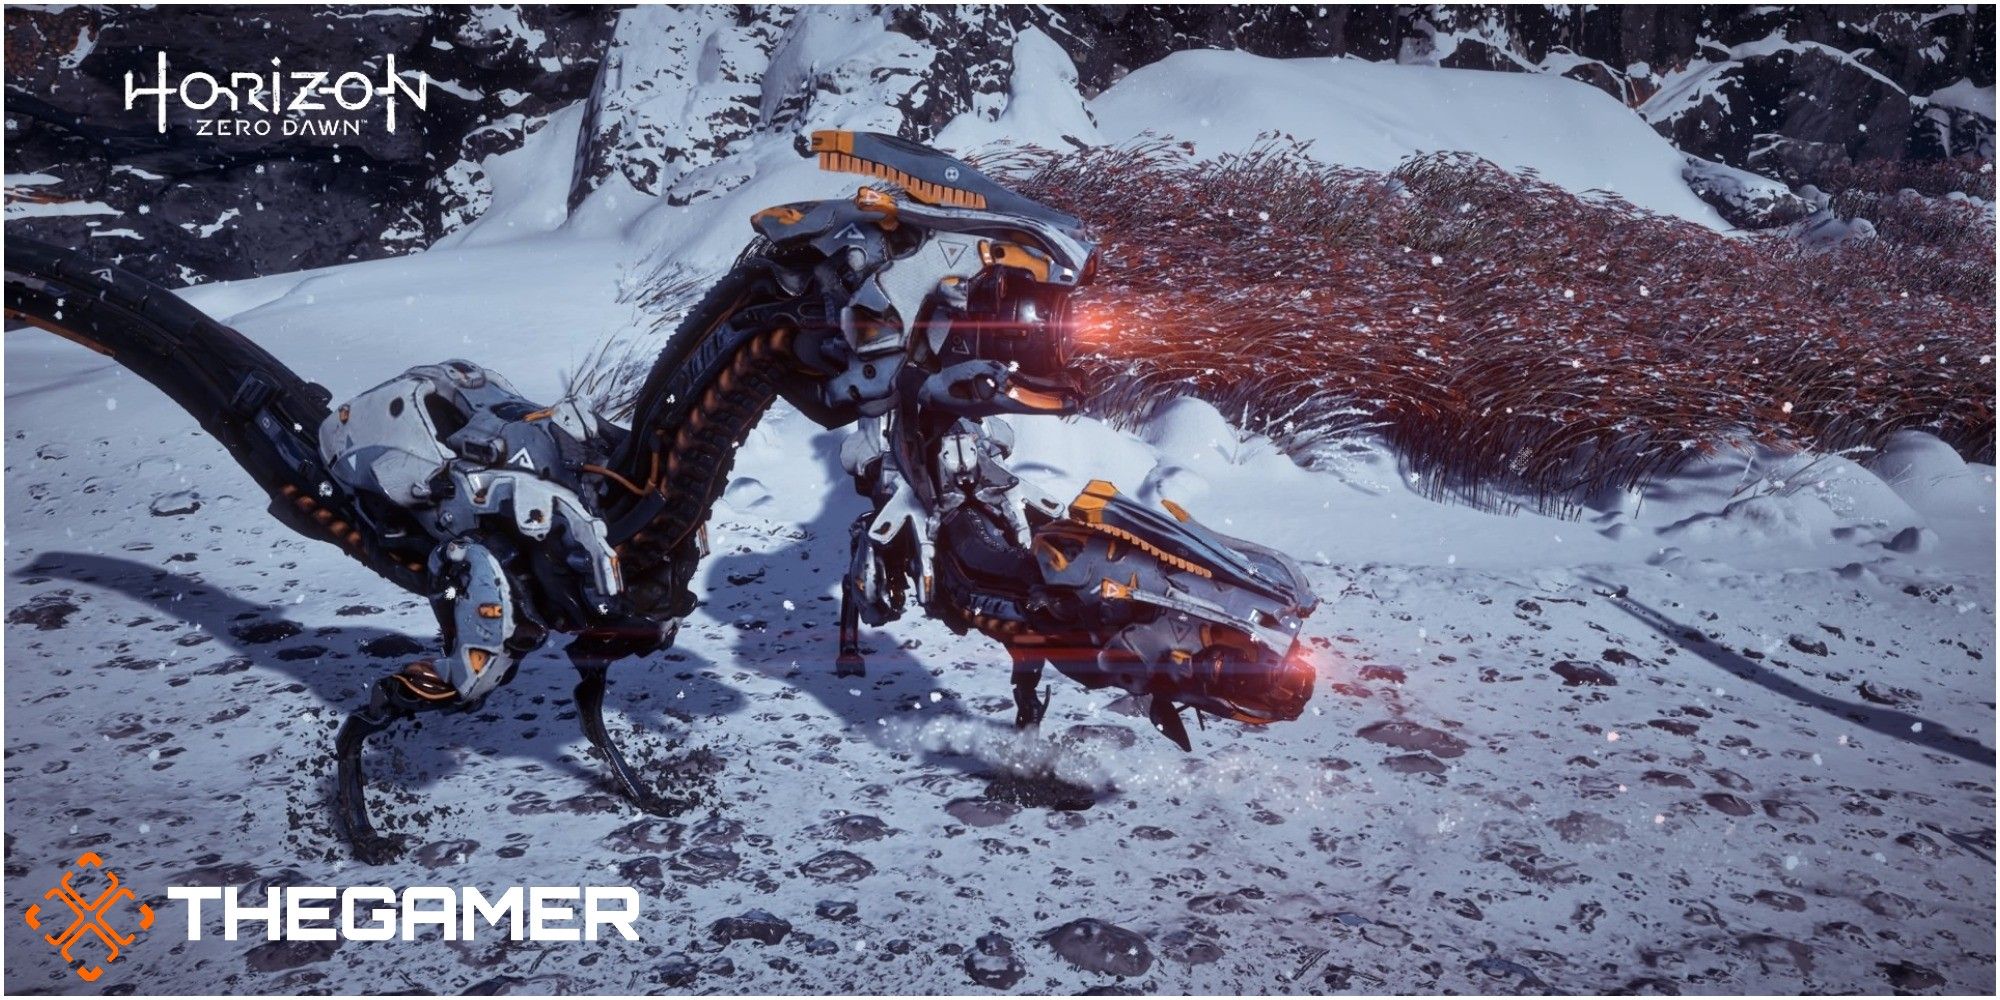
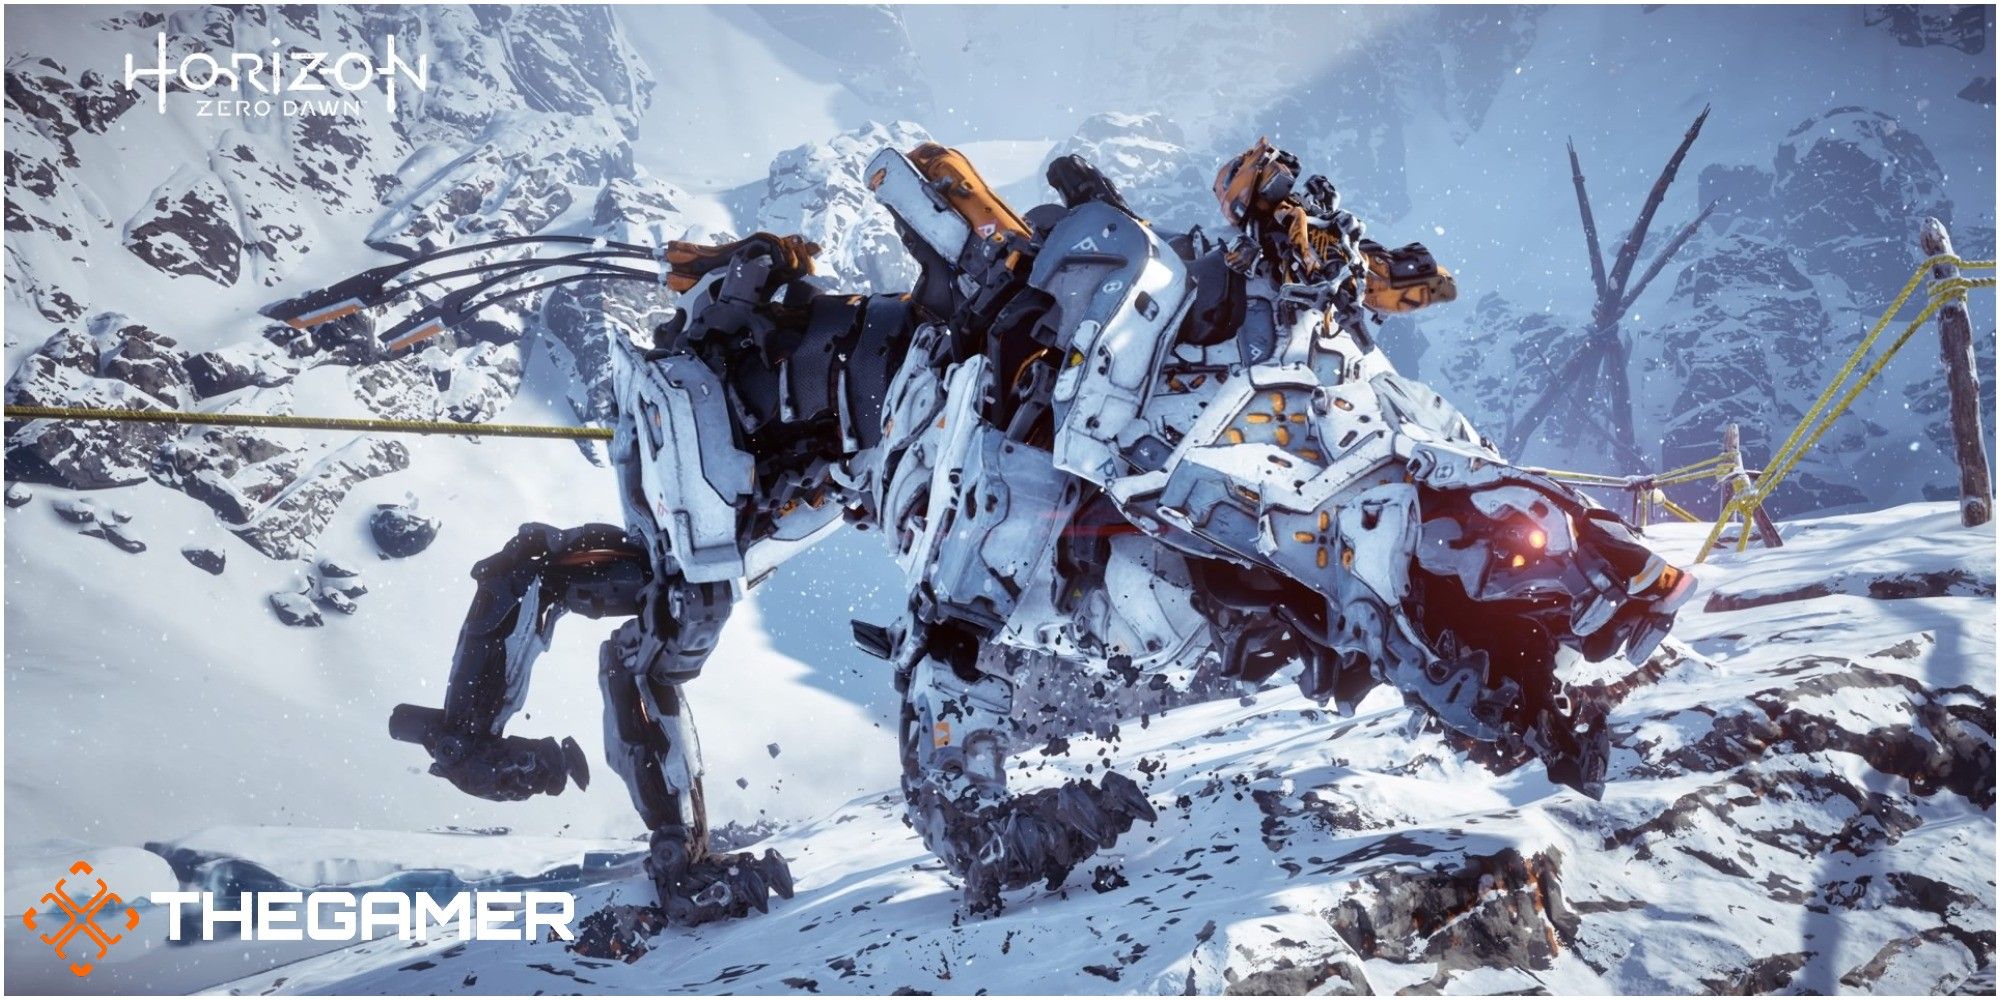
Part One – The Scorchers

Your first opponents will be a pair of Scorchers. Scorchers were added as part of the Frozen Wilds expansion. If you've played through some parts of The Cut, you will know just how much of a pain they are to fight.
They're fast and ferocious. The Stormslinger is the best weapon to use against them. They are weak to Freeze type ammunition but it doesn't do as much damage as quickly as the Stormslinger does. Speed is of the essence here.
When you head down the rope into the trial area, use your focus to look around and tag the two machines. This will help you keep track of them.
Aim your Stormslinger at whichever one you choose and rapid-fire at it by holding down R2. Once the Stormslinger has completely shocked them, they will be immobile for a very small amount of time.
During this time, use your focus to highlight their weak points and fire Hard Point arrows at them to damage them further.
Tip: You need to keep your distance from them so you will have to keep dodging and running out of the way. If you get too close, they'll team up against you and destroy you. They're that dangerous!
Once you successfully take down one of the Scorchers, you can focus all of your energy on the next one. The same principle applies — keep your distance and use the Stormslinger against them.
When the second Scorcher is down, you can move into the next area through the wooden gates.
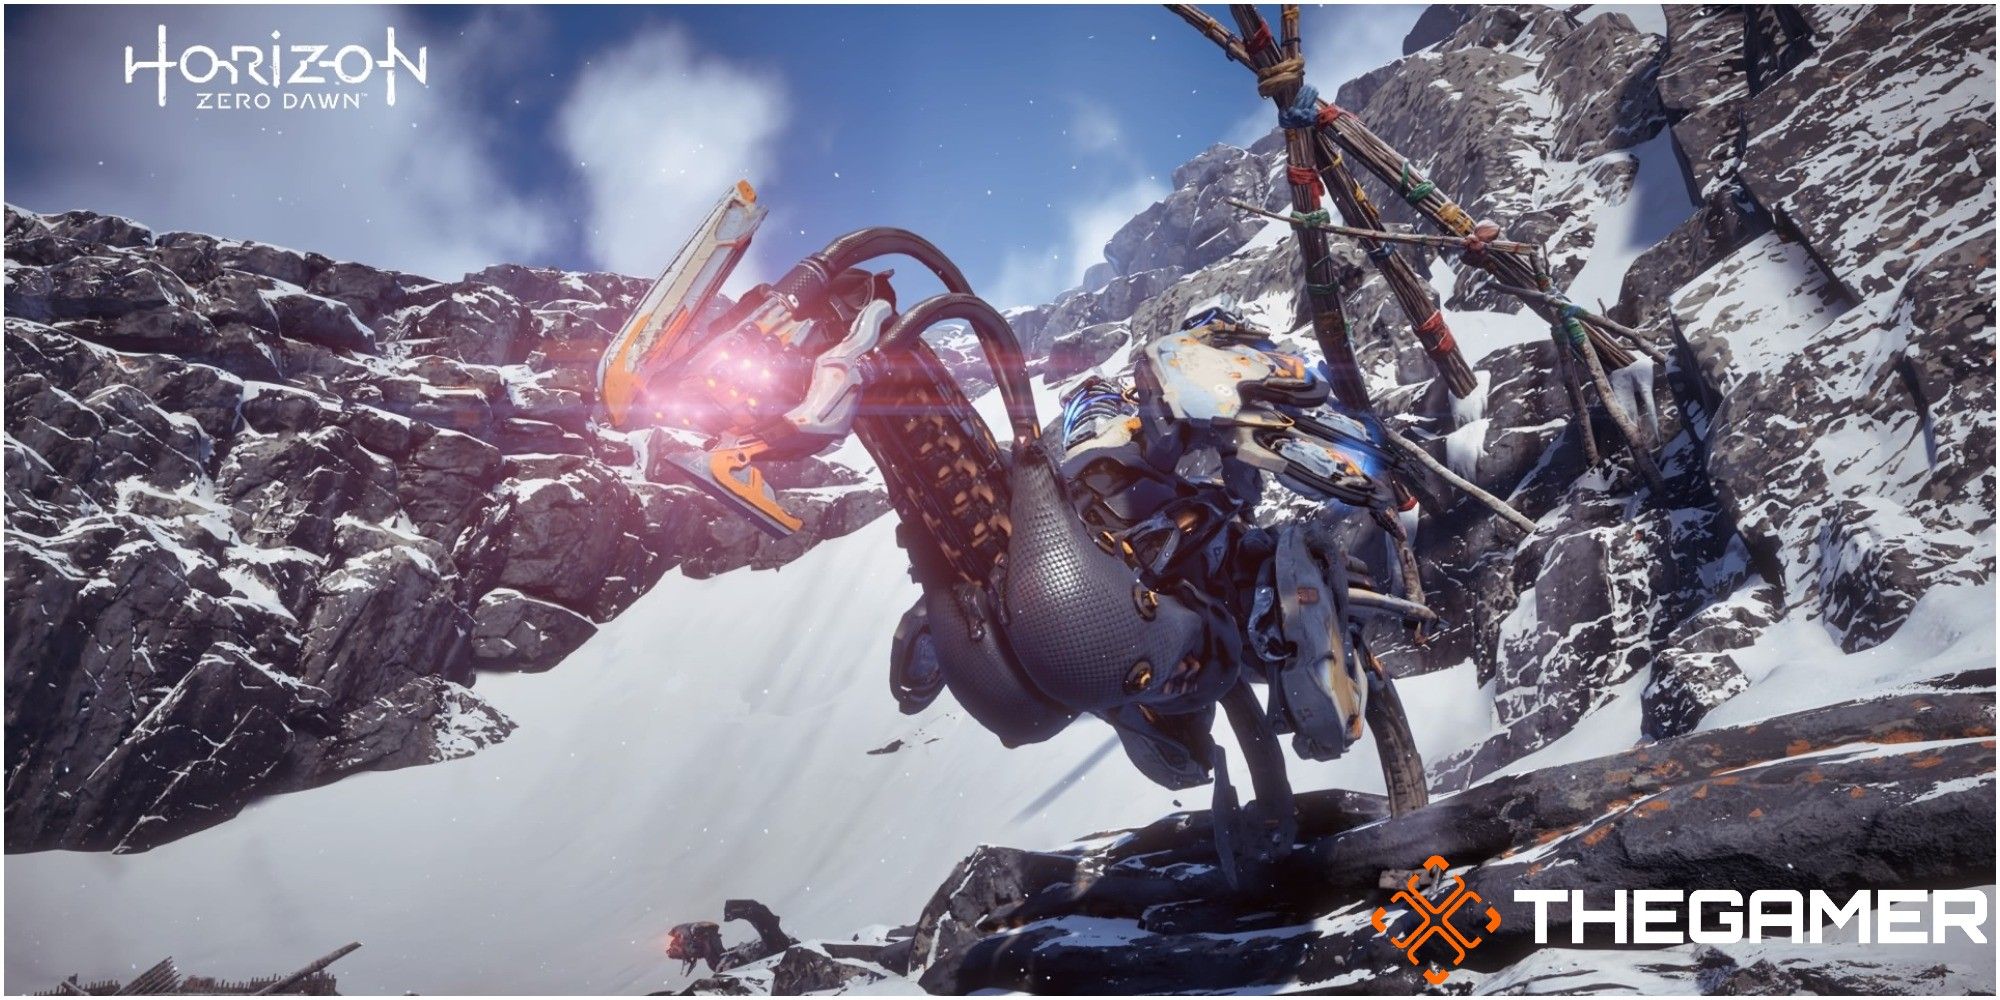
Part Two – Two Freeze Bellowbacks
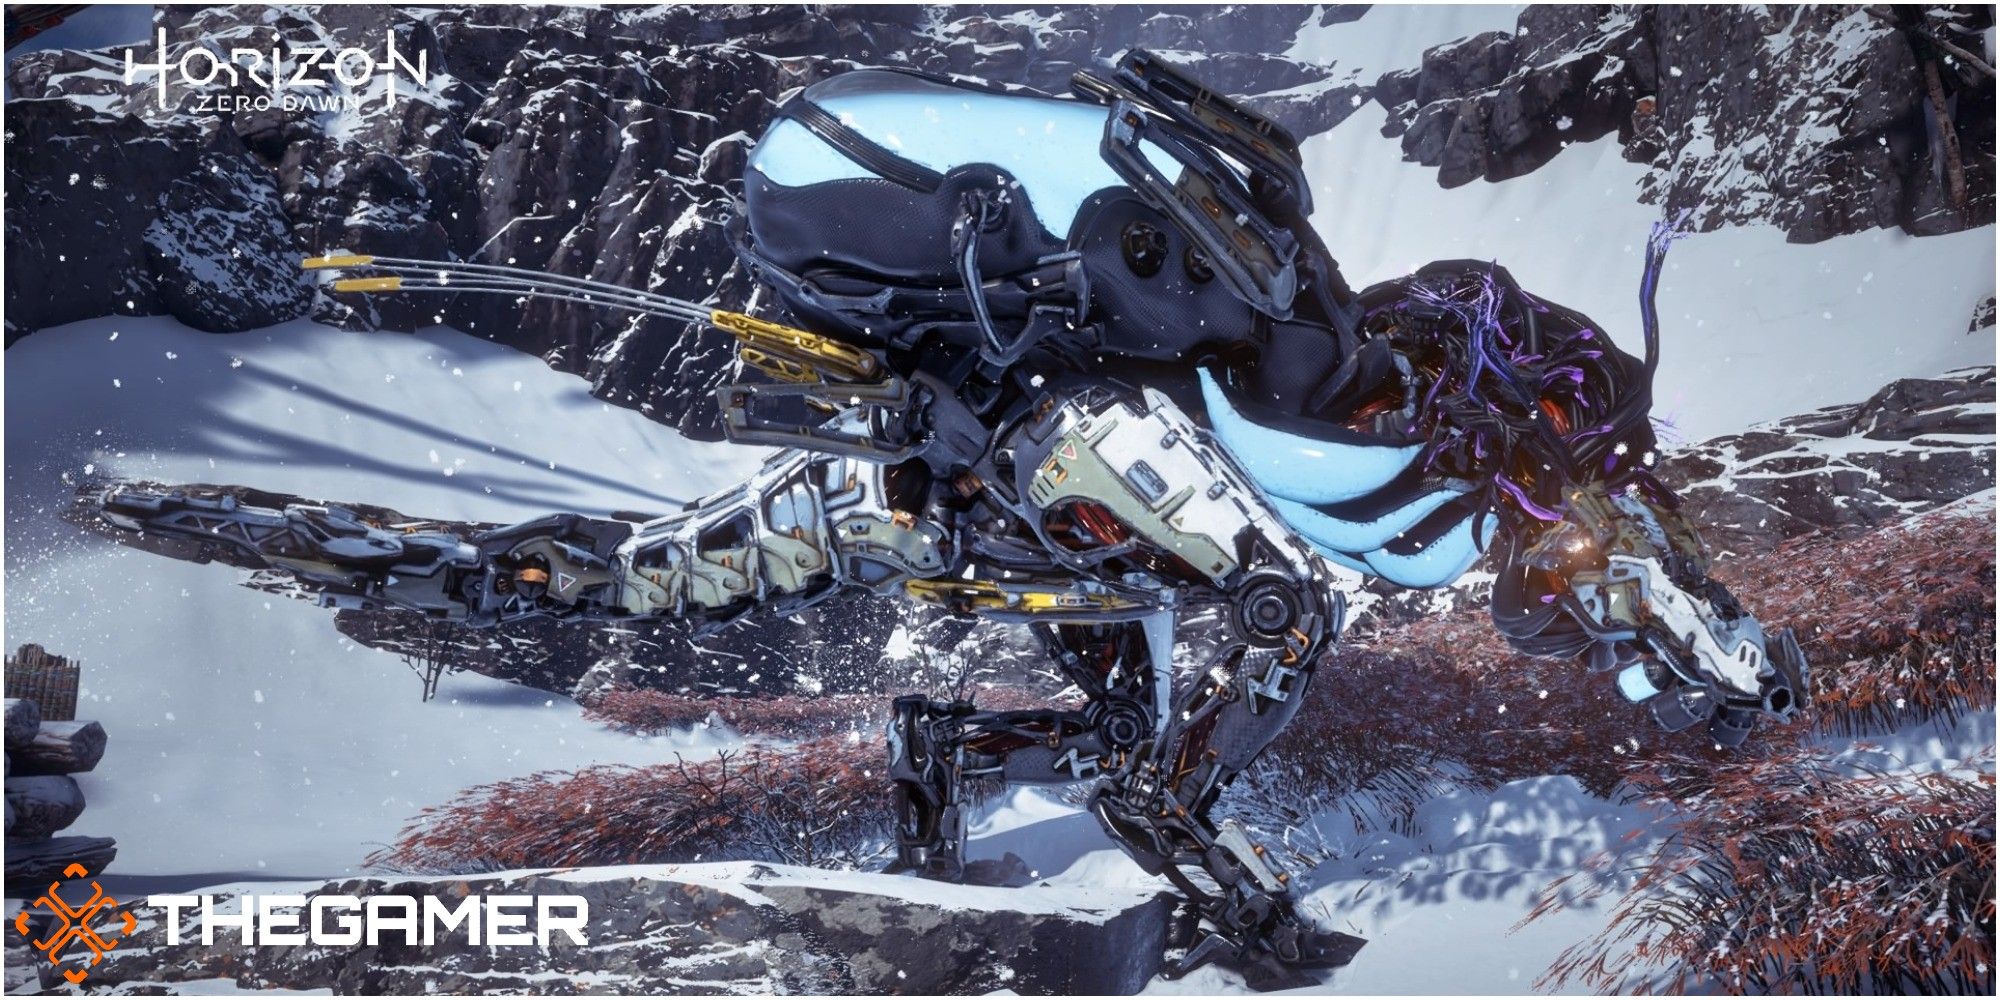
When you walk into this area, the Bellowbacks are likely to spot you straight away. Use your focus to highlight one of them and you will see that the liquid cargo sac on its back is highlighted yellow.
Equip your Hard Point arrows and fire everything you have at this sac. Eventually, it will explode and freeze the entire machine.
RELATED: The Most Powerful Horizon Zero Dawn Machines
This is your chance — fire the same arrow type at the white bit under the Bellowback's head. (It looks similar in color to the cargo sac). This will damage the machine a large amount and once this is destroyed, it should only take a few more hits to take the Bellowback down.
Rinse and repeat with the second Bellowback.
When this one is down, do not hang about. Head up the ramp to the higher level of the area and run to the next gate (it will be marked by a guiding marker on your screen).
Part Three – Two Frostclaws
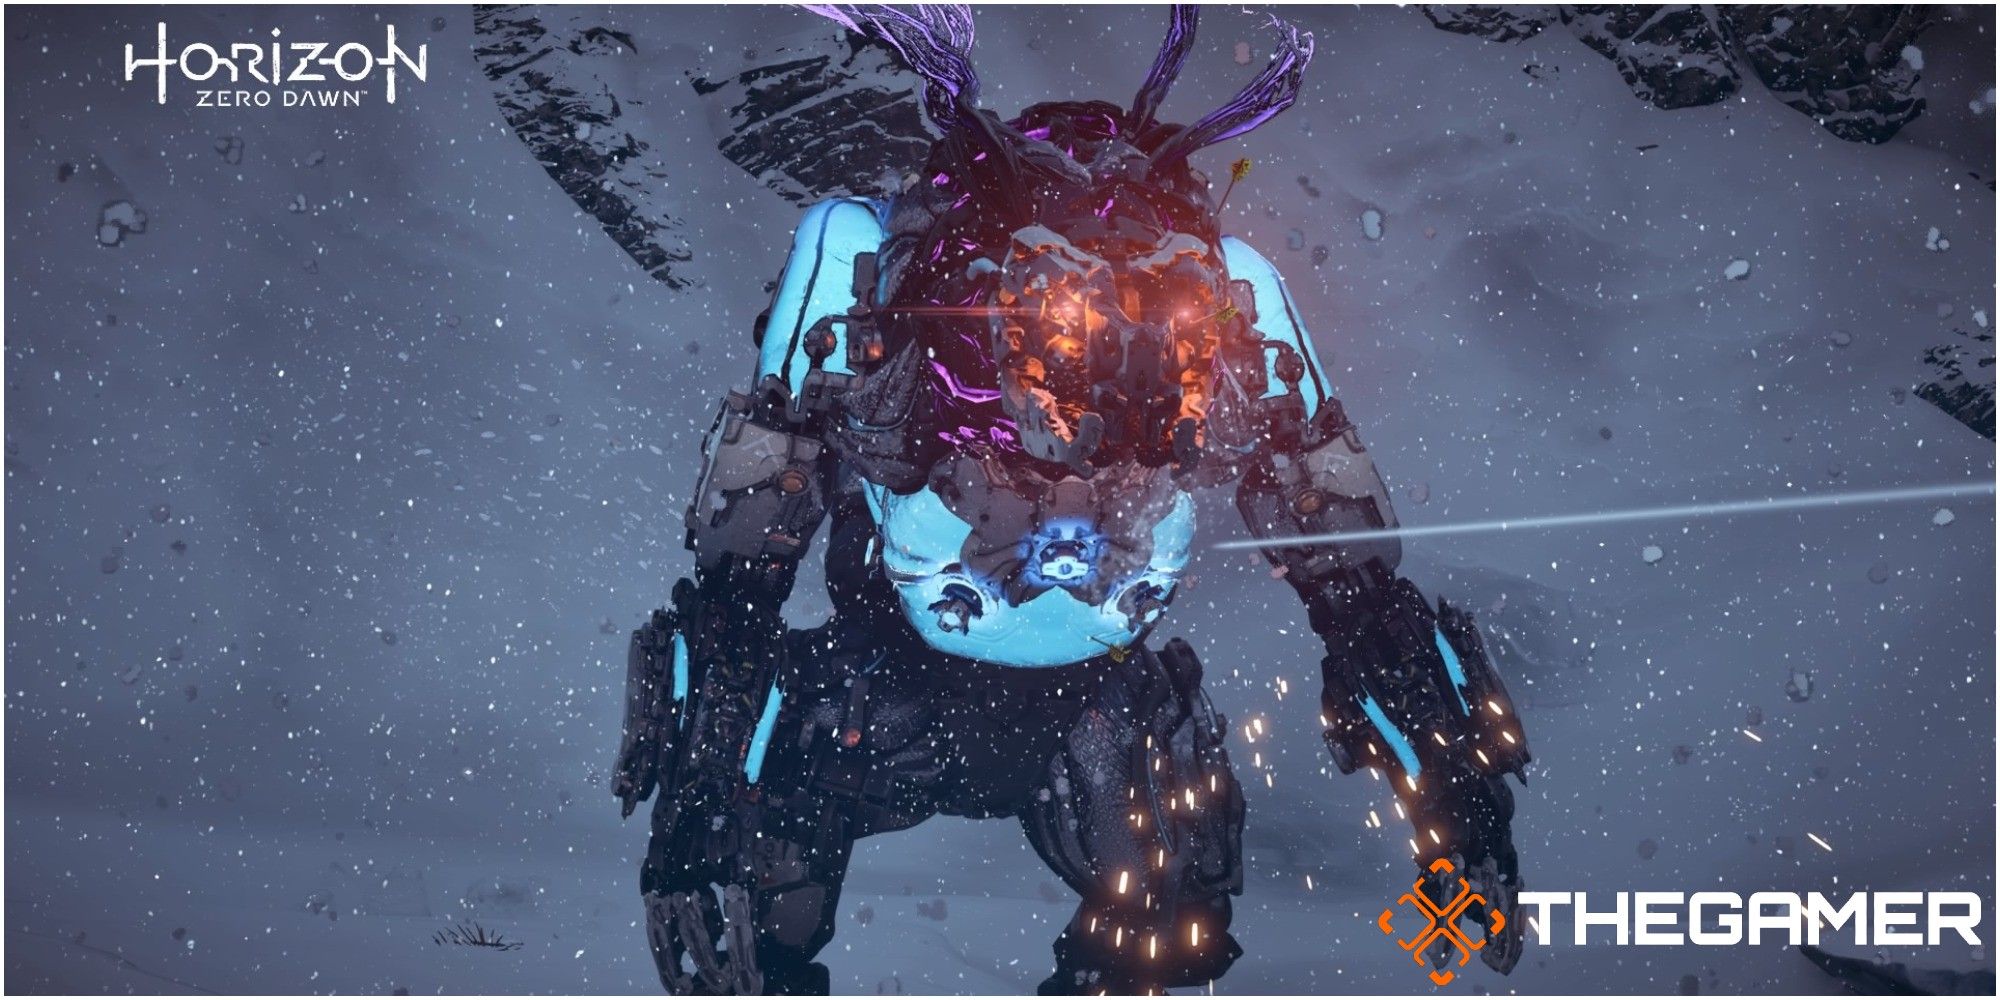
Taking on two Frostclaws with just arrows will not work in the time frame that you have. Instead, you need to think strategically about your attack.
As you walk into the area, the two machines will be prowling around the rear areas so they won't see you. Use this to your advantage and set up your plan.
Use your Shadow Tripcaster and set up a lot of tripwire traps around the area in front of you. The best way to do it is to stretch the wire traps over the water and towards the center rock. Place as many as you can without compromising your time, alternating between Blast Wires and Shock Wires.
If you think you have enough stretched around that area, add a few more on top to be safe.
Then you can go and irritate the Frostclaws to get their attention. Use your focus to tag them to keep an eye on them. Pick one Frostclaw to focus your efforts on and fire a few arrows at them. When they start heading for you, you need to lead them back through your traps so they will trip them.
Once triggered, the traps will do a set amount of damage to the machine. Whilst they're setting off the traps, fire Hard Point arrows at their exposed chest area (this is their weak spot). Whilst they're feeling the effects of the traps they will have a delayed response in fighting back.
If you run out of traps then you will need to run back and make some more. If you're lucky, the second Frostclaw will be trying to get to you and will be getting caught in them too.
Tip: If they're getting too close to you, run up onto the ropes coming off of the center island. They can knock you off of here with an ice boulder but it will give you a few seconds to rest and fire more traps down.
This part is all about leading them through your traps whilst simultaneously firing arrows at them. Eventually, they will both go down and you'll have completed this trial.
This trial focuses on you learning and adapting your strategy each time you play it, so if you don't get it right the first time then don't get discouraged.
NEXT: Horizon Zero Dawn: How To Complete Ikre's Challenge