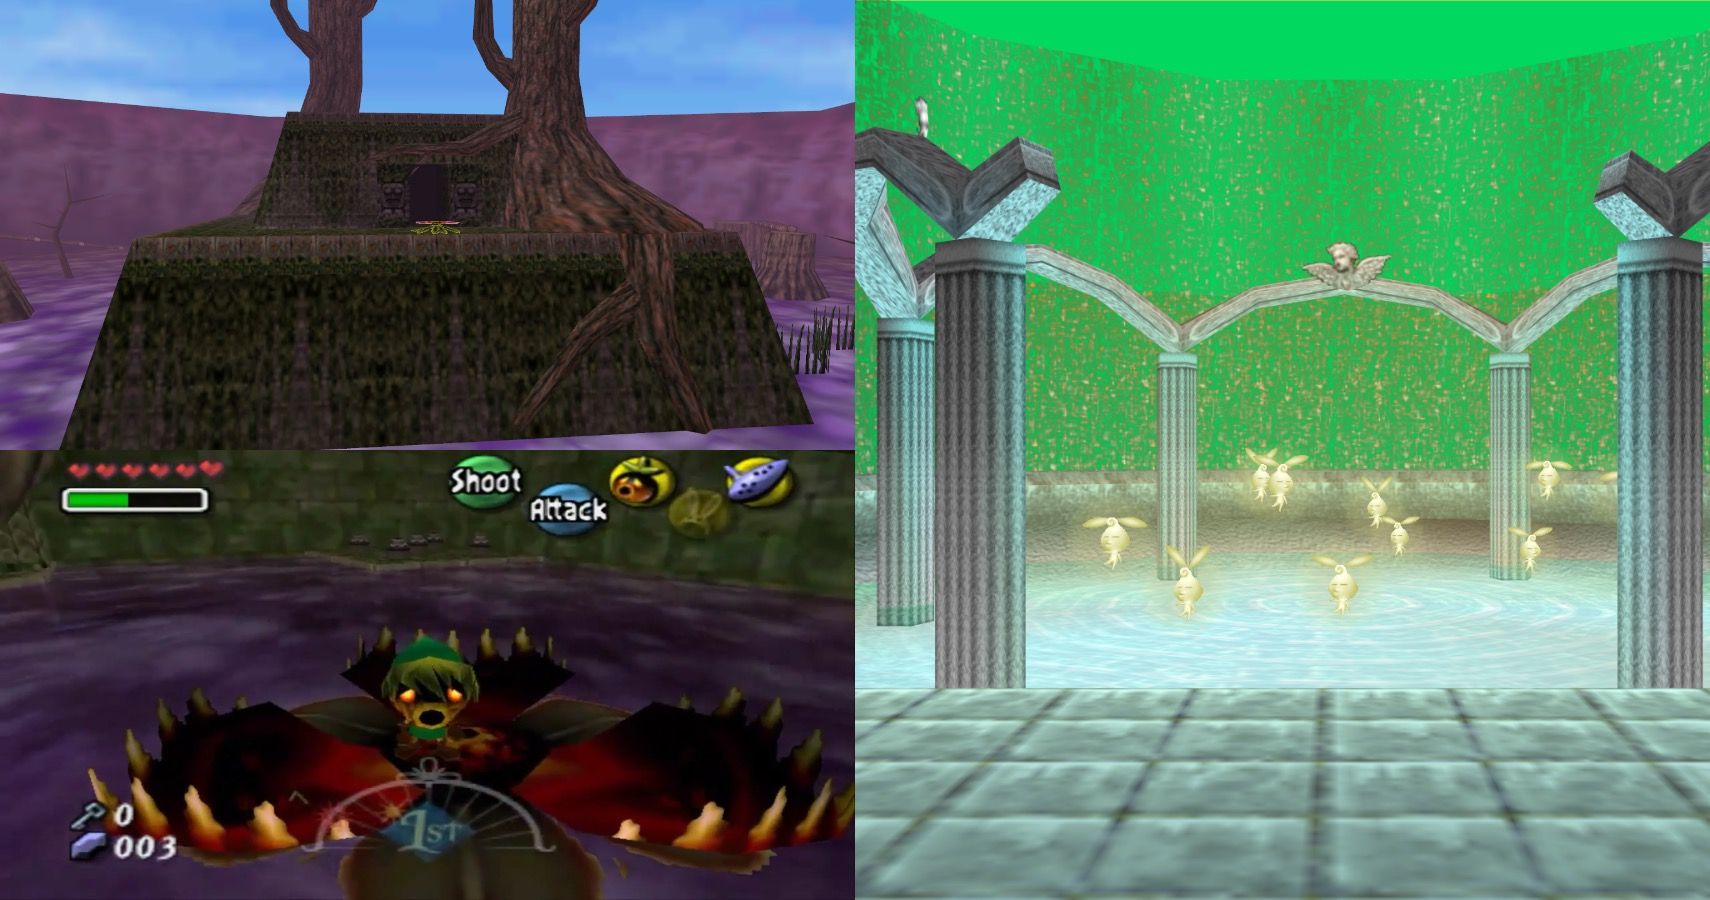
In The Legend of Zelda: Majora’s Mask, players get rewarded for gathering fairies in each temple. Once players gather all the fairies, they take them to that region’s fairy fountain to receive a reward. These rewards aid Link in his journey, so it’s good to take the time to fairy hunt. There are fifteen fairies in the Woodfall Temple. Players can get them in any order, but this guide details the easiest route. Keep in mind that players can come back after beating the temple and the boss, so this can always be done later.
RELATED: Breath Of The Wild: The Location Of Every Stable In The Game
It is important to note that the fairy mask will make this a thousand times easier, so it’s worth getting it before tackling any stray fairy quests. Additionally, there are slight variances between the N64/Gamecube versions and the 3DS version. Here, the original version is the default, and the 3DS variances will be mentioned accordingly. This guide to the Woodfall temple’s fairies will help old players remember fairy locations, while helping new players discover them.
15 First Fairy
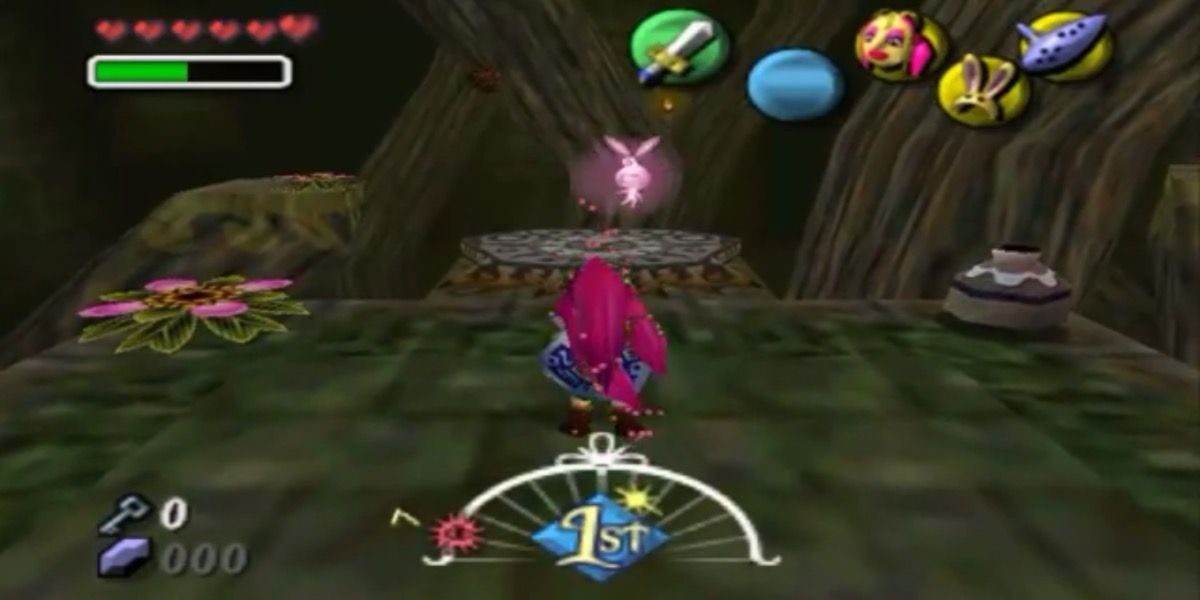
As soon as you walk into the Woodfall temple’s first room, you’ll see a fairy. By using the Deku Flower, hop onto the left platform, then turn to the right. There will be another Deku flower. Link can hop into that Deku flower to fly across and get the fairy. If players have the fairy mask, they can just put it on, and the fairy will come directly to Link without him even having to move.
14 Second Fairy
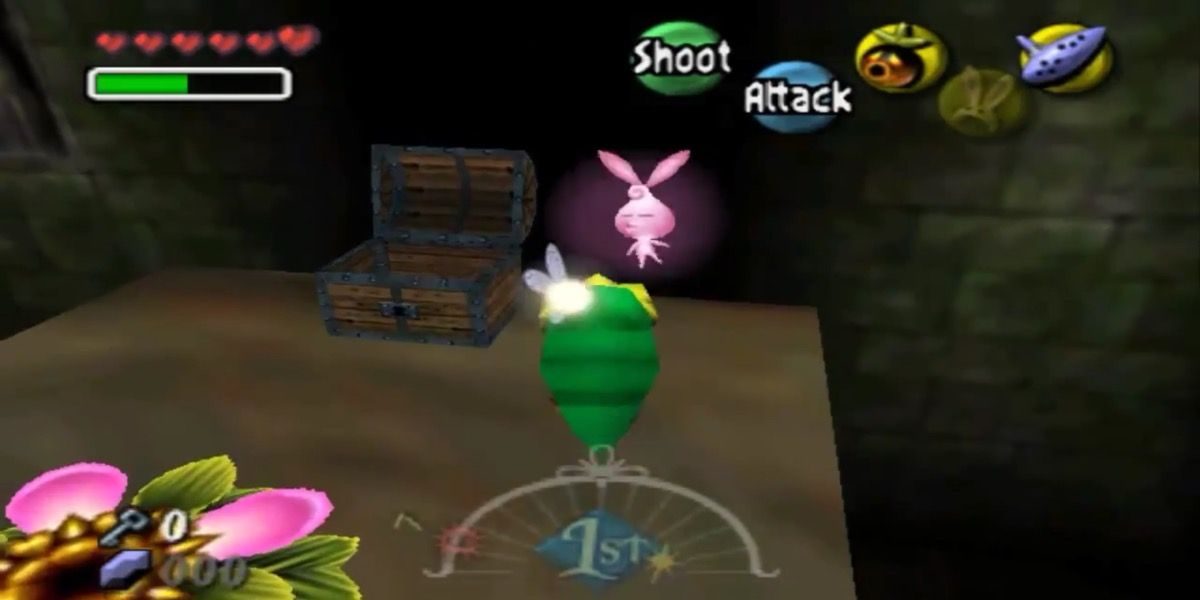
This one is simple. The very next platform holds a chest. The second fairy is in it. Simply glide across using the Deku flower, then open the chest to find another fairy.
13 Third Fairy
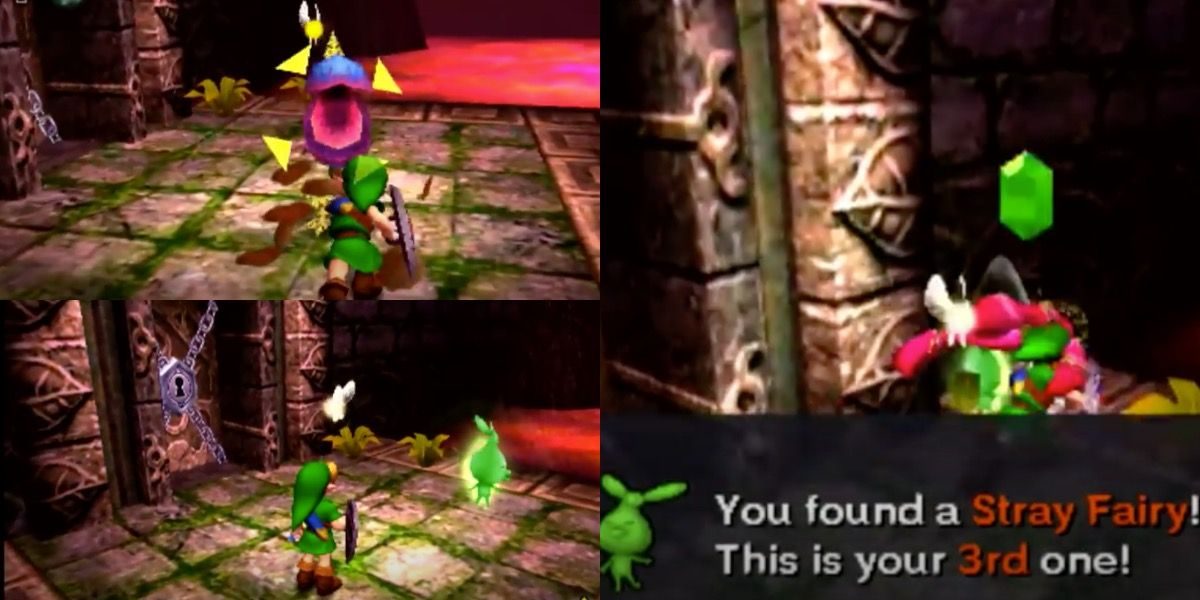
Walk into the next room. Take the tree path on the left to find a Deku Baba. Simply kill it to receive the third fairy. Easy, right? Don’t get too excited. Not all fairies are this obvious.
12 Fourth Fairy
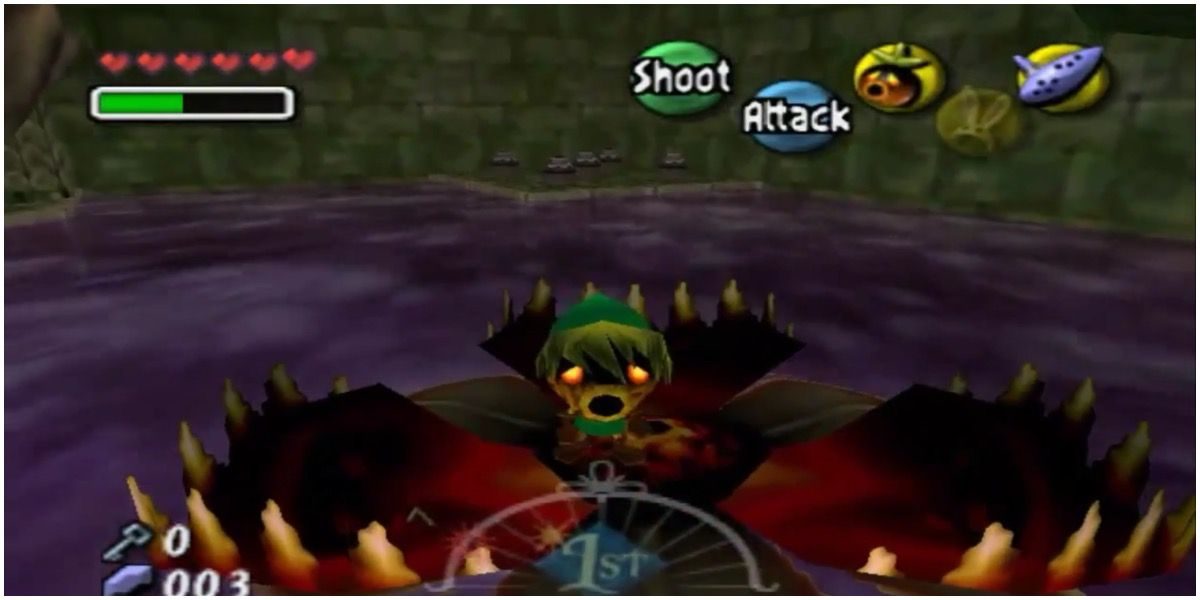
In the bottom right corner of this room, there are 5 pots on a platform. Hop across the flowers to avoid the poison water and make way to the platform. The fourth fairy is located in one of them. Break those pots to find the fourth fairy.
11 Fifth Fairy
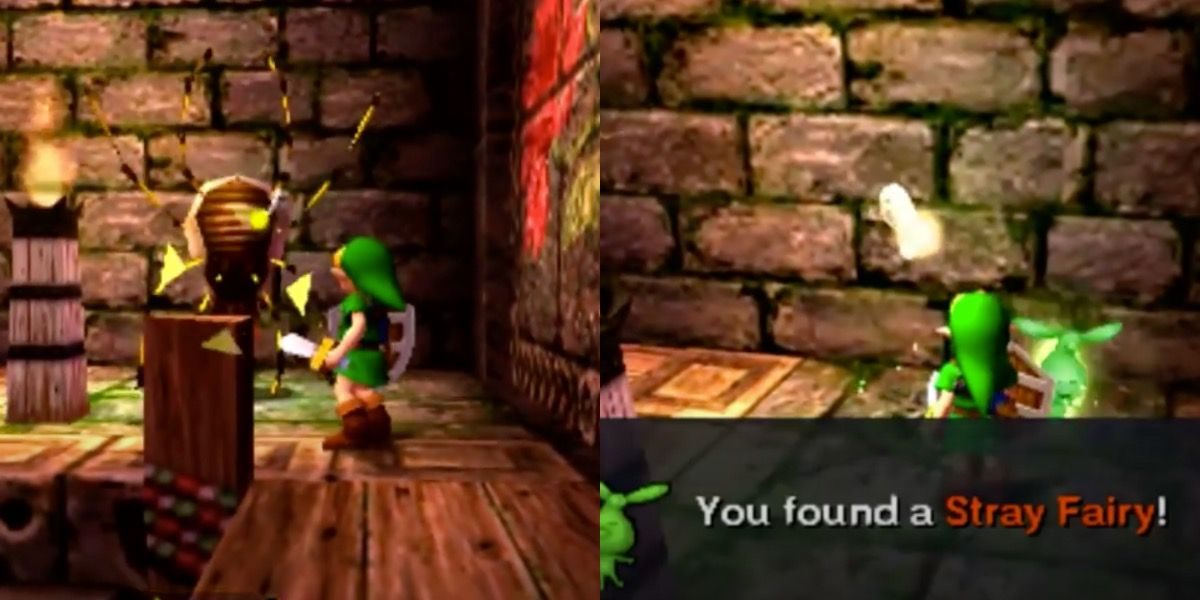
After getting the first key, go back to where the third and fourth fairies were located and go through the locked door. In this room, move the block and follow the wooden path, then proceed to kill the Skutulla. Link will receive a fairy as reward.
10 Sixth Fairy
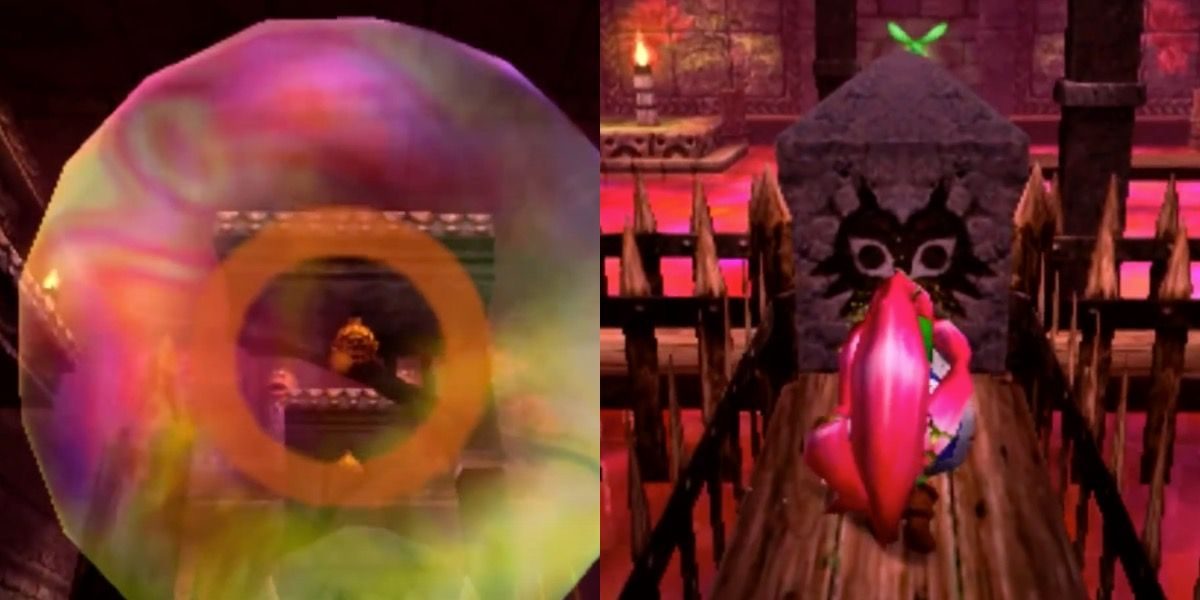
Stay in this same room. Get back onto the wooden path and shoot down the hornet nests that are located below the upper platforms.
RELATED: A Link To The Past: How To Get Every Bottle In The Game
The hornet nest on the second platform contains a fairy. The others will drop items too, but only the middle one is necessary to get the fairy.
9 Seventh Fairy
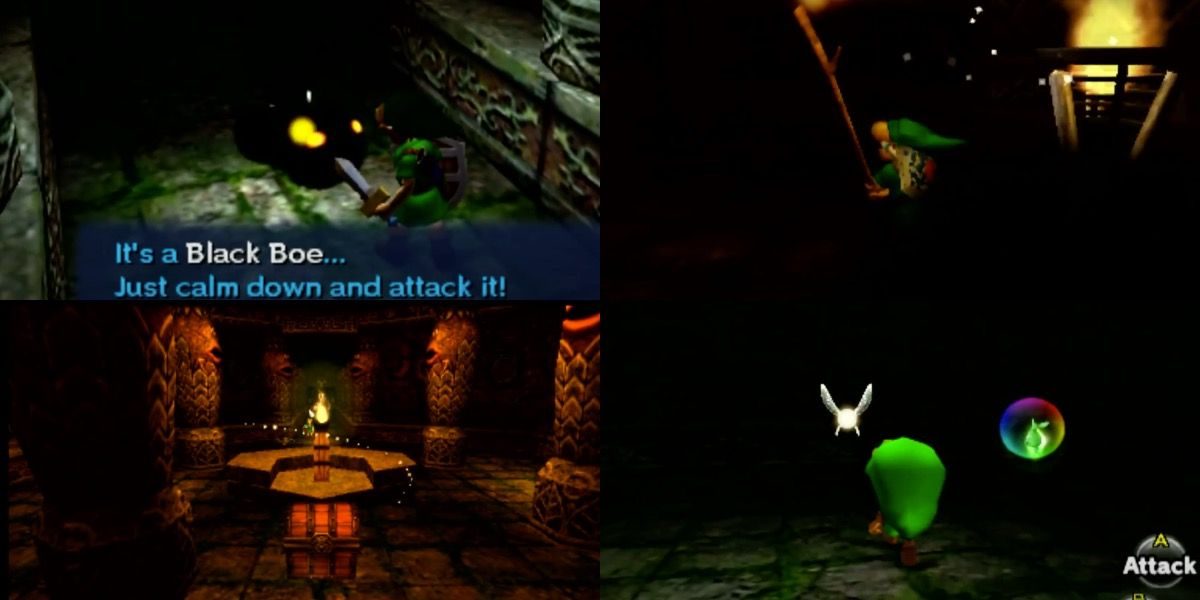
Go to the dark room with all the black boes, which are quite annoying enemies, in case their names don’t ring a bell. After killing all of them, a treasure chest will appear. This chest contains the seventh fairy. Getting back out can be confusing at first. Don’t forget to light all the torches in this room so Link can exit. Lighting the torches will remove the bars from the door, opening it back up.
8 Eighth Fairy
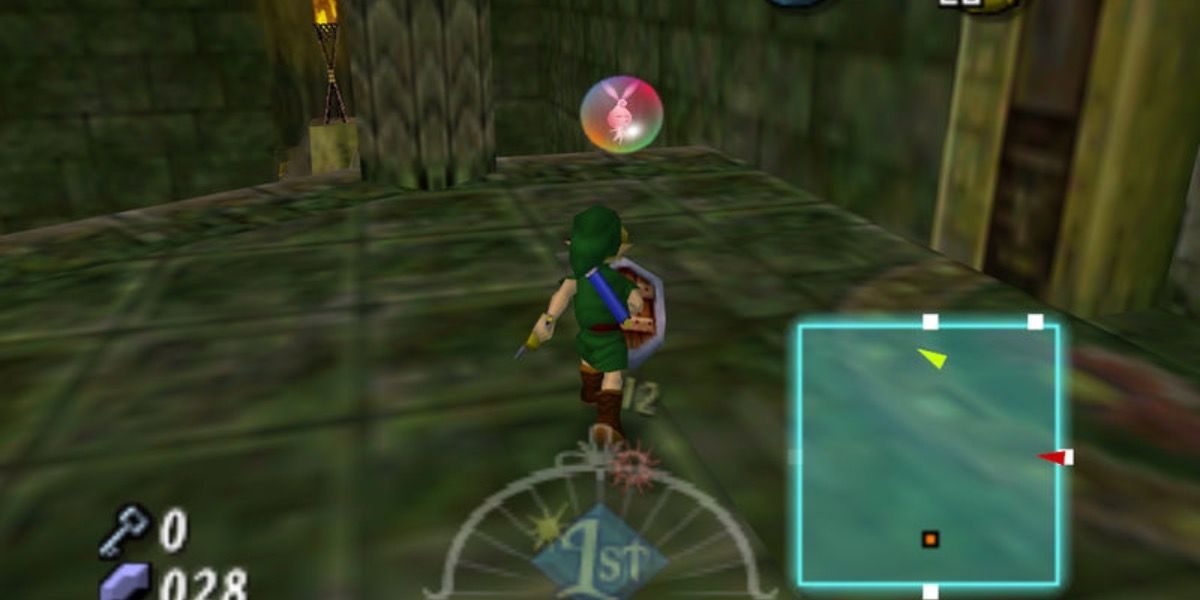
This one is simple. Head to the upper level of the room that the third and fourth fairies were located. Upon entering, turn to the right to see a fairy in a bubble. Grab it to receive the eighth fairy.
7 Ninth Fairy
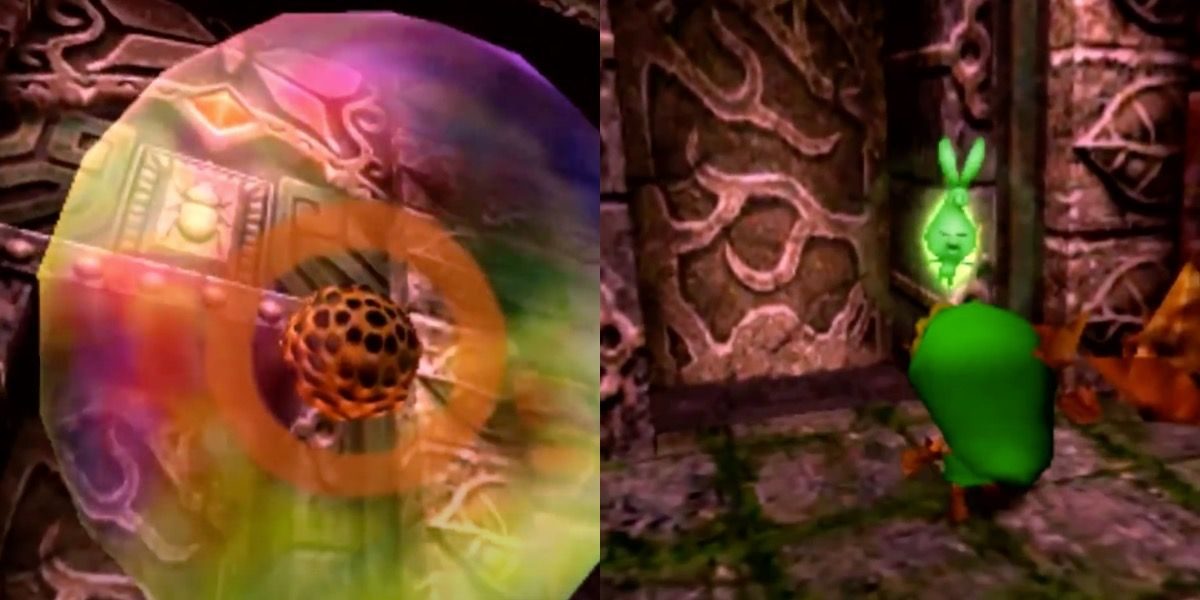
After defeating the Lizalfos and getting the bow, follow the L-shaped path to see a hornet’s nest inside the creature’s mouth that’s on the wall. Shoot it to release the ninth fairy.
RELATED: Breath Of The Wild: 10 Things You Didn’t Know About The Master Sword’s Past
Those with the fairy mask can use it to easily retrieve the fairy. Those who don’t have the fairy mask can shoot the yellow eye to activate the moving platform. Now, Link can jump down and get the fairy, then use the moving platform to get back up to where he needs to be.
6 Tenth Fairy
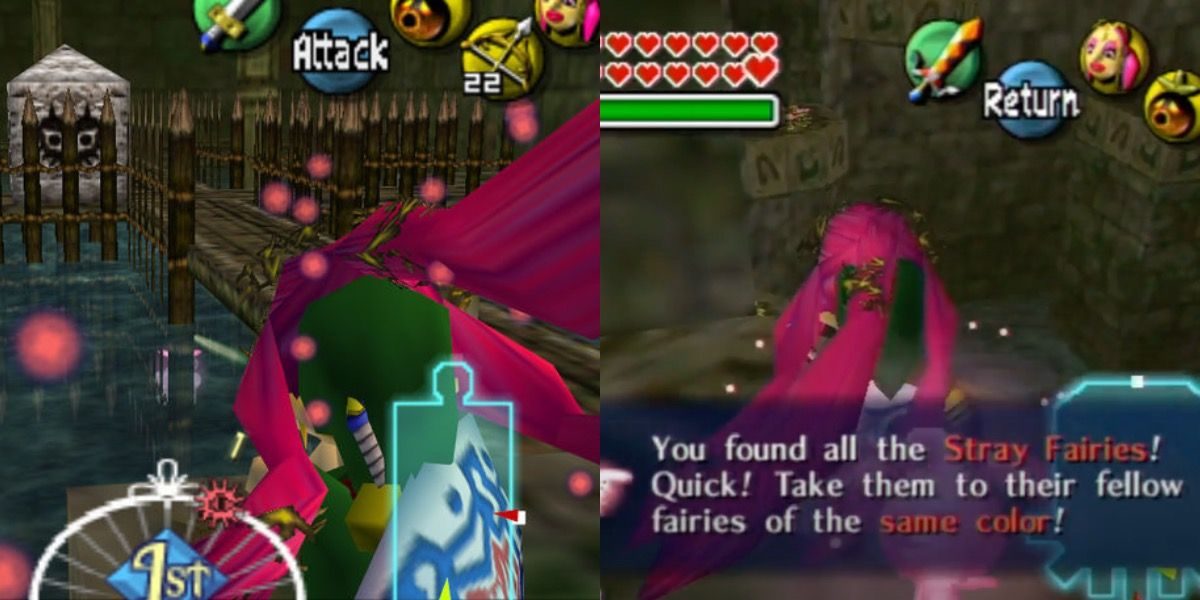
Go back into the room where the fifth fairy was at. Now that Link has the bow and arrow, go to the very far right of the wall. Then, look under the wooden path to see a fairy. Using the bow and arrow, shoot the fairy to release it from its bubble. Link will need the fairy mask for this one to avoid damage because it is floating above the poisonous water.
This fairy is not present in the 3DS version. Instead, there’s a fairy in the room with the floating platforms. Remember those annoying floating bricks that Deku Link has to cross? Yeah, ignore them and go down to the lower spot below. There’s a fairy in northeast corner of this room.
5 Eleventh Fairy
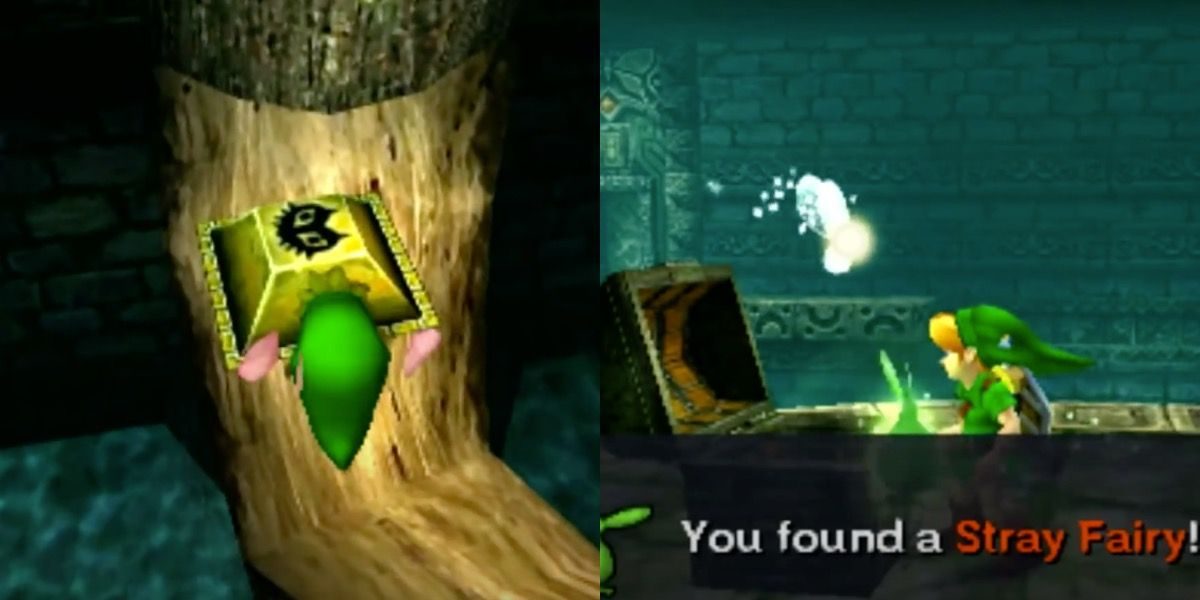
Again, go back to the main room where fairies three, four, and eight were located. There’s a button that Link must press to reveal the last fairy. Go to it using the Deku flower, turn back into Link and press the button. Open the chest to receive the eleventh fairy.
4 Twelfth Fairy
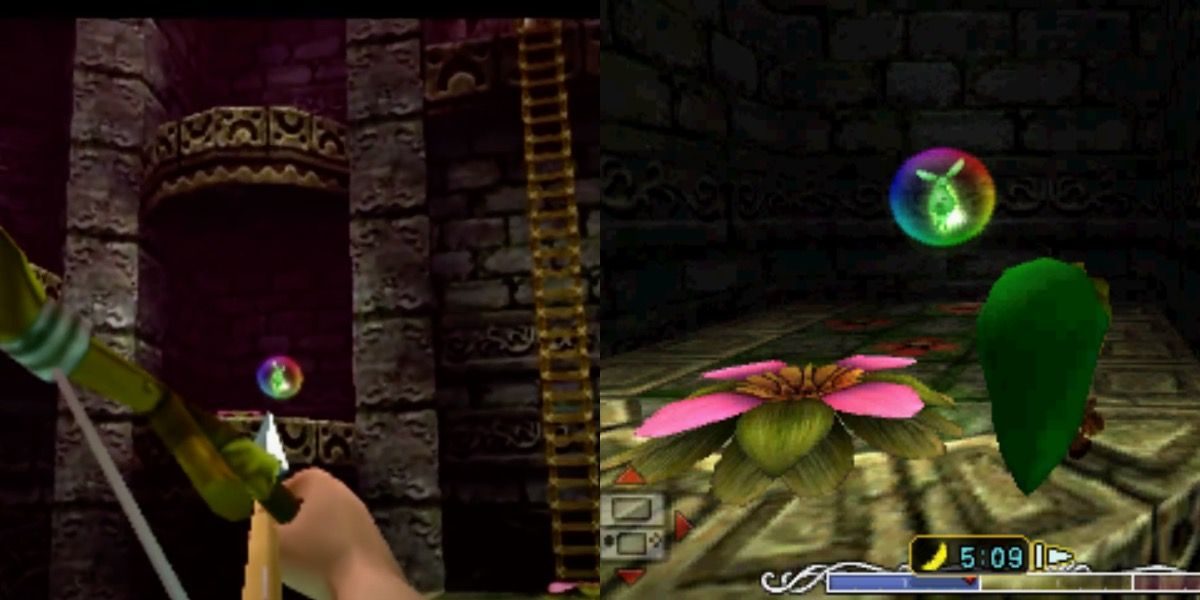
This one is located in the pre-boss room. So are the rest of the fairies. Go down the ladder and enter the Deku flower, turn right until the platform with another Deku flower is visible, and see a fairy in a bubble.
RELATED: Zelda: A Step By Step Guide To The Biggoron’s Trading Sequence In Ocarina Of Time
Alternatively, for those who have the fairy mask, there’s an easier way. Simply stand in the middle of the room and pop the fairy bubble with an arrow, then let the fairy mask do the rest of the work.
3 Thirteenth Fairy
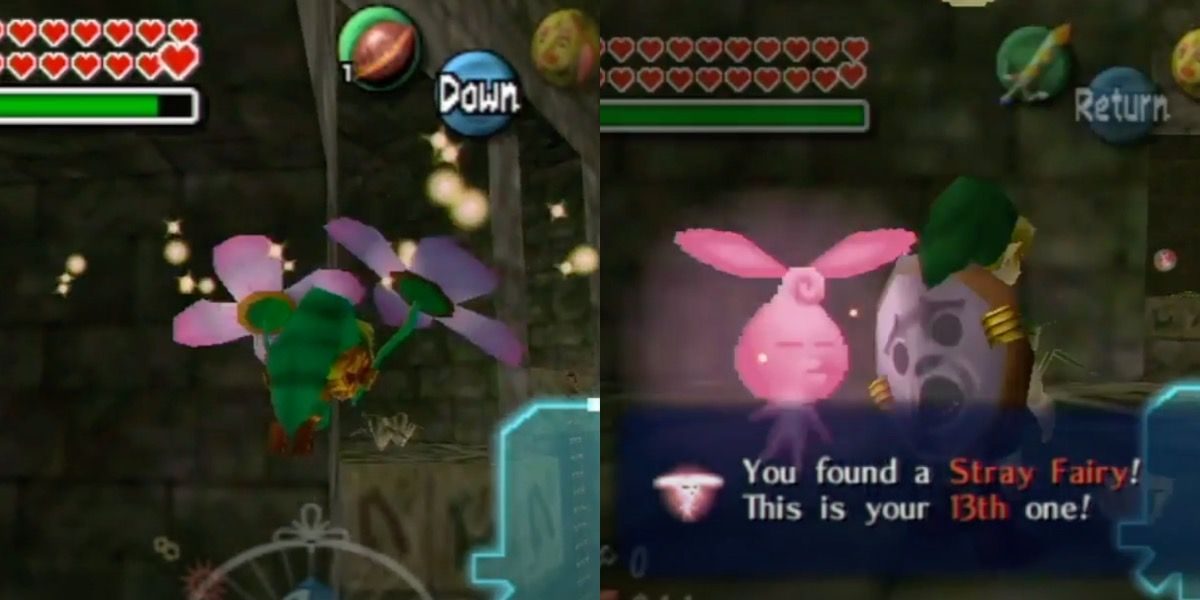
This one is just above the last one. Keep climbing the platforms that are located all the way up the wall. Each one has a Deku flower. Go up all the way to the top by using the Deku flowers to get the thirteenth fairy.
2 Fourteenth Fairy
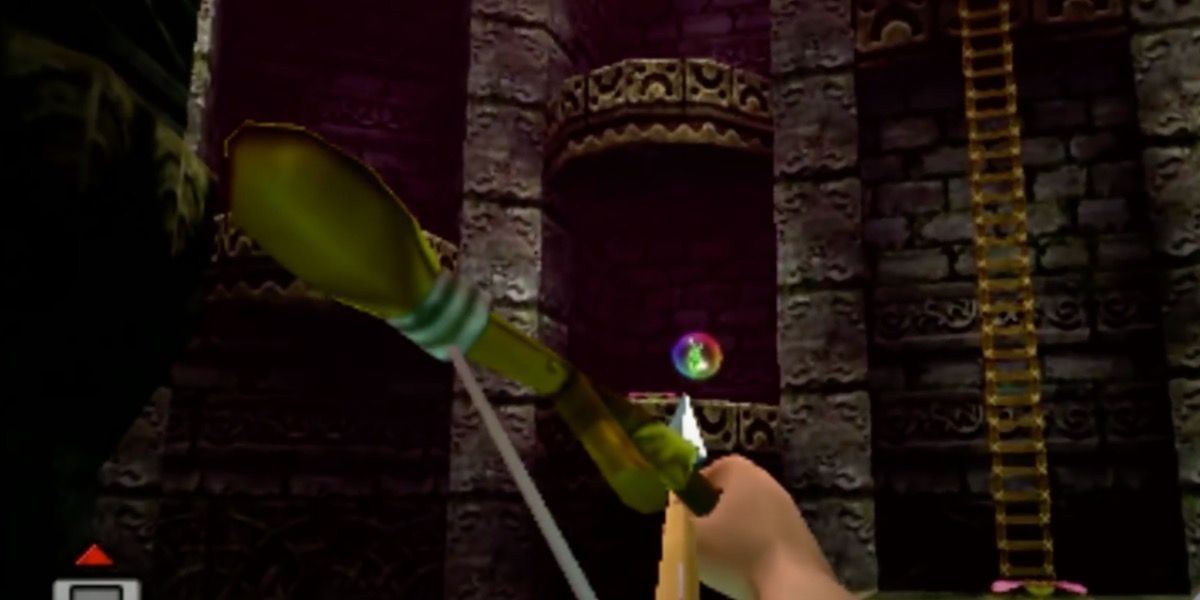
Go back to the main Deku flower located under the ladder and travel up the same way as before, but on the left side instead. You’ll come across another fairy in a bubble. This is your fourteenth fairy.
Again, it’s easier to just use the fairy mask for those who have it and want to save time. Instead of climbing up the room’s left side, stay where the twelfth fairy was at. Then, look across the room to see another fairy in a bubble. Pop the bubble, and let the mask its job.
1 Fifteenth Fairy
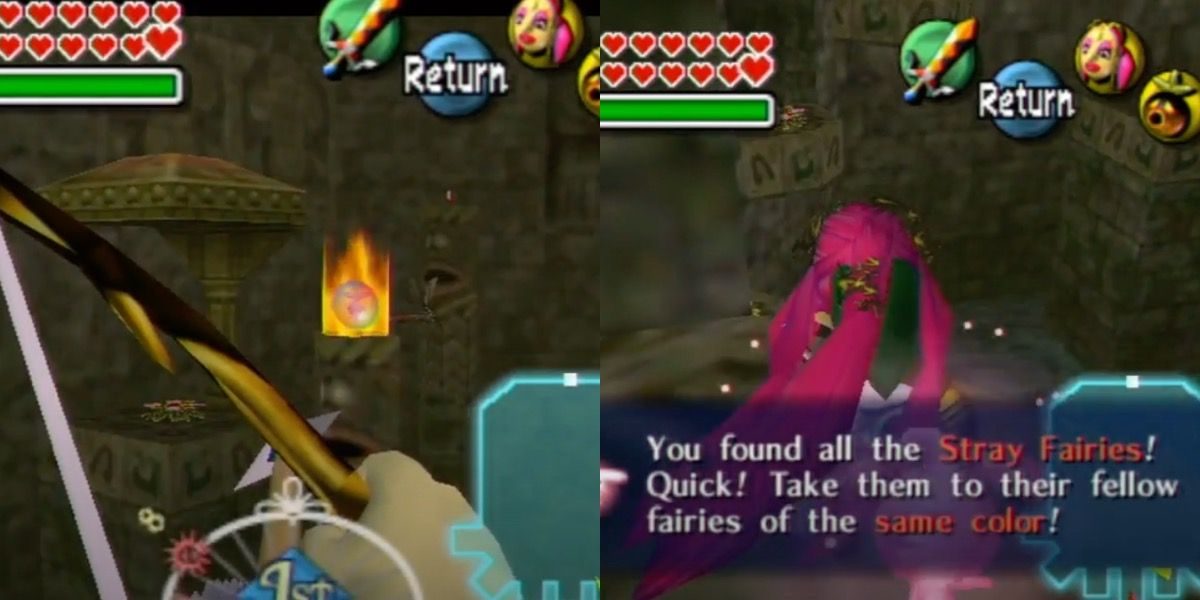
After getting the fourteenth fairy, turn around and use an arrow to hit the crystal switch. Once the flames go down, fly directly to the fairy in the bubble. This is the final fairy. Alternatively, the easiest option is to use the bow and arrow to pop the fairy’s bubble, then use the fairy mask to let the fairy come directly to Link.
Now, it’s important to know how to get to the fairy fountain. The Great Fairy of the Swamp is located in a cave near the Woodfall temple. After getting all 15 fairies, return to her to restore her original form. Spoiler alert: for those who want to be surprised with their reward, stop reading here. In the original N64/Gamecube versions of Majora’s Mask, Link is granted with the Charged Spin Attack move. In the 3DS version, he gets a double magic meter.
NEXT: The Legend Of Zelda: 10 Twilight Princess Memes That Are Too Funny

