Ratchet and Clank Rift Apart is usually a very straightforward platinum, but Insomniac also graciously marked most of the collectibles on the map, and the game has a robust tracking system for these collectibles. Except for one. These collectibles are called CraiggerBears, and you need to collect 9 of them (one on each planet) for a gold trophy and these bears are pretty well hidden, and they don’t show up on either your map or your collectibles tracker.
With this guide, you’ll be able to easily collect these bears on your very first playthrough and without needing to backtrack to planets after you beat the game to collect them (though you can still do that if you want). For the sake of visibility, all the images here are captured using a custom contrast preset (thanks to Insomniac’s wide array of accessibility settings) which turns everything to white and grey except the collectibles, which are highlighted in red. And I’d also recommend that you do the same once you’re in the vicinity of the locations marked on the map because it can be very easy to miss them as the muted colours of these bears often get overshadowed by the vivid environments.
With all that housekeeping out of the way now, let’s begin without much further ado.
Table of Contents
PLANET 1: CORSON V

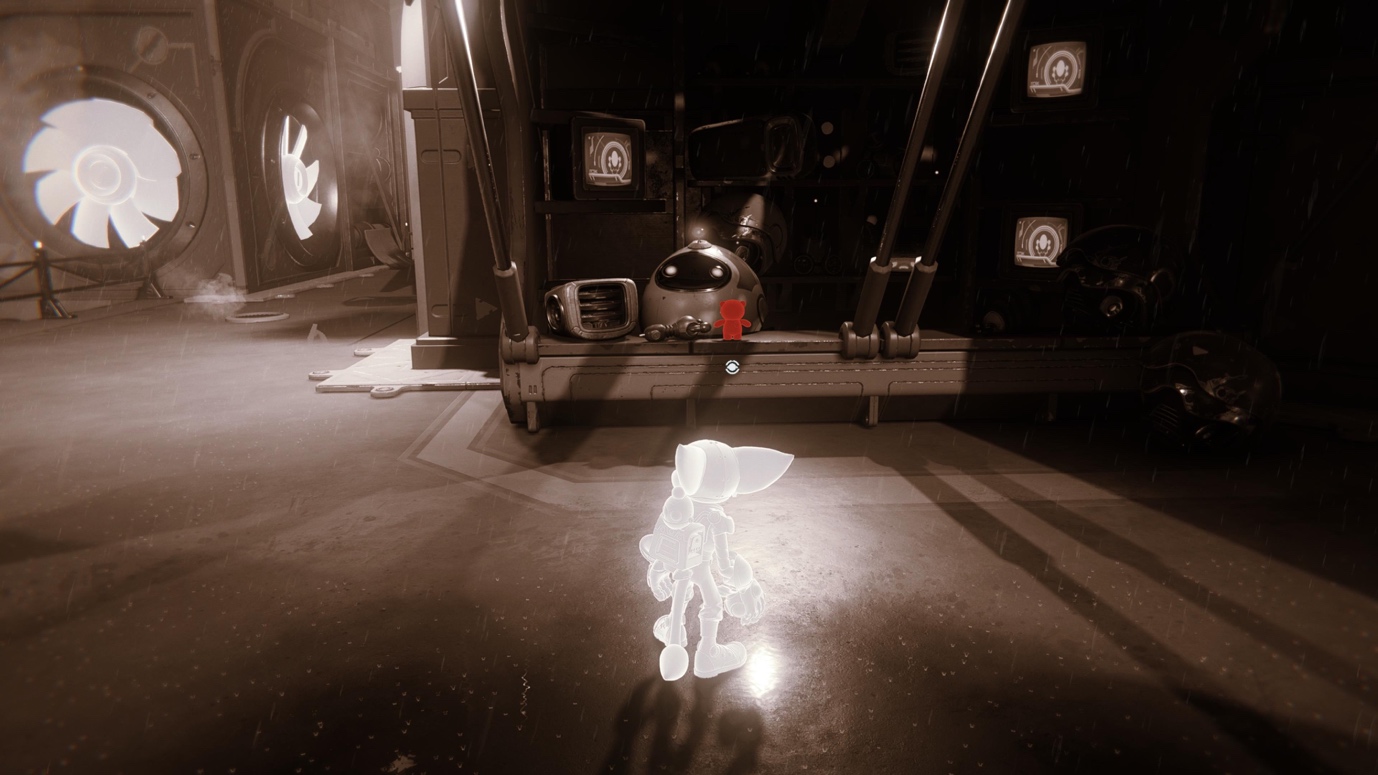
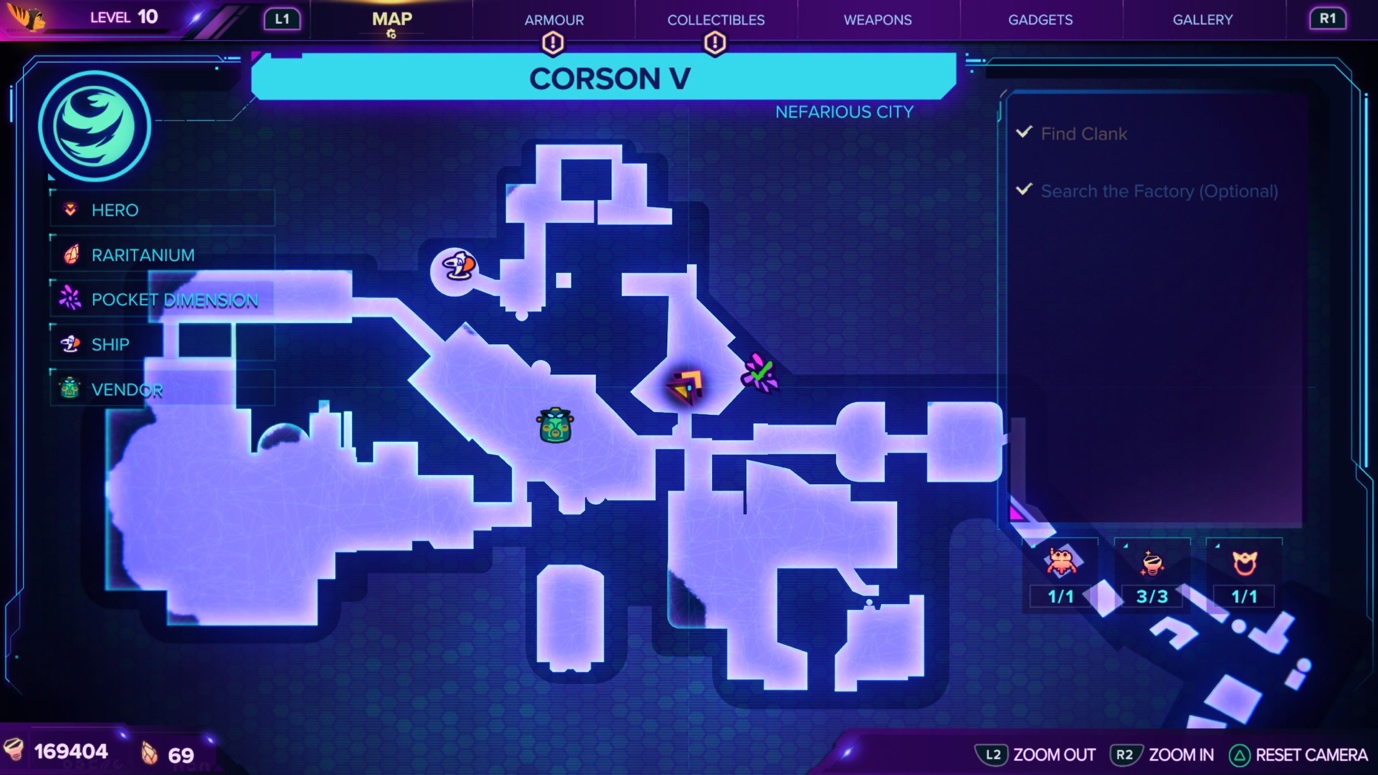
This is the very first area you get to explore after the prologue. At the start of the mission, after meeting with Mrs. Zurkon, you need to make your way to Club Nefarious. But instead of going right where your objective is, take a left, and there will be your first bear.
PLANET 2: SARGASSO
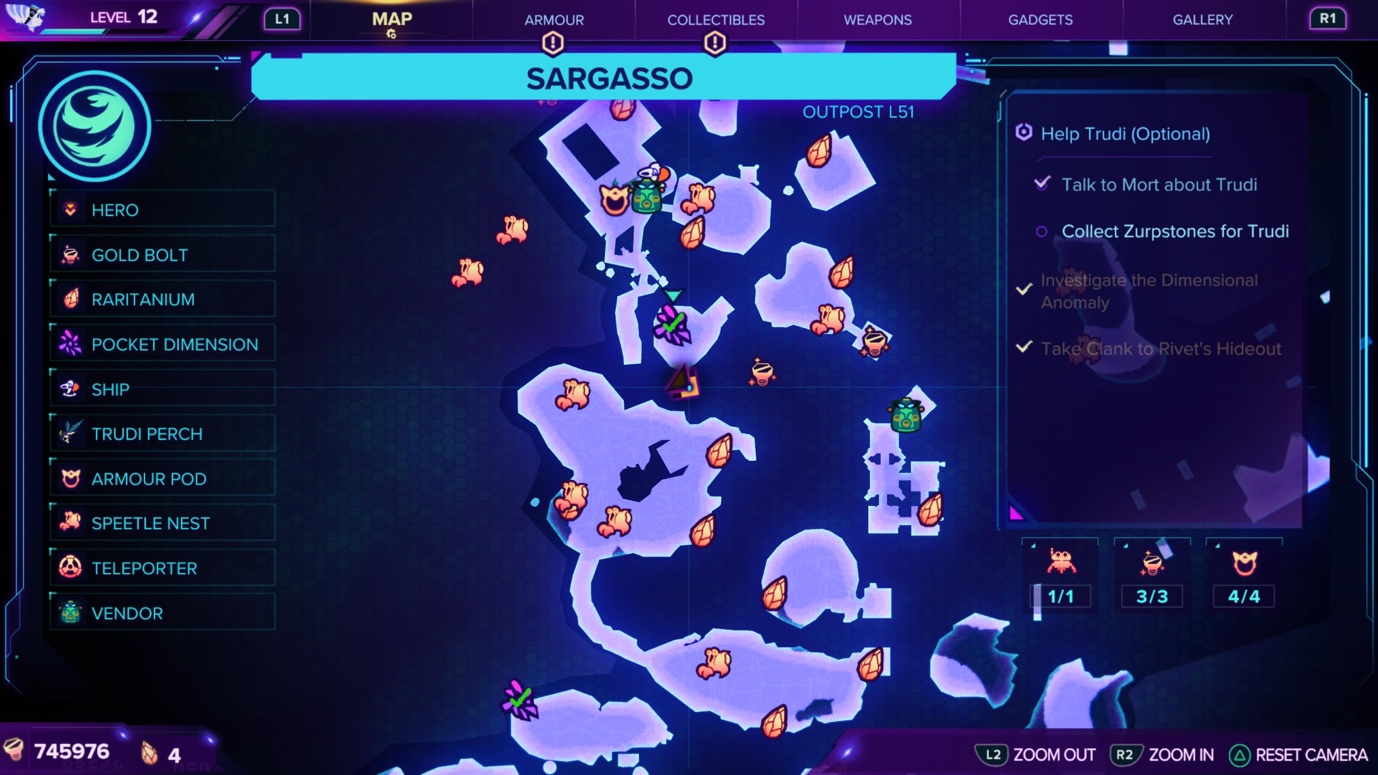
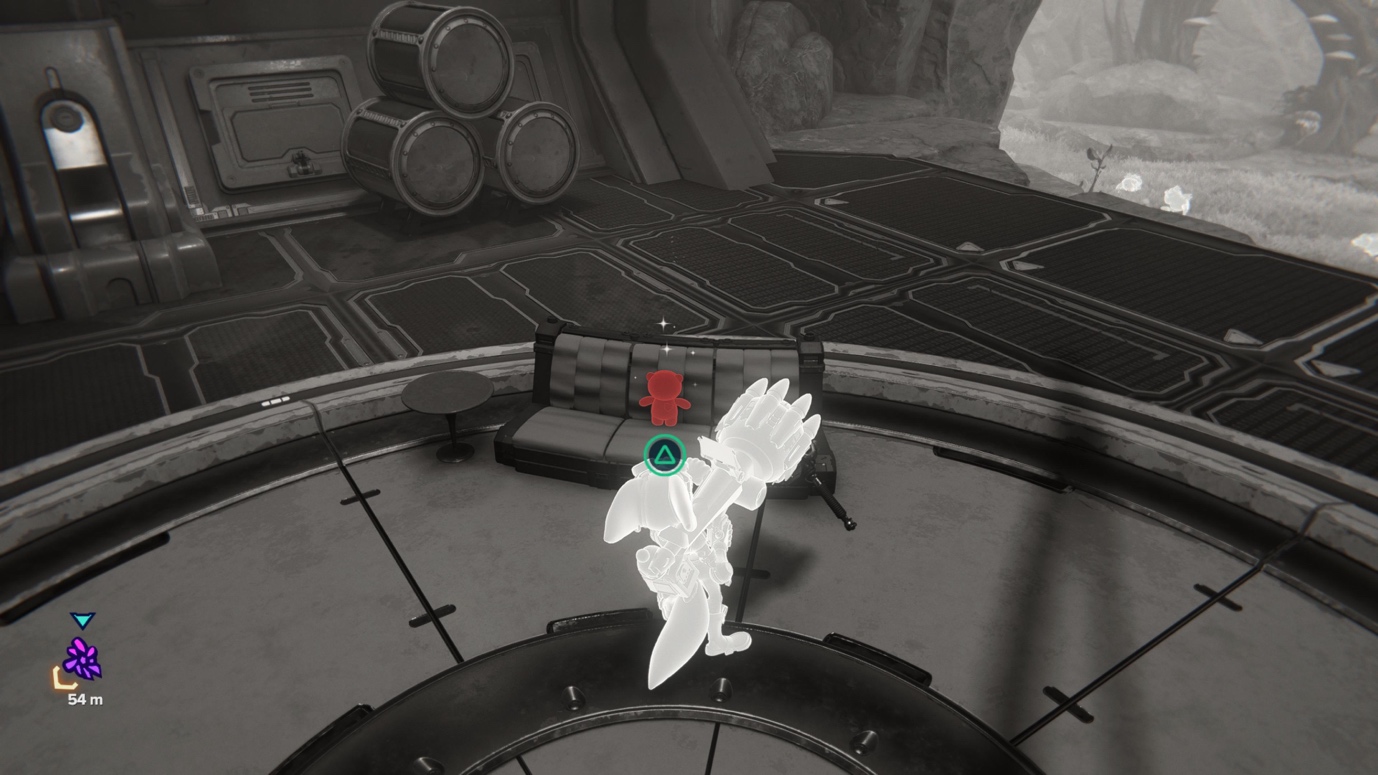
After beating this mission, you will need to head straight to Rivet’s hideout, and there is your bear on the sofa. Also, make sure to turn on the TV in Rivet’s hideout for the trophy Lombax and Chill.
PLANET 3: SCARSTU DEBRIS FIELD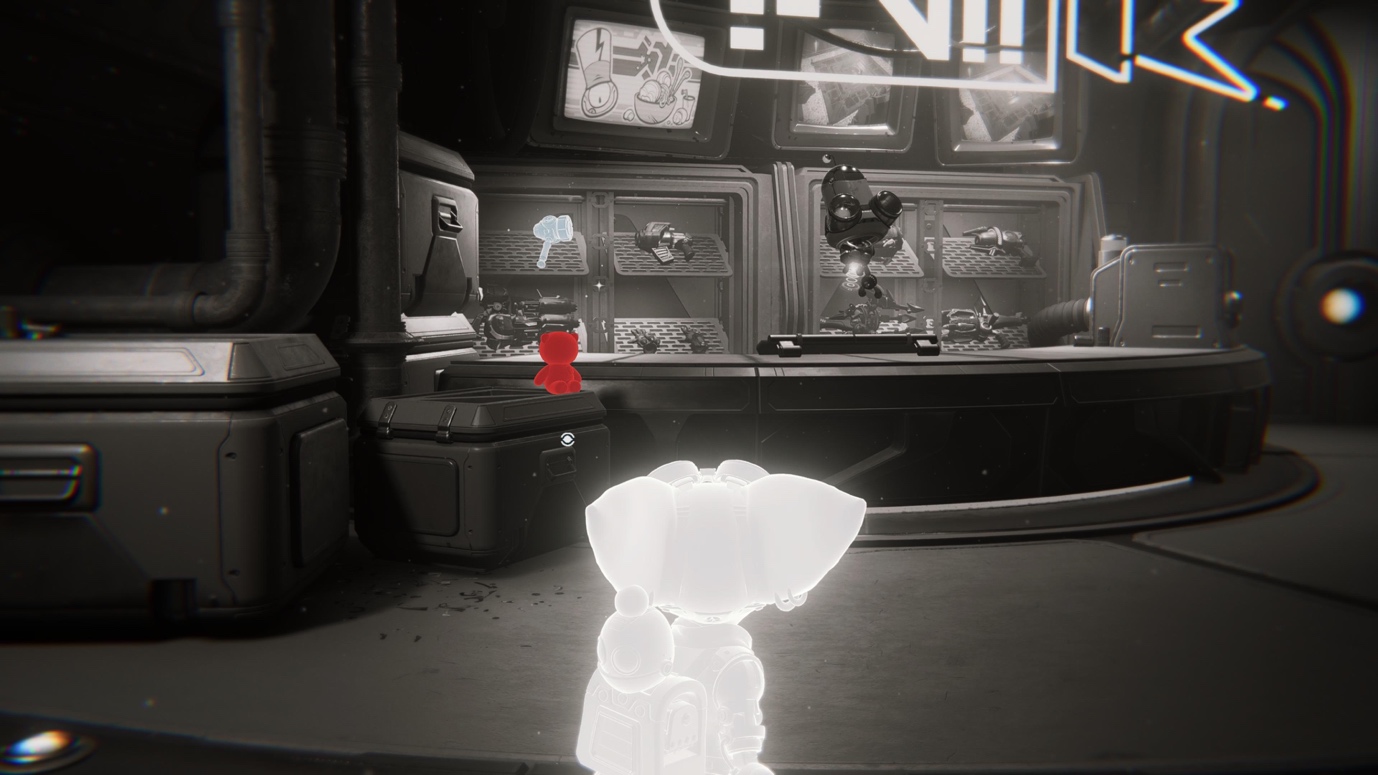
Head over to your objective at Zurkie’s bar, and as soon as you reach the objective, there will be this bear sitting right in front of you. There’s no map location here as the map doesn’t work inside this place. But this bear is pretty hard to miss, and if my guess is correct, this will be the first bear for the most players.
PLANET 4: SAVALLI

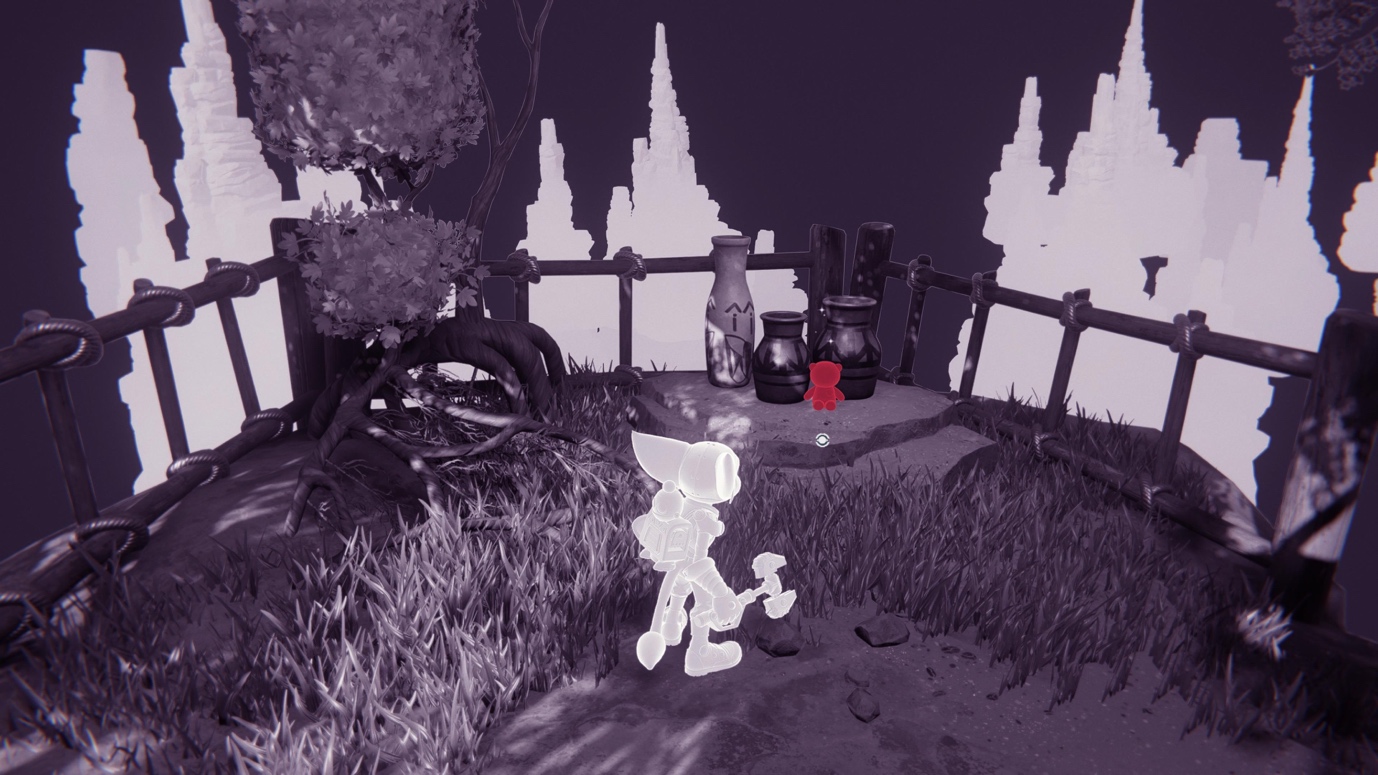
On the planet Savalli, you’ll need to clear 3 enemy outposts and free the hostages to progress the story. You can choose to approach them in any order you want. So go to the one which is in the vicinity of the location shown on the map, and then you will have to clear a timed obstacle course. After the first obstacle course is done, rather than taking a right to start the second one and progressing the story, make sure to take a slight detour to the left and follow a small path that will lead you to your bear.
PLANET 5: BLIZAR PRIME
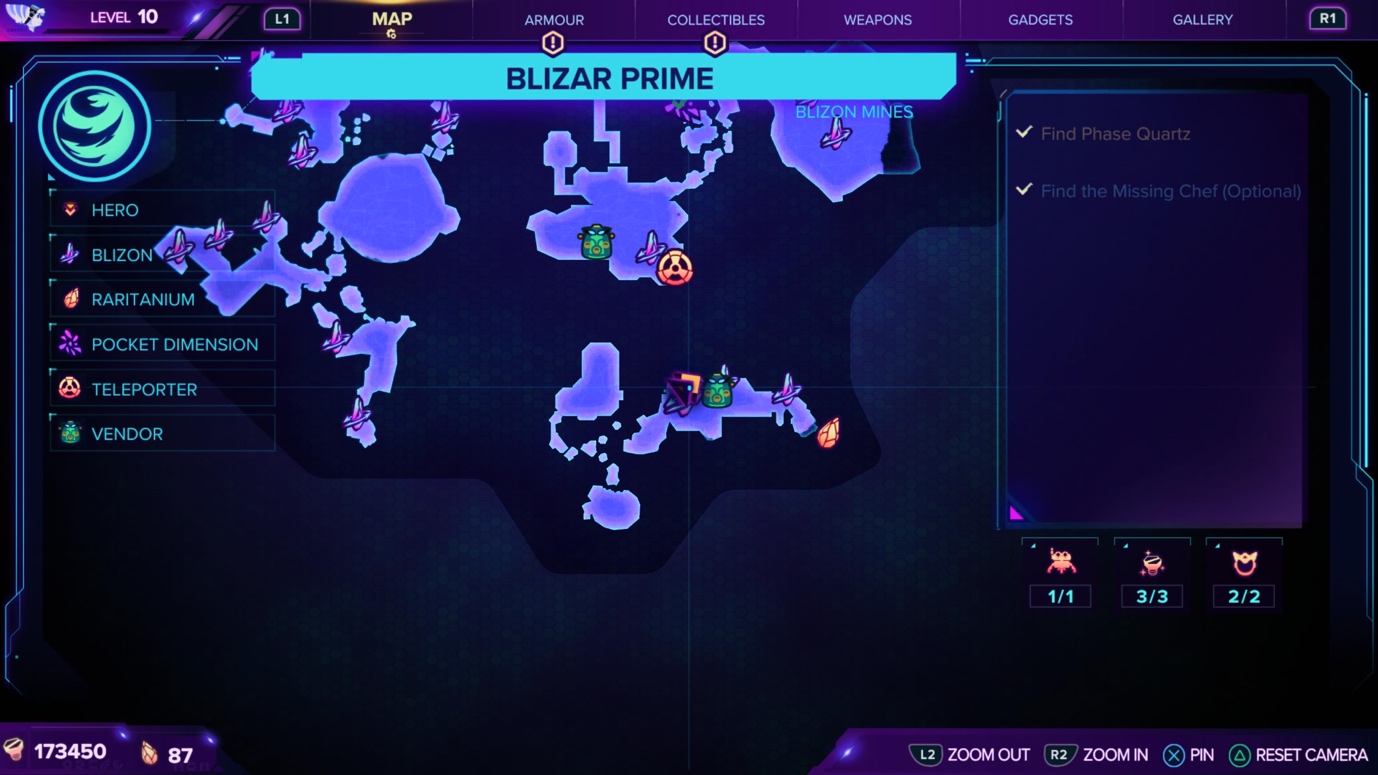
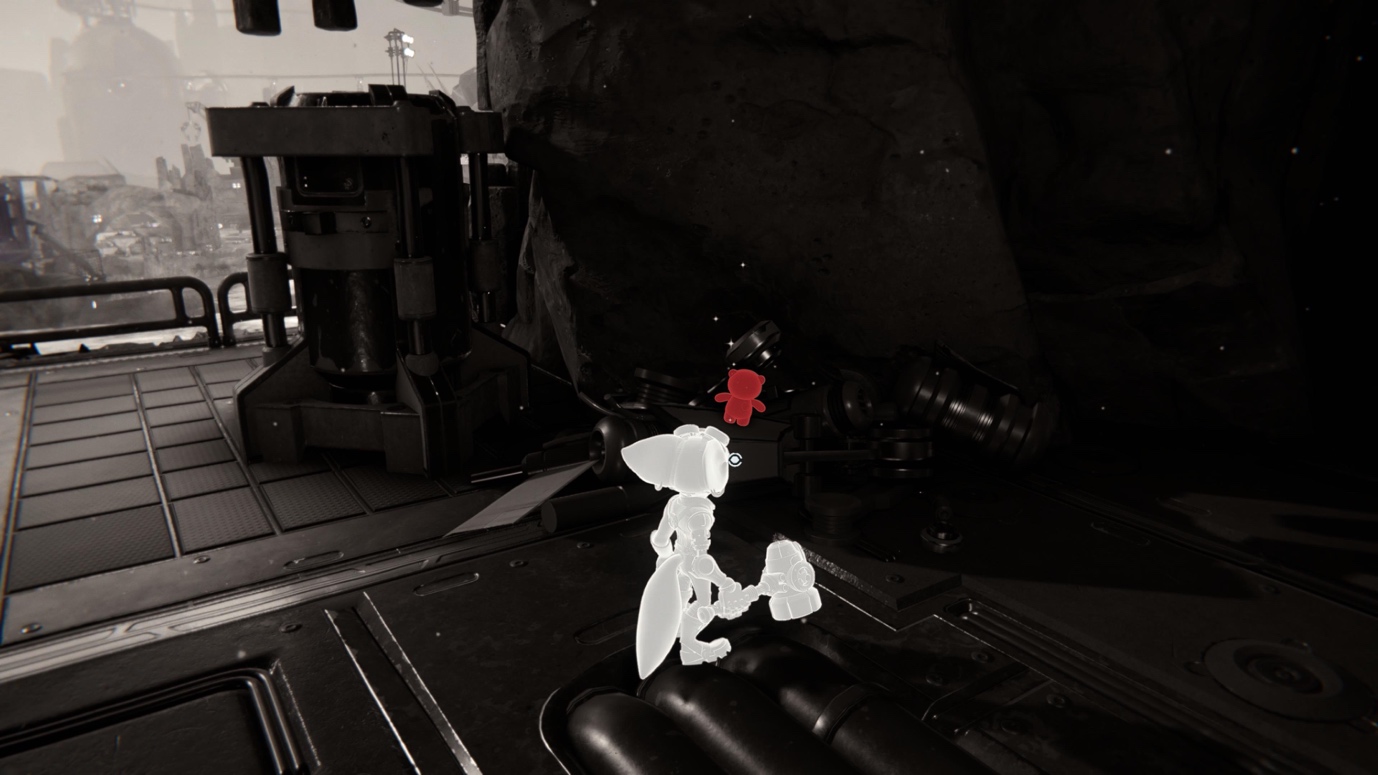
After all the inter-dimension hopping at the start of the mission, you’ll reach the location marked on the map. Turn around, and you’ll find your bear.
PLANET 6: TORREN IV
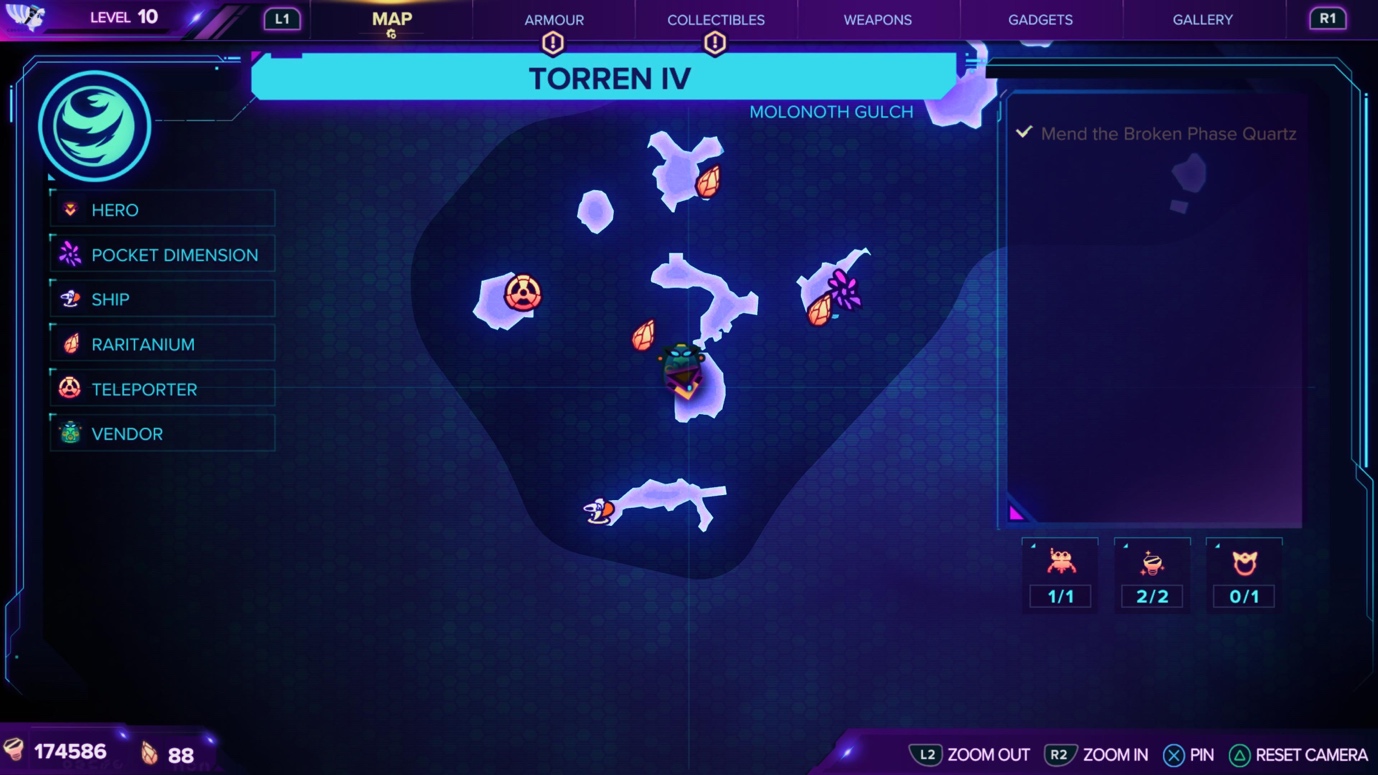

Make your way to the story objective, and just right before the Mrs. Zurkon vendor, there will be a bear located to the right.
PLANET 7: CORDELION
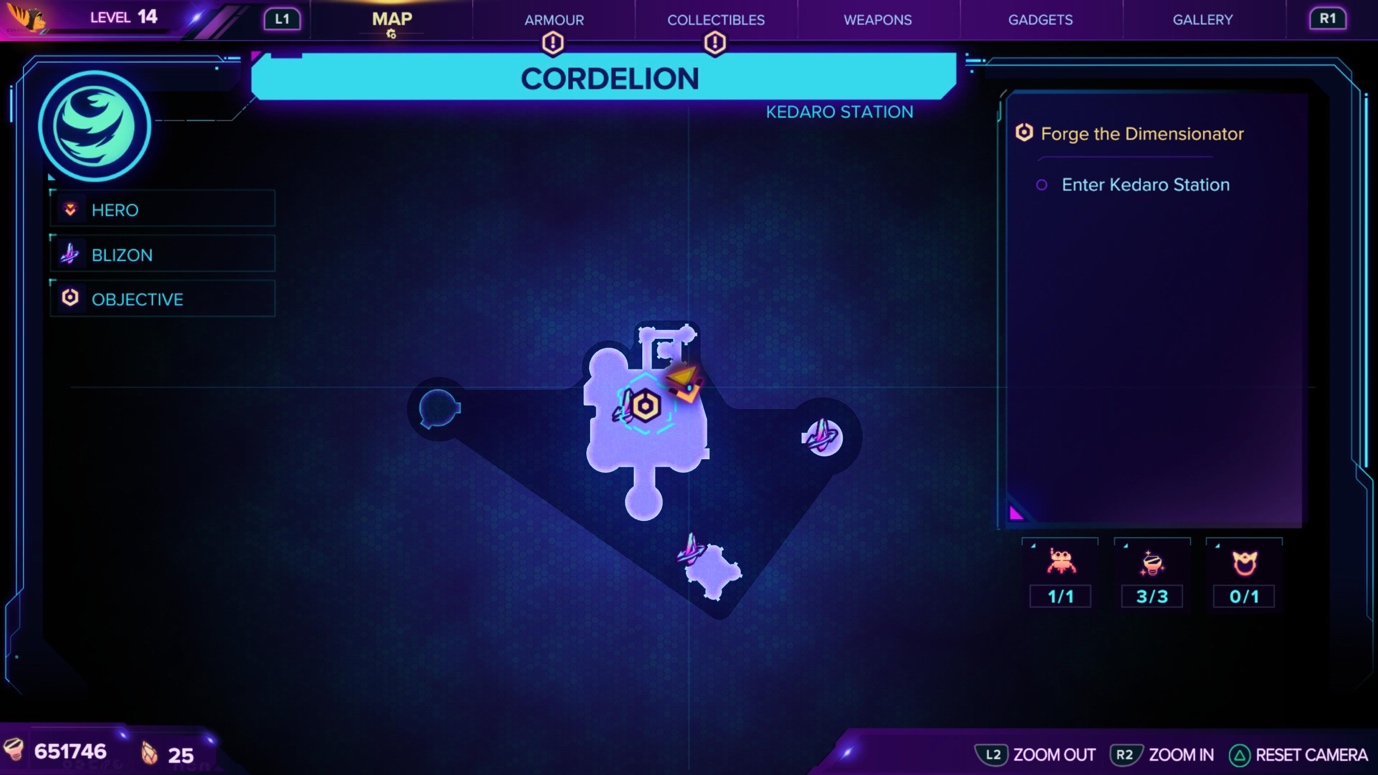
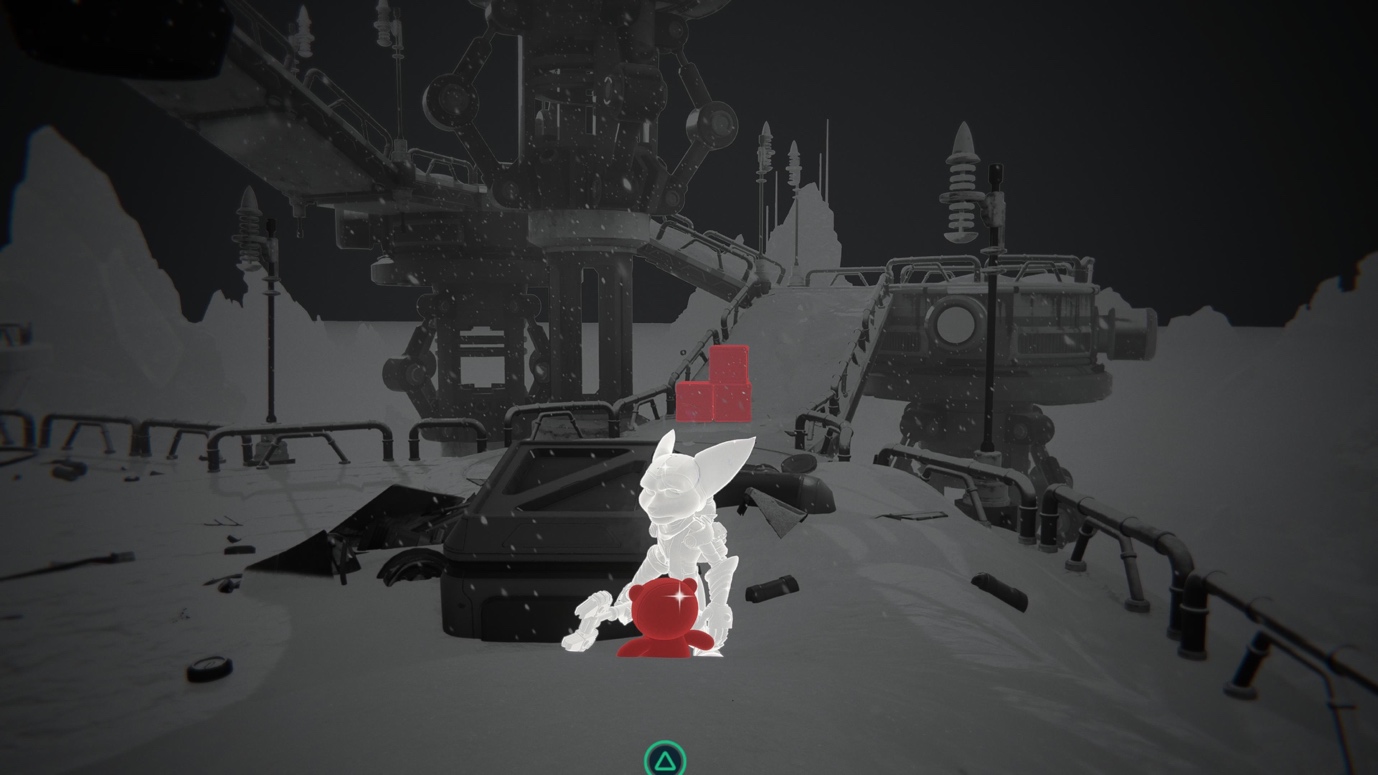
When you reach the planet Cordelion, you’ll have to change the dimension to reach your objective. When you change the dimension, slide down the snowy slope, and you will see your bear.
PLANET 8: ARDOLIS
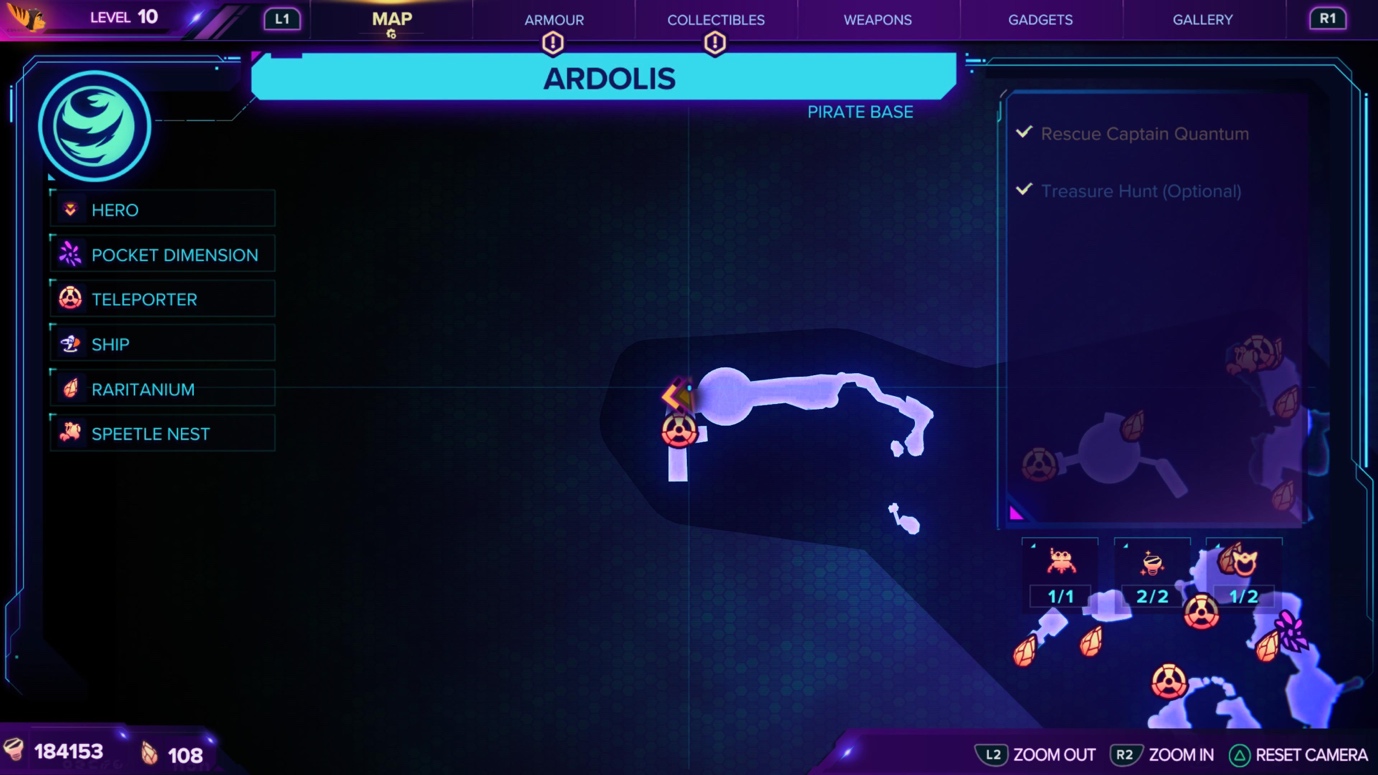
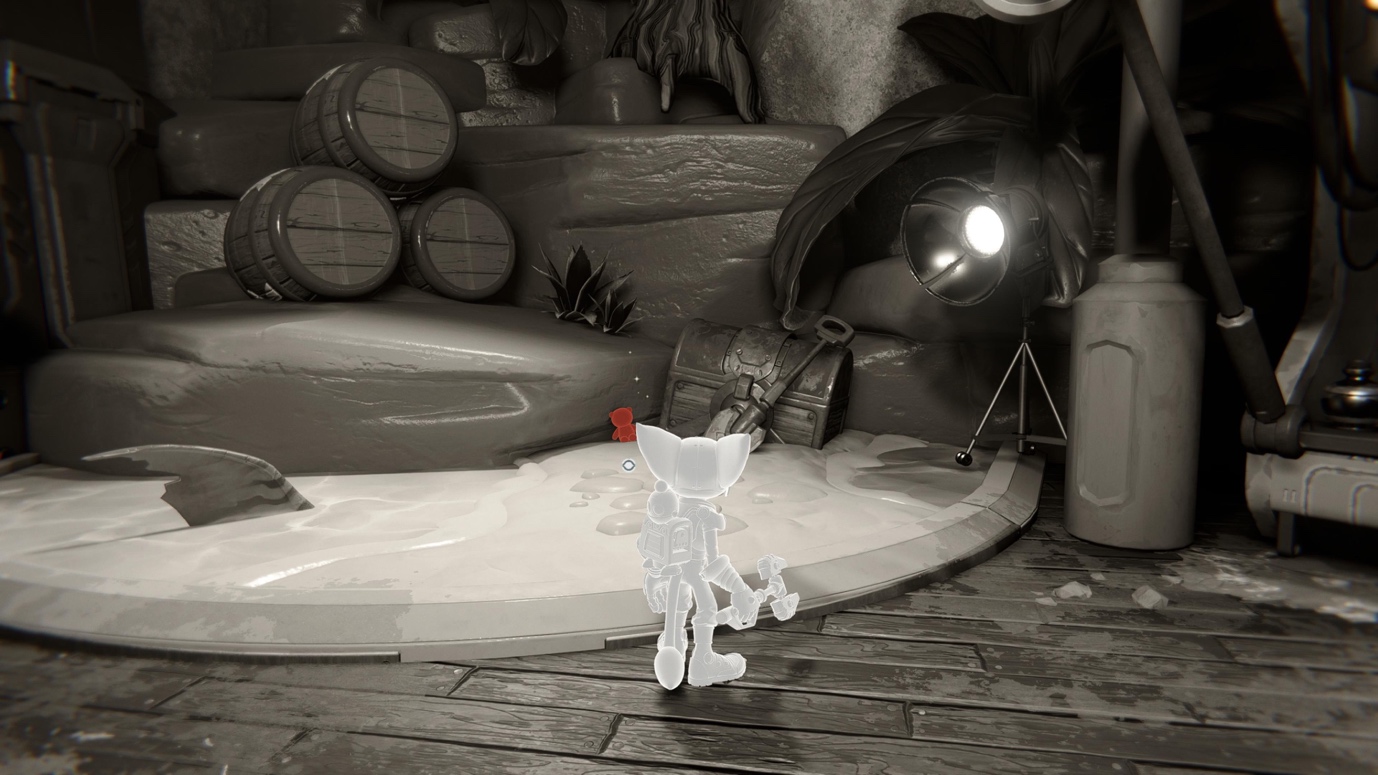
After you are done with your final pirate trial (story objective), you’ll enter a small room before continuing. Before exiting and continuing, make sure to take a look around, and there will be a bear waiting for you.
PLANET 9: VICERON
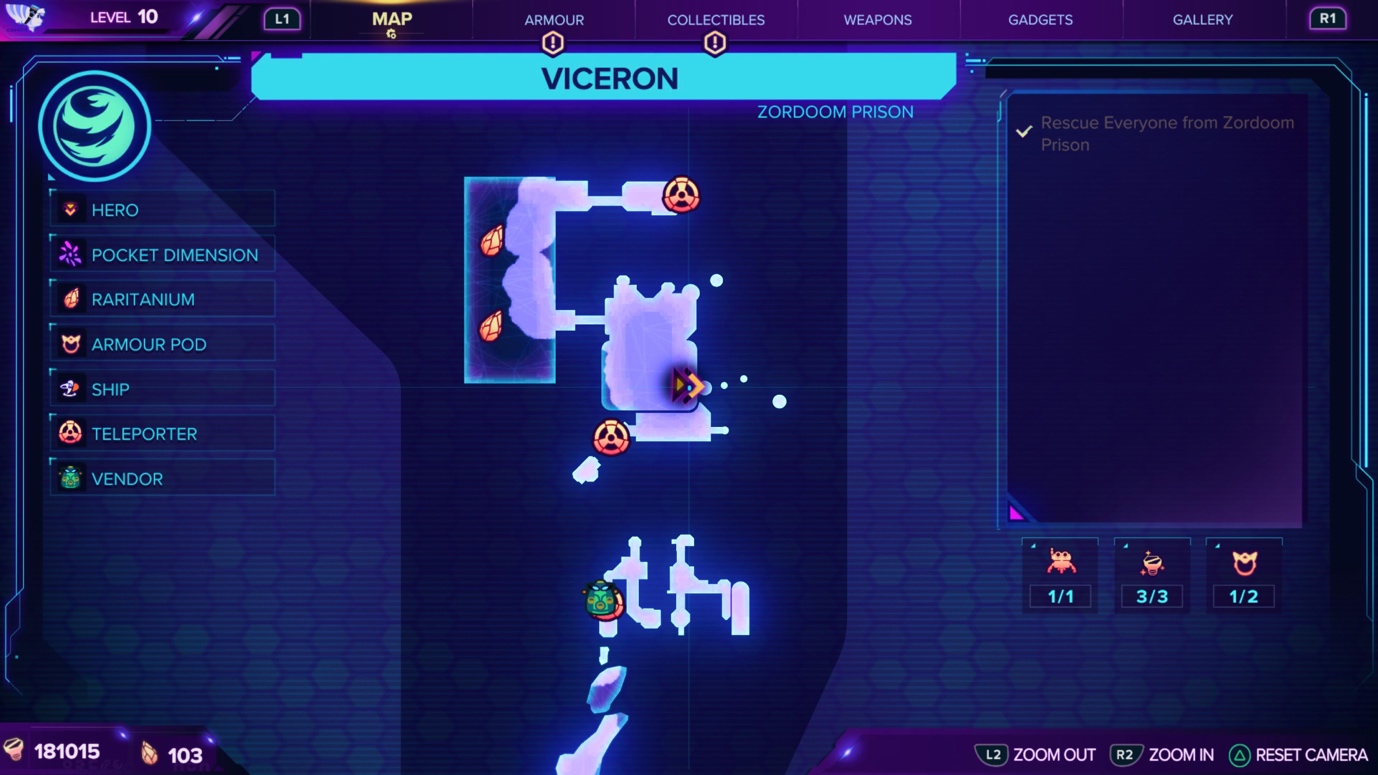
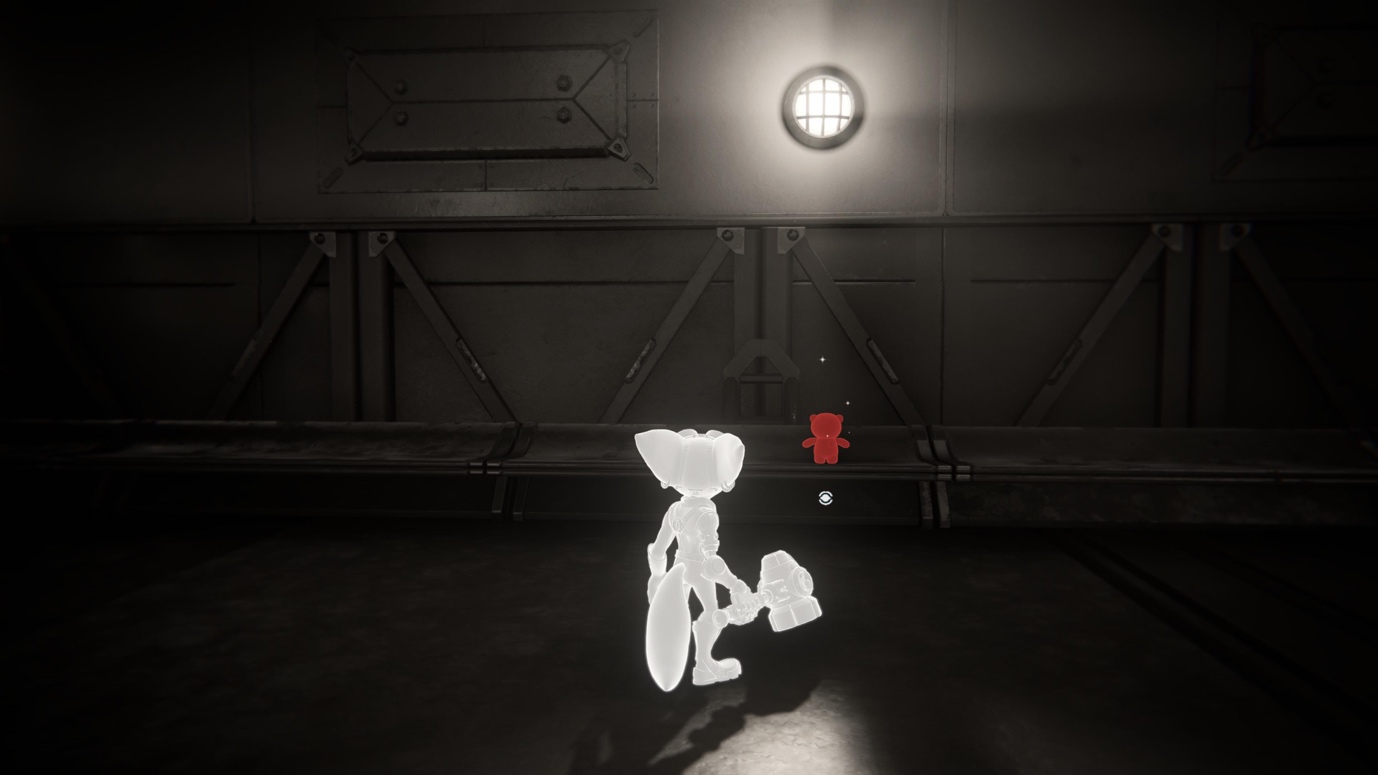
After you rescue Clank (story objective), there will be a horde of enemies you’ll have to fight. After you’ve dealt with them, make sure to take a look around in that area, and there will be your final bear waiting for you.
Hopefully, my guide was helpful and helped you on your way to that shiny platinum.


