Quick Links
- Turn The Lasers Off
- Open The Desk
- Unlocking The Desk's Compartments
- Solve The Panel Puzzle
- Plant The Tracking Device
- Fool The Guard
- Operation: Eaves Drop Speedrun Guide
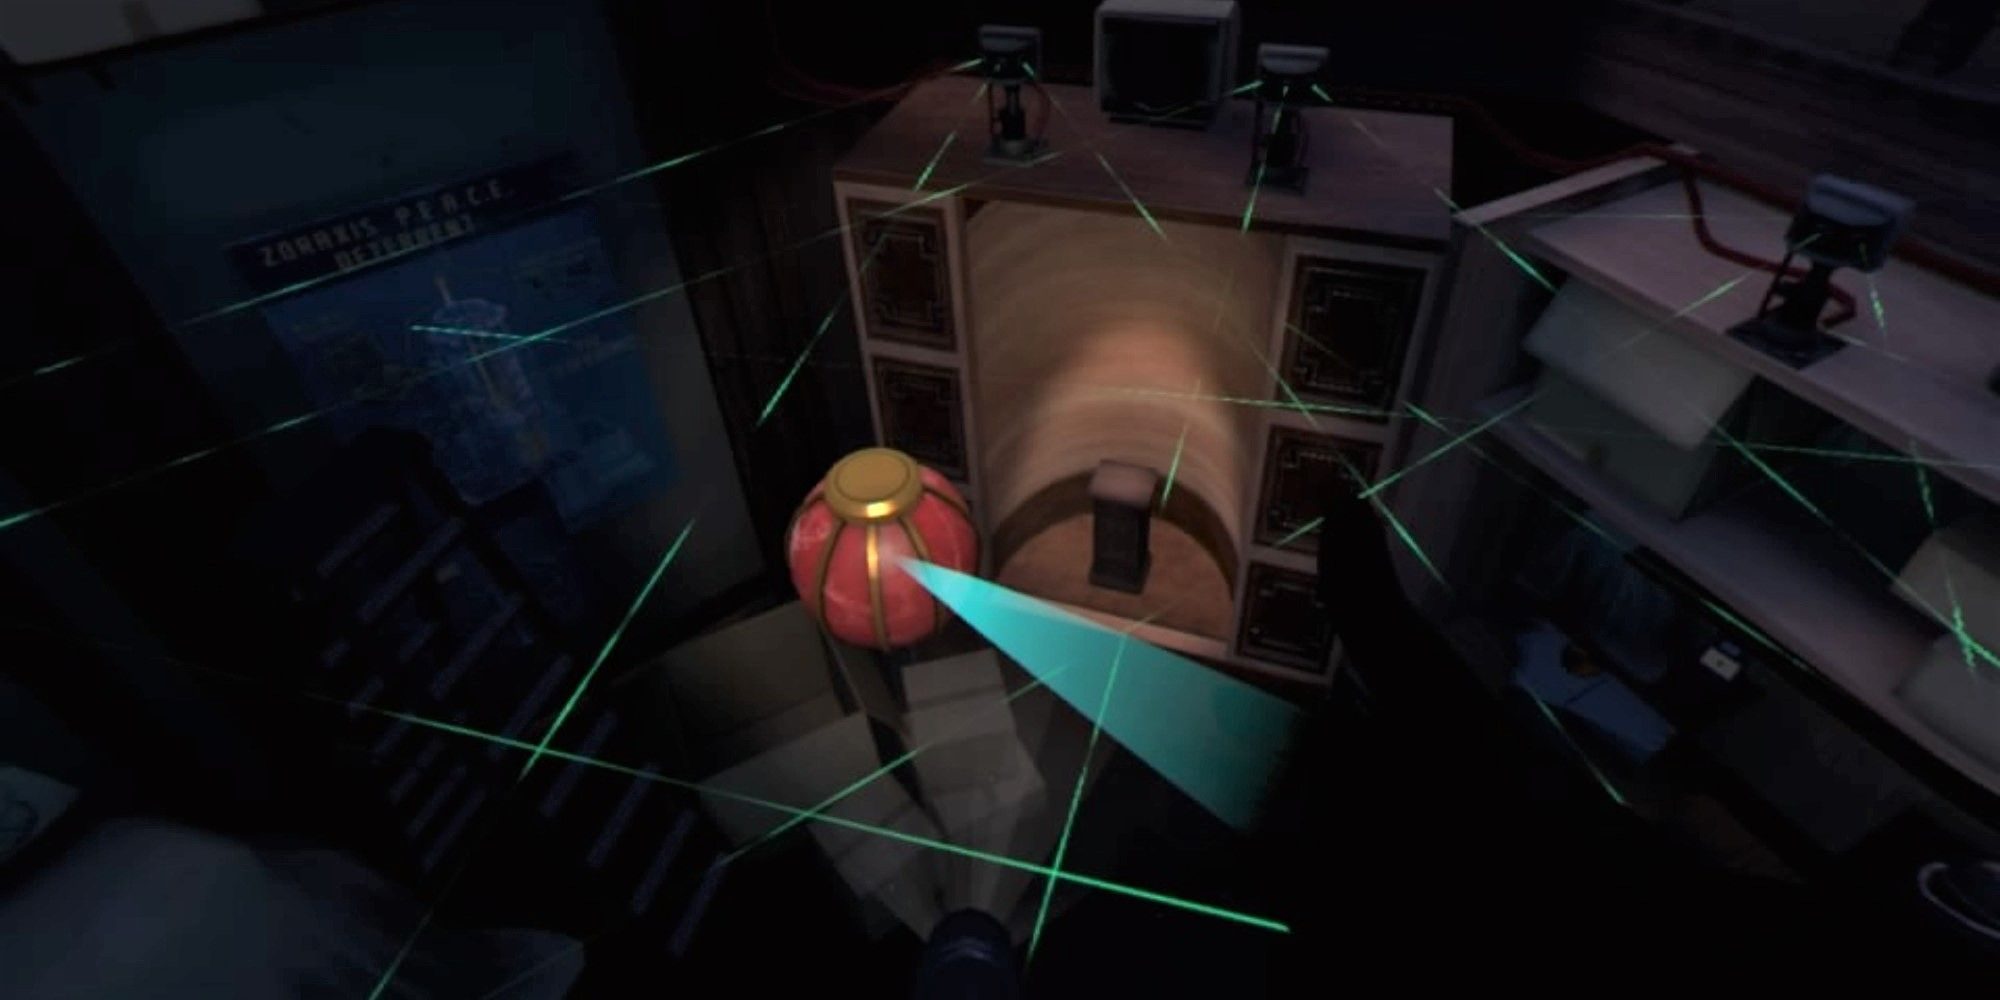
The third level of I Expect You To Die 2 opens up with a very classic spy thriller scenario. You begin the level suspended in the air with a web of crisscrossing wires beneath you, and it's up to you to figure out how to shut them off.
RELATED: I Expect You To Die 2 – Operation: Stage Fright Guide
The level takes place in The Fabricator's hideout and it's here that you learn exactly what the main plot of the game is. There have been hints, but it's here that everything becomes clear — depending on whether you take the time to listen to the various tapes scattered across the level, that is.
Turn The Lasers Off
As with any laser-filled enemy base, the first thing you need to do is shut them off. If you try to lower yourself down without doing that first, poison gas will spell the end of you.
-
Shortly after the level begins, your handler will announce that he's dropping a flashlight in for you. It will drop in front of you.
- Bring the flashlight to your face as if you're trying to put it inside your mouth. It will stay there without the need for holding it constantly.
-
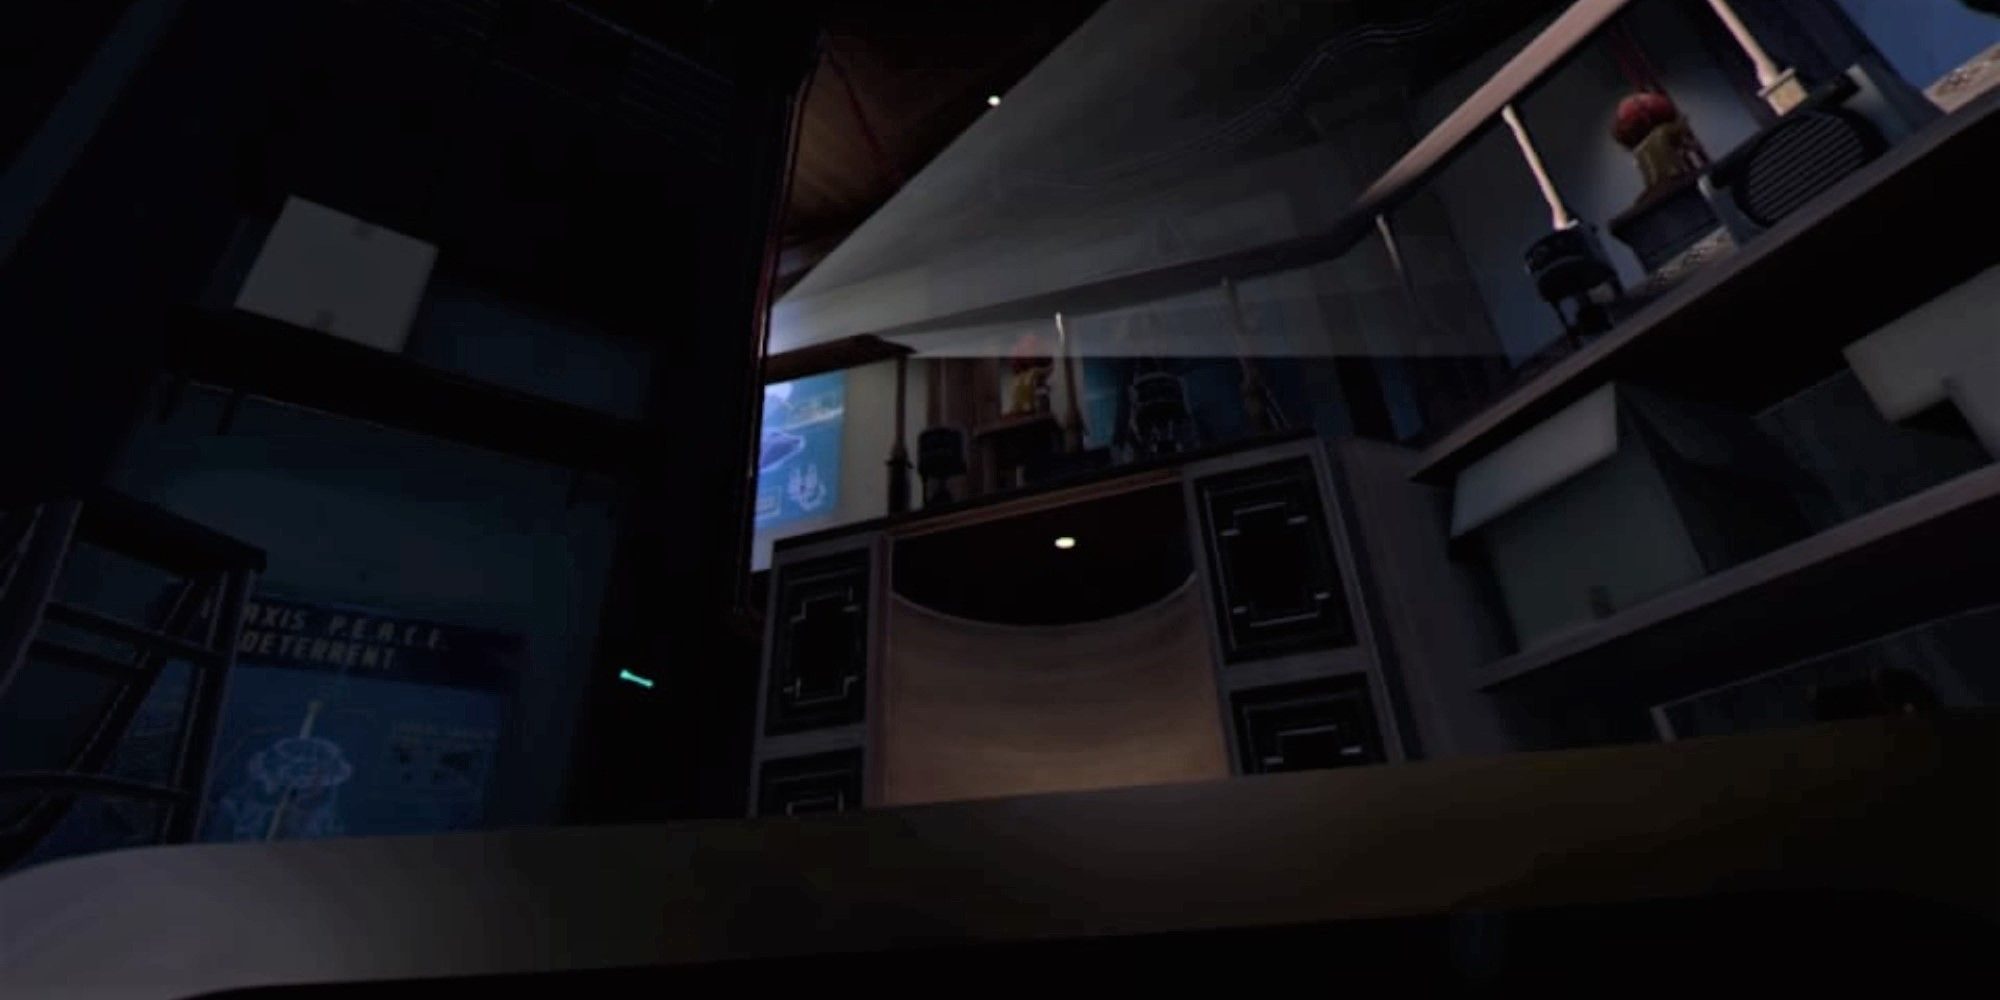
Look to your left and towards the ground. You'll see a column with a round, red ornament on it.
- Take ahold of the red ornament and very carefully bring it through the four-sided hole in the green lasers.
- Place the ornament on top of the statue on the upper level that has no ornament already on top of it. It will slot into place perfectly and start disabling the lasers.
- When the lasers are completely shut off, move the winch handle down until you have descended all the way to the ground.
Open The Desk
You will be confronted with a very large desk upon landing, and it will get more and more elaborate as this level progresses.
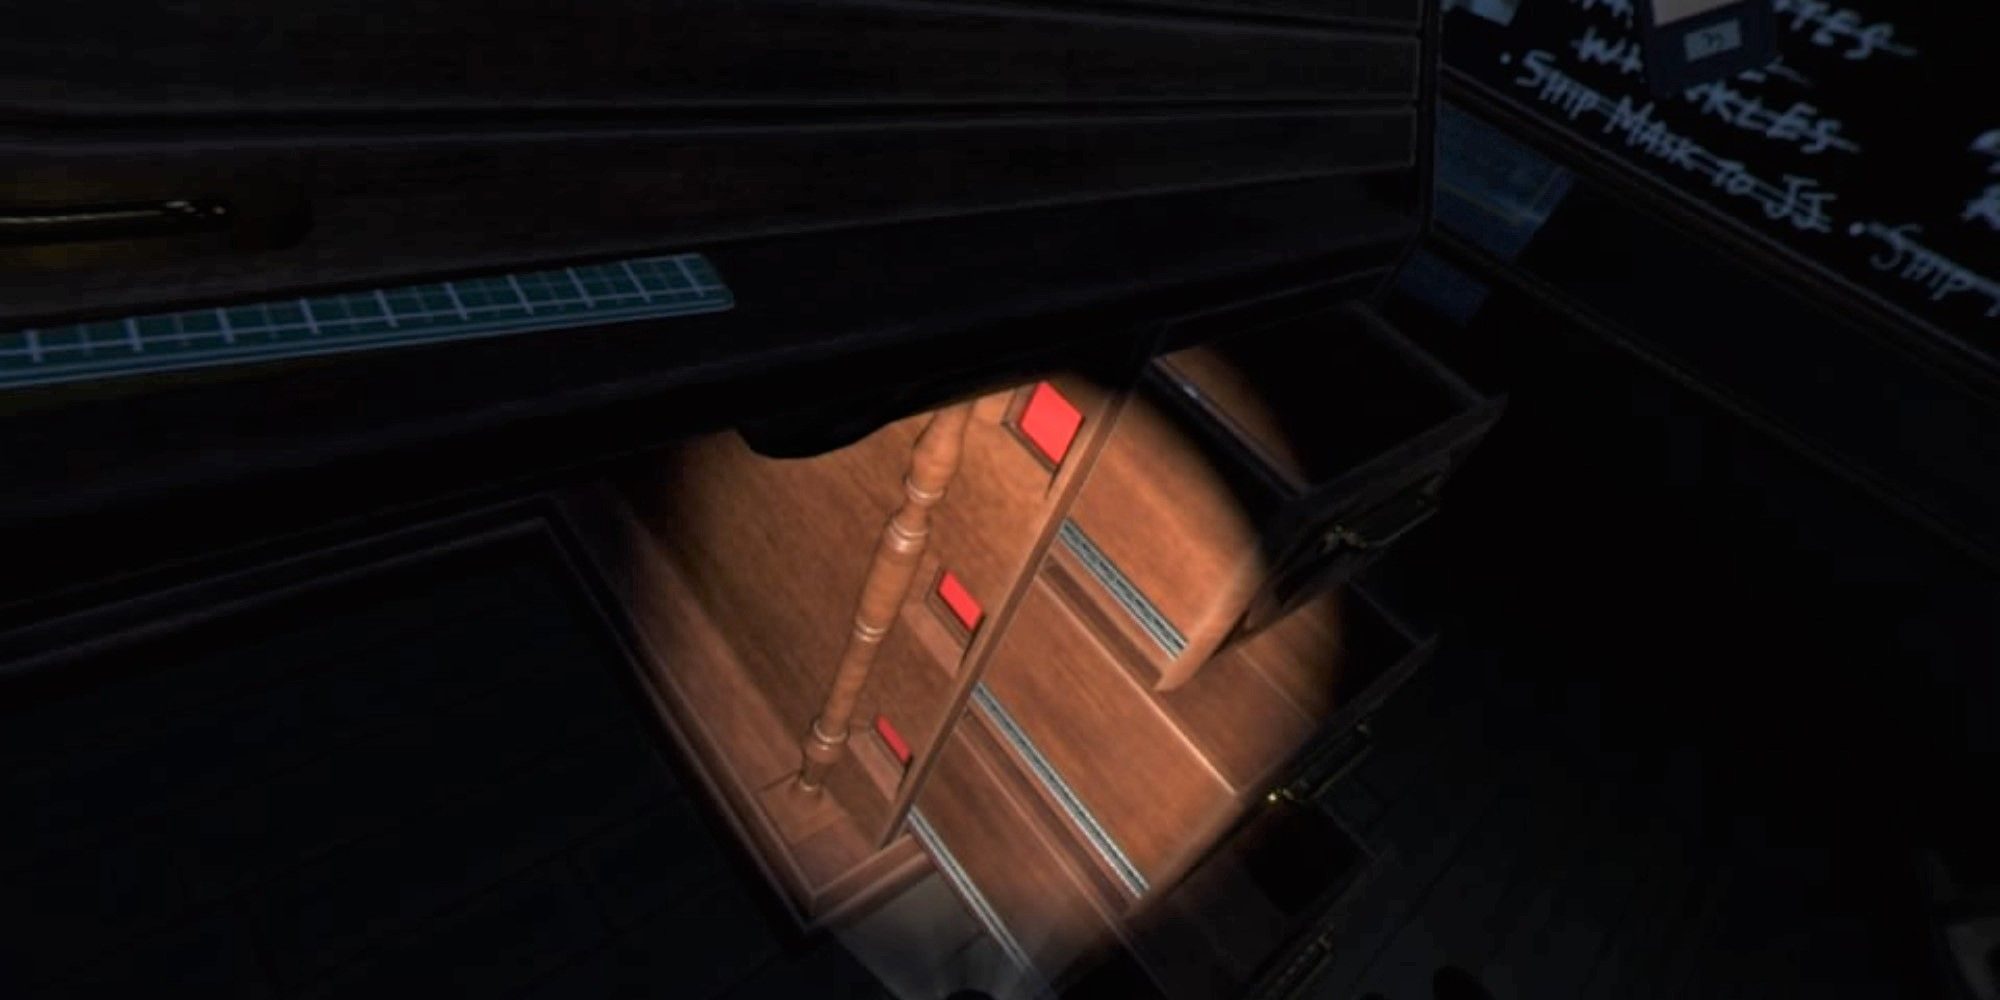
- To begin with, you can only open the drawers to your right, on the ground. Some of them have interesting plot-relevant documents inside if you wish to study them.
- Each of the three drawers has a red square painted onto its side. These squares match up with square holes in the side of the desk.
- Line up the red squares with the holes and you will unlock the desk, allowing you to progress. Drag up the cover to reveal multiple locked compartments.
- First things first, get rid of the green drawing board on the desk, you will not need it and it gets in the way. Underneath will be a sliding panel — slide it back to reveal a triangular hole.
- Look at the wall behind the desk to find three handled wheels. Select the smallest one with lots of spokes and slot it inside the triangular hole. Turn this wheel to reveal even more of the desk.
Unlocking The Desk's Compartments
This stage of the level really rewards your ability to keep track of many items all at once. Try to remember the shapes at the ends of various tools and you'll be fine.
-
Pick up the box knife and notice that it has a star shape on one end. The shape matches the lock that can be found on the cabinet to your lower-left. Use it to unlock the cabinet.
- Inside this cabinet, you'll find a black dial and two smaller doors. Open the upper door to find a pair of bolt cutters, retrieve them.
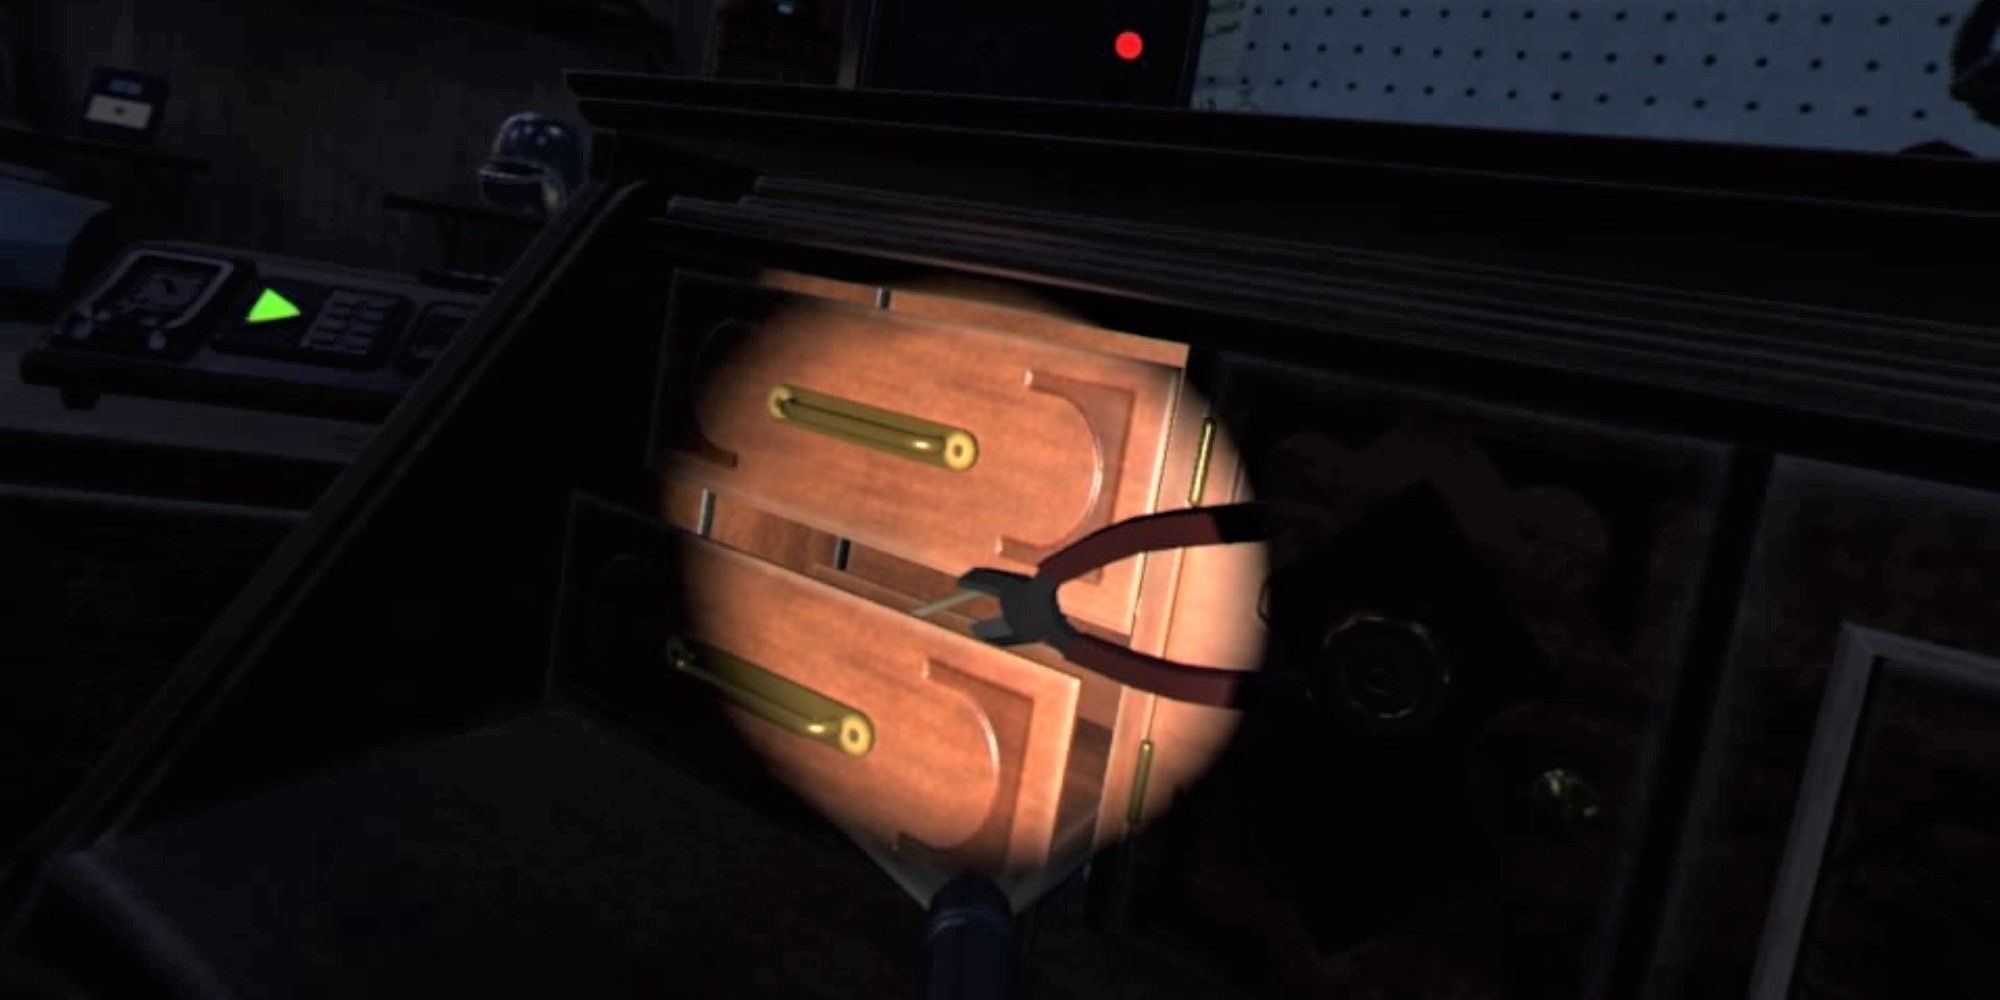
- Very slowly open the bottom drawer to your left on top of the desk. You will see a rope that connects the drawer's handle to the back of the desk. If you pull this drawer out too much, an explosion will kill you. Instead, only open the drawer a little bit and then slide the bolt cutters inside to snip the rope.
- Once the rope is dealt with, open the drawer and retrieve the file inside. It has a shape that resembles a police badge on the end of it. This corresponds to a lock on your right — unlock it.
- After opening this cabinet, use the other end of the file to unscrew the top and bottom screws on the panel inside. It will reveal a second black dial.
-
On the section of the desk that you revealed by turning the wheel in the center, open the cabinet on the left.
- Be very careful with the wine. If it is opened, you'll find that it's full of poisonous gas that will kill you.
- The screwdriver inside has a Z shape on the other end. Use this to unlock the third and final cabinet — this will reveal the final black dial.
RELATED: I Expect You To Die 2 – Operation: Jet Set Guide
Solve The Panel Puzzle
With the secrets of the various desk compartments revealed, it is time to solve one last mechanism.
-
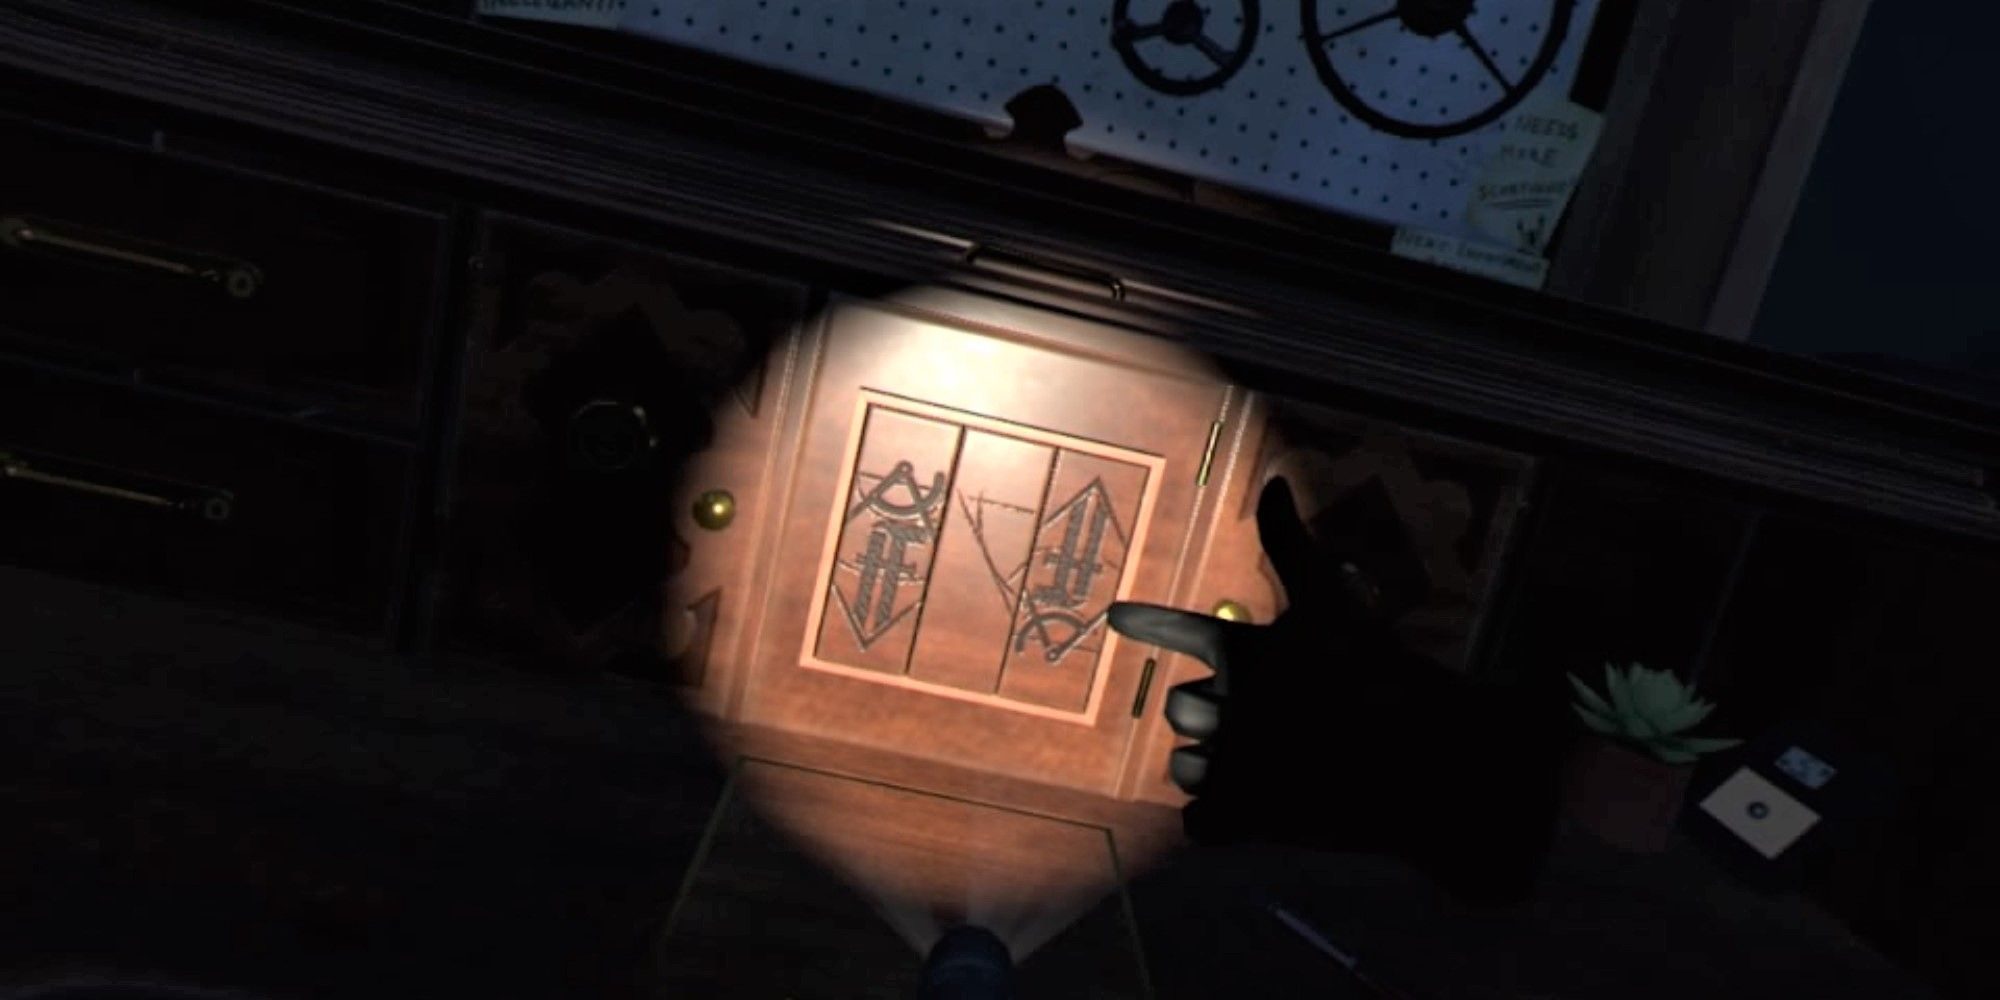
Each black dial revealed in the previous stage of the level corresponds to one of the three rotating panels in the center of the desk.
- The dial inside the drawer on the left corresponds to the leftmost panel.
- The dial inside the left-hand cabinet corresponds to the middle panel.
- The dial inside the right-hand cabinet corresponds to the rightmost panel.
- Rotate each dial until you make an upside-down triangle with the shapes on the panels. It will open, revealing the Mimic Mask.
Plant The Tracking Device
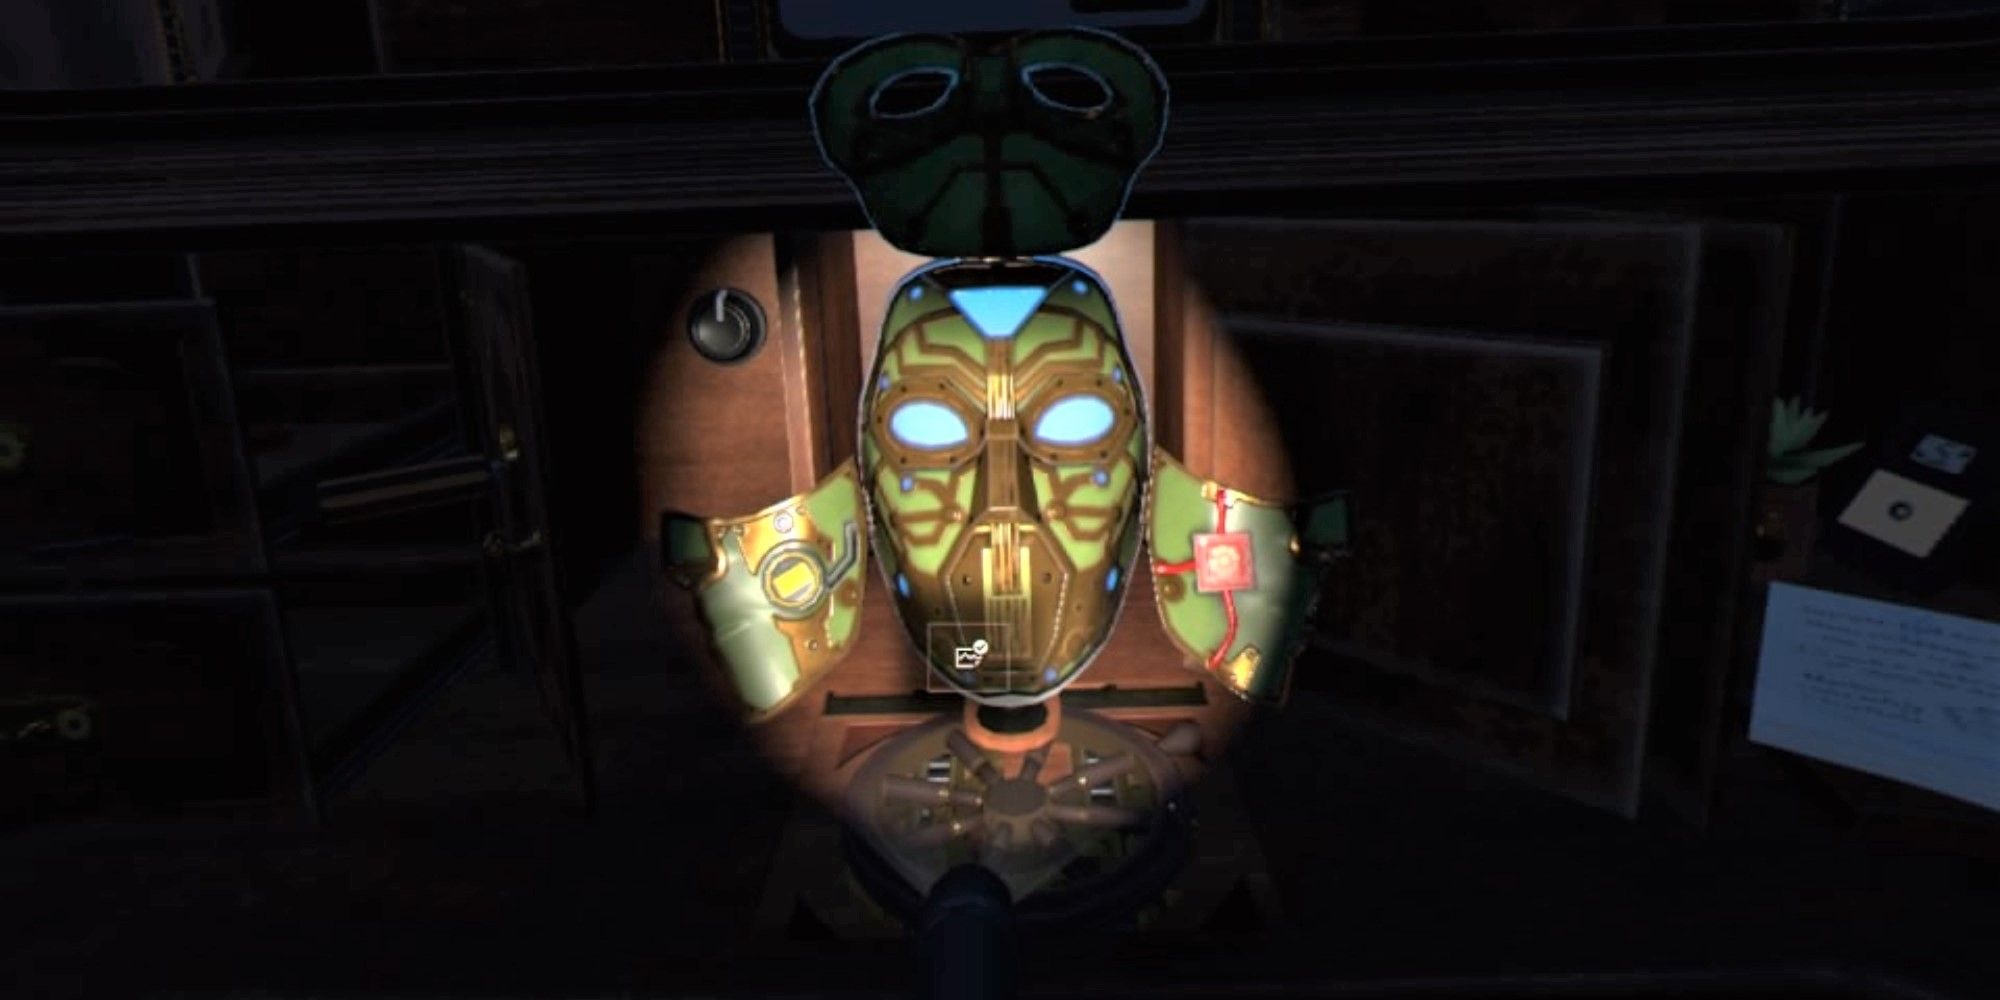
Now that you have access to The Fabricator's ultimate weapon, the Mimic Mask, your handler will instruct you to plant a tracking device inside it. This task is not as easy as it sounds. Be careful that you don't lose any of the small parts involved in this section.
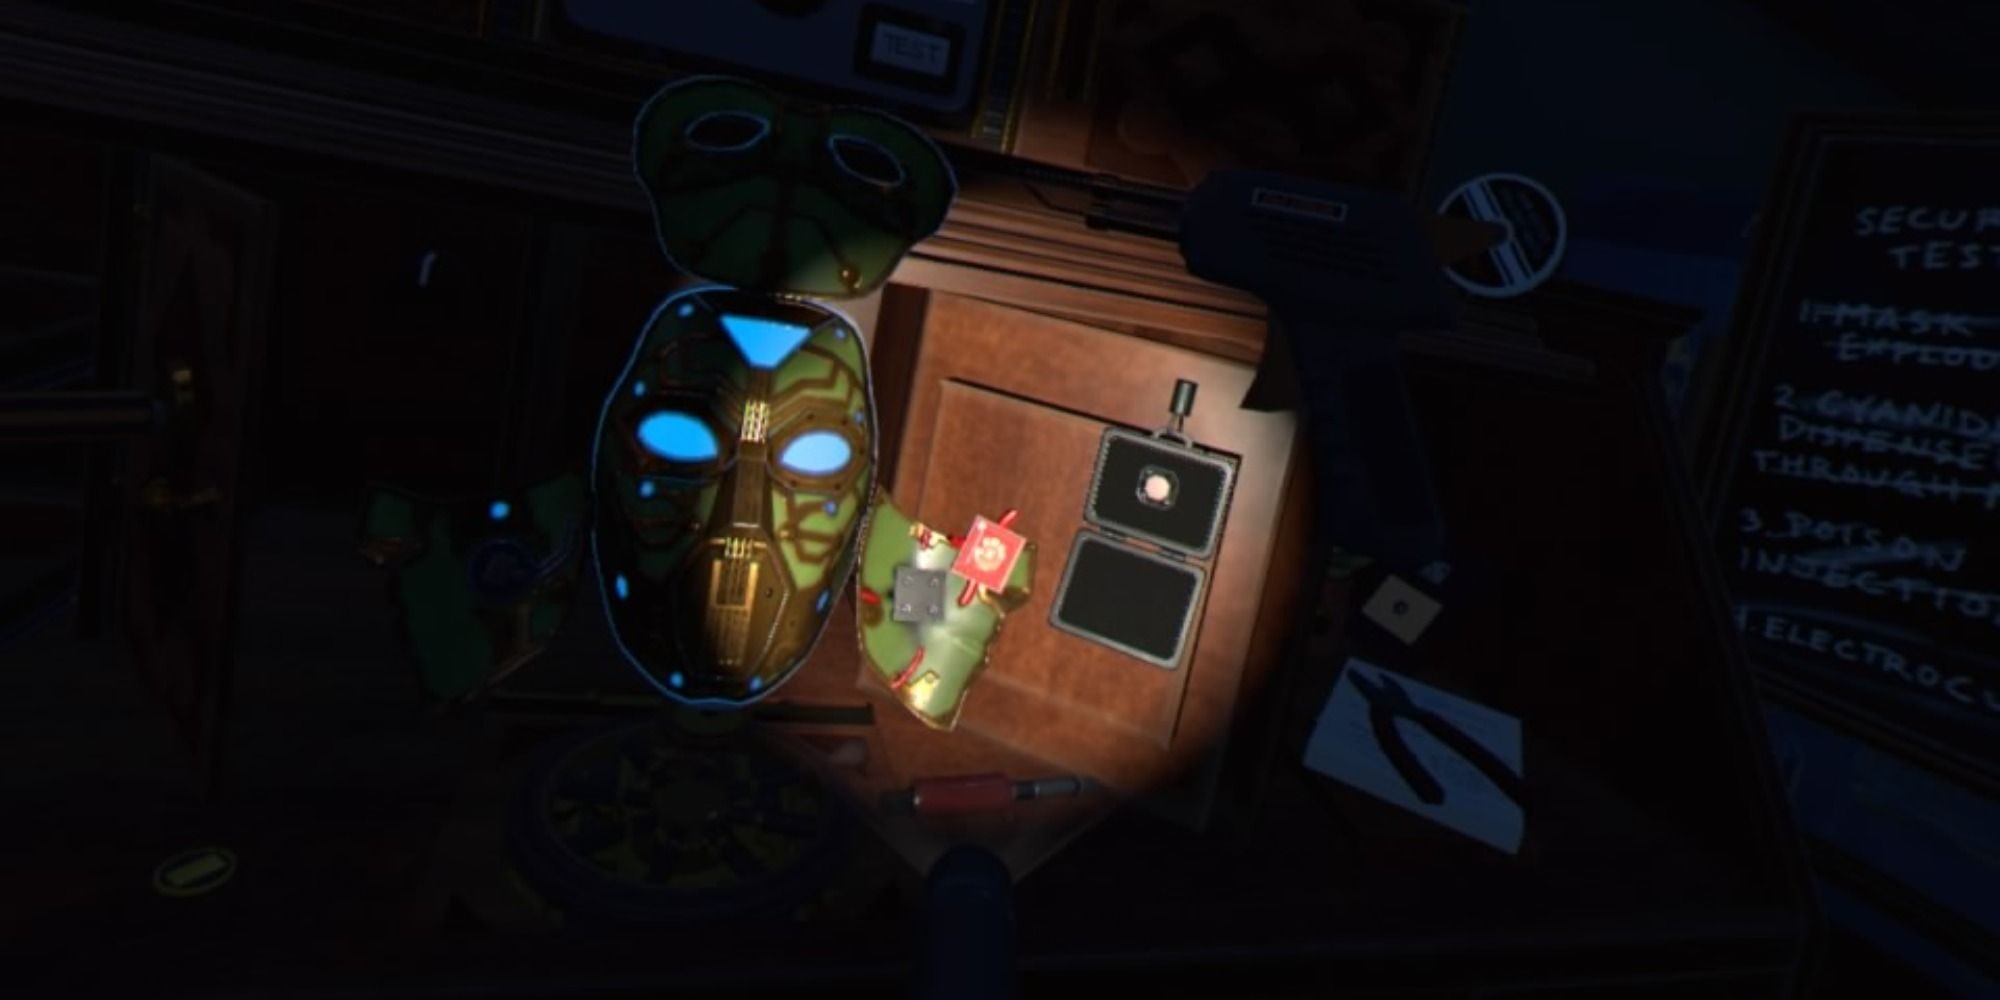
- The mask will open up, revealing its mechanical contents. If you flip the chalkboard to your right upside-down, you will find out that the tiny device on the left is a battery and the device on the right is a security chip.
- Your handler will lower a tiny briefcase that contains the tracking device. Open it and keep the device somewhere safe.
- According to the blackboard, you need to remove the battery first, so take out the round, yellow battery and place it on the desk.
- Using the box knife or bolt cutters from earlier, cut each of the three red wires connected to the security chip.
- Take the security chip out and then place the tracking device in its location. Replace the security chip over the tracking device.
- To reconnect the red wires, you will need a soldering gun. You can find this tool on the back wall, to the left of the wheels, you looked at earlier. Use this to reconnect the wires.
- Once complete, replace the battery on the left. You will know if you did this correctly if the mask folds back up into its normal state.
Fool The Guard
You were almost home-free, but a security guard has noticed you. Luckily, there are two very easy ways to deal with him.
- Before the guard arrives, put the Mimic Mask on to buy yourself more time.
- The first way to deal with the guard is to fool him into thinking you are The Fabricator. Look at the large dial above the desk that is obviously used for testing the Mimic Mask's capabilities. Turn the dial to the "Default (me)" setting and press the Test button. The guard will sheepishly leave.
-
A more violent way to deal with the guard is to shoot him.
- Open the drawer above the exploding drawer from earlier. There will be two arrows inside.
- Take one and send it towards the bear statue on the level above you. It will activate and subsequently deal with your problem.
- No matter how you dealt with the guard, the only thing you have left to do is to put the Mimic Mask back where you found it and use the winch handle to pull yourself to safety.
Operation: Eaves Drop Speedrun Guide
This is another level where you will need to follow all of the usual steps but do them in a way that cuts down on time considerably. Something that complicates things is that waiting for the flashlight to be dropped takes too long, so much of this level is done in the dark.
- Immediately start the laser shutoff sequence by moving the red ornament into place.
- As the lasers are shutting down, move the wine bottle full of poisonous gas away — you don't want to be foiled by accidentally knocking it over later on.
- Retrieve the wheel as you are lowering to the ground and use it to raise the upper part of the desk as soon as possible.
-
You will need to really optimize the order you use the tools to open up the various desk compartments to achieve a speedrun time.
- Use the box knife to cut the rope inside the exploding drawer and then immediately use it to unlock the lower drawer on the left.
- Get the file from the exploding drawer and open the cabinet on the right.
- Retrieve the screwdriver from the upper-left cabinet while you are opening the lower drawer.
- As you are retrieving the bolt cutters with one hand, use the other to unscrew the screws on the panel to the right.
- Once unscrewed, pull the panel away and then unlock the left-hand cabinet with the screwdriver.
- Turn the black dials as quickly as possible to reveal the upside-down triangle and get the Mimic Mask. Retrieve the soldering gun from the wall as it is unfolding, and then complete the Mask tasks as quickly as you can.
- When the guard comes along, use the violent method with the bear to take them out as it's much quicker.
- With practice, this method should get you the requisite time of under two minutes and ten seconds.
NEXT: I Expect You To Die 2 Review