Quick Links
- Find Out Why You're Here
- Disable The Motion-Seeking Rocket
- Disable The Slowly Advancing Laser
- Disable The Laser Cage
- Signal Your Handler
- Operation: Safe & Sound Speedrun Guide
The fifth level of I Expect You To Die 2 is a very interesting one. You're bound to recognize it — it's where the tutorial takes place. It'll soon become clear why all the levels have been happening "in the past" and why the game begins here.
RELATED: I Expect You To Die 2 – Operation: Stage Fright Guide
This is a relatively short level when compared to the other levels in the game, but the puzzles are no less devious as a result. In fact, there's quite a bit of pressure on you, the player character, to get things done sooner rather than later.
Find Out Why You're Here

The first thing you have to do in this level is to find out exactly why you're here and why things feel… odd.
- First things first, look behind your shoulder to the left and open the cabinet in the corner. Grab some of the boxes and keep them somewhere handy but not in the way, they will be useful later on in the level.
- There are two drawers on the right of the desk you are sitting at. Try and pull the bottom drawer open and realize that you need something to break the lock that's stopping you from opening it all the way.
- Pick up the knife in front of you and use it to slide the lock open. Pick up the drill and the drill attachment, and then connect them together. Also, pick up the cigarette lighter.
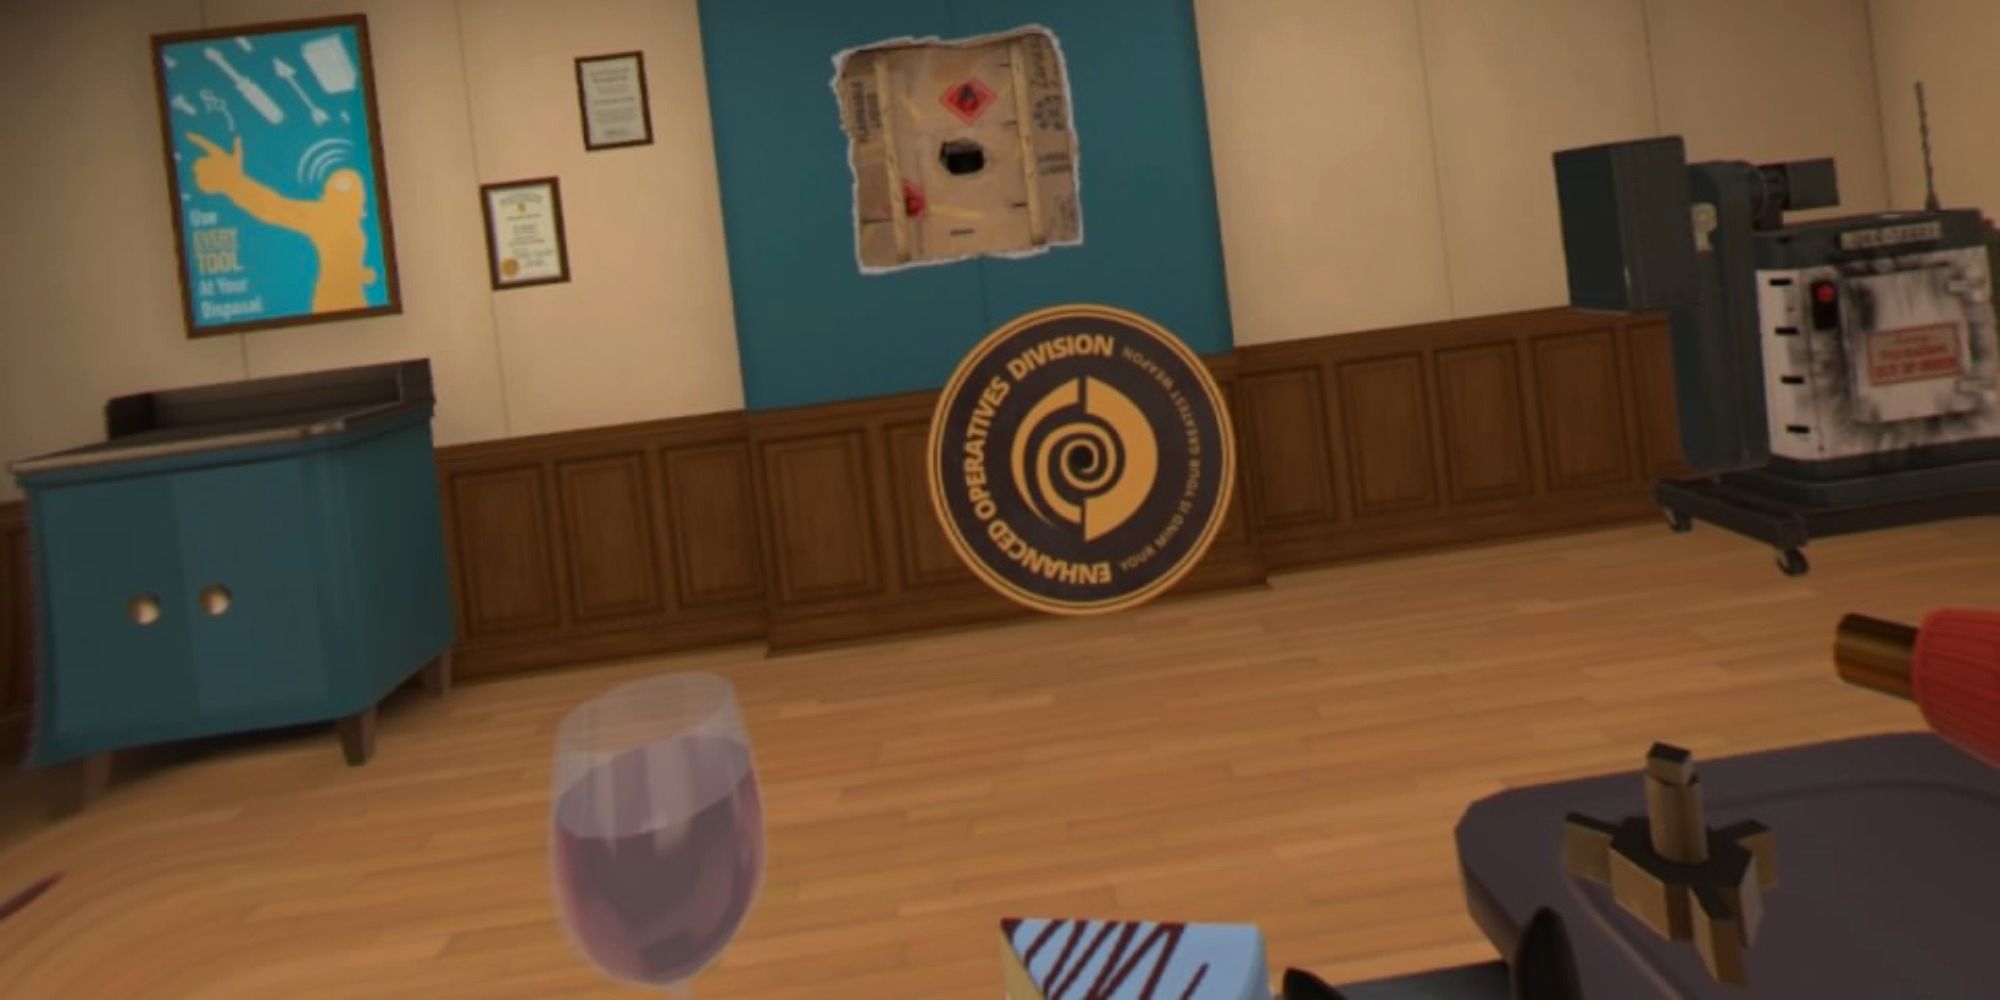
- Now to find out what's going on. Interact with the large circular emblem in front of you. It will fall, revealing cardboard boxes emblazoned with enticing "flammable" signs.
- Use the lighter to burn the boxes away.
Disable The Motion-Seeking Rocket

It is dramatically revealed that the handler who has been speaking to you since the very end of level four has been John Juniper all along, using the Mimic Mask to trick you. He has one heck of a villainous speech for you while you are trapped in a laser cage, but will also activate a motion-seeking rocket launcher and a slowly advancing laser for good measure.
-
There's not much to do while Juniper finishes his spiel as there are parts of the level that won't activate until he does.
- To cut Juniper off early, pick up the clapper resting against the director's chair. If you use it to make a clapping sound, you'll cut the villain off, spare yourself his speech, and earn the Director's Cut Souvenir in the process.
- The motion-seeking rocket launcher will fire off a rocket whenever you move something with your telekinesis in front of the laser it emits. You need to use this to your advantage.
- Use one of the boxes you retrieved from the cabinet earlier and wave it around until you hear the rocket launcher beeping. You'll have a short moment to react — move the box very close to the rocket launcher.
- The rocket should hopefully track the box and explode close enough to take the rocket launcher out with it. If not, simply try again with any other objects you can move around.
Disable The Slowly Advancing Laser

Now that the rocket launcher has been destroyed, there are only two more lethal machines to deal with, and only one of them has to be dealt with in a time-sensitive fashion.
- You will have noticed that a large box of machinery fell down from the second level when you destroyed the rocket launcher. You can pick up the large battery on the top of this box.
- Insert this battery into the drill that you assembled in the first part of this level. You can now turn the drill on, making the attachment spin.
- The shape of the drill's attachment looks very similar to a bolt found on the side of the laser emitter that is moving slowly towards you. Use the drill and unbolt it. This will destroy the machine in a spectacular fashion.
RELATED: I Expect You To Die 2 – Operation: Jet Set Guide
Disable The Laser Cage

Two lasers down and only one to go. This one can be a bit annoying to get right, though.
- On the floor near your left leg, there will be a new object — it is the laser from the machine you just dismantled. Pick it up, and then replace the attachment you currently have on the drill.
- You can now fire a powerful laser using the drill. Be careful not to blow up any of the flammable barrels as they will explode, taking you out with them. If you destroy every non-explosive object in the level, however, you will get the Property Damage Souvenir.
- In the trailer on the left, there is a mirror. Aim the laser at the mirror, and make sure that the reflected beam is hitting the mirror on the right-hand side of the level. Lock it into place. Also, look closely next to the mirror inside the trailer for a Hidden Trophy.
- Using the yellow arrow buttons in front of you, switch the emblems behind the podium until it lands on the shiny Zoraxis emblem.
- Now, alter the angle of the standing mirror on the right until the laser beam is reflected at the emblem.
- What you're looking for is a laser beam that hits the mirror on the left, travels to the mirror on the right, hits the Zoraxis emblem, and then overheats the machine above you responsible for the laser cage. Move the laser until this happens.
Signal Your Handler

Now that you are free, you'll suddenly be contacted by your handler. He will request that you find some way to alert him to your location.
- Using the laser yet again, aim it at the boxes (not the barrels!) on the upper level. You should be able to see a water tower through a window in the distance.
- Aim your laser at the water tower. It will start glowing, signaling your handler and ending the level on a high note.
Operation: Safe & Sound Speedrun Guide

As this is a short level, the speedrun is extremely short. Just like Operation: Stage Fright, this level's speedrun requires a completion time of one minute and thirty seconds. As a result, there are not really many tricks to finishing the level quickly, but there are some things to keep in mind.
- Your opening moves should be to interact with the circular emblem to make it fall and use the knife to open the drawer as quickly as you possibly can.
- Use the lighter to burn the boxes, and assemble the drill while the wall burns.
- Pick up a plate or piece of food and use your telekinesis to push it forwards and into Juniper's face as soon as the set begins to open up. This will have the same effect as using the clapper to interrupt him.
- Speaking of the clapper, that's the closest object to the motion-seeking rocket launcher, so use that to make it blow itself up.
- While the rocket launcher is breaking, press the left-facing arrow button twice to make the Zoraxis symbol appear.
- From there, it's all a case of practice and making sure you're following the level's steps as quickly as possible.
- If you come in under a minute and thirty seconds, you're golden.
NEXT: I Expect You To Die 2 Review