Brawlhalla is a free-to-play indie game where you battle it out to become the winner. You can play online on your own against other players or you can team up with your friends to create chaos. The game is available across a variety of consoles so you can play on whichever one you own.
RELATED: Indie Games That You Can Play For Free
There are many maps within Brawlhalla, which means you rarely run the risk of getting bored. Some maps are definitely better than others but all of them offer unique features that make each battle in them a lot of fun. This guide is based on several factors such as how pleasing the map design is to look at and how much the map impacts the gameplay.
Small Brawlhaven

Out of all 43 maps in the game, this is arguably the most basic one. There are no extra platforms that you can jump from, you only have the solid main one in the center of the map. The details of the grass and the background are exceptional, as they are for all Brawlhalla maps, however, it feels very generic.
The map itself doesn't really dictate how you need to fight nor does it have any features that will mean you need to think more about your fighting style. Overall, it's a really good map for getting used to the game mechanics but if you want something more challenging it's probably better to look at one of the others.
Brawlhaven
This map has the same design as the smaller version however, on this one, there are several extra platforms that you can jump across to. These platforms can be useful in helping you shift the balance of the fight as you can often dominate if you've taken the higher ground. Also, by having the extra platforms there are more places for you to run to when you need to avoid an incoming attack.
Again, the design details are excellent but they feel pretty basic compared to the intricacy of some of the other maps. The background is detailed enough to feel like you're in another world but not so detailed that you're distracted from the fight.
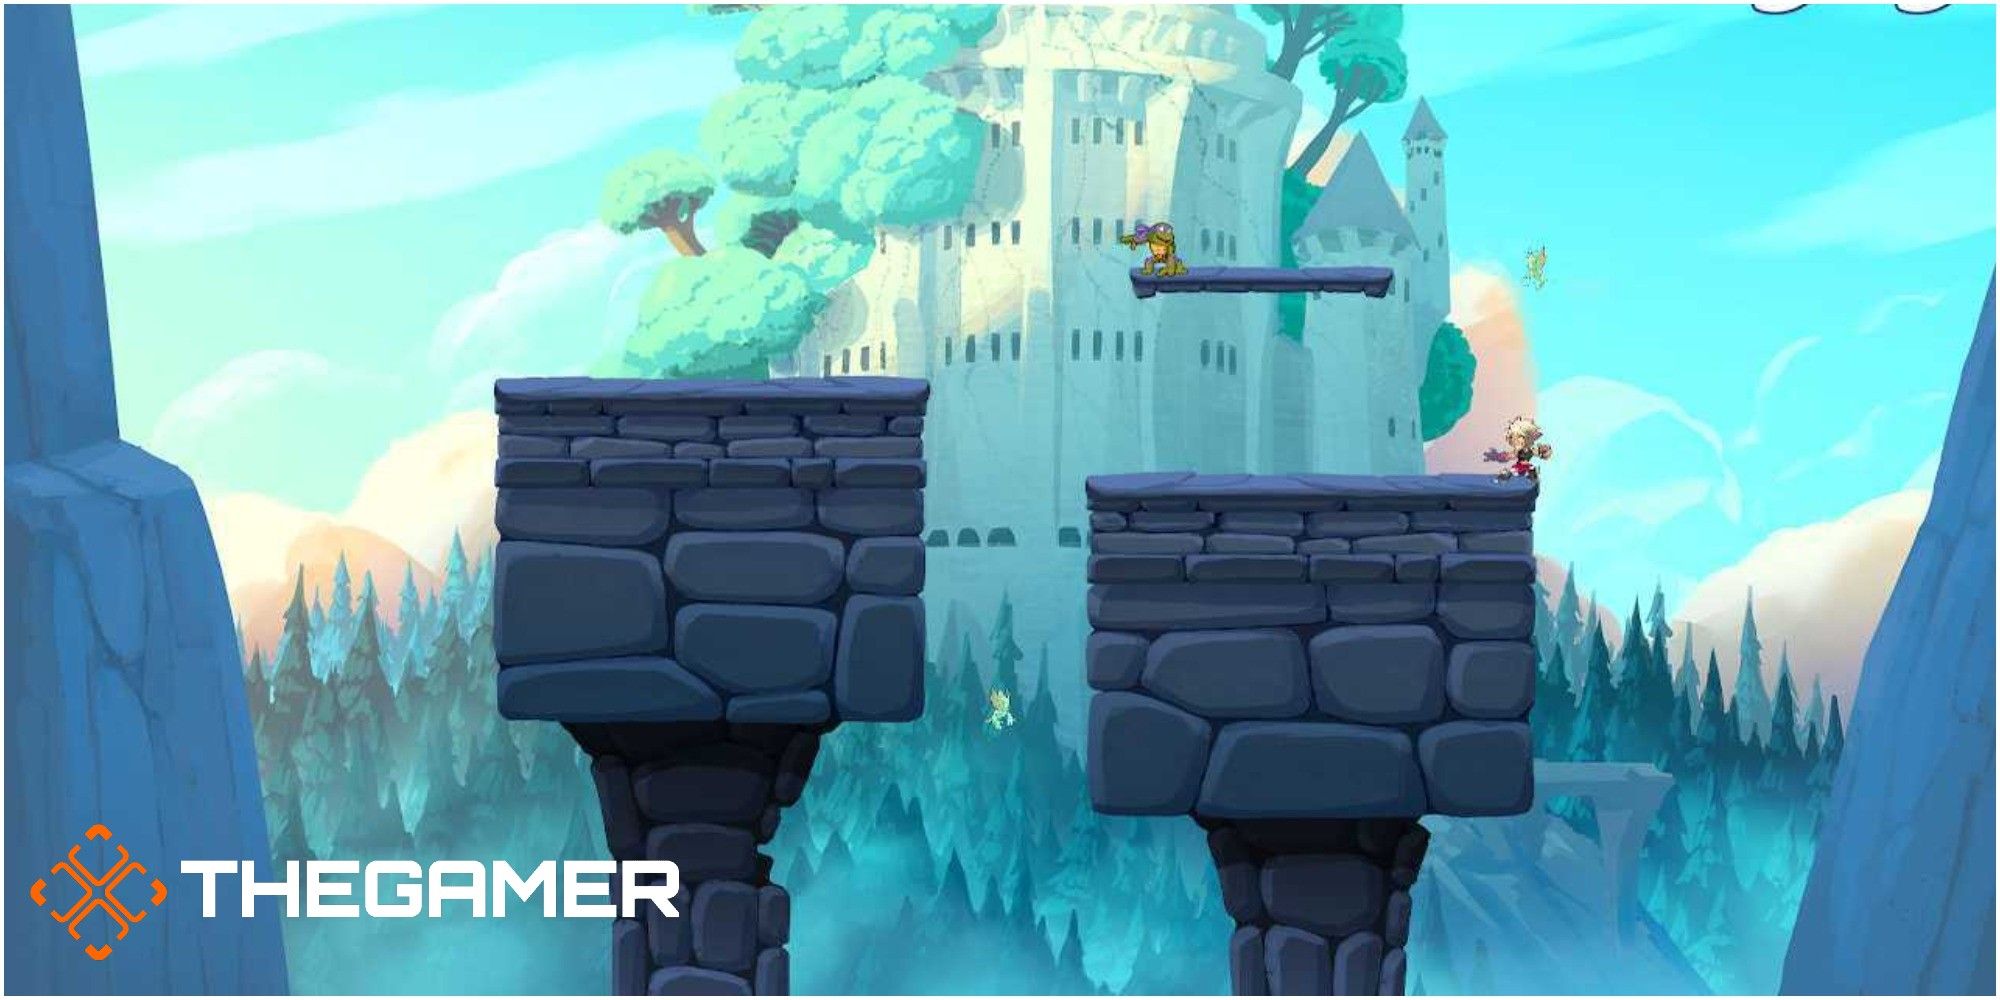
Small Thunderguard Stadium And Thundergard Stadium
Small Thundergard Stadium and Thundergard Stadium are very similar in design and function so they're grouped together for this list. The platform at the center of the map looks simple enough, however, it has a sneaky trick up its sleeve. If you jump or move in a certain way, then you can easily fall off of the thinner parts of the platform.
This adds a part that you need to think about whilst fighting as one wrong move can mean you're falling down the middle and off of the map. Also, the details in this map really make it feel as though you are battling it out in an arena with thousands of people watching you.
Big Thundergard Stadium
Big Thundergard Stadium is as the name suggests, a bigger version of Thundergard Stadium. This map is slightly better than the other versions as it's bigger and there is more room on the main platform for you to move between as you fight. The risk of you falling off of the thinner bits of the main platform has been doubled as there are now two thin areas in this map.
The details of the map design remain the same, they make you feel as though you are actually in a battle arena with millions of spectators. The downside to this map is that the platforms are still pretty basic and there is only one big one for you to use.
Small Kings Pass
Small Kings pass is very similar to its larger version, in fact, there is only one crucial difference between the small version and the regular one. In the map Small Kings Pass, there are three platforms that you can jump between and this will keep the fight moving. It also gives you a few areas that you can run to in order to attempt to flip the balance of the fight.
The detailing on the stonework and the background are good but they don't distract you from the fight. The only downside to this map is that it feels as though there should be more platforms here.
Kings Pass
The only difference between Kings Pass and Small Kings Pass is that this one has a larger base beneath the two main platforms at the center of the map. This small but crucial difference makes Kings Pass a better map to play on. The extra support underneath the main platforms means that you have more of a chance to recover yourself by sliding down them and kicking back off of them if you have been knocked off.
Again, the artistic detailing in the map is beautiful but even in the bigger version of the map it still feels as though it should have more platforms to play with.
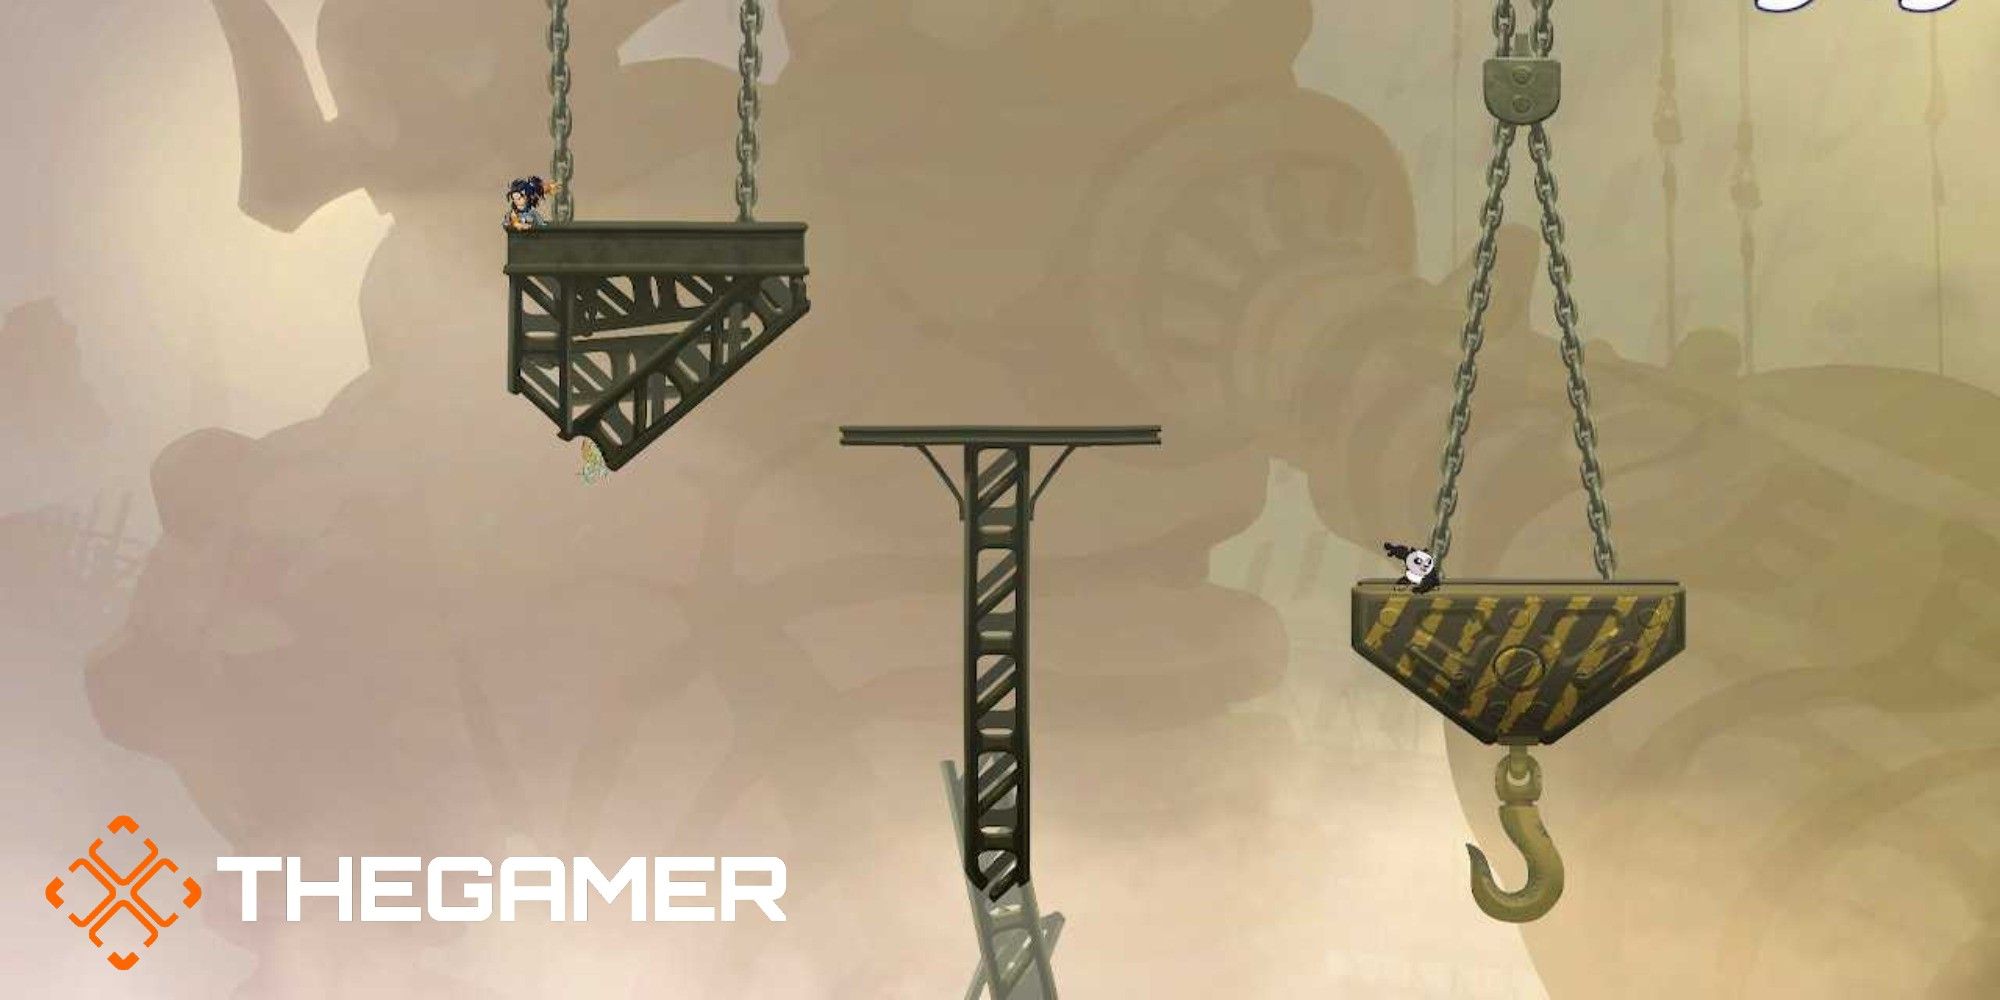
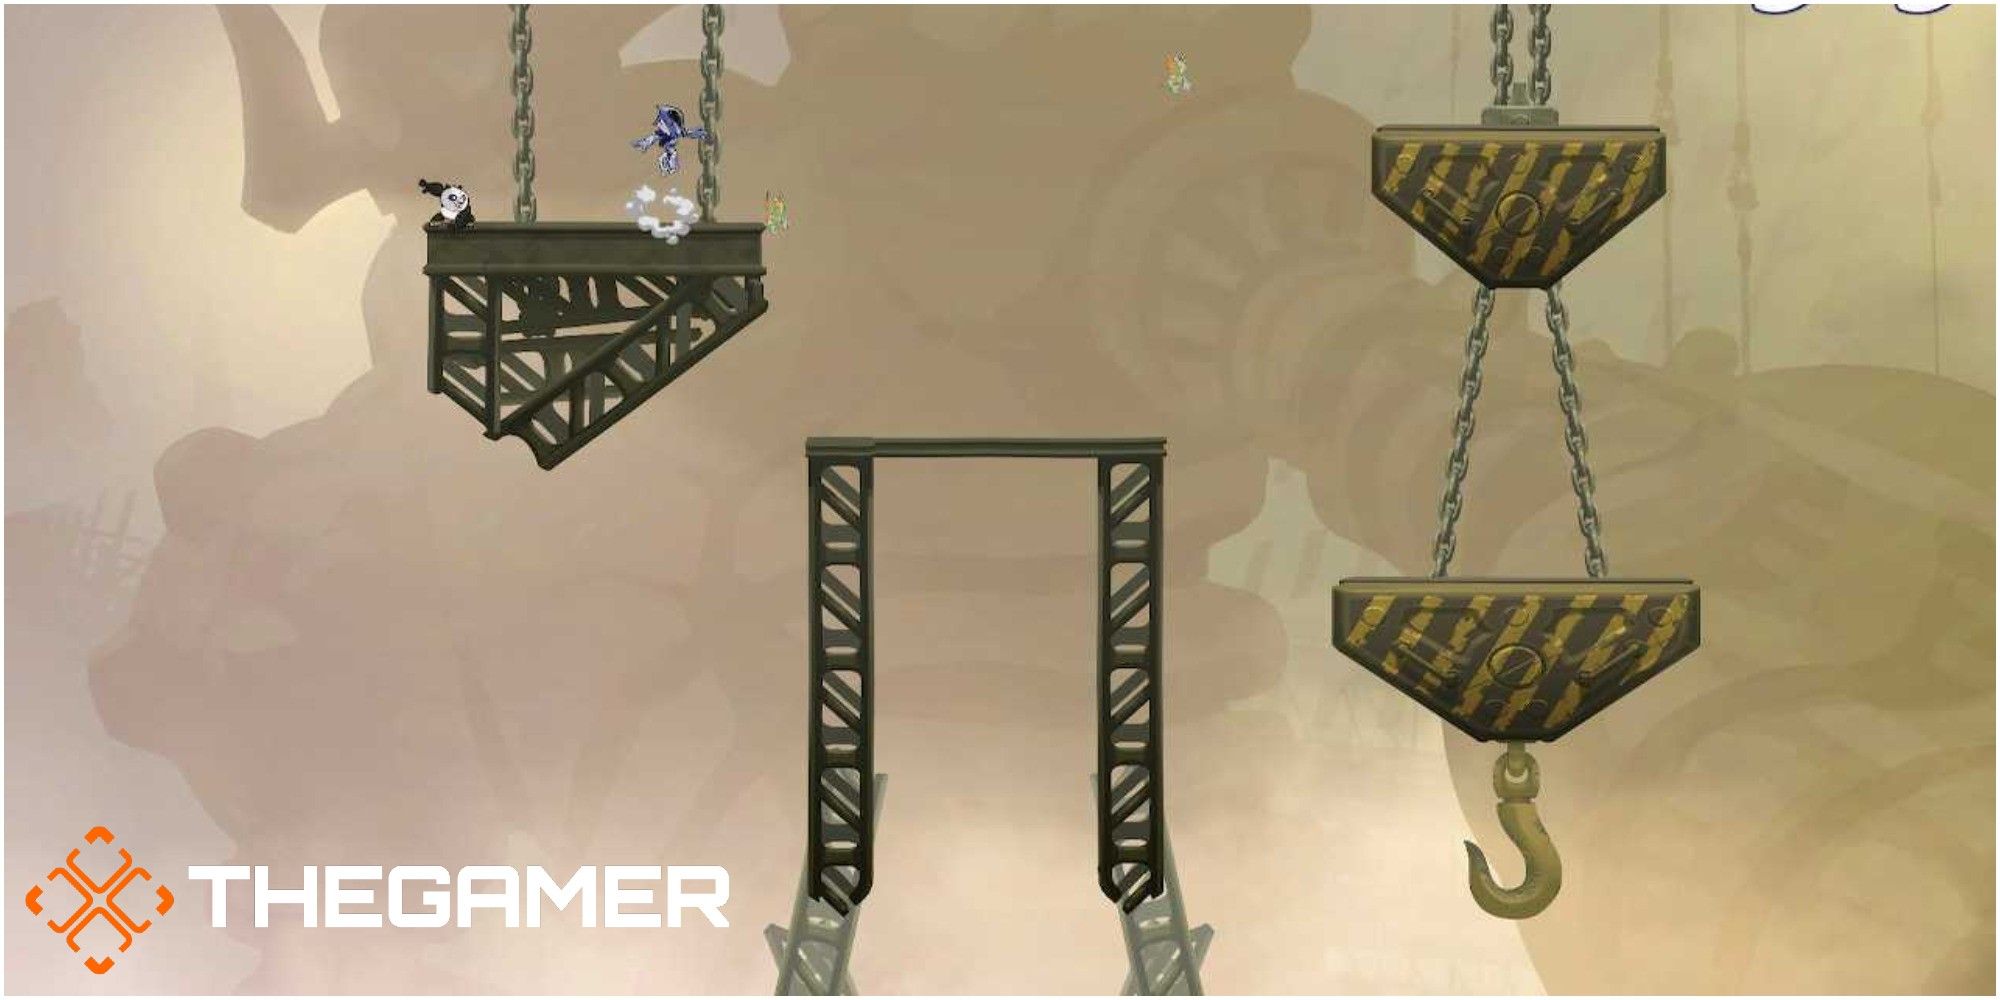
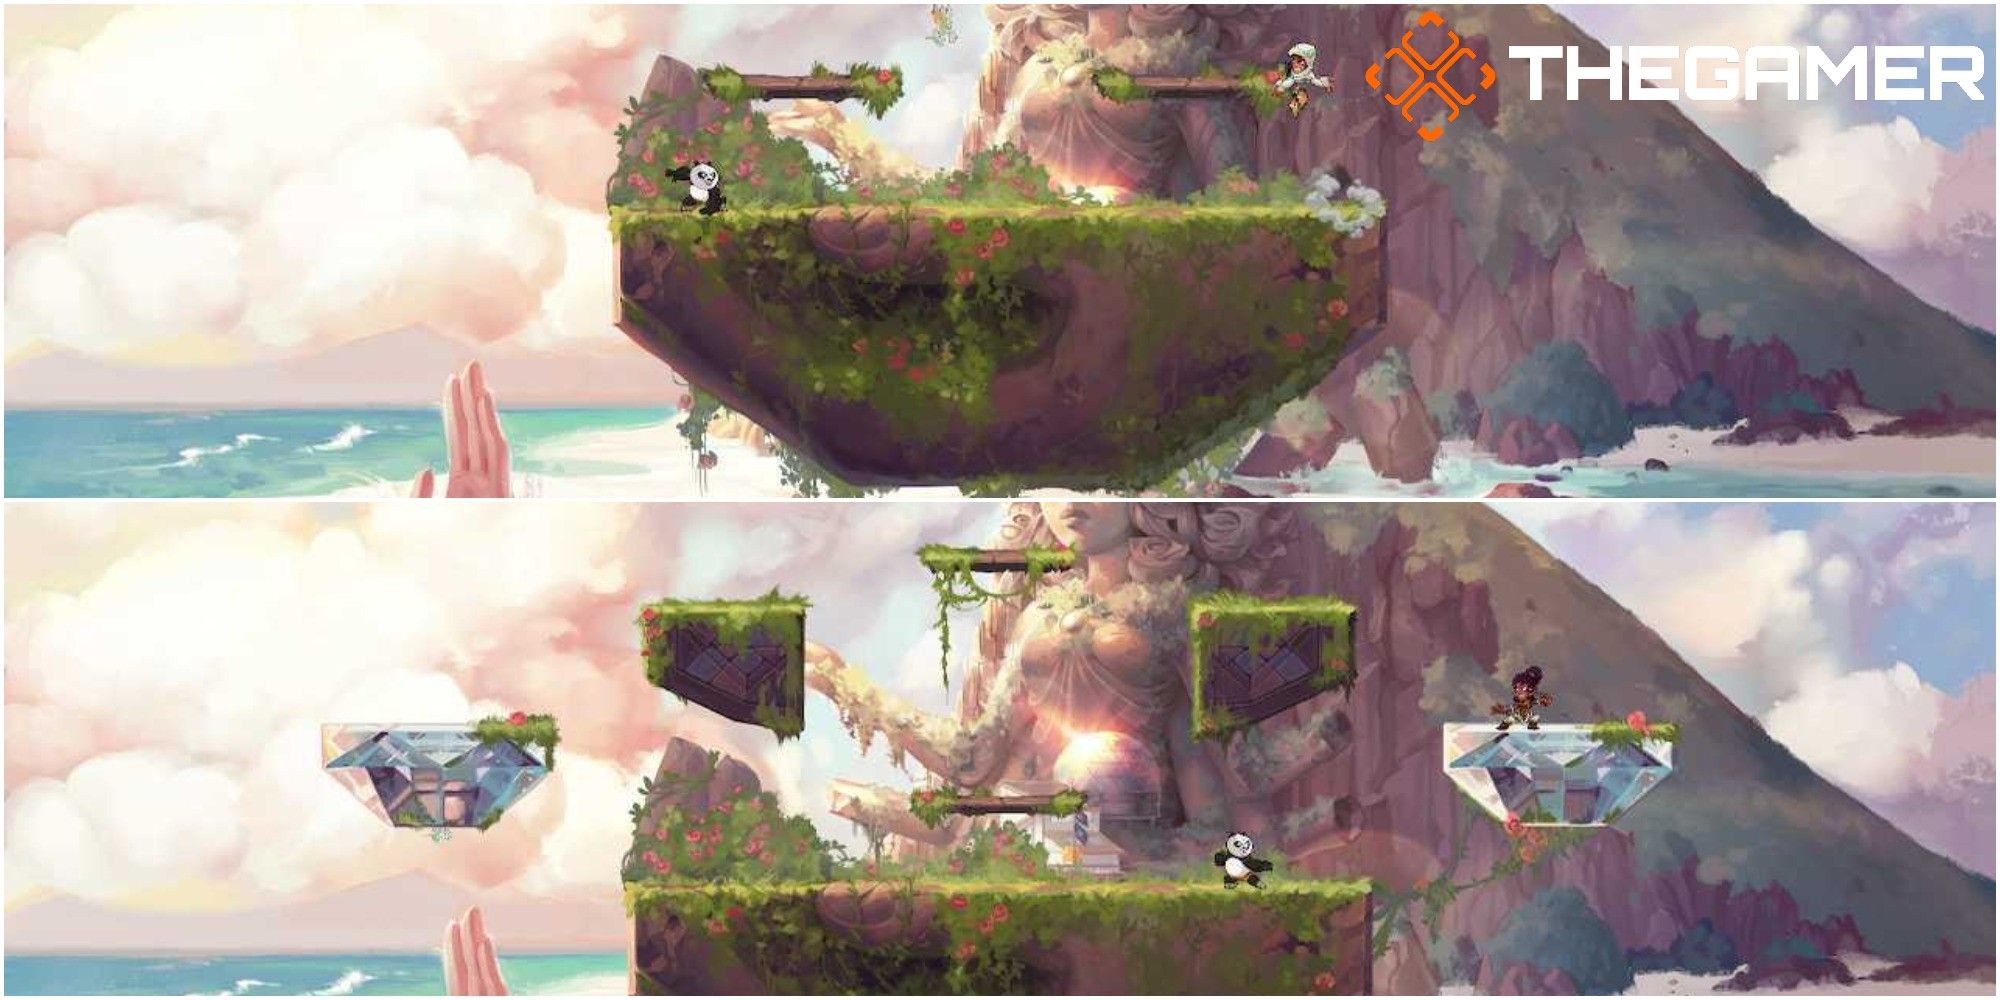
Small Mammoth Fortress and Mammoth Fortress
Both of these maps are exactly the same aside from one detail, this is why we've grouped them together. This map has one main platform then it has a mini-ledge on the side of it that turns into a stand-alone platform. The platform will float up and move across the main one over the course of the battle. This adds an extra element for you to play with when fighting, but the fact that it's always moving means that you cannot consistently exploit it.
The big difference between Small Mammoth Fortress and Mammoth Fortress is that the base of the main platform is smaller in Small Mammoth Fortress. This can make it trickier to recover yourself if you fall off it. This is why Mammoth Fortress is the slightly better map.
Apocalypse
This map consists of one main platform and one smaller platform. At first, this map seems pretty basic and the platforms seem less than exciting. However, at a random point during the battle, the small floating platform will start to move around.
This can catch you off guard as in a map this small, you spend a lot of time focusing on the fight and on trying not to be beaten, so when something moves it can throw you. Also, the small size of the platforms creates a very limited area for you to fight in so there's really no option to run.
Demon Island
This map only slightly beats Apocalypse, even though it only has one platform. The thing that makes it slightly better than Apocalypse is the art on the map, it's incredibly detailed and beautiful to look at.
It is one of the smaller maps in Brawlhalla as it has a single main platform but this is where the challenge comes from. With less space to fight on comes more ferocious battles as neither you nor your opponent want to lose and neither of you has anywhere to escape to.
Titan's End
This map makes excellent use of different levels with several different platforms across the screen. The main platform is a similar size to the others, so there isn't one main space that everyone chooses to stay on. Instead, the variety of platforms and platform levels mean that you are more likely to play about in different ways rather than sticking to a safe space.
The artistic detailing on this map may be more basic than others, but that's where its charm lies. You spend a lot of time on the platforms and trying to knock one another off. In a map that is this fun, you don't mind that the design details are a bit subdued. The only downside to this map is that once you are used to the platform layout, it becomes less challenging.
Big Titan's End
This is laid out exactly the same way as Titan's End with only one major difference. The main platform in the center of the map is wider and it starts to move about during the battle. The first time you play this map, it definitely catches you off guard and can cause you to lose prematurely.
Although confusing, the moving platform is the element that makes this map so fun as it means you have more to think about whilst watching your back against other players. Also, the moving platform means it's much harder to save yourself should you fall off in that area.
Small Grumpy Temple And Grumpy Temple
The Grumpy Temple maps are both extremely similar. The only difference between the Small version and the normal version is that there are a few additional platforms in the original one. Apart from that, both of the maps are exactly the same. The platforms are laid out in a somewhat classic format for a fighting game and this makes this map feel slightly nostalgic for older players.
The bases beneath the two main platforms in both maps are so substantial that there are plenty of opportunities for you to save yourself should you fall off or be knocked off. This means that the battles can go on for longer and become more challenging if each player continuously saves themselves.
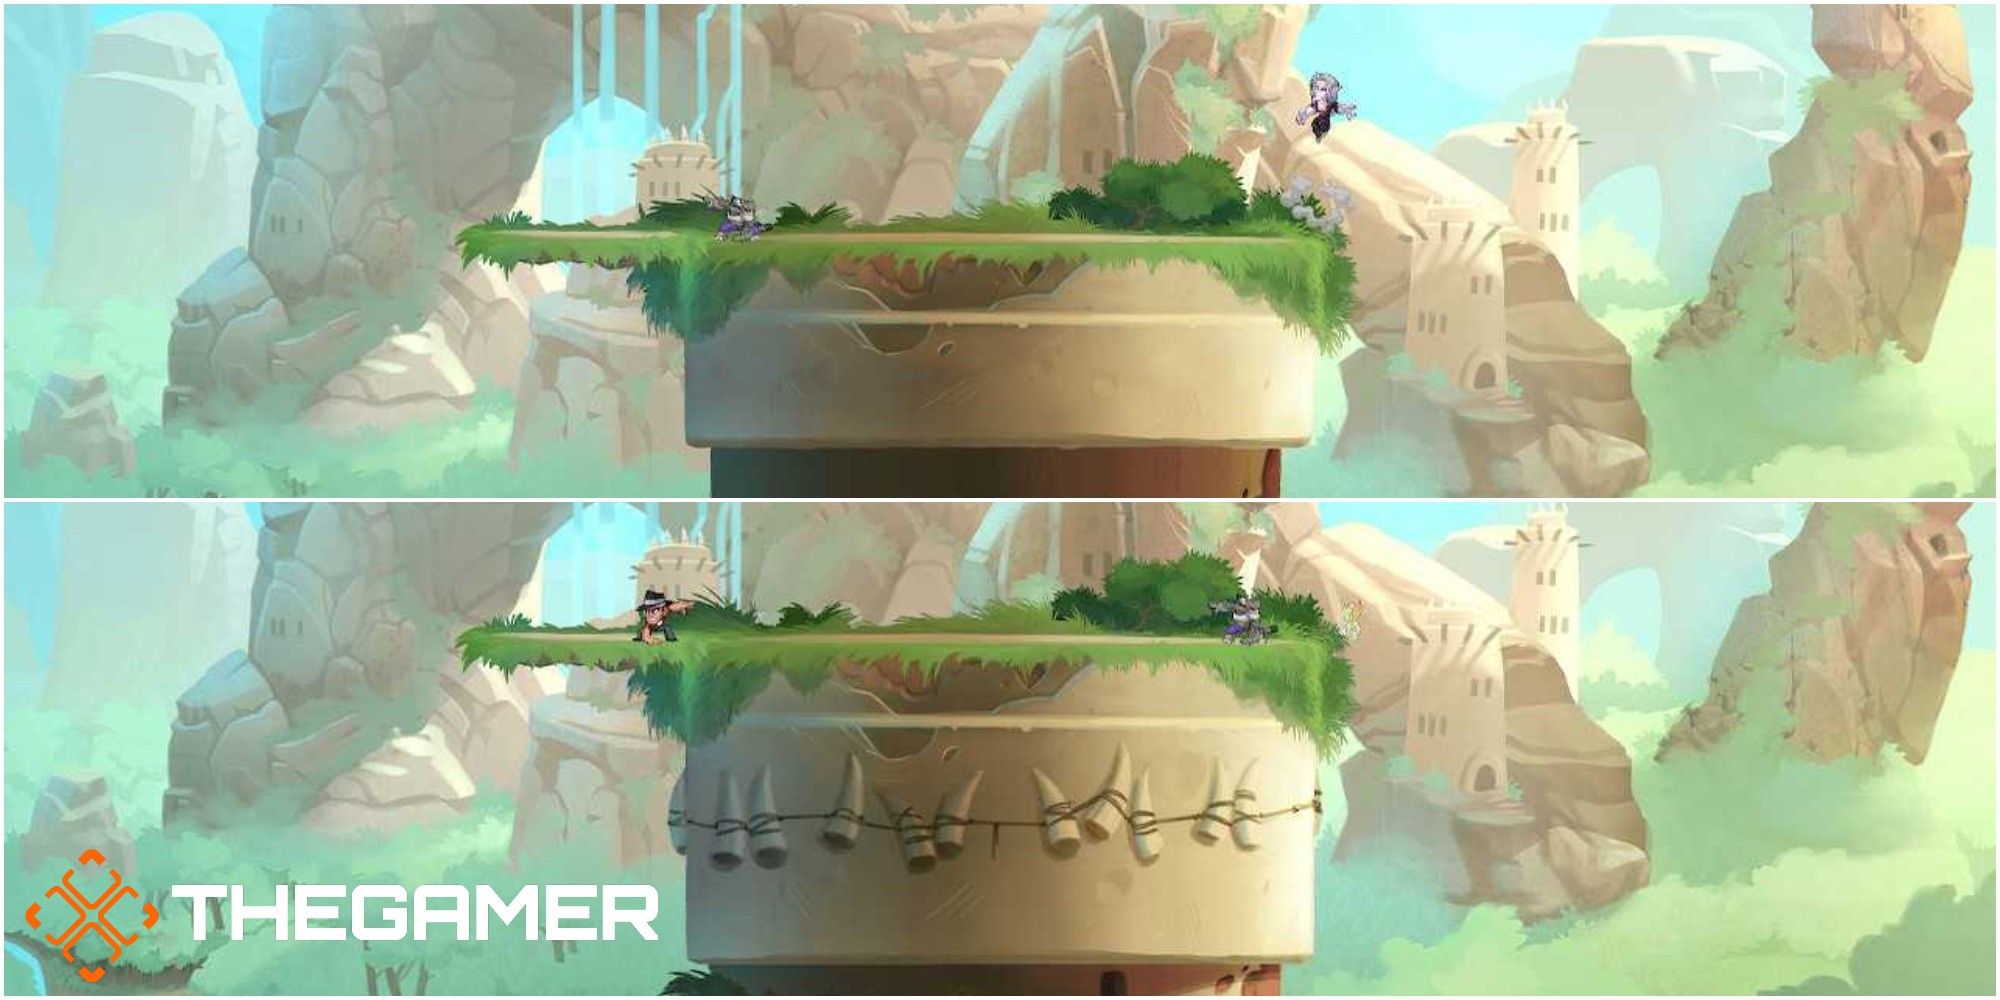
Plains Of Passage
Plains Of Passage is one of the smaller maps in the game and it seems to have been designed to force players into close-quarters combat. The map may be small, but it's by no means an easy map as the size of it means there are more mistakes that you can make that will cost you a life.
If you save yourself by kicking off the foundations of the main platform, there is a very good chance that you are going to overshoot the platform itself and fall off the other side. You need to think about this all whilst making sure the other players aren't planning to ambush you when you return.
Shipwreck Falls
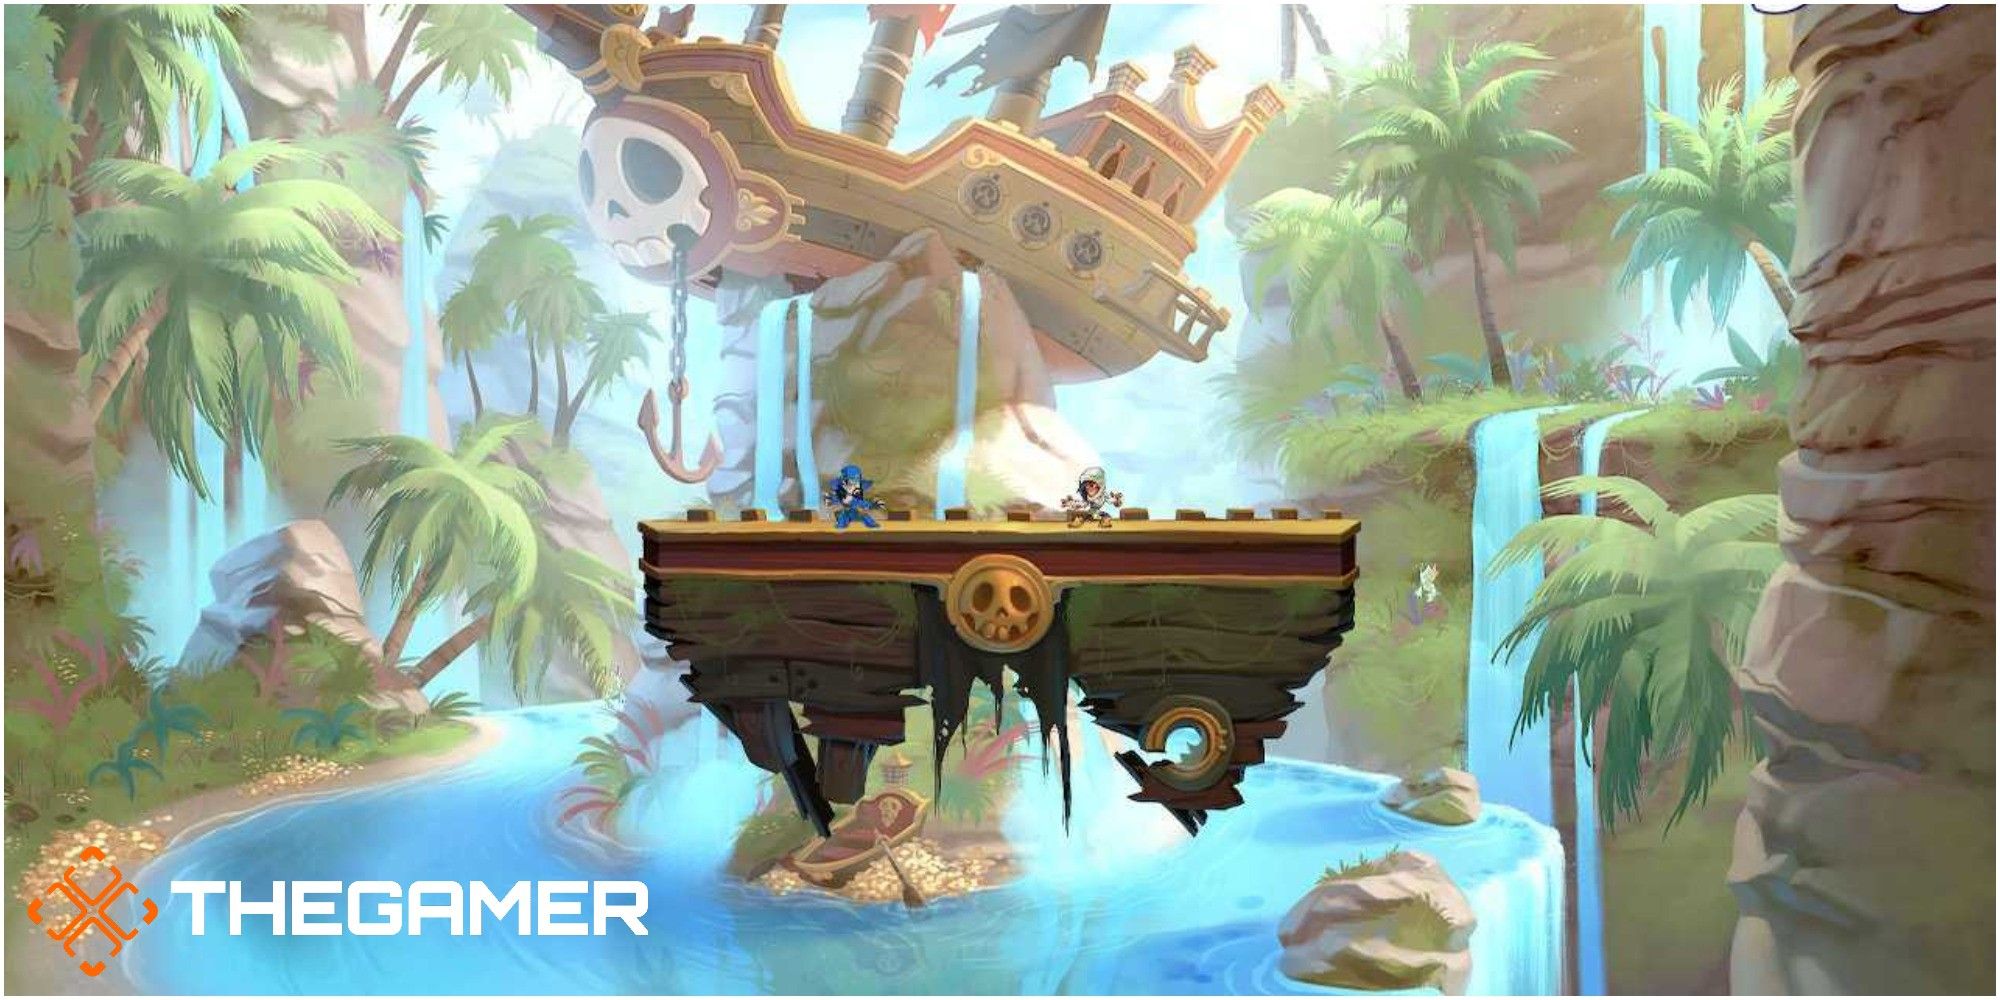
This map has one platform and one platform only. This means that your battle will be confined to one space, which may be great for some players. It means players who enjoy having a fast-paced and close-quarter brawl will enjoy this map.
However, for most, it will mean that the battle will quickly become repetitive and feel a little restricted. The main redeeming feature of this map is that the details of the platform design and the background are amazing.
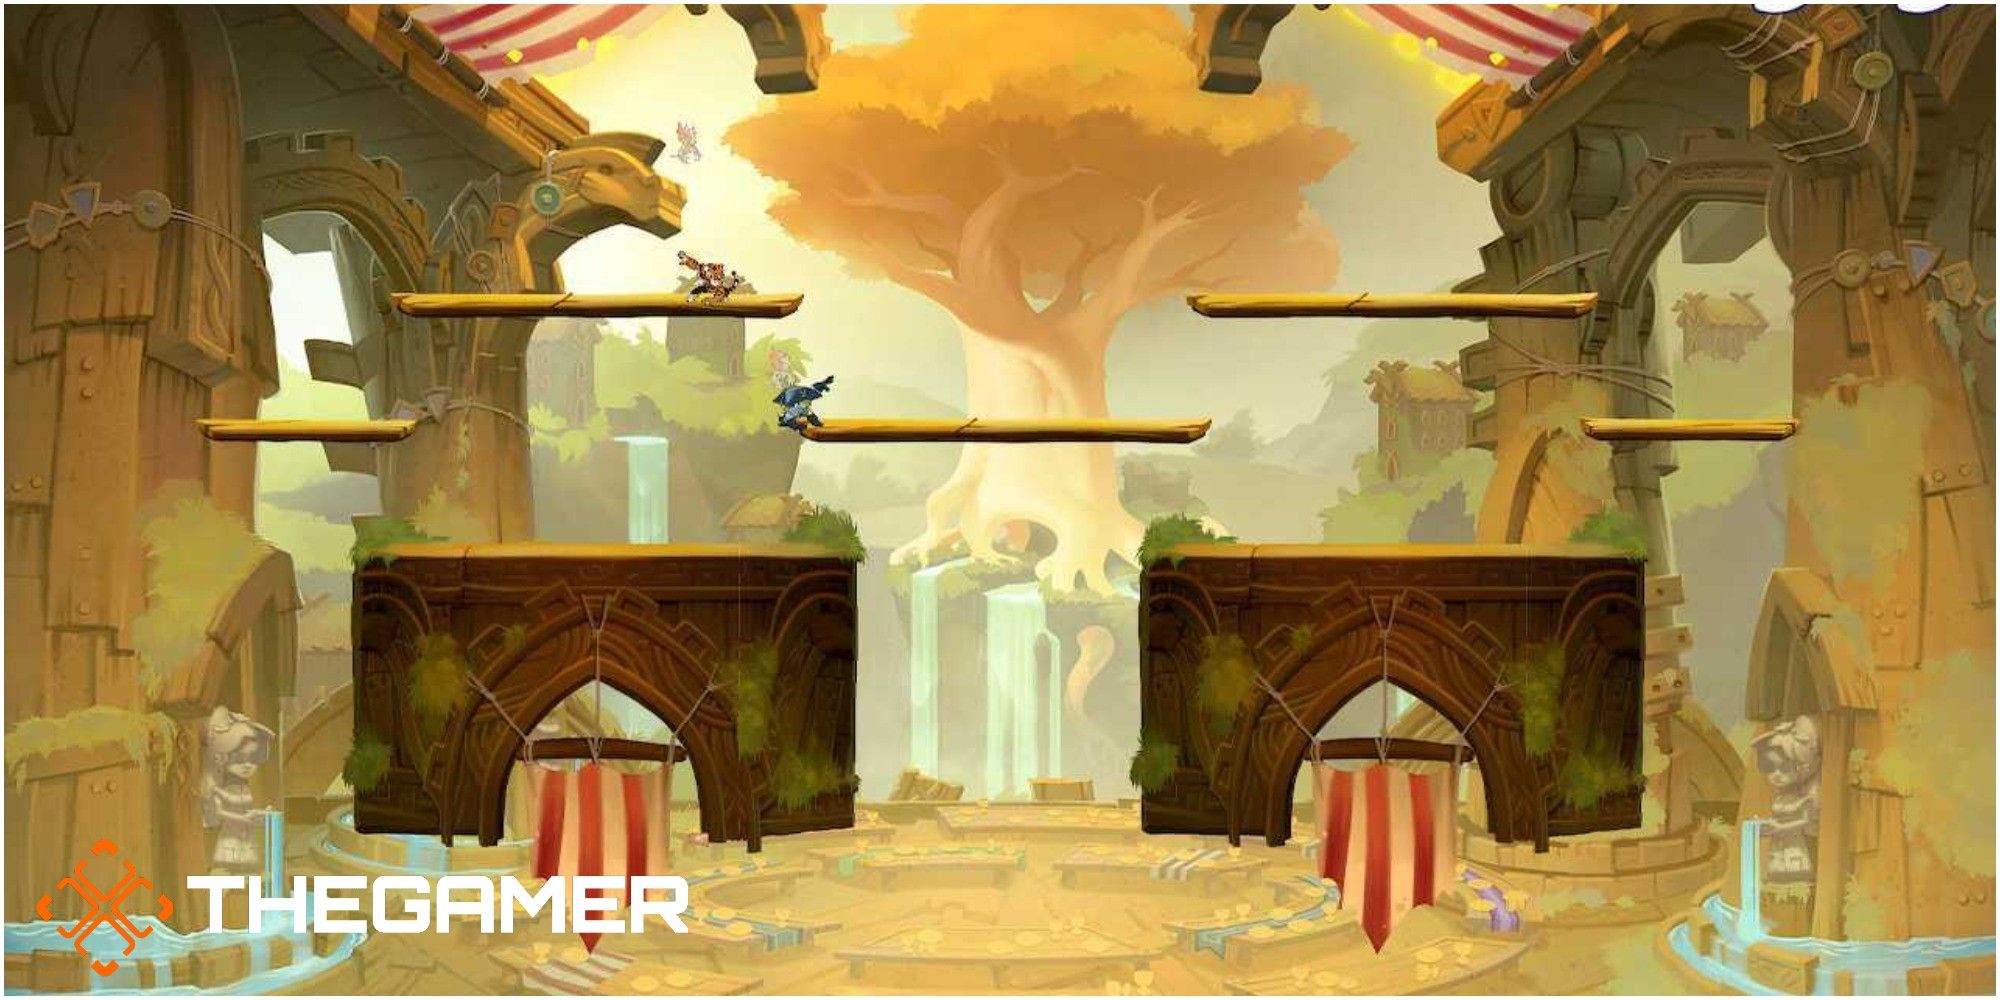
Small Great Hall And The Great Hall

Small Great Hall and The Great Hall maps are very similar. They both have a main platform and then three smaller platforms around it. However, the middle floating platform and main platform are slightly wider on The Great Hall map. Both maps have a layout that is really well designed for a moving battle as there are multiple places for you to take the fight. With the ability to fight each other in mid-air, this map quite literally lets you fight anywhere.
The Great Hall map is slightly better than the Small one as there is more room for you to jump back up if you fall off. Also, the middle floating platform's width on this map means you have more room to play around.
Big Great Hall
The Big Great Hall outranks the other two maps of the same type as it really makes use of all of the space on the screen. There are multiple floating platforms and two base platforms. This makes the battle much faster as you find yourself constantly moving between areas to try to get the upper hand against other players.
RELATED: Awesome-Looking Indie Games You Didn’t Know Were Coming To The Nintendo Switch In 2021
Also, the sheer amount of floating platforms makes this map more entertaining as there are a lot of places for you to move to. Having two main platforms with good foundations gives you a slightly better chance of saving yourself. However, with more spaces to move to, there is more risk in your movements because you have more chances of falling off of the map.
Small Enigma
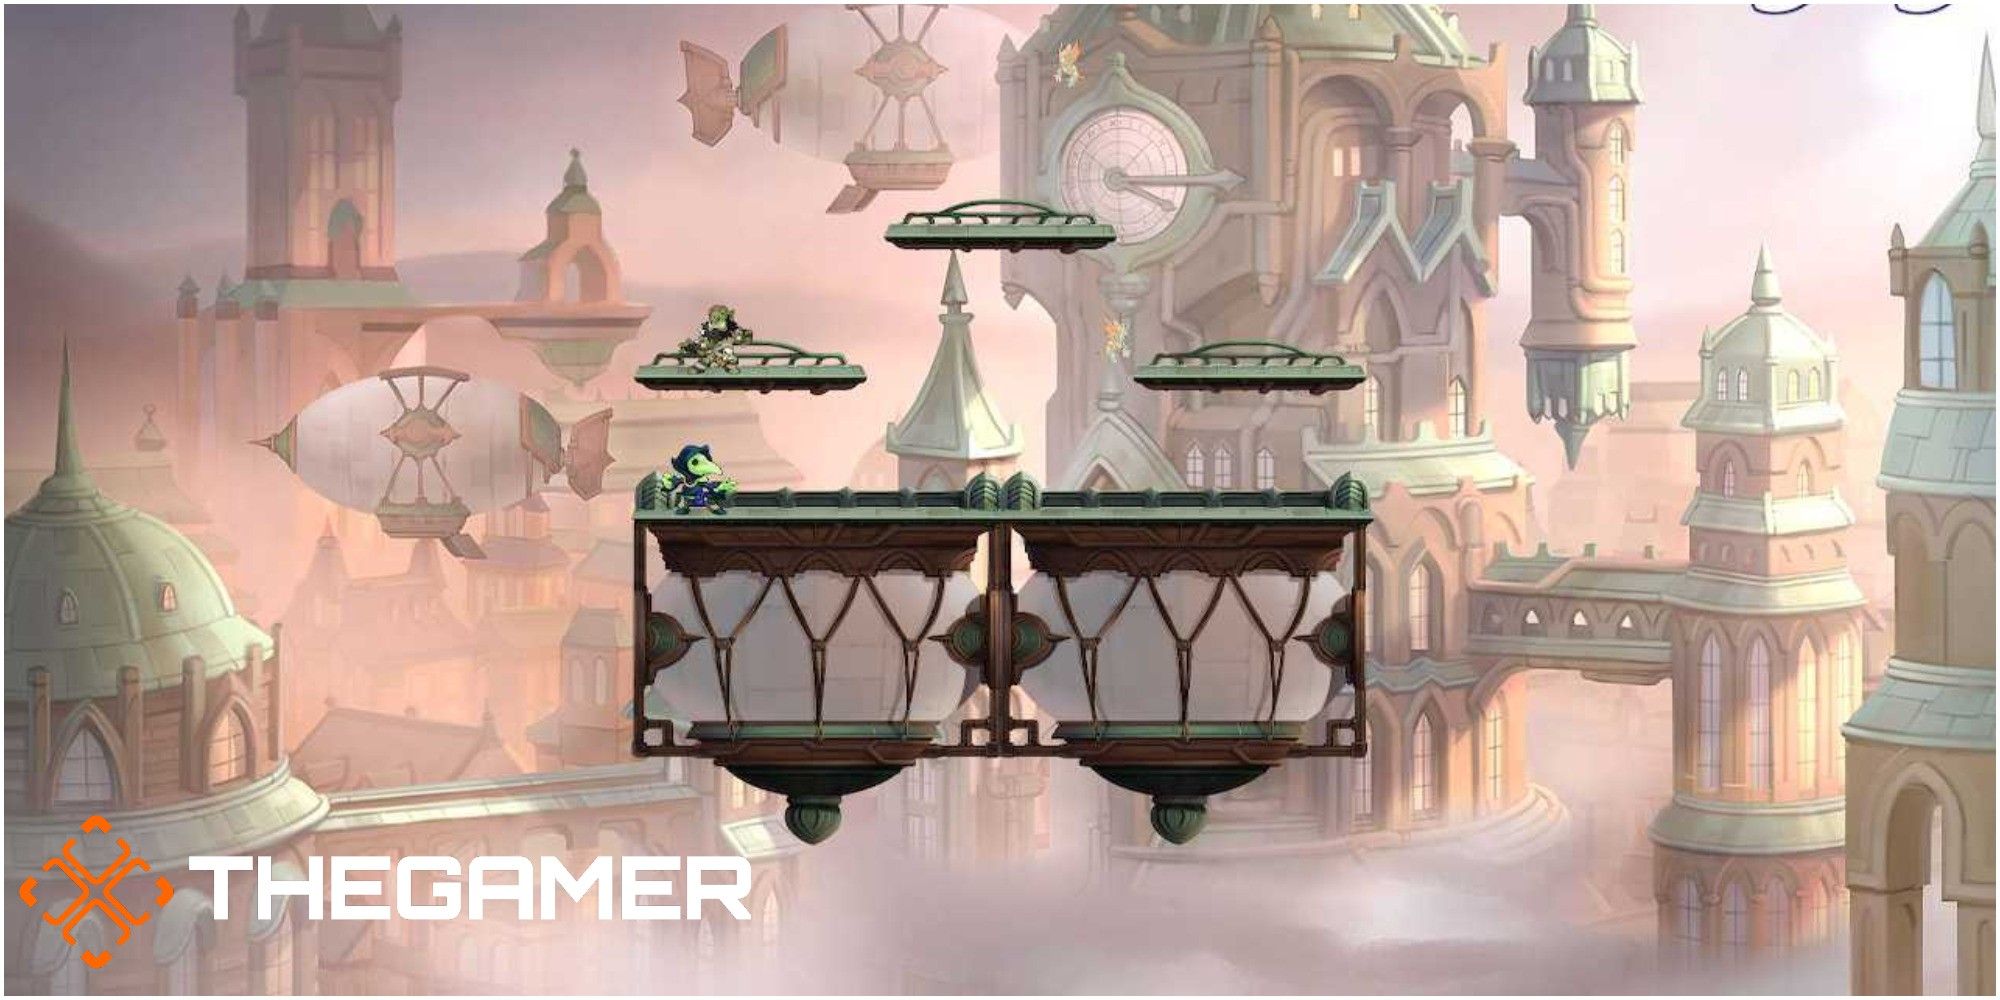
Small Engima is the definition of the phrase small but mighty. This map may seem simple on the surface but when you get into it, its simplicity is part of its charm. You get one main platform with a good foundation, so you have plenty of space to kick off to save yourself, and you get three floating platforms to play on.
In a similar fashion to Plains Of Passage, the small size of this map and the proximity of the platforms do raise the risk of you overshooting your landing spot and falling off by accident.
The Enigma
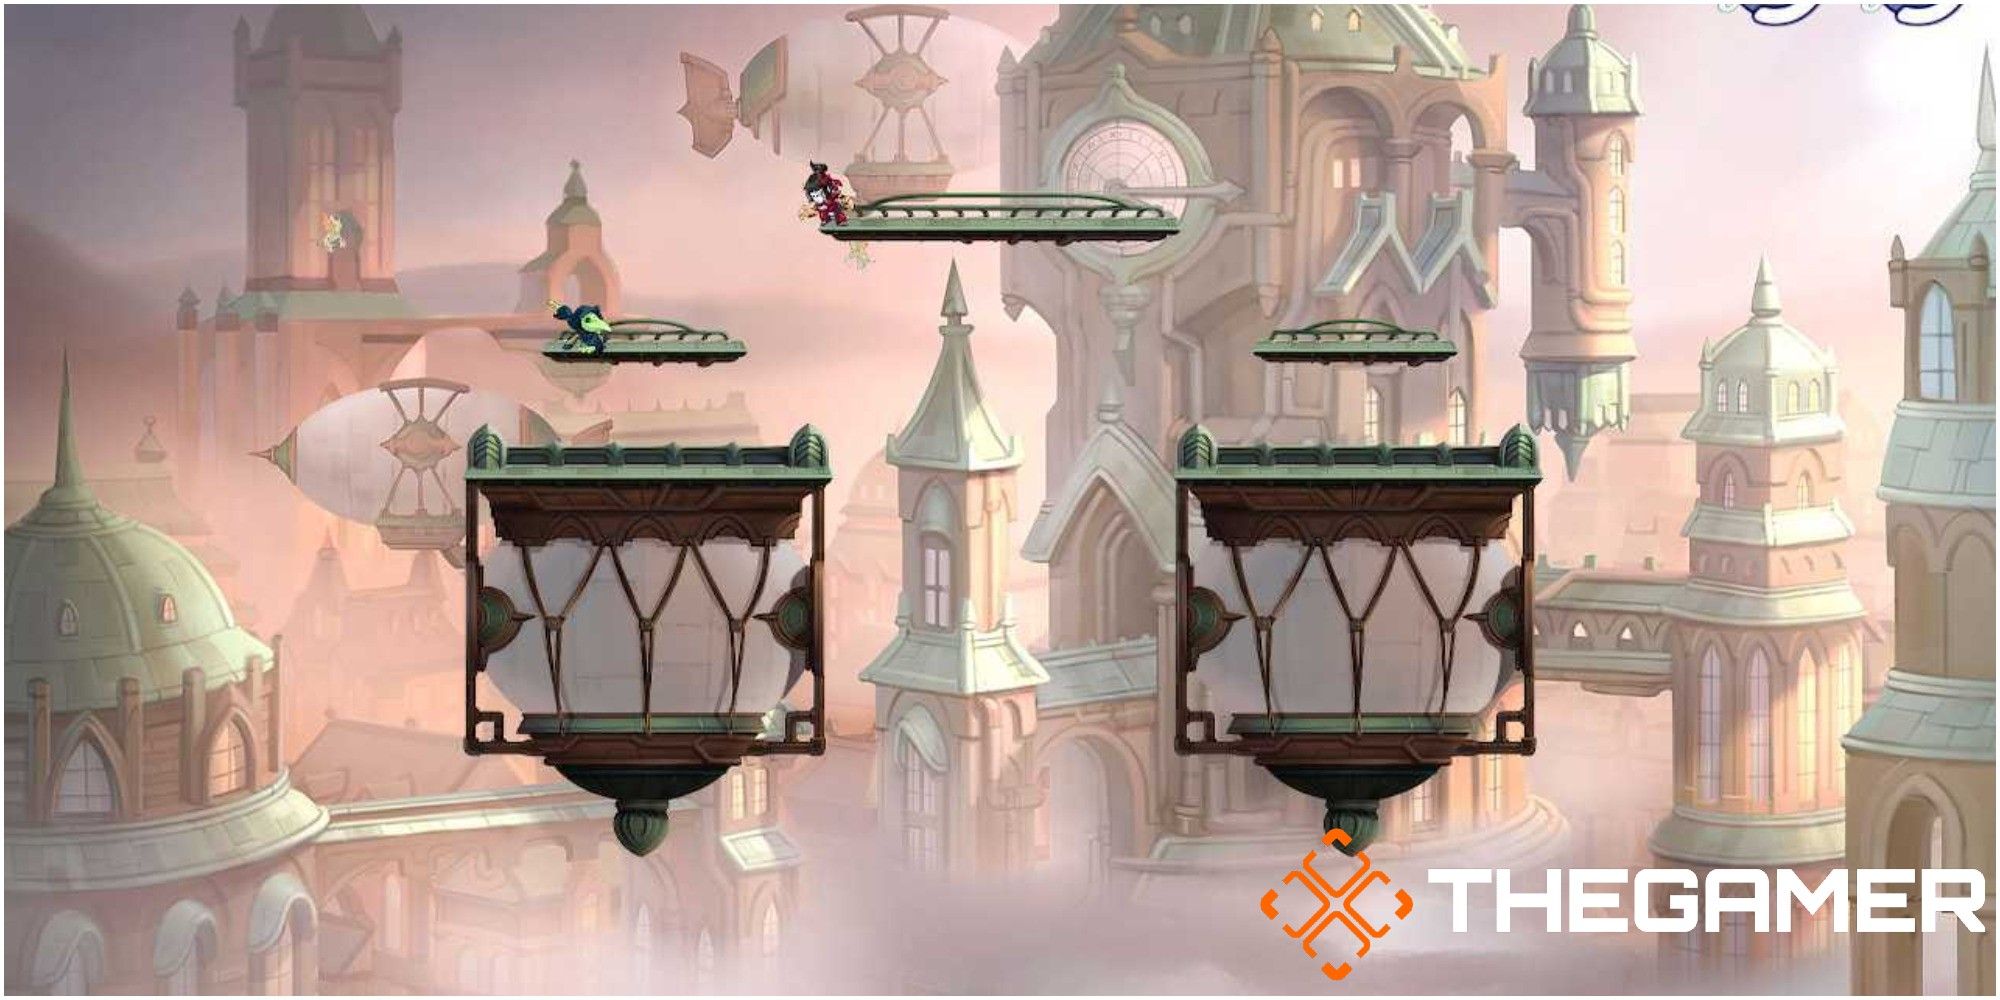
There are a few differences between this map and its smaller version. On The Engima, you have two main platforms but they are quite small, which gives you a higher risk of being knocked off of them. They are split on the lower level of the map, one on the left and one on the right. Fortunately, they do have substantial foundations underneath them so there is room for you to save yourself should you need to.
Also, the platforms move around! They move throughout the battle and can drastically change the layout of this map. Not only does this remove the potential for the map to feel repetitive, but it also means that the balance of the battle can be easily flipped if you exploit the layout changes.
Crystal Temple and Big Crystal Temple
Crystal Temple consists of one main platform and two smaller floating platforms above it. There is nothing particularly challenging or remarkable about this map that will become apparent once you play the bigger version. Crustal Temple is, however, a brilliant map for those of you who are fairly new to the game and wish to focus on honing your skills.
Big Crystal Temple is by far the superior Crystal Map due to several factors, the main one being the sheer amount of platforms that you have on the map. Overall, there are 6 floating platforms and one main platform in Big Crystal Temple which gives you more areas to play on. The map gives you the opportunity to keep the battle moving around the entirety of the map, so for those of you who like a challenge and love keeping fights on the move, then this is a map you should try.
Spirit Realm
The stand-out point of this map is its design. There are so many intricate details to look at that it's extremely easy to get distracted mid-fight. This is another small map as you have very few platforms and little room to play with. However, the sheer fun of playing on a map that looks this good can override the simplicity of the platforms.
Also, there is a good amount of foundation beneath the main map so if you fall off, you have quite a few chances to redeem yourself before losing a life.
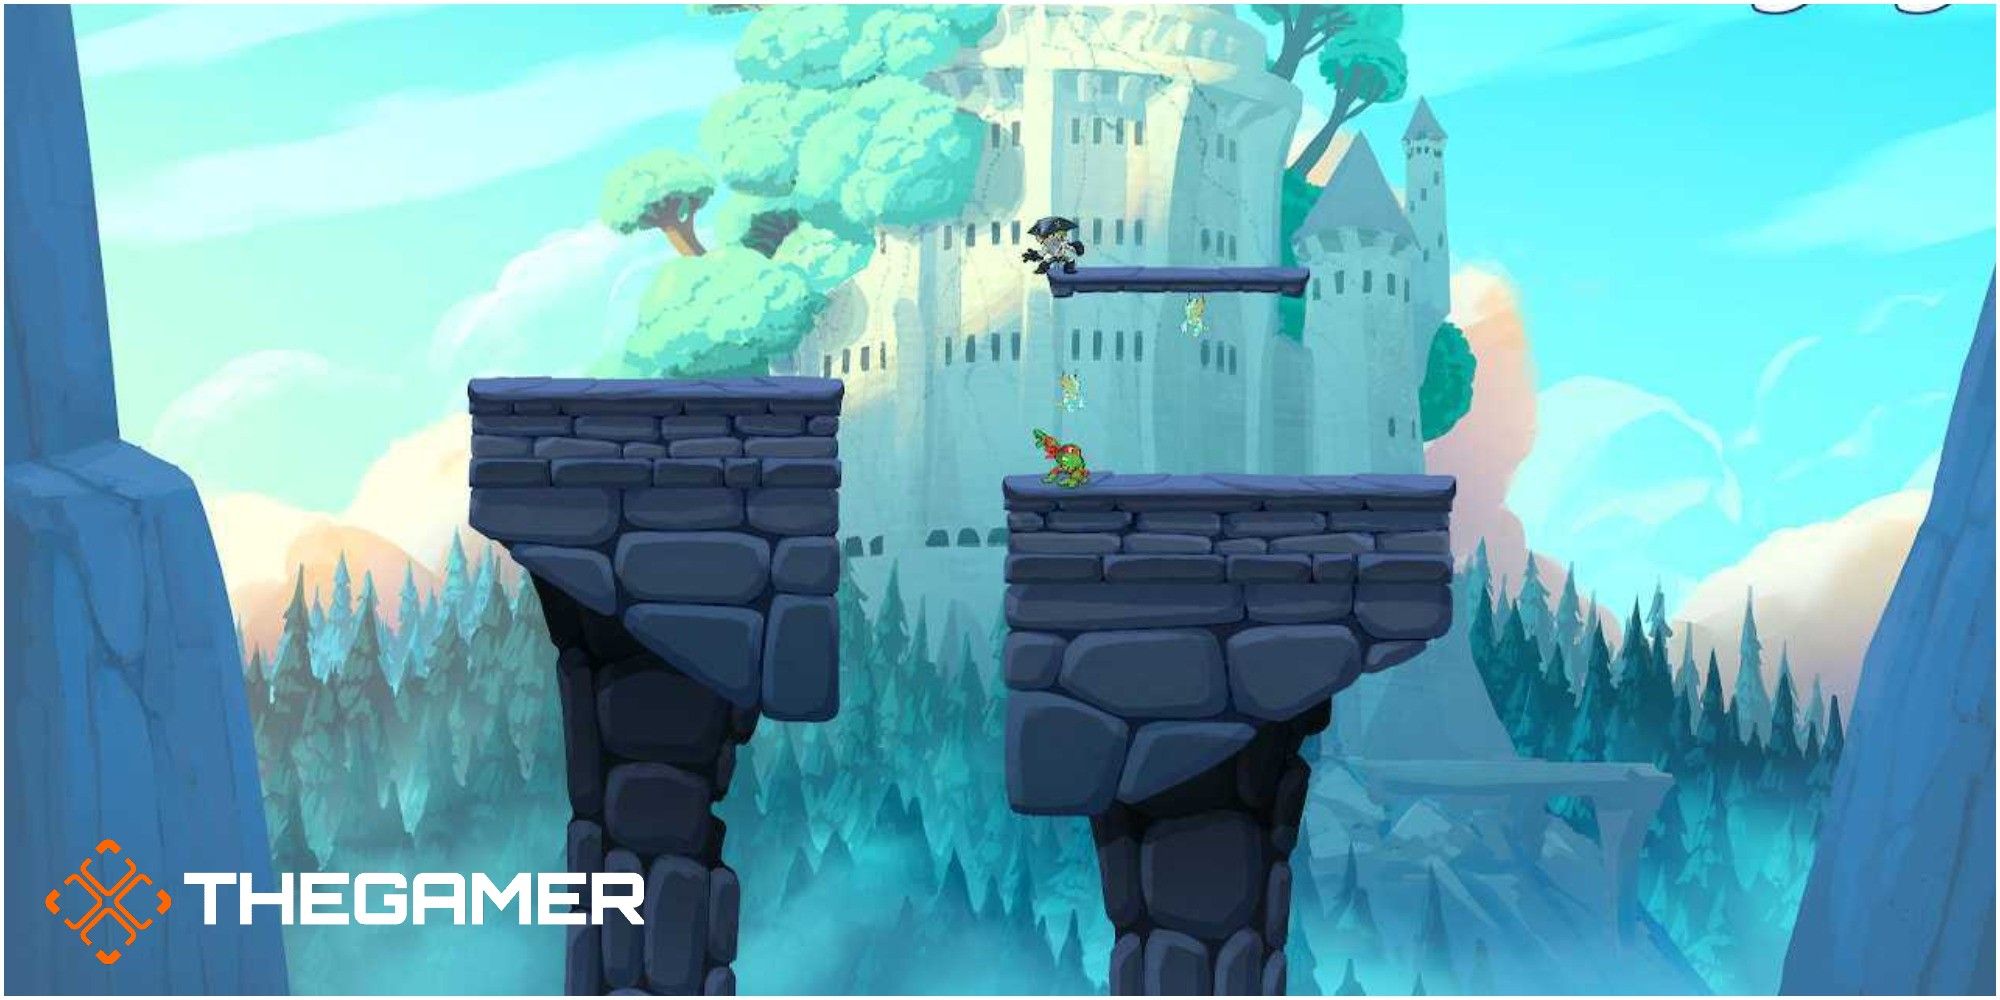
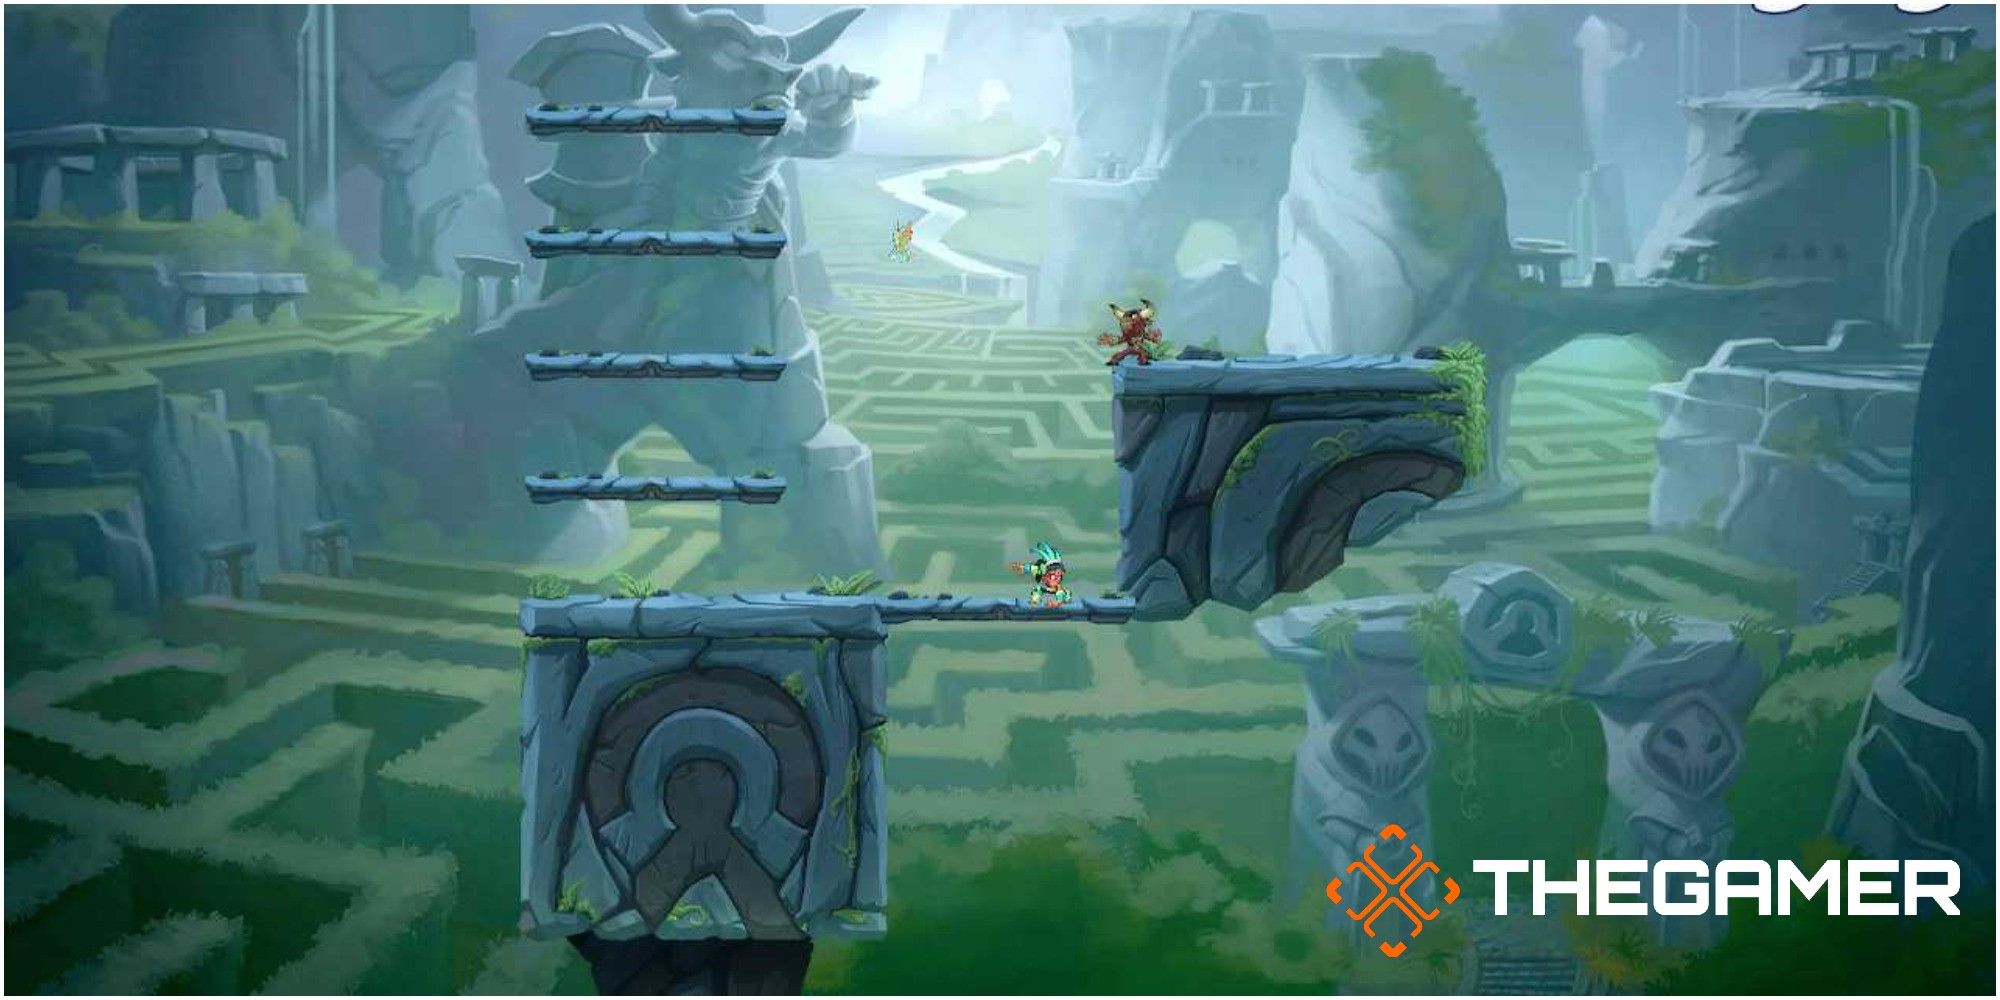
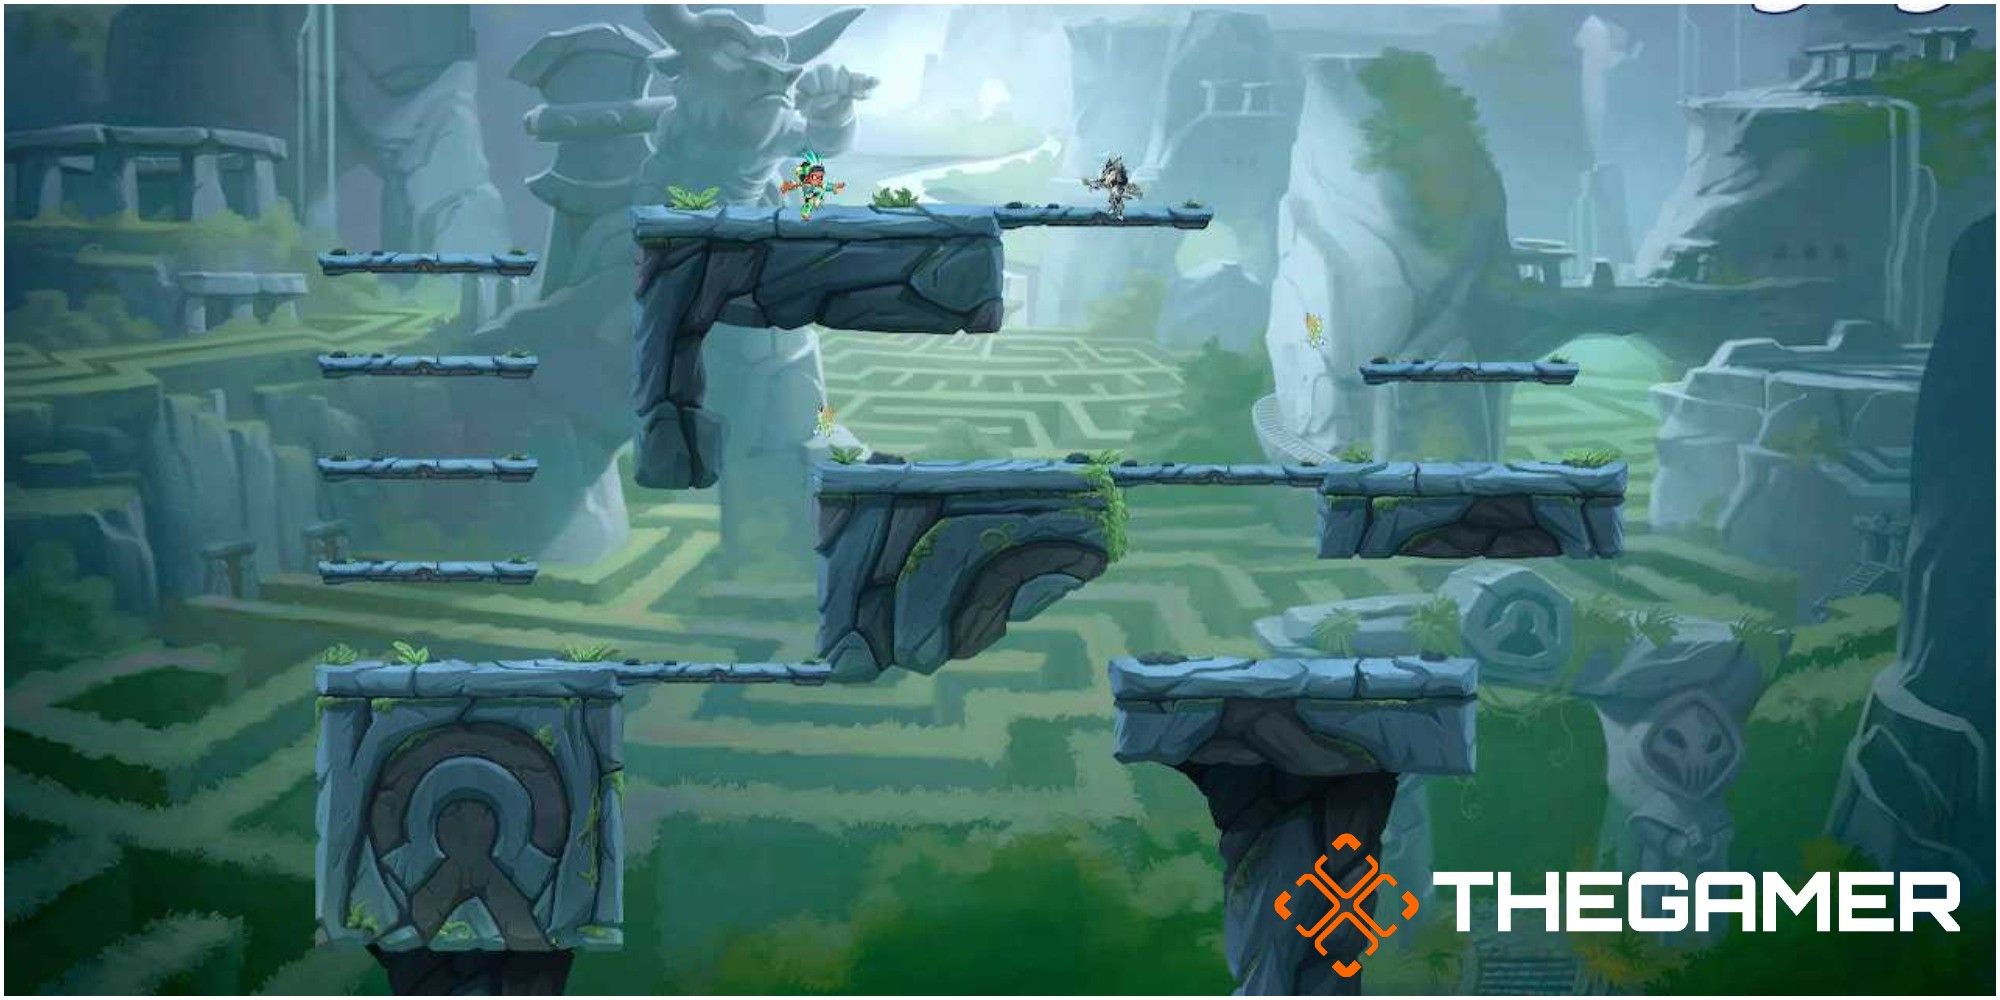
Temple Ruins
Temple Ruins is one of the best maps on the game. It has a variety of platforms that are all at different heights and each of them can be used in conjunction with one another. For example, you can make it seem like you're jumping from one platform to another, but you can actually kick yourself off of the platform to land behind your opponent and attack them.
RELATED: Indie Games To Look Out For In 2021
Two of the floating platforms seem like part of the background at first glance, so it's a nice touch when you find out that you can use them. The only downside to this map is that if you fall off, you have very limited options to save yourself.
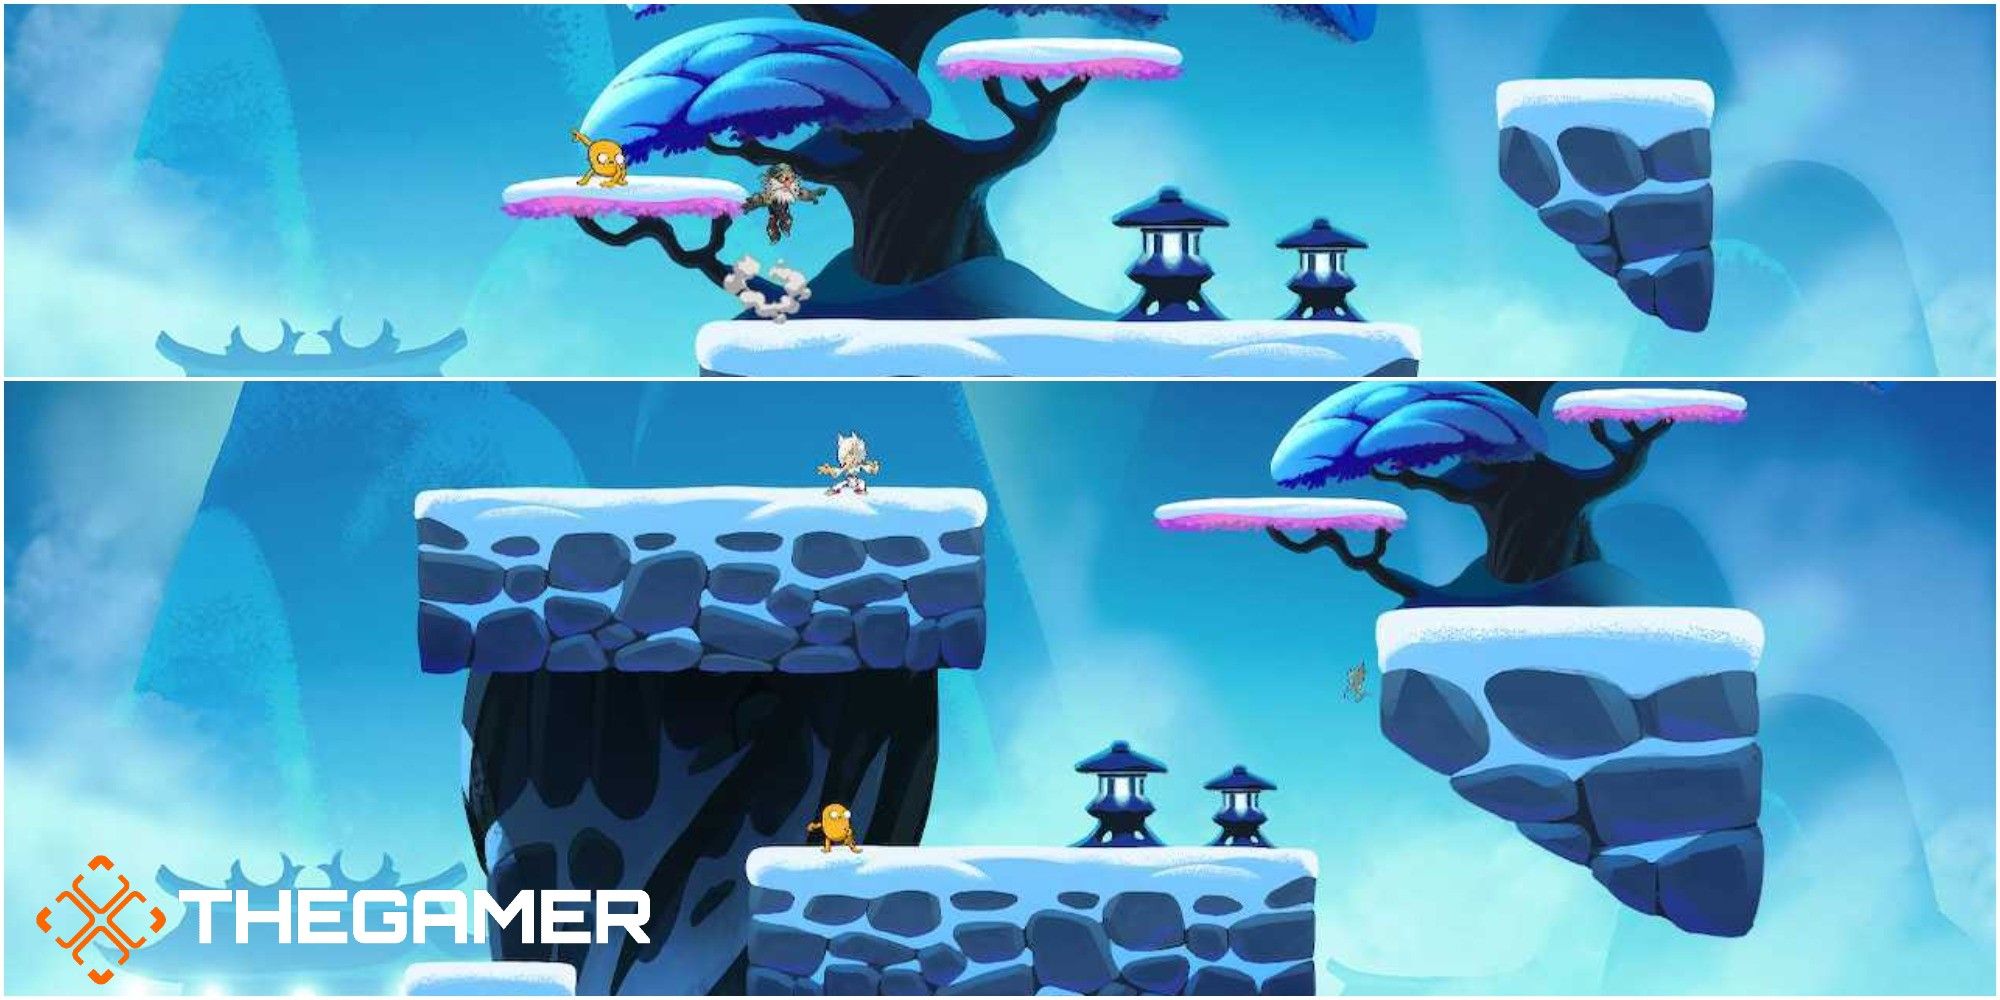
Tree Fort
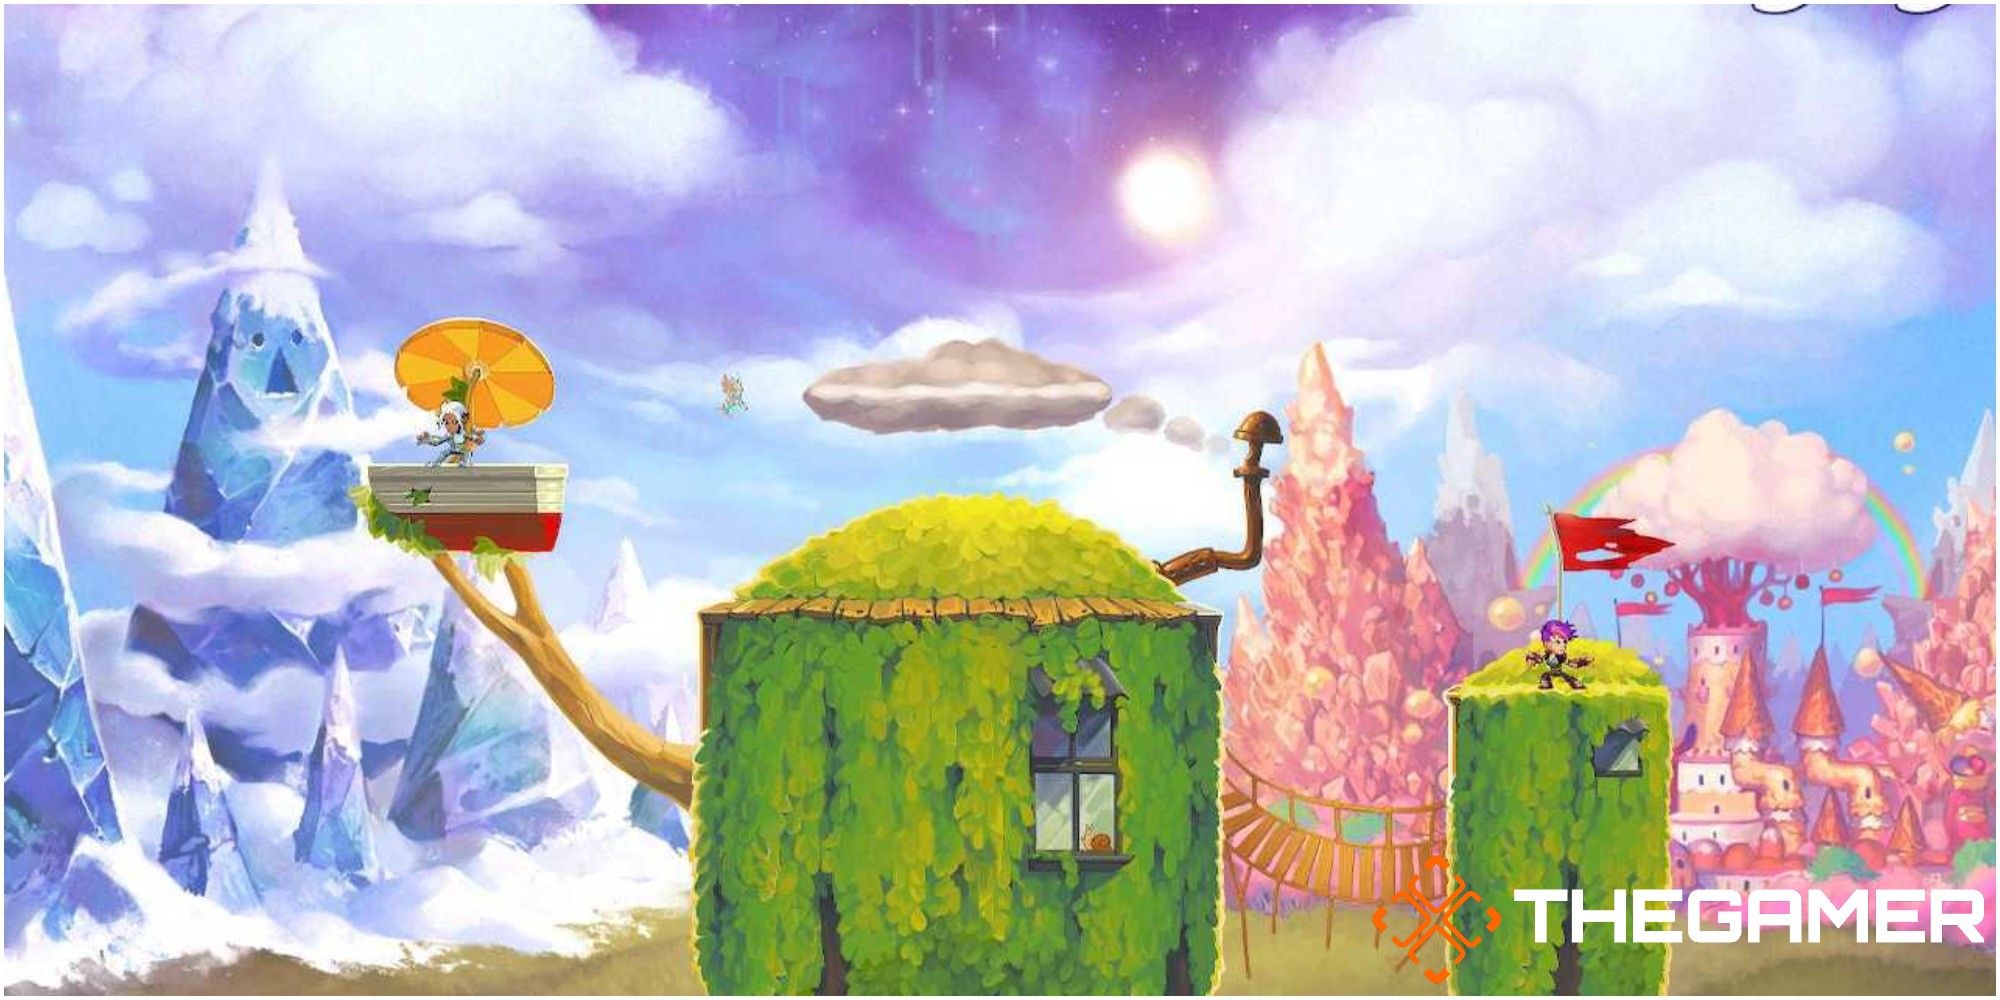
In terms of fun, the Tree Fort map is one of the best in Brawlhalla. The design of it feels really whimsical and can just make you smile but it's not just how the level looks that makes it great. The way it's laid out is slightly different from any of the other maps in the game as each platform is on slightly different levels.
Also, the way the map looks adds to the difficulty of it because there are a few areas that you would think were platforms but they're part of the background. You could jump for those bits and end up falling straight off the map.
Miami Dome And Big Miami Dome
These two maps are very similar in style and in how they dictate your battles. The Miami Dome has one main platform and two smaller floating ones above it (technically they're being held up by scaffolding plinths) but that's it. The main platform on the map is quite narrow, which forces you to be close to your opponent. Even if you use the two floating platforms, you're still going to be in close proximity with your opponents, which can be frustrating for some players but for others, it will be ideal.
Big Miami Dome has a slightly larger main platform and three floating platforms. The floating platforms are actually floating this time and are on the left, right, and center of the map. Not only are these platforms more spaced out to benefit the players that like keeping the fight on the move, but the middle one also sporadically moves during the fight. You need to think carefully once this middle platform moves because one wrong move can mean you fall off of the map by accident.
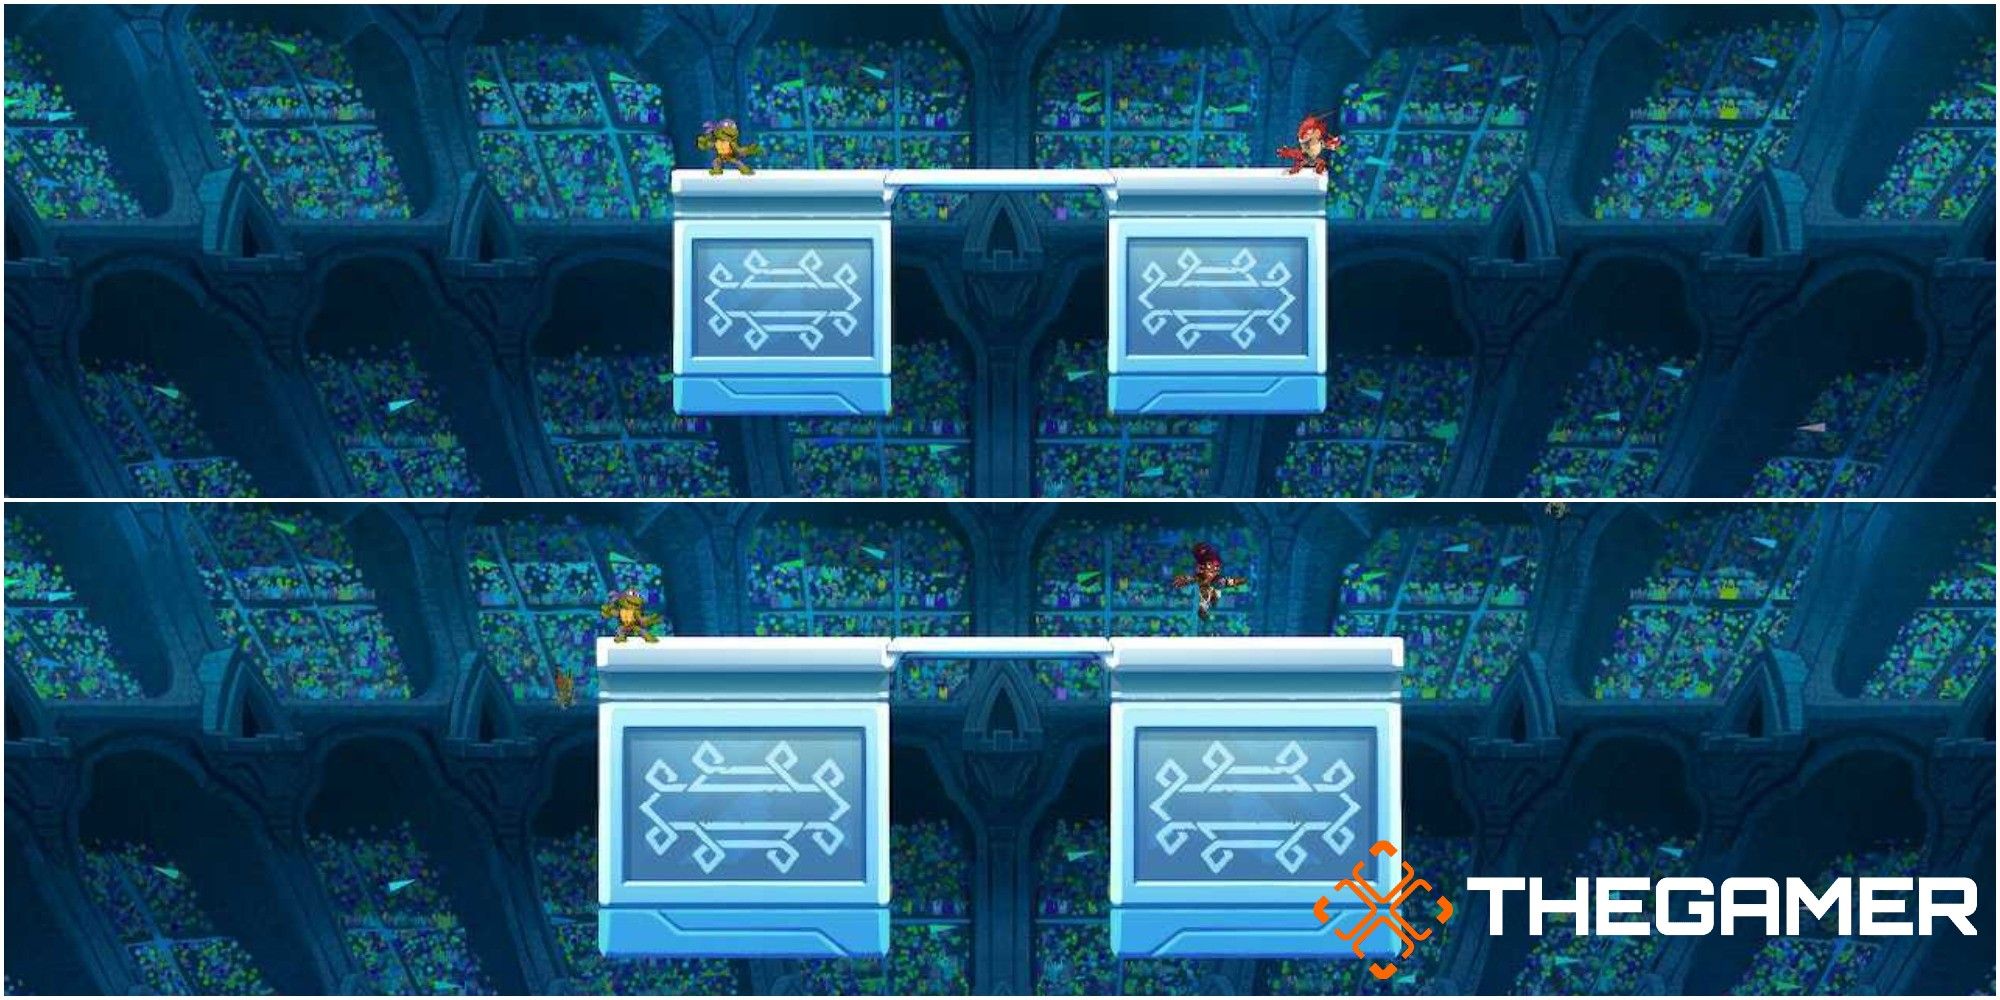
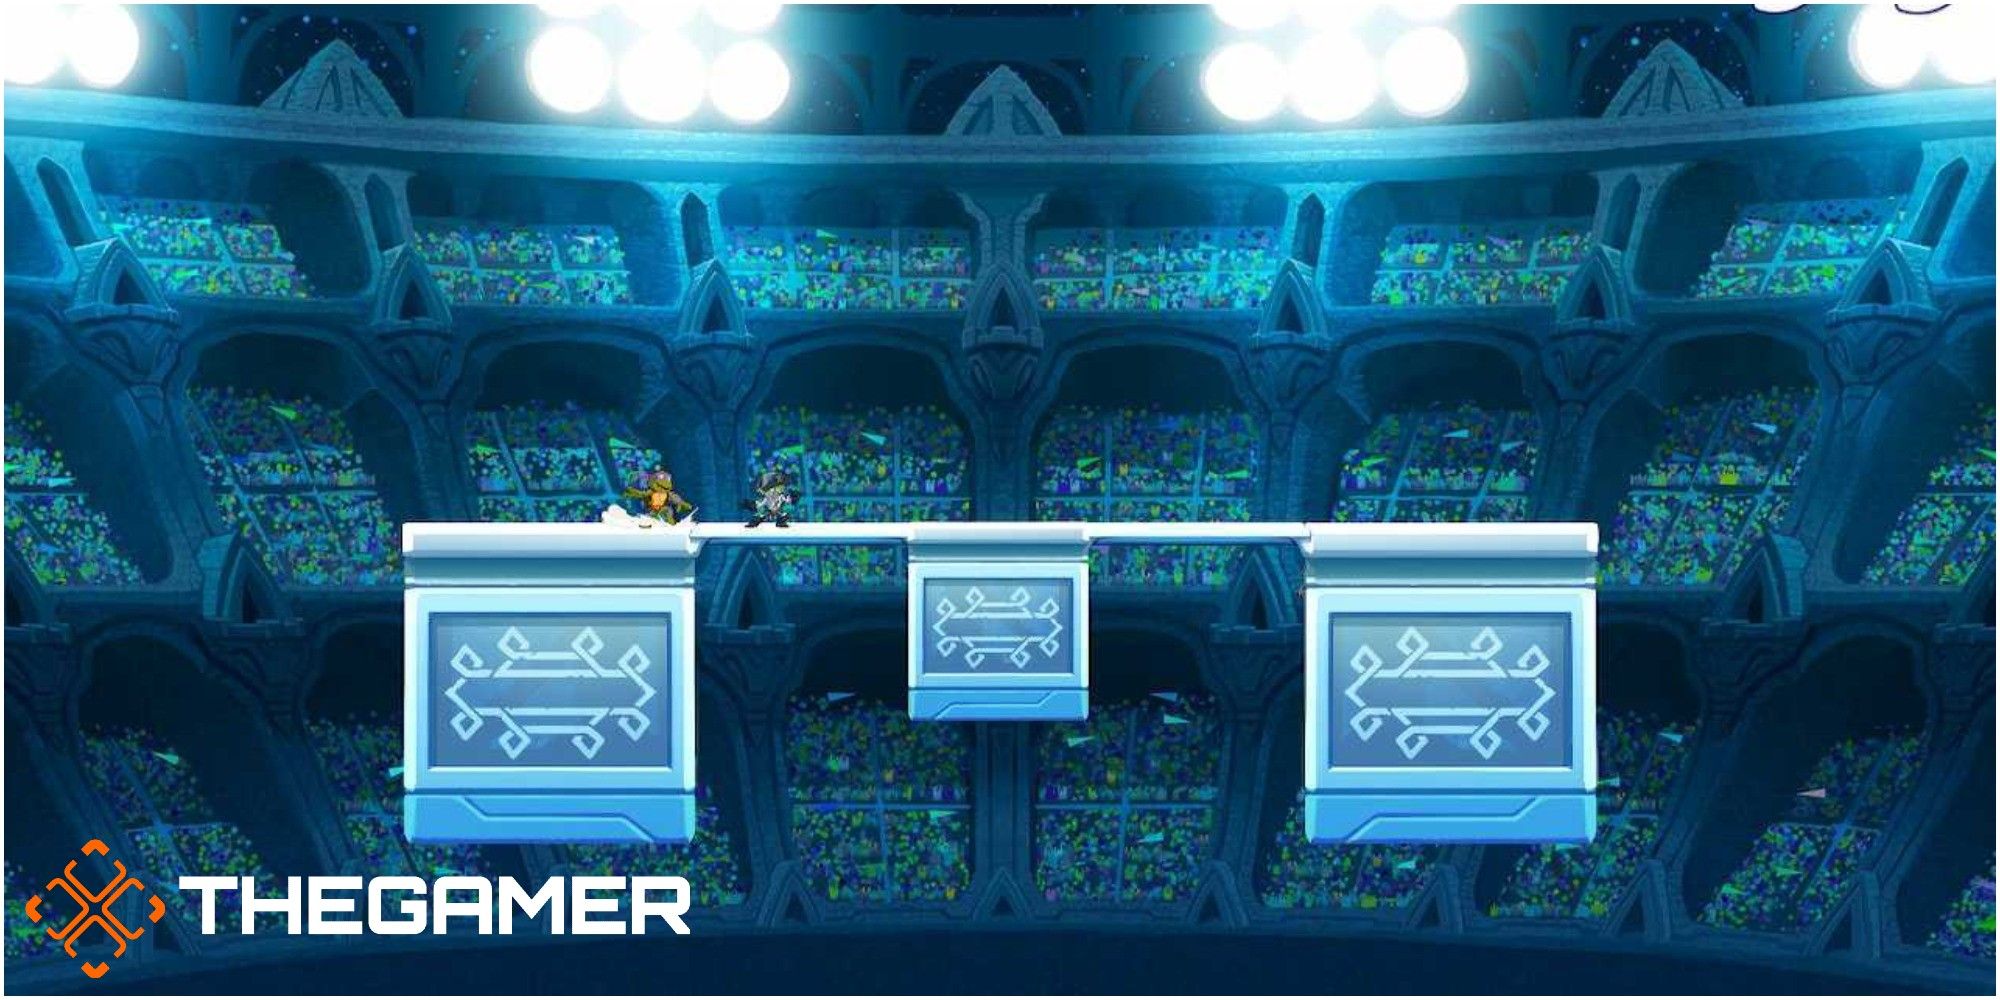
Small Blackguard Keep And Blackguard Keep
These two maps are mostly the same with only very slight differences between them. Small Blackguard keep has a small main platform with very small foundations, which makes it more difficult to save yourself and it has two floating platforms. The platform on the left of the map will move up and down throughout the battle. Although it moves slowly, if you misjudge your jump from the main platform to this one, then you can still fall off.
Blackguard keep has a slightly larger main platform but still, the foundations are minimal, so you will have to be very skillful in saving yourself. This map has 3 floating platforms with the left and right ones moving throughout the battle. The size of this map means that you have more of a chance to remove yourself from danger for a minute and there are more places for weapons to spawn.
World's End
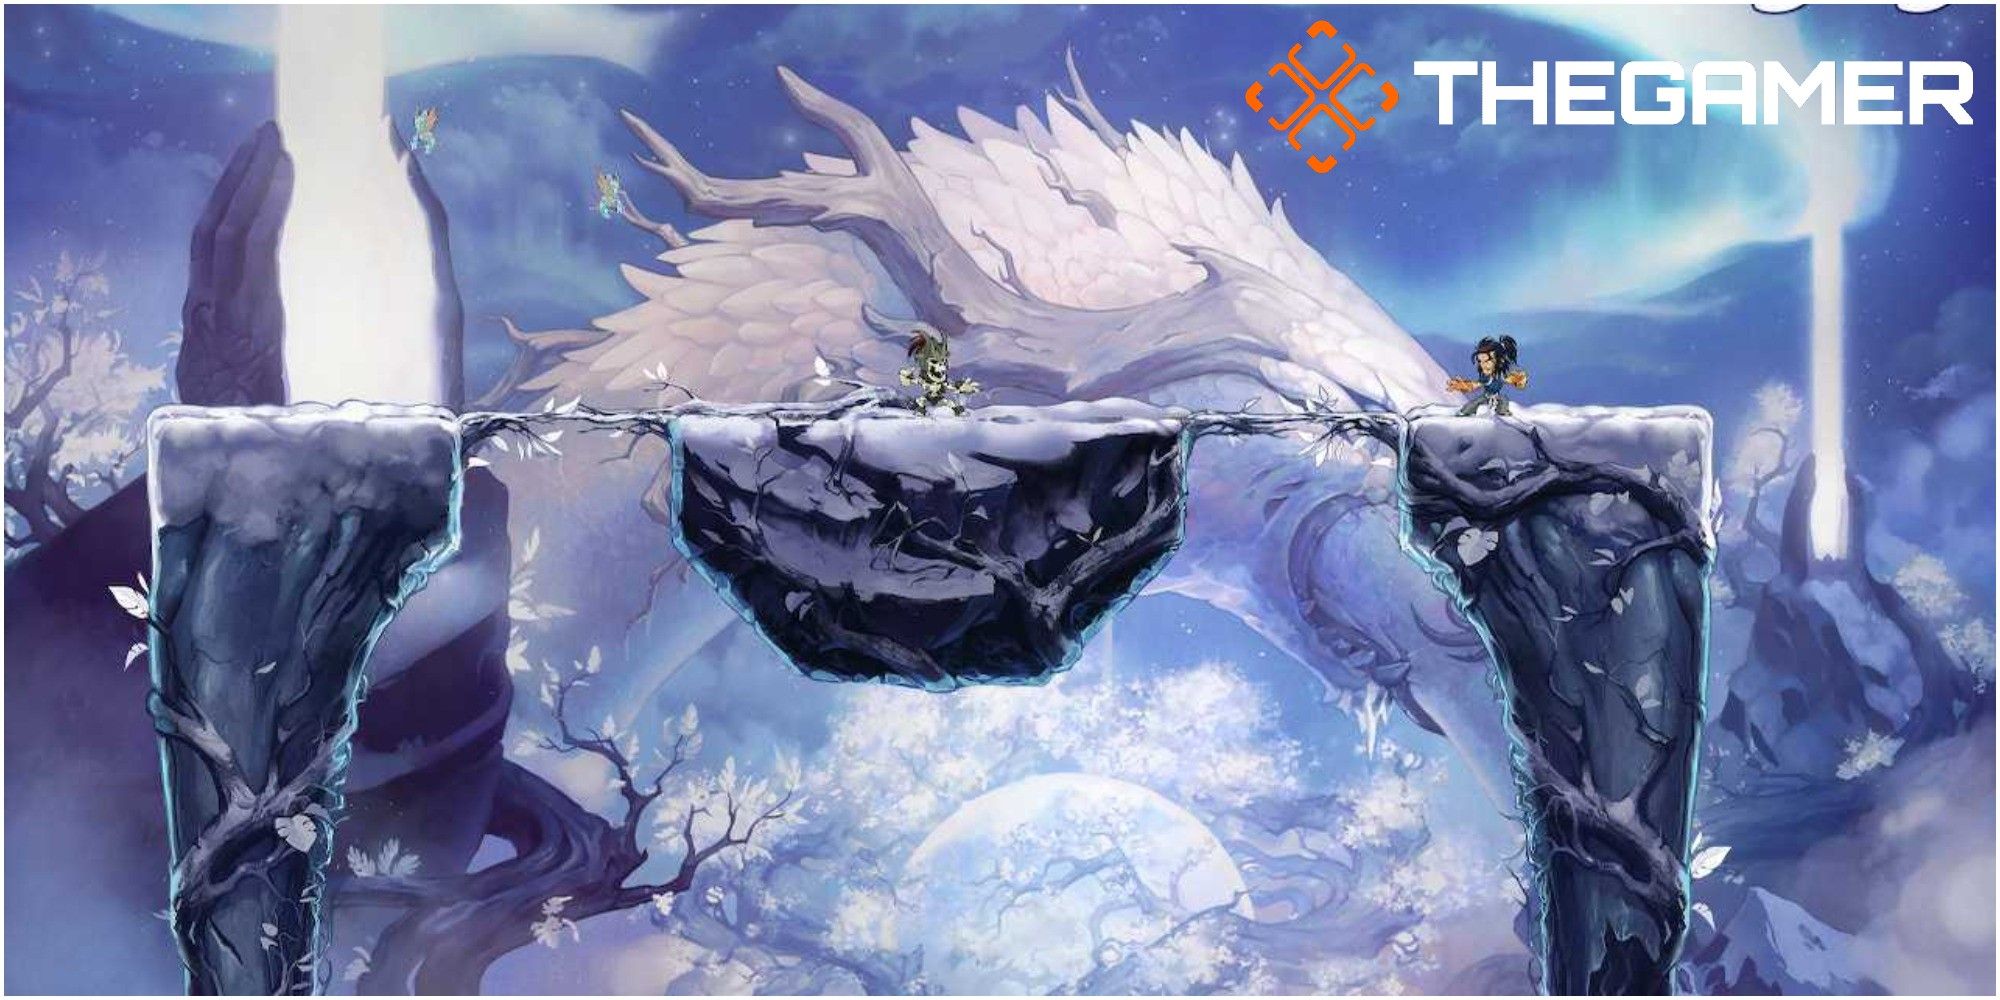
This map is one of the few without any extra platforms but it makes up for it in the sheer size of the main one. The only platform consists of three separate platforms connected by two thin bridges. These bridges can be traps for you or you can use them to lure your teammates into a tough situation.
If you move a certain way on either of these connection platforms then you can fall through them and on this map, there is almost nothing that can save you. The end platforms have little to nothing as a foundation so you have nothing to kick yourself back off of. Also, the creature in the background is beautifully detailed.
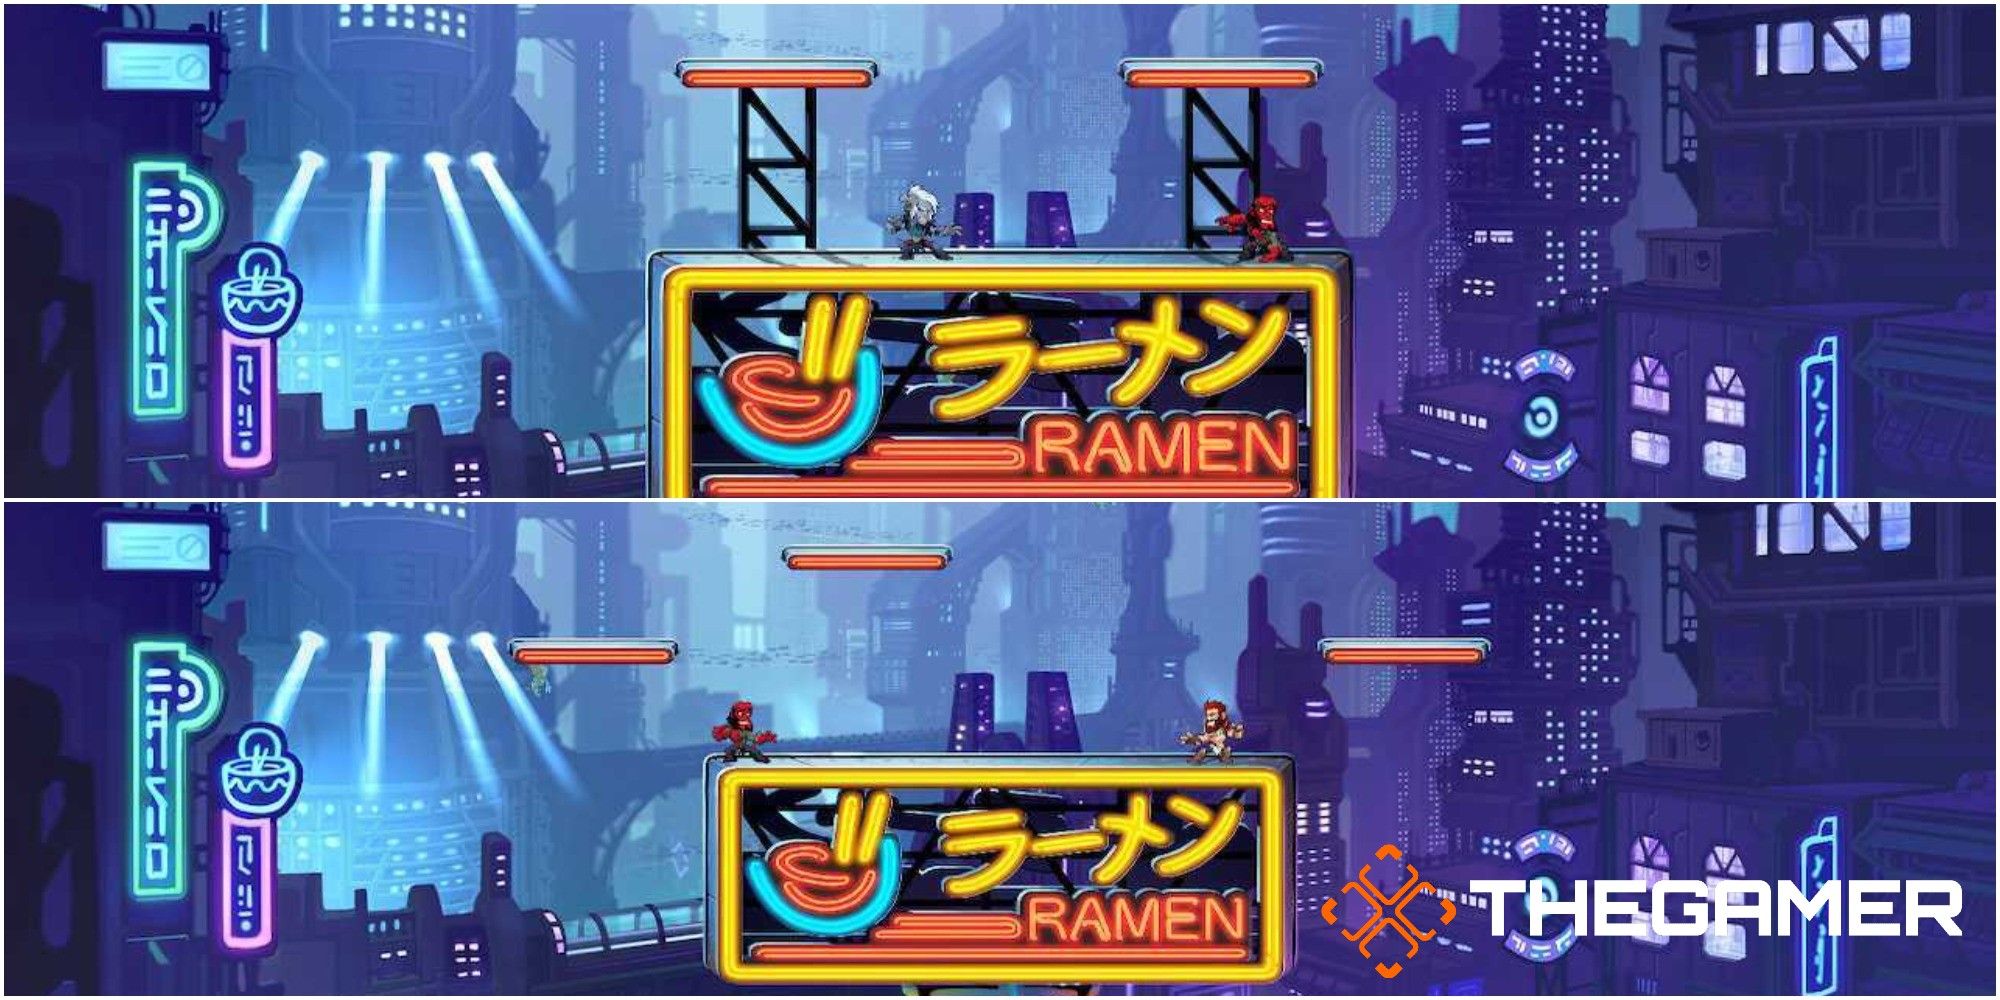
Sun Drive City
Sun Drive City stands out from the rest of the maps thanks to its unique layout. There isn't one main platform as all of the platforms feel as though they are center stage. The variety of heights that they're located at means that you can feel as though you are on a different map each time you move between platforms, which definitely eradicates the risk of the battle feeling dull.
There are multiple opportunities to save yourself should you be knocked off or fall off by accident (it happens to everyone). This is one of the main reasons this map outranks the rest as it can be frustrating to prematurely die in this game. Therefore, having more chances to save yourself can make your experience more fun.
Small Galvan Prime And Galvan Prime
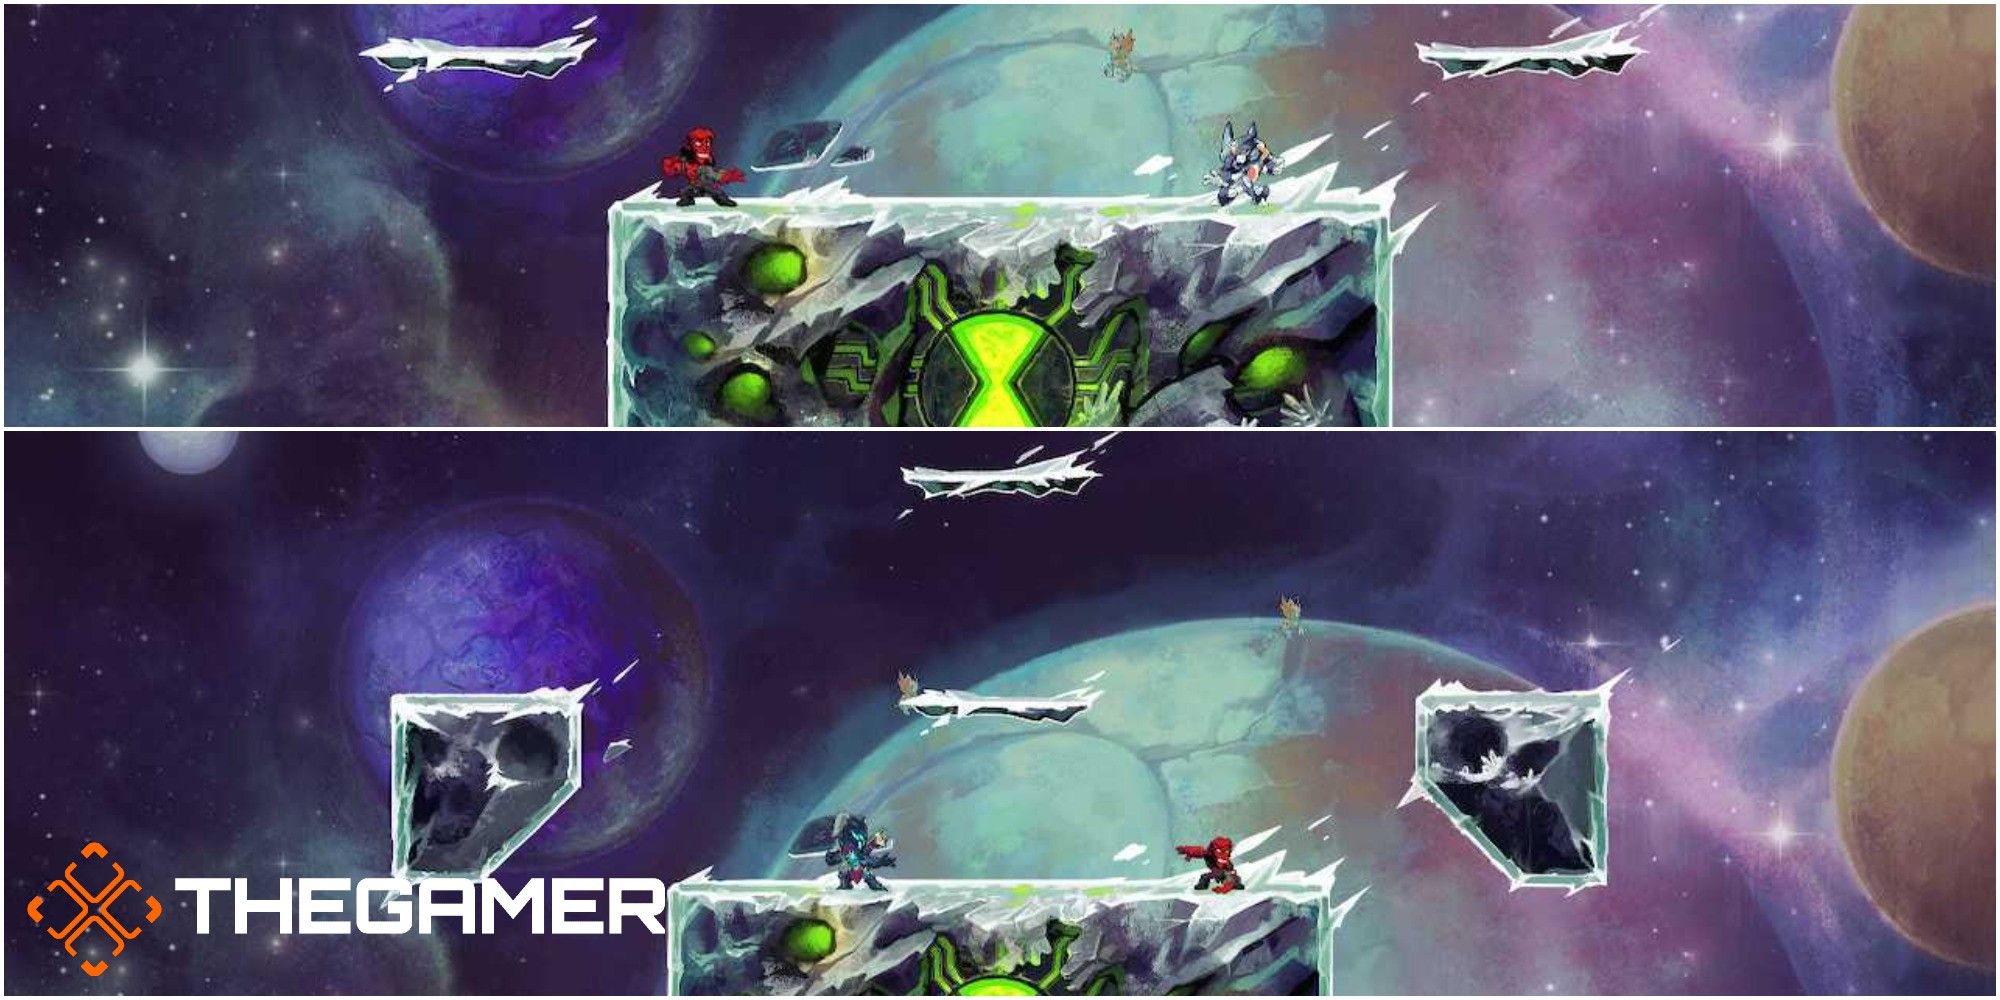
Small Galvan Prime is just one main platform accompanied by two floating ones. At random moments throughout your fierce battles, the two floating platforms will move of their own accord. Though they aren't moving in all sorts of directions, they can still be a challenge because in the heat of battle, if you misjudge the distance between you and the moving platform then you could be opening yourself to a world of hurt.
The real star of the Galvan Maps is Galvan Prime. This map has a slightly bigger main platform, but the real game-changers are the platforms. You have one main platform, then two platforms on either side that look pretty solid, and then two floating platforms stacked up high above the main one. After you've been in the fight for a while, all of them will move around the map, even if you're on them. They then connect to make one mega platform and you can easily fall off of the thinner parts of the mega platform. The movement of the platforms changes the layout and this will force your battle strategy to alter with it.
Twilight Grove And Big Twilight Grove
Twilight Grove is a pretty basic map on the surface but its design similarities to Big Twilight Grove means it has made its way up the list. Having platforms coming out of the branches of the tree is a sweet little design feature and of course, having extra platforms to play on is always a bonus.
Big Twilight Grove has completely split the Twilight Grove map and added several new platforms, all of them at different levels which utilize a lot of the space on the screen. Alongside the platforms coming out of the tree branches, there are 3 solid ones that you can jump between and this is where the fun lies. Each platform has decent-sized foundations, which give you enough of a chance to crawl your way out of disaster, and they have multiple chances for you to knock your opponent off instead.
Lost Labyrinth And Big Lost Labyrinth
In the true fashion of a labyrinth, it is very easy to get lost and trapped in both of the Lost Labyrinth maps in Brawlhalla. Lost Labyrinth is the smaller map of the two but it's by no means feeble. At a first glance, the map seems relatively normal as it has a few solid platforms and a few floating ones off to the side. It's not until the fight has begun that the fun begins and the floating platforms to the side start to move around. You can easily use this to your advantage to outwit opponents but be careful, the platforms can also outwit you.
Big Lost Labyrinth operates in much the same way. There are a handful of extra platforms added to this one, including the solid ones and this is why you can find yourself in a bit of trouble if you're not careful. At a random point during your battle, the platforms will start to move, but this time it's not just the floating ones. A few of the solid platforms will change position too and you can find yourself in a really precarious position. This is why both Lost Labyrinth maps are in the top maps for Brawlhalla currently, as they keep you on your toes and you have to battle the map as well as each other.
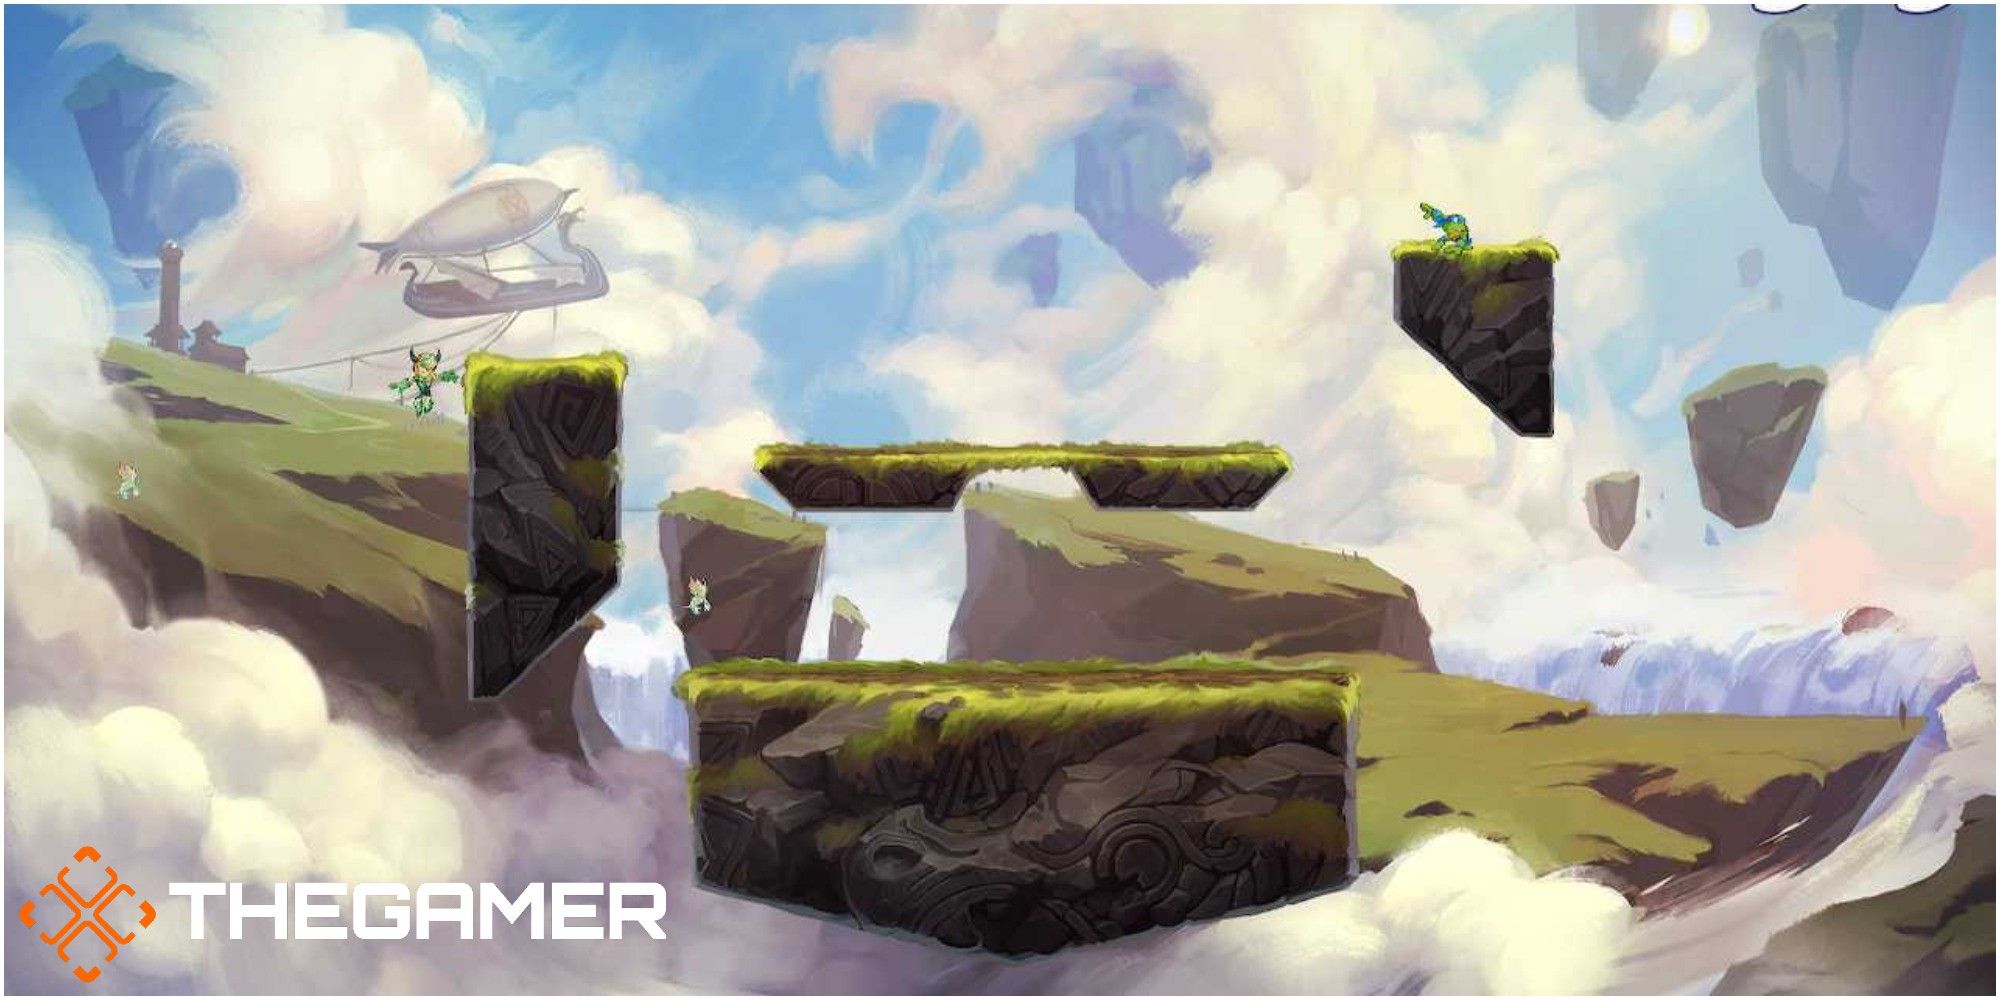
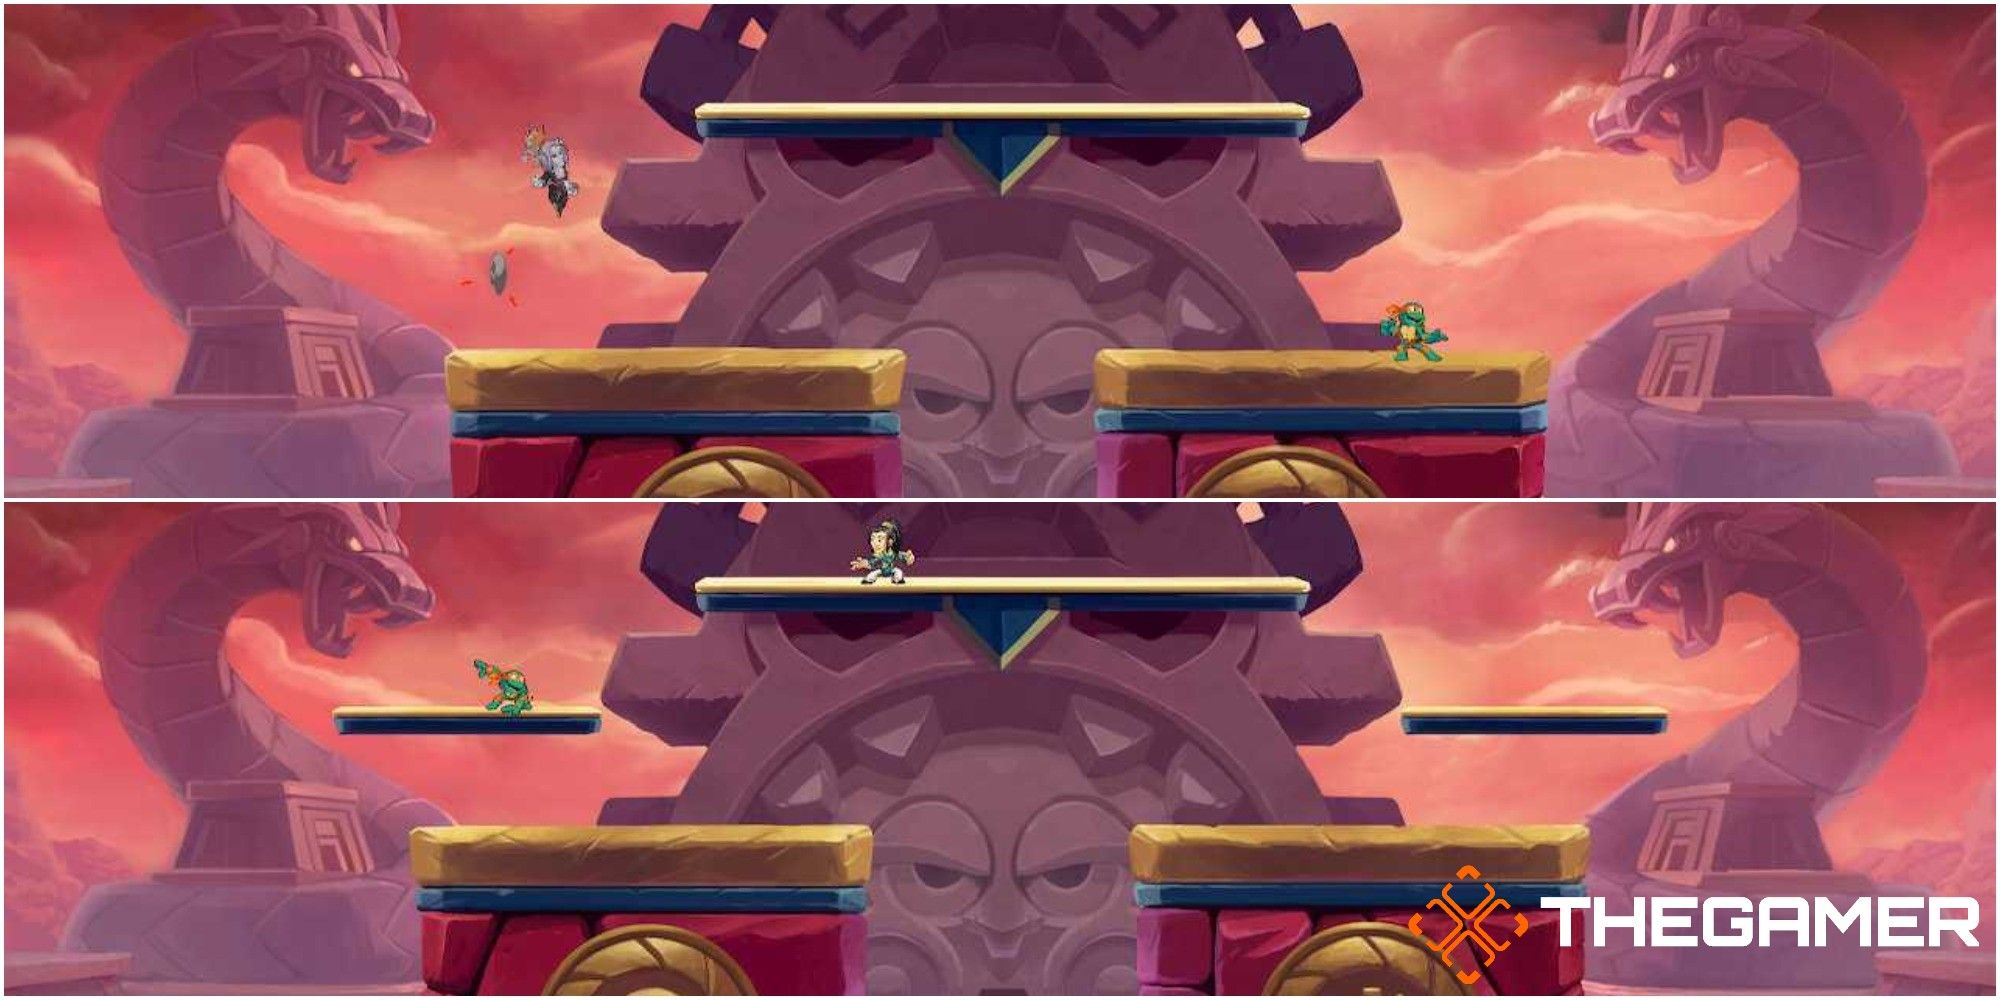
Small Turtle's Lair and The Turtle's Lair
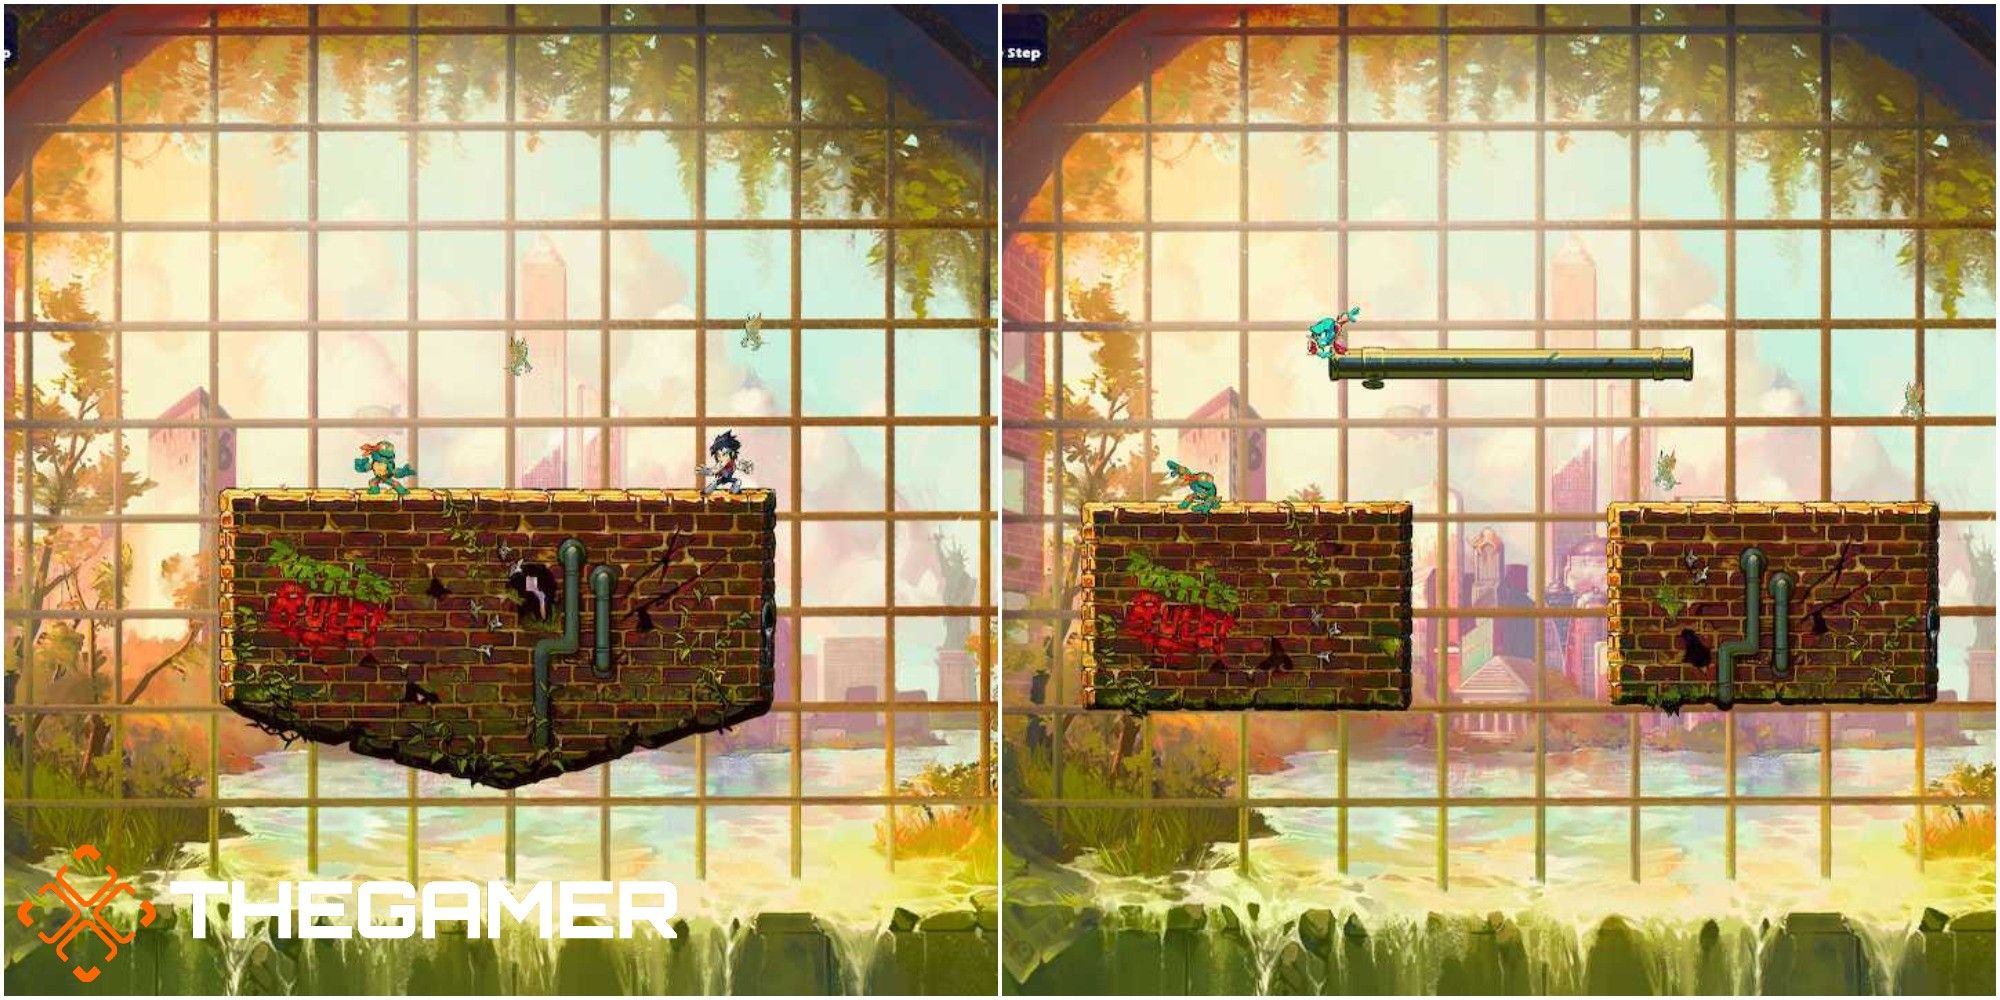
Turtle power recently joined Brawlhalla and they brought their Lair with them! In fact, they brought two versions of their iconic home for you to battle on. The four brothers are characters you can choose to play as and where better to use them than in their own domain? Small Turtle's Lair is as the name suggests, a Small version of their lair that consists of one platform and one platform alone. The detailing in the background truly feels like you're in their home so the size of the platform can be overlooked.
The Turtle's Lair is a full-sized map with two solid platforms and one large floating one. The foundations beneath the two main platforms are quite small but this only adds to the challenge of winning the battle. The floating platform does not move at all during the match but again, that really can be overlooked because of the sheer joy you feel at being able to play as your favorite Turtle in their iconic home.
Brawlhalla has a variety of brilliant maps but the Turtle's Lair beats the rest. There's really only one thing left to say now:
Cowabunga!
NEXT: Arena Fighter Brawlhalla Now Available For iOS And Android