Quick Links
- Lost Cemetery (Vitality): Playing With Perspective
- Estate of the Urn Witch (Magic): Hidden Bush Path
- Ceramic Manor (Magic): An Invisible Bathroom Puzzle
- Furnace Observation Rooms (Vitality): The Missing Bulls
- Estate of the Urn Witch (Vitality): Four Braziers
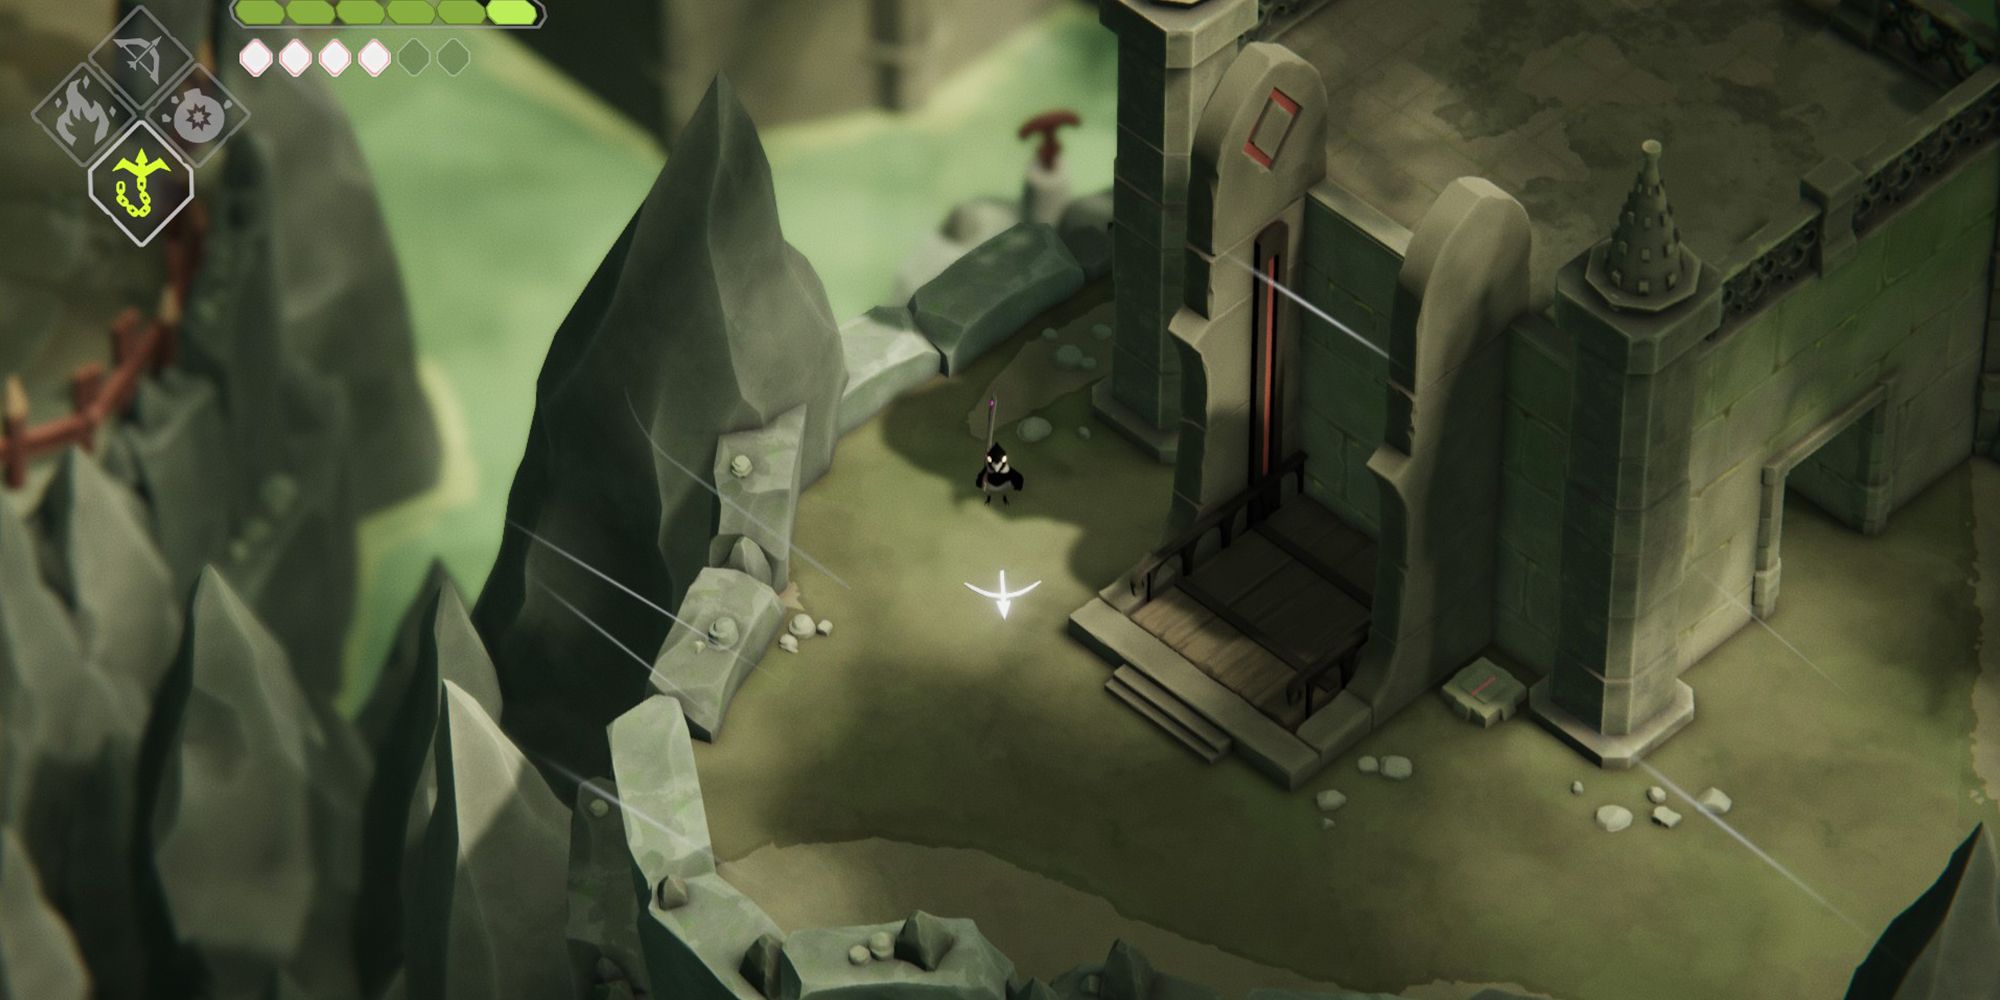
- Overgrown Ruins (Magic): The Forest Mother's Shrine
- Overgrow Ruins (Vitality): Slamming Into The Sewer
- Mushroom Dungeon (Vitality): A Fiery Time Trial
- Flooded Fortress (Magic): The Underwater Bridge
- Lost Cemetery (Magic): The Shrine Guarded By A Knight
- The Stranded Sailor (Magic): Breaking The Ice
- Castle Lockstone (Magic): Rolling Into A Shrine
- Camp of the Free Crows (Vitality): The Obligatory Ice Puzzles
- The Stranded Sailor (Vitality): An Island Brawl
- Lost Cemetery (Vitality): The Hidden Anchor
- Overgrown Ruins (Magic): The Poison Knight And Friends
Acid Nerve's new crow-centric RPG, Death's Door, features tons of secrets that reward the player for exploring and for retreading their journey. Some of these secrets are more valuable than others, though, as finding a few of the elusive Vitality or Magic Shrines will set you on the path to increasing your max health or your max magic. Each Shrine will give you a single Vitality or Magic Shard, and much like The Legend of Zelda: Breath of the Wild's own tricky shrines, finding four will enable you to upgrade. Death's Door features 16 hidden Shrines, which will allow you to increase both your health and your magic twice each.
RELATED: 10 Games To Play If You Like Death's Door
While you'll probably find a few Shrines organically, others are well hidden and may require spells acquired later. Accessing the Shrines through the specific route presented below (from first to last) is one of the fastest ways to get all your Shard upgrades. You can actually maximize your stats before even needing to tackle the second major boss.
Lost Cemetery (Vitality): Playing With Perspective

- Spells Required: None
Like in many great top-down games, Death's Door often takes advantage of the player's unique perspective, including in this first Vitality Shrine. It can be found by making your way downwards immediately after entering the Lost Cemetery door.
At the bottom of the screen, you'll find a ladder just past a doorway. Climb both of the ladders in view and make your way West across the left-facing bridge, where you'll find an elevator. Walk upwards towards the left of the elevator and you'll discover a secret path that will change the camera's perspective. The Shrine and Shard are located at the bottom of this area.
Estate of the Urn Witch (Magic): Hidden Bush Path
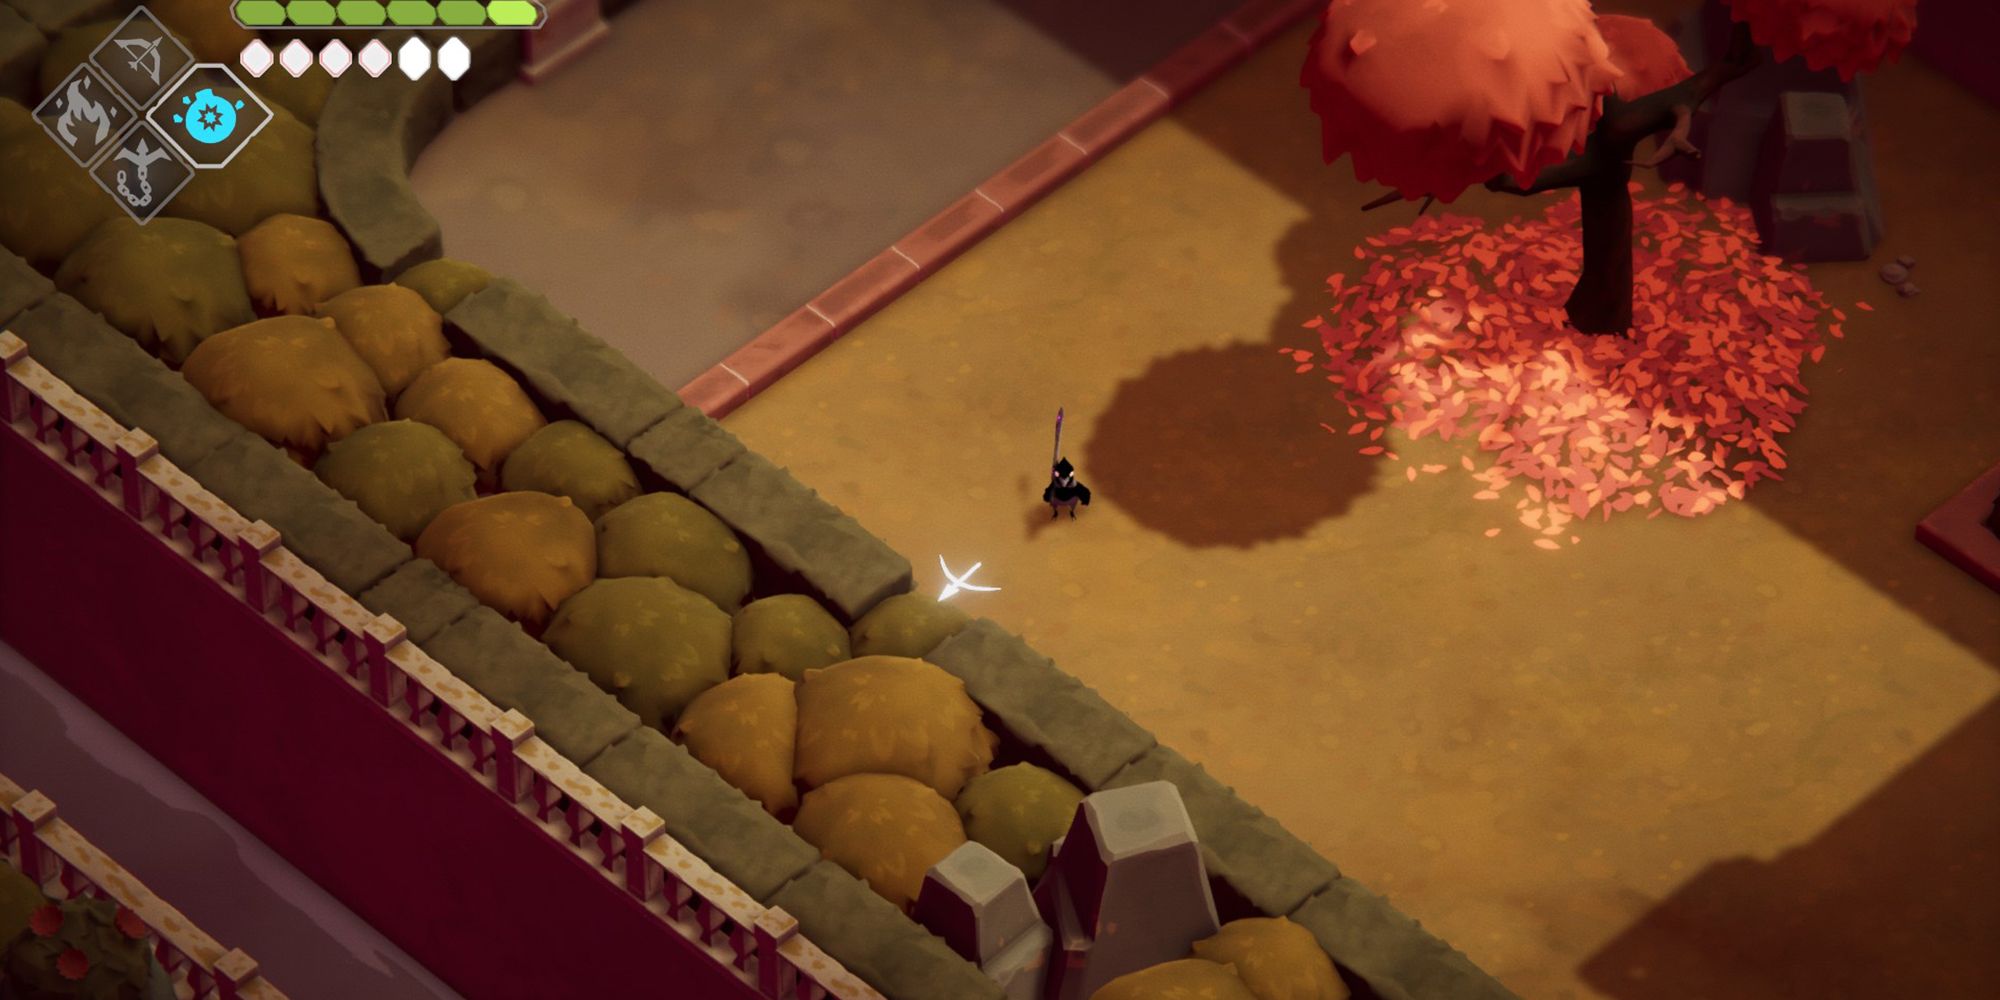
- Spells Required: None
The first Magic Shrine is located in the top left section of the Estate's first area. If you identify the section of the map containing rows of pots that self-repair, you're going the right way. Continue towards the top left of the screen by making a right and going upward before making a left. Here you'll find an isolated tree.
Look directly downward from the tree to identify an anomaly: a circular bush lined up amidst rectangular bushes. Enter the circular bush and walk upward until you find another circular bush that will serve as your exit. Here you'll get the Shard.
Ceramic Manor (Magic): An Invisible Bathroom Puzzle
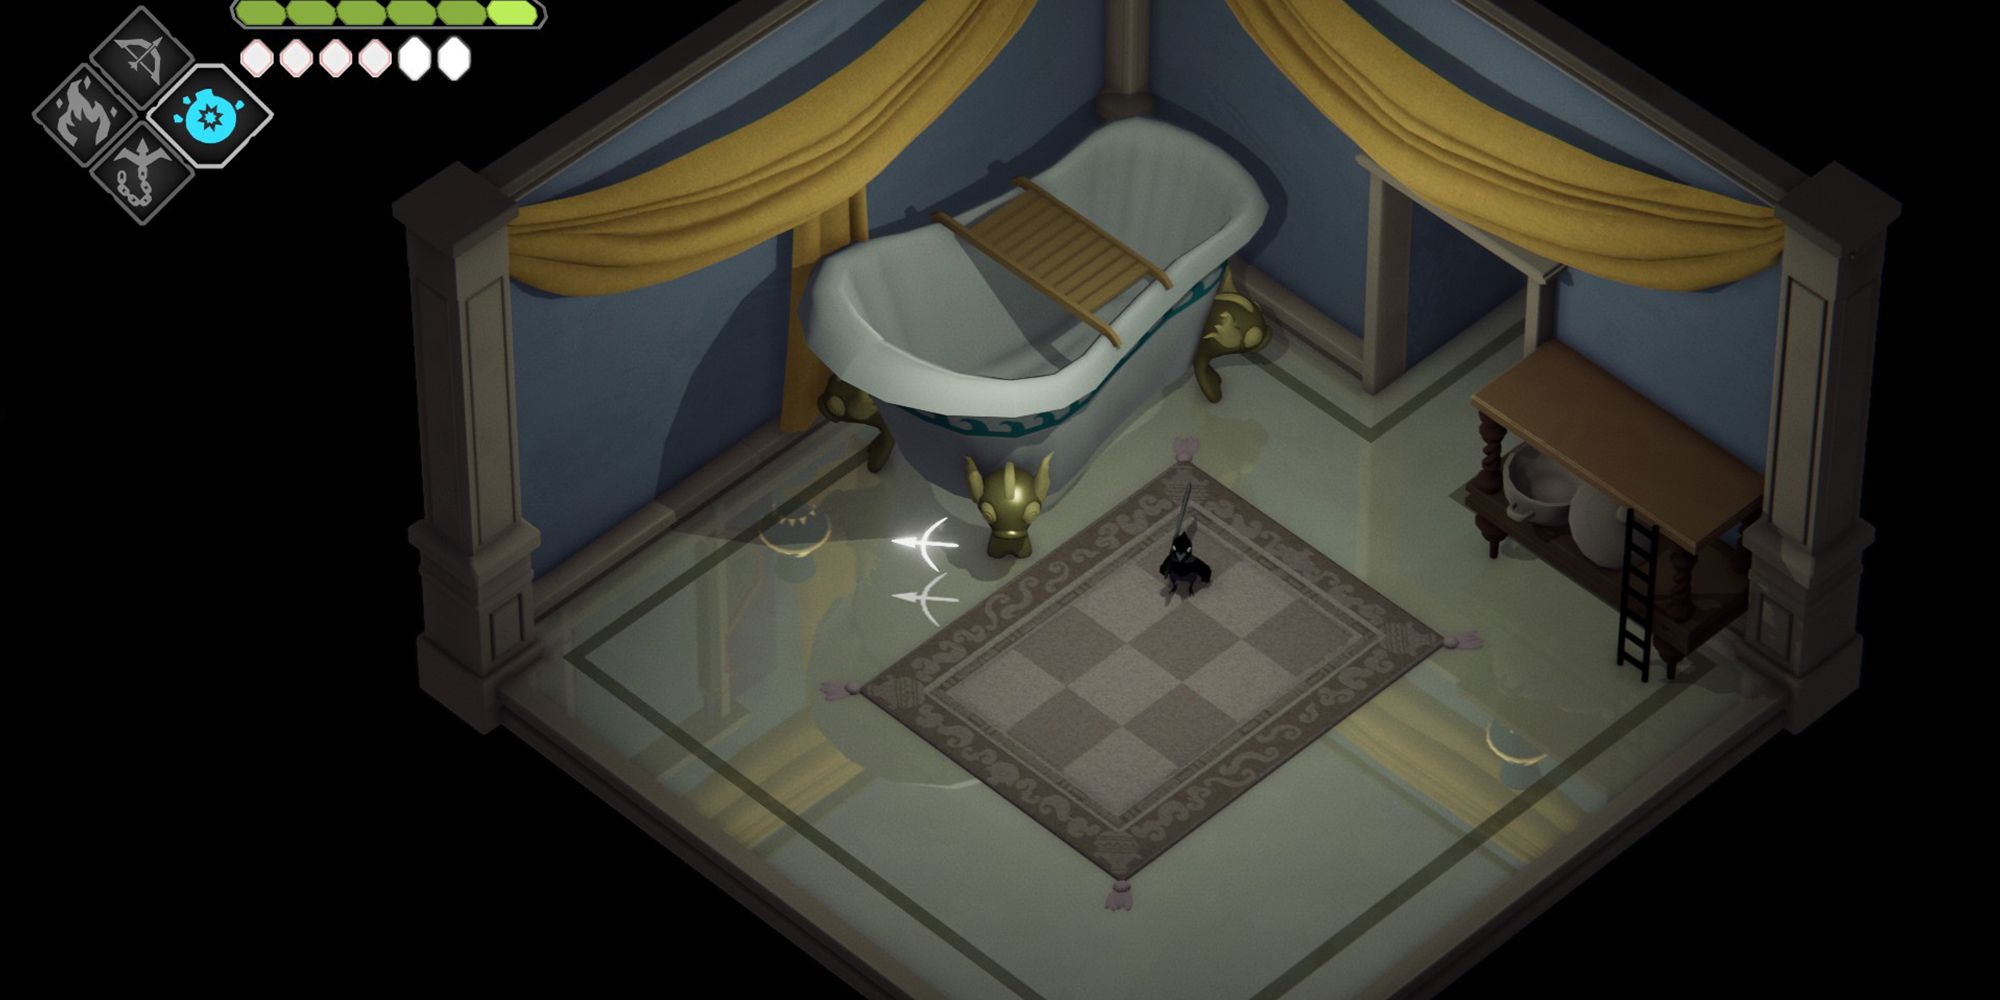
- Spells Required: None
Once you've entered the Urn Witch's home you'll visit various rooms, including a bathroom that seems relatively pointless. That is, until you look at the reflections on the floor. Climb the ladder and head to the left side of the countertop, then swing your weapon. This will break an invisible pot and give you one of two keys. Now look at the floor just past the wider part of the bathtub and you should see the reflection of a pot on the ground.
Melee attack above that reflection and the floor will reveal the reflection of an opening door. Walk into the wall above it and inside you'll find the Shrine.
Furnace Observation Rooms (Vitality): The Missing Bulls
- Spells Required: None
Travel through the Inner Furnace beneath the Ceramic Manor until you encounter a drop-off with rectangles that glow orange when you step on them. This will trigger a bull-headed platform to move towards you. Hit the bull head on the right to transport yourself to a middle area that will prompt the Furnace Observation Rooms title to appear.
At the top of this area, you'll see an empty spot where a bull-headed platform should be. Look upwards from this spot and shoot two arrows at the now-visible bull platform to call it over. Follow the natural path up the ladder and walk across the three pipes on the left until you find the Shrine.
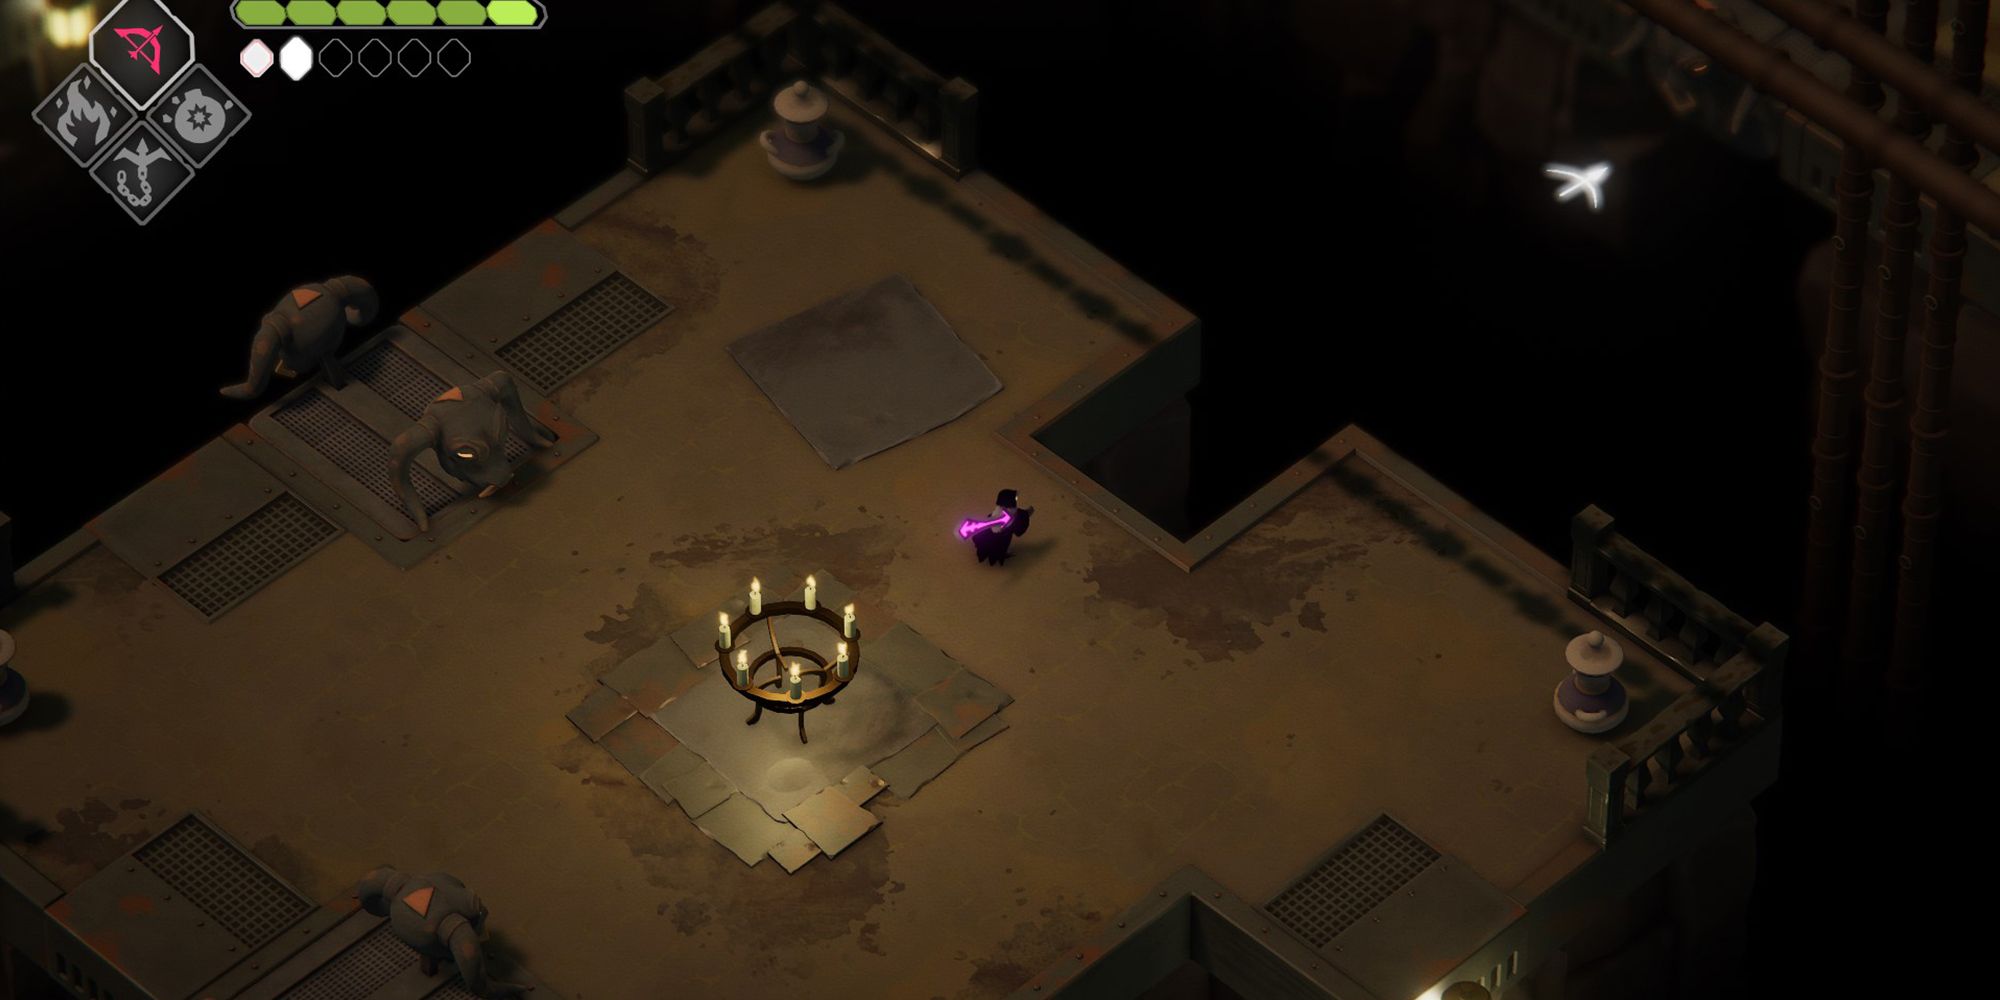
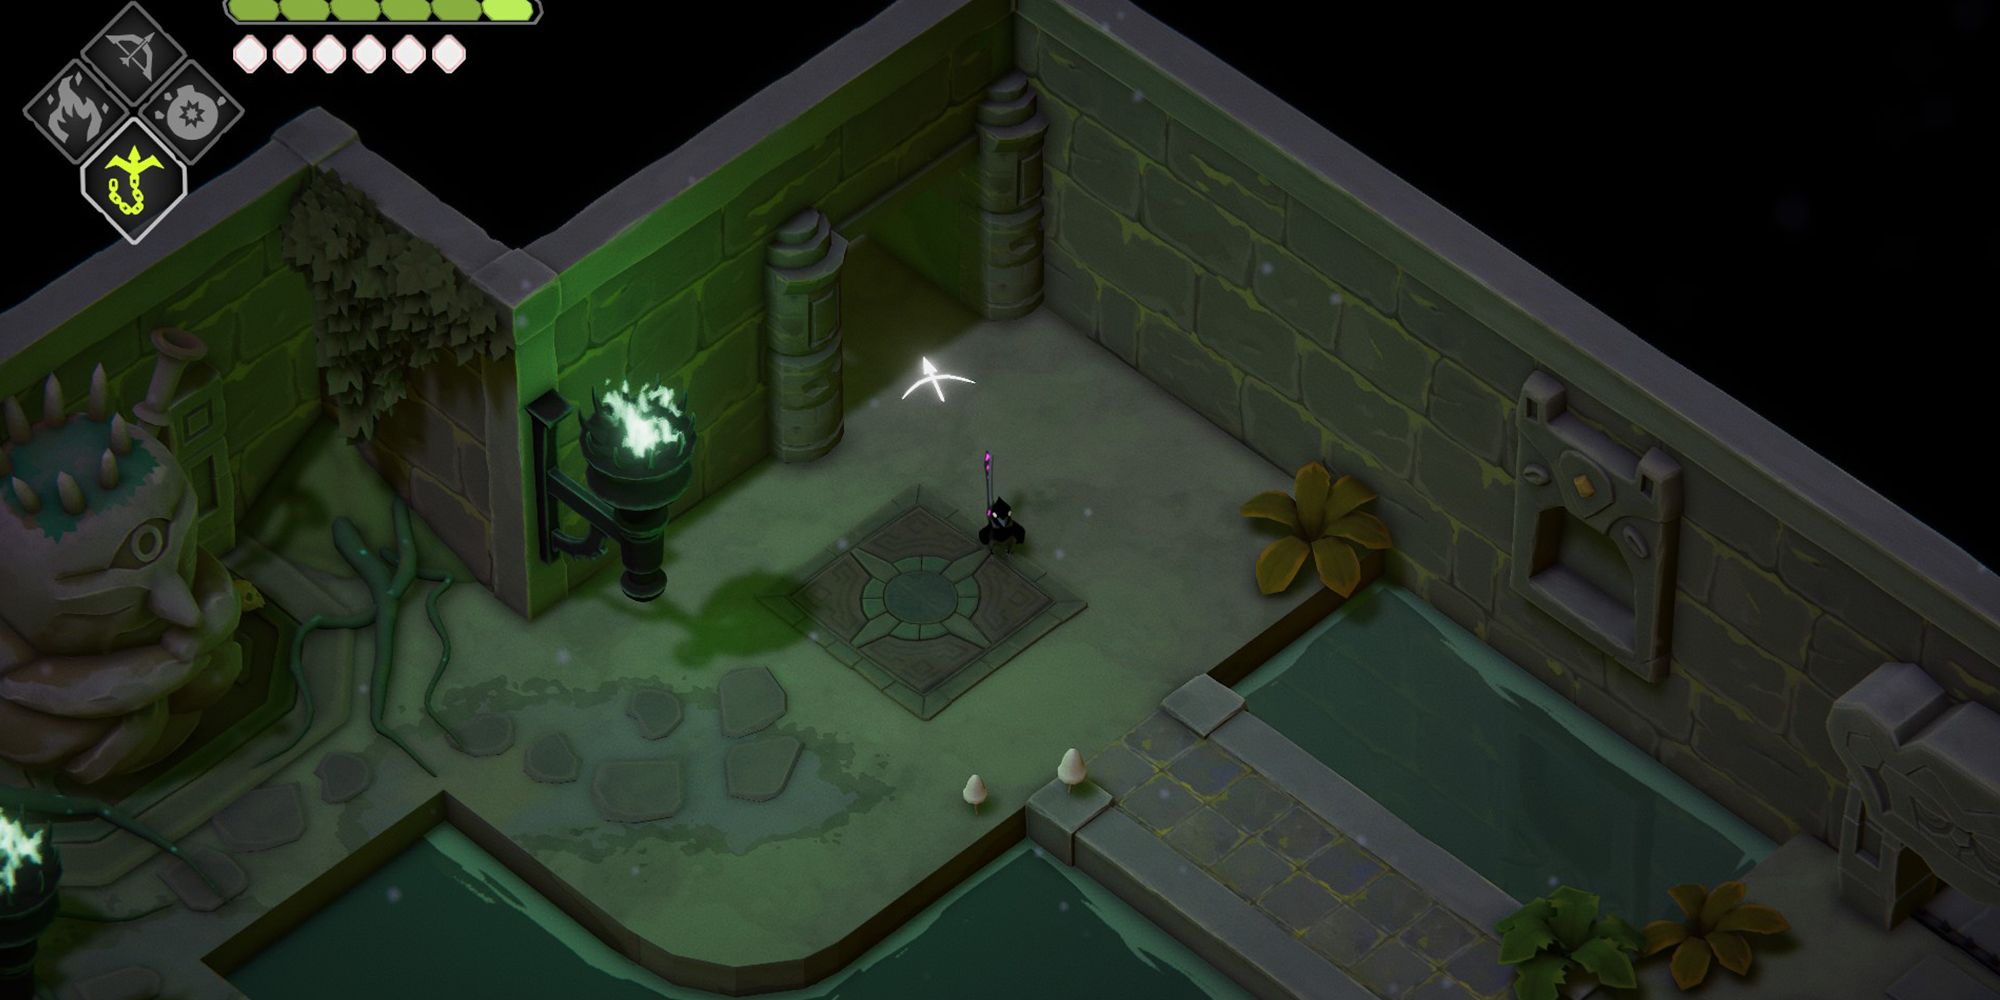
Estate of the Urn Witch (Vitality): Four Braziers
- Spells Required: Fire
Beginning from the Estate's second circular stone area, make your way towards the bottom right of the screen, where you'll walk underneath two archways and across a small bridge. If you haven't yet, you may need to take on a mini-boss before continuing.
RELATED: Spiritfarer: Every Shrine Upgrade In The Game, And Where To Find It
After defeating the knight, travel to the East and across another bridge. In this square-shaped area you can find four braziers, one in each corner of the stone path. Light the four braziers with your newly-acquired fire spell and a new bush-covered island will rise from the water. Travel through the bushes on the island to uncover the Shard below.
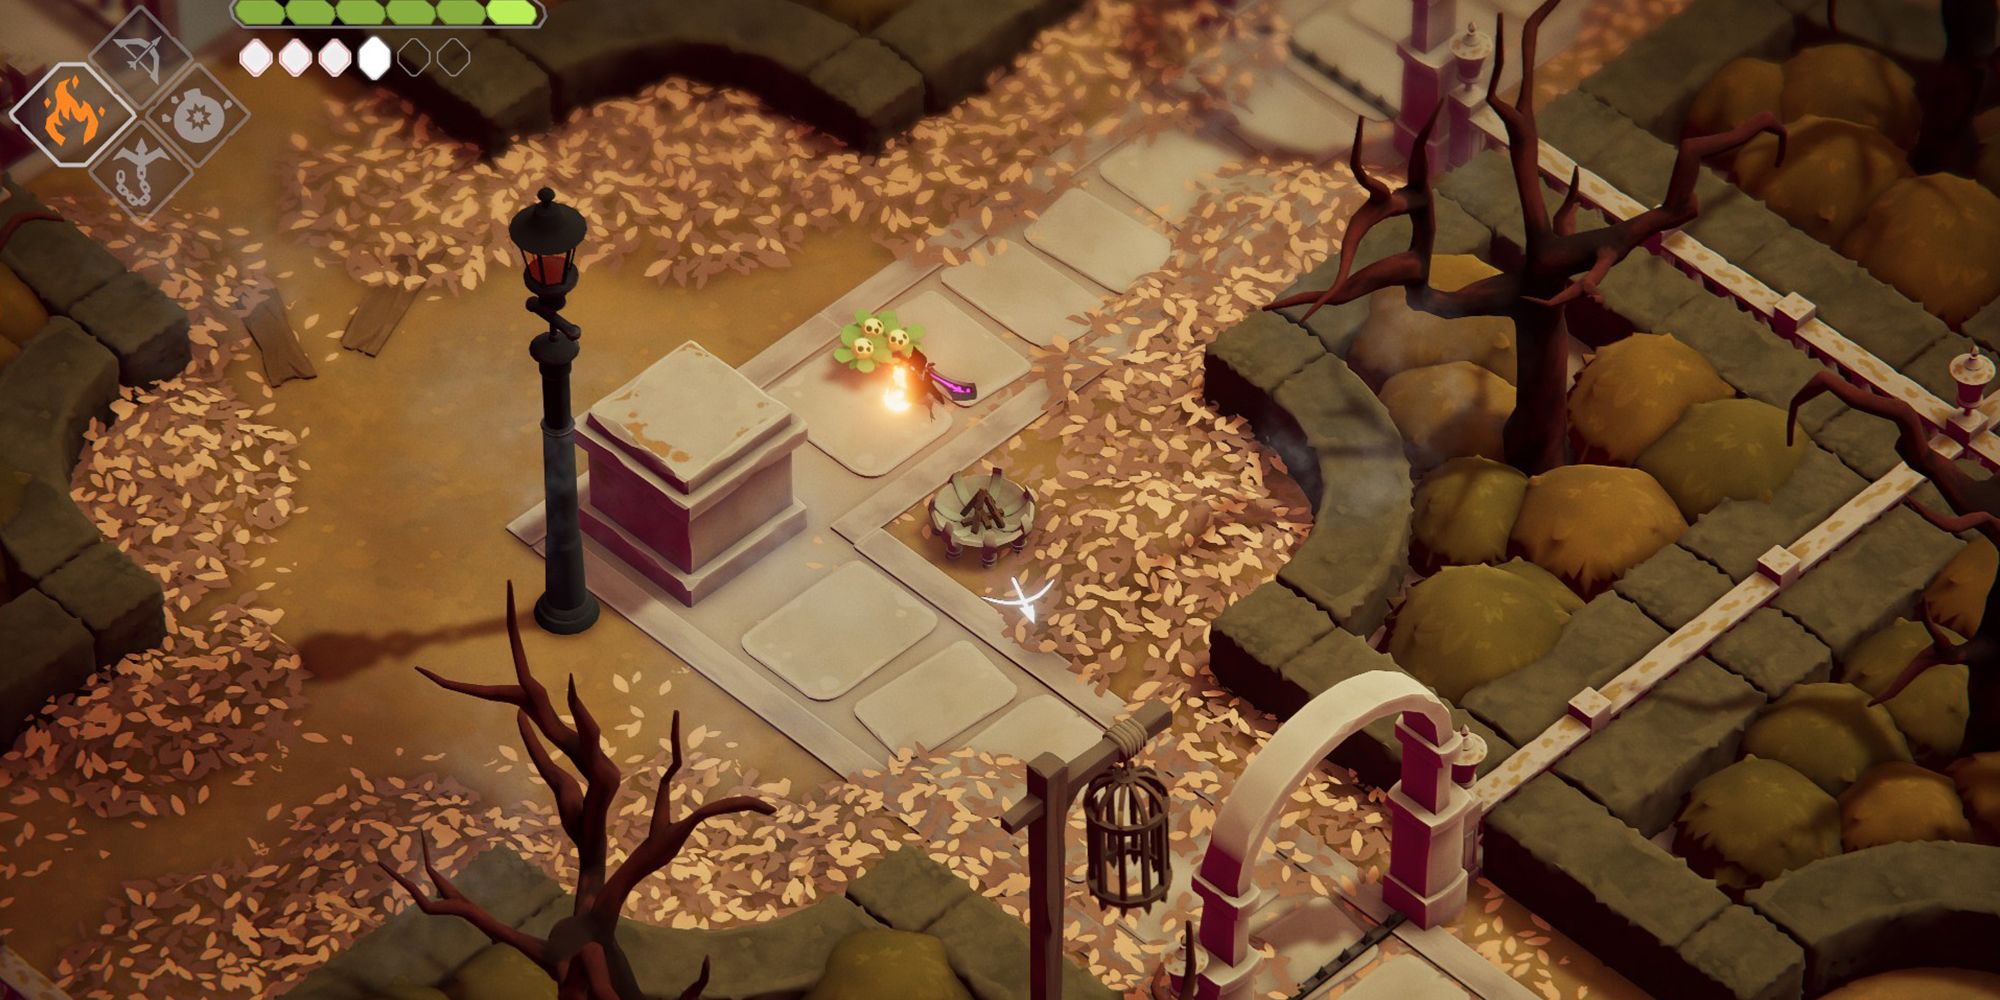
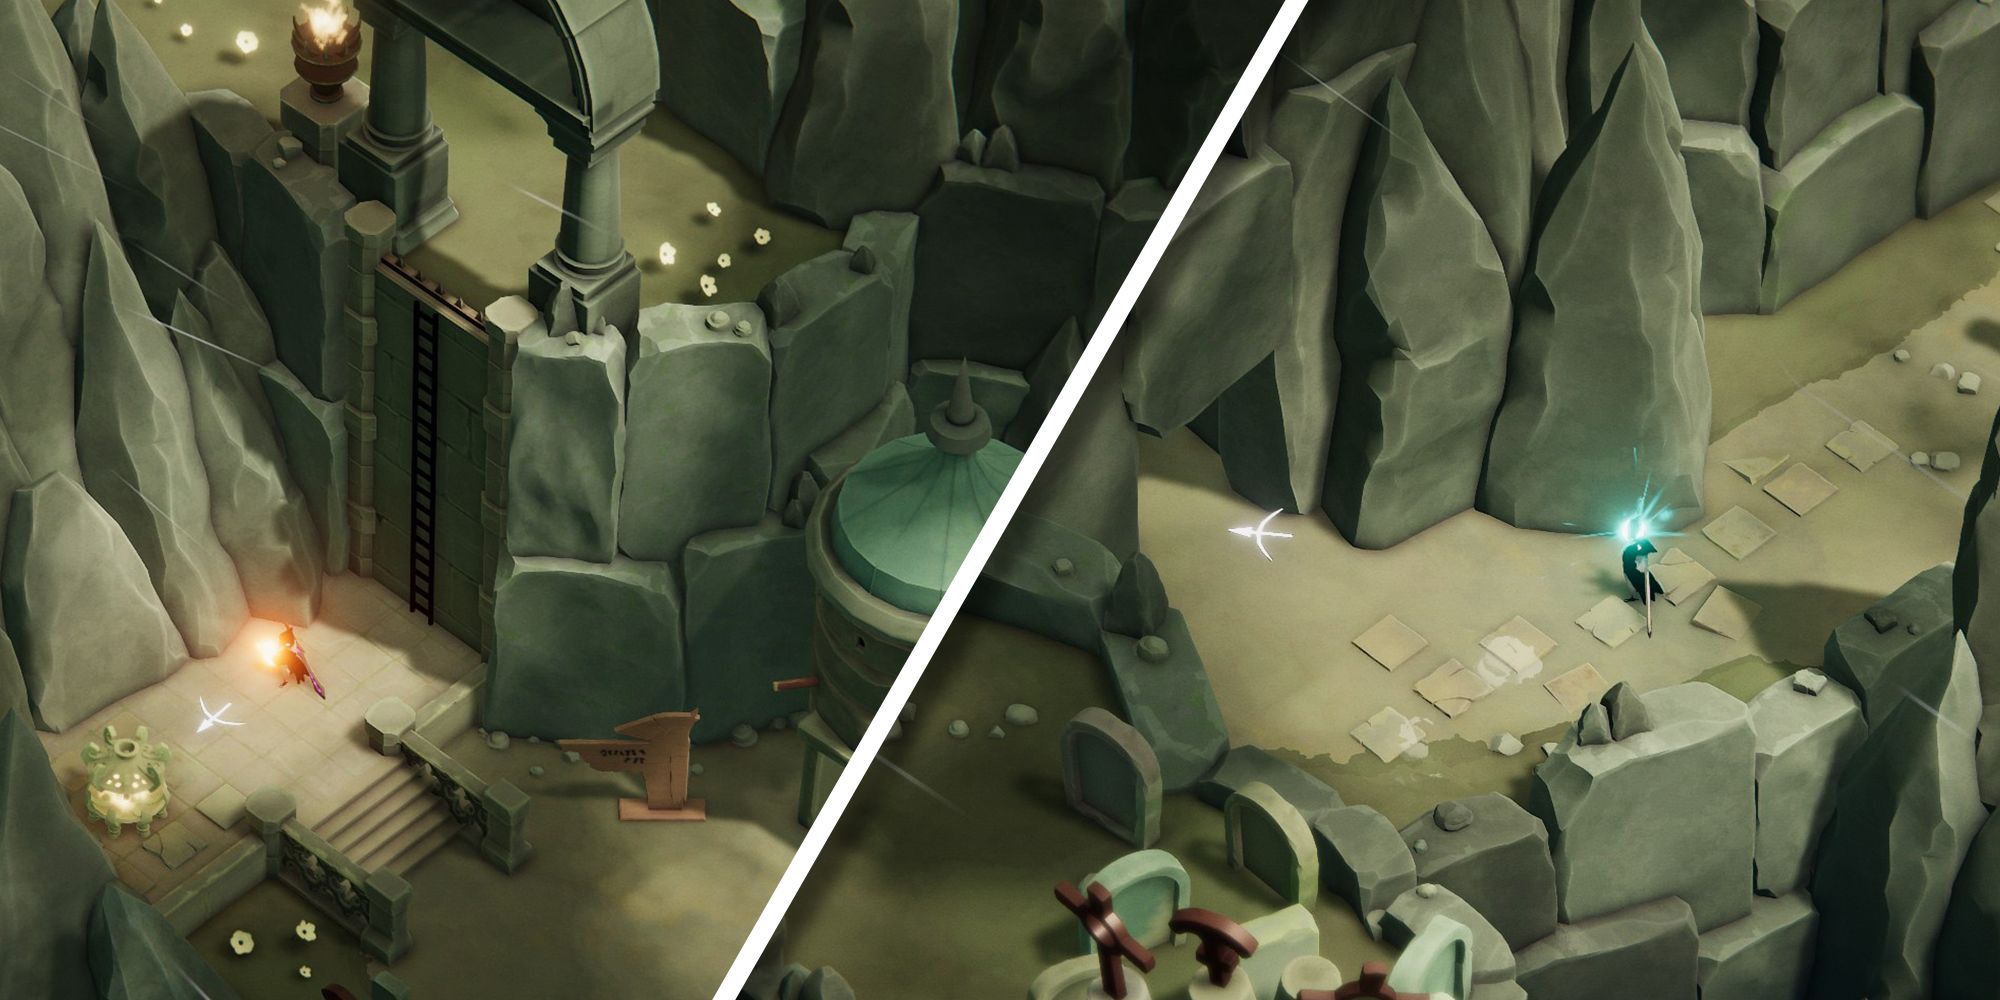
Overgrown Ruins (Magic): The Forest Mother's Shrine
- Spells Required: None
While traversing the Overgrown Ruins you'll eventually find a quaint camp where you can speak to the Forest Mother. This Shard is located just before the entrance of the camp, so if you pass the first visible Forest Child, you've gone too far.
Instead of progressing forward into the camp, look towards the left just past the tree and shrubs. Drop down through the visible gap in the concrete fencing and the Shrine will be easily accessible.
Overgrow Ruins (Vitality): Slamming Into The Sewer
-
Spells Required: None
From the Overgrown Ruins camp, travel upward until you find an archway with a blue-lit lamp beside it. Continue following the concrete area until you reach the far right ledge above a circular grate.
Walk or roll off the ledge and melee in mid-air to perform a ground-pound which will take you underground. Follow the tunnel here to its exit and enter the nearby doorway to find the Shrine within (as fans of the Spelunky series will tell you, there are always useful things to be found underground).
Mushroom Dungeon (Vitality): A Fiery Time Trial
- Spells Required: Fire, Bomb
You acquire your Bomb spell within the Mushroom Dungeon, so you may note a cracked wall within the water-filled room where you recently had to fight several waves of enemies.
After earning your Bomb spell, return to this room and use your bomb on the cracked stone to enter the doorway. Inside you'll find a relatively easy fire puzzle that'll open the gate leading to the Shrine and Shard.
Flooded Fortress (Magic): The Underwater Bridge
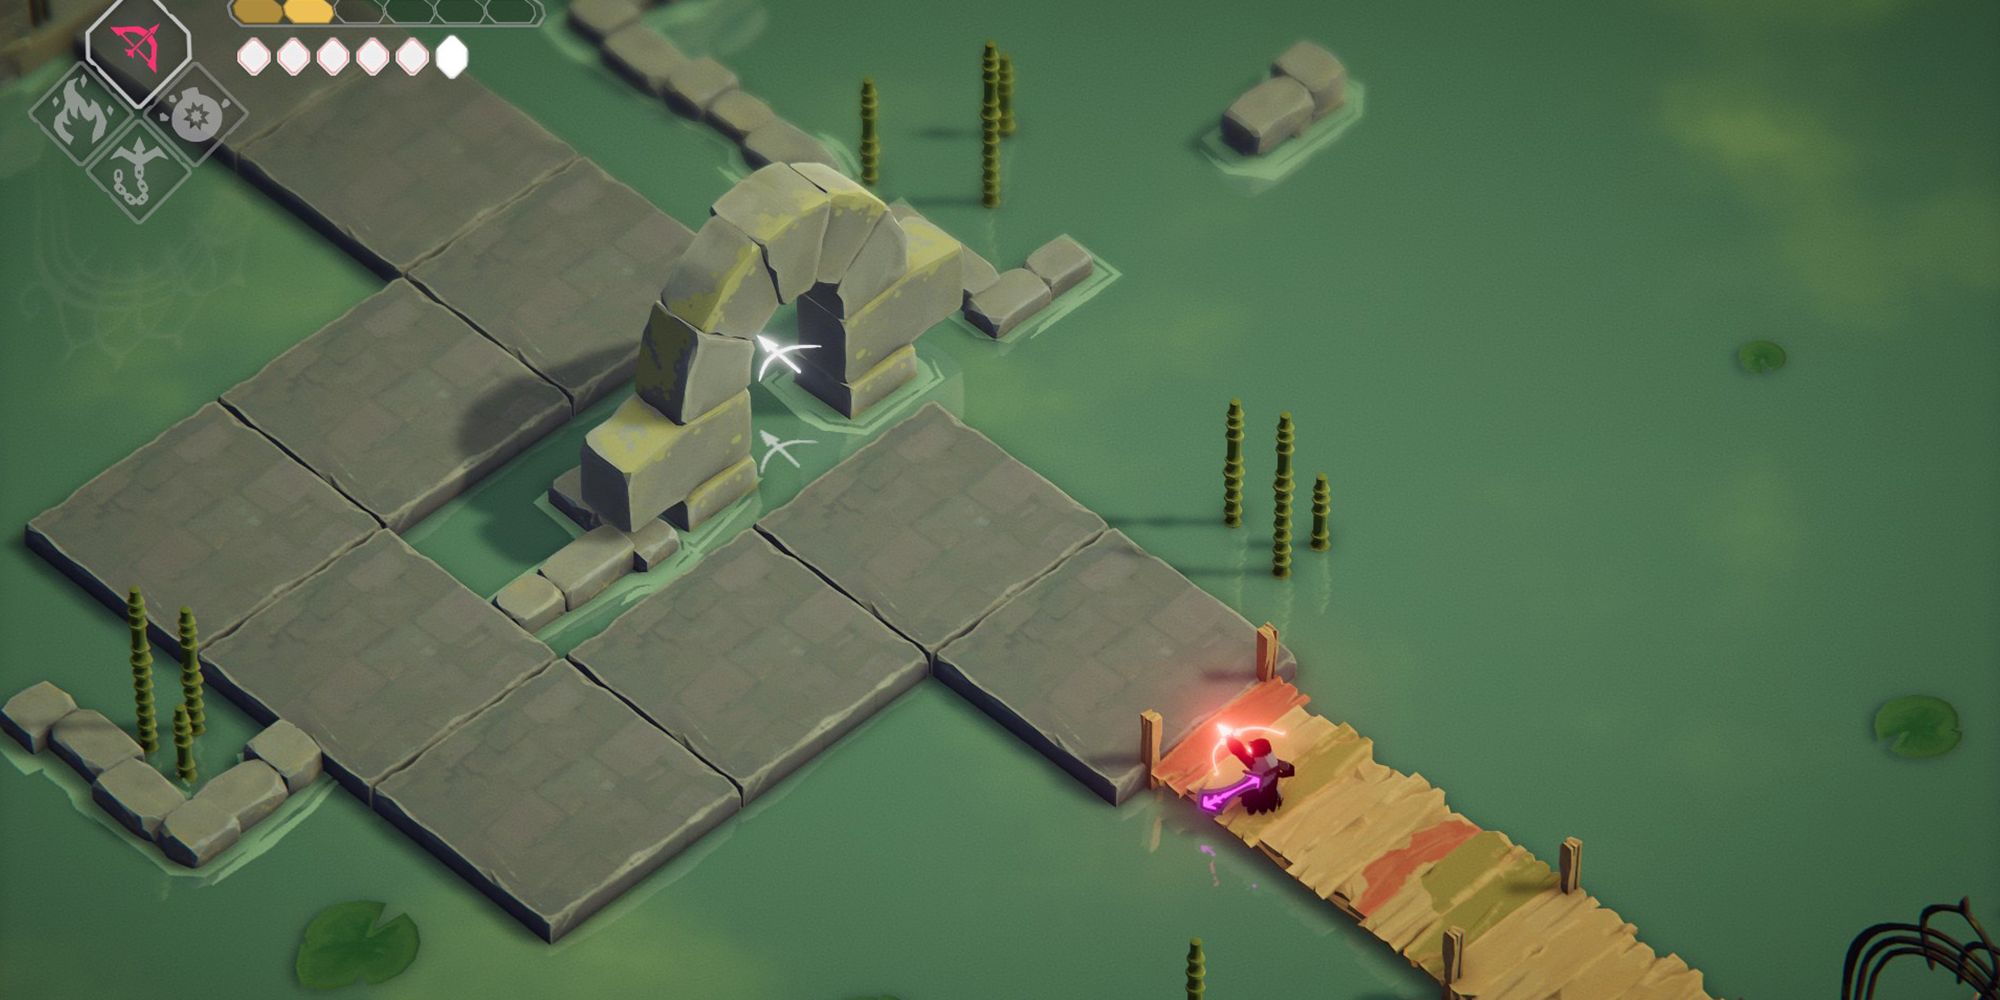
- Spells Required: None
Enter the Flooded Fortress from the organic entrance and travel to the Southeast, following the wooden bridges until you see two archways that are strangely close together. Make a turn within those archways and you should reach what seems like a dead-end.
A stone archway is visible in the distance. shoot an arrow through this archway to reveal a secret bridge. The Shrine is located at the end of it.
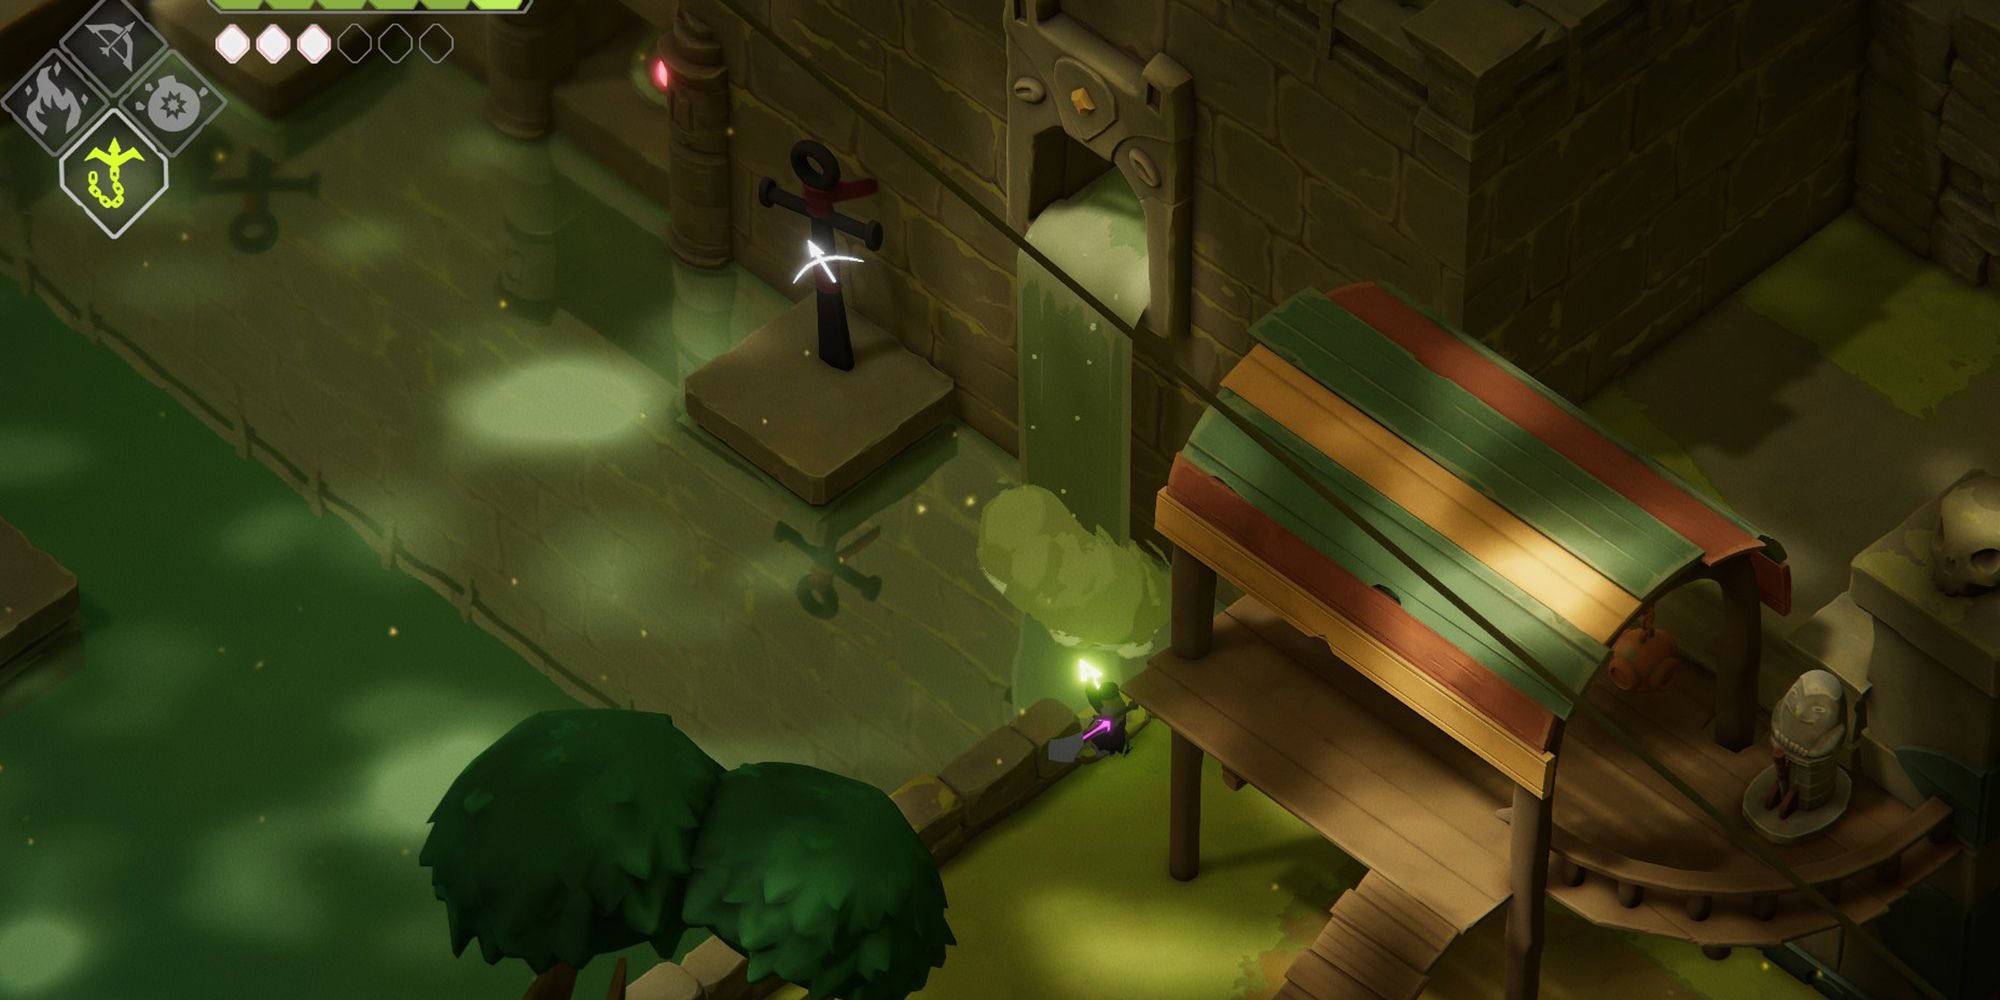
Lost Cemetery (Magic): The Shrine Guarded By A Knight
- Spells Required: Fire, Bomb
Using Steadhone the gravedigger as a starting point, travel to the Northeast until you come across a twin structure with a sign outside that reads This way to The Stranded Sailor. Light the nearby brazier with your Fire spell to lower the ladder.
Travel left and go down the next ladder you see and the Shrine should be visible in the foreground. Go down the following stairs and ladders until you come across a breakable wall. Use your Bomb to carve an entrance, but be wary of the knight that lurks within. Defeat this formidable foe and follow the path inside to receive the Shard.
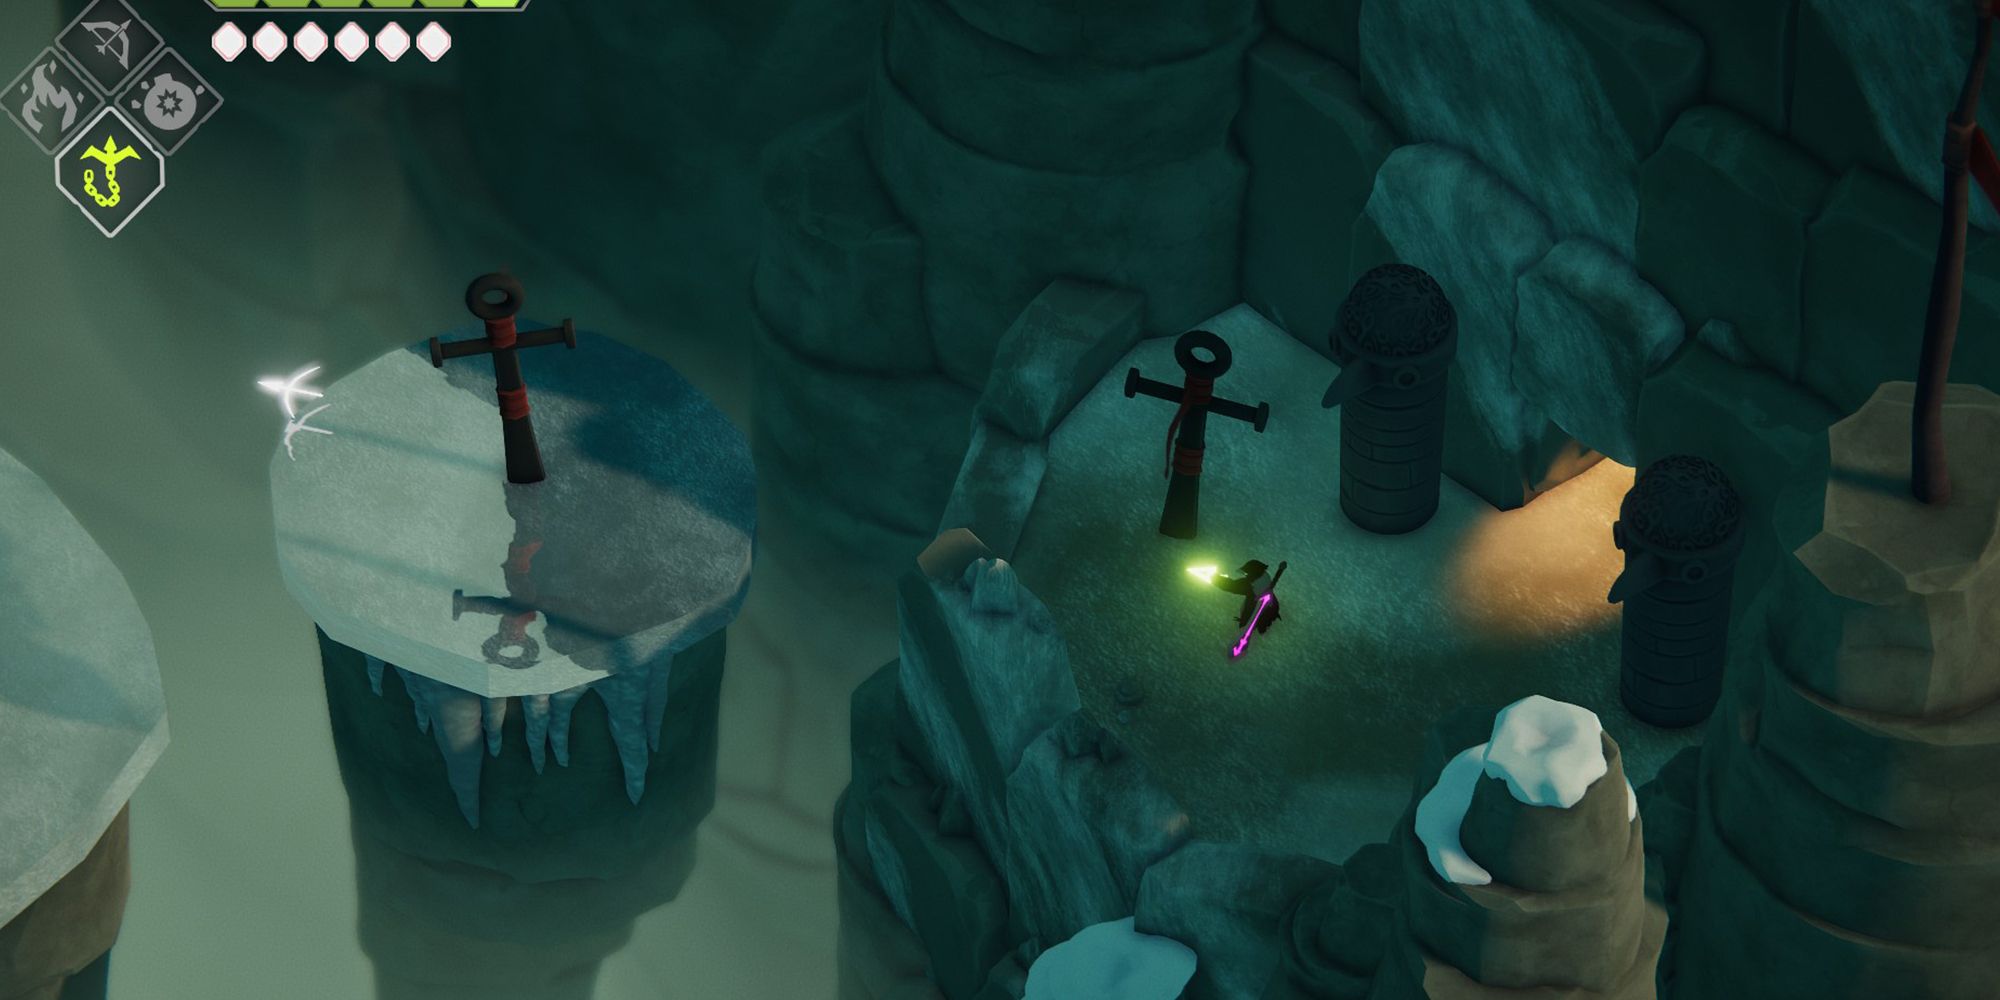
The Stranded Sailor (Magic): Breaking The Ice
- Spells Required: None
Enter The Stranded Sailor and head up the wooden staircase. After the first wooden staircase, traverse the two stone staircases before walking up another wooden one. Make an immediate right and progress towards the structure covered in ice.
Slash the ice and walk through, an action that will prompt yet another perspective shift. Drop down to the middle platform, but before falling to the bottom, pull the nearby lever and then perform a ground-pound to get through the grate below. Follow the underground path to find the secluded Shrine.
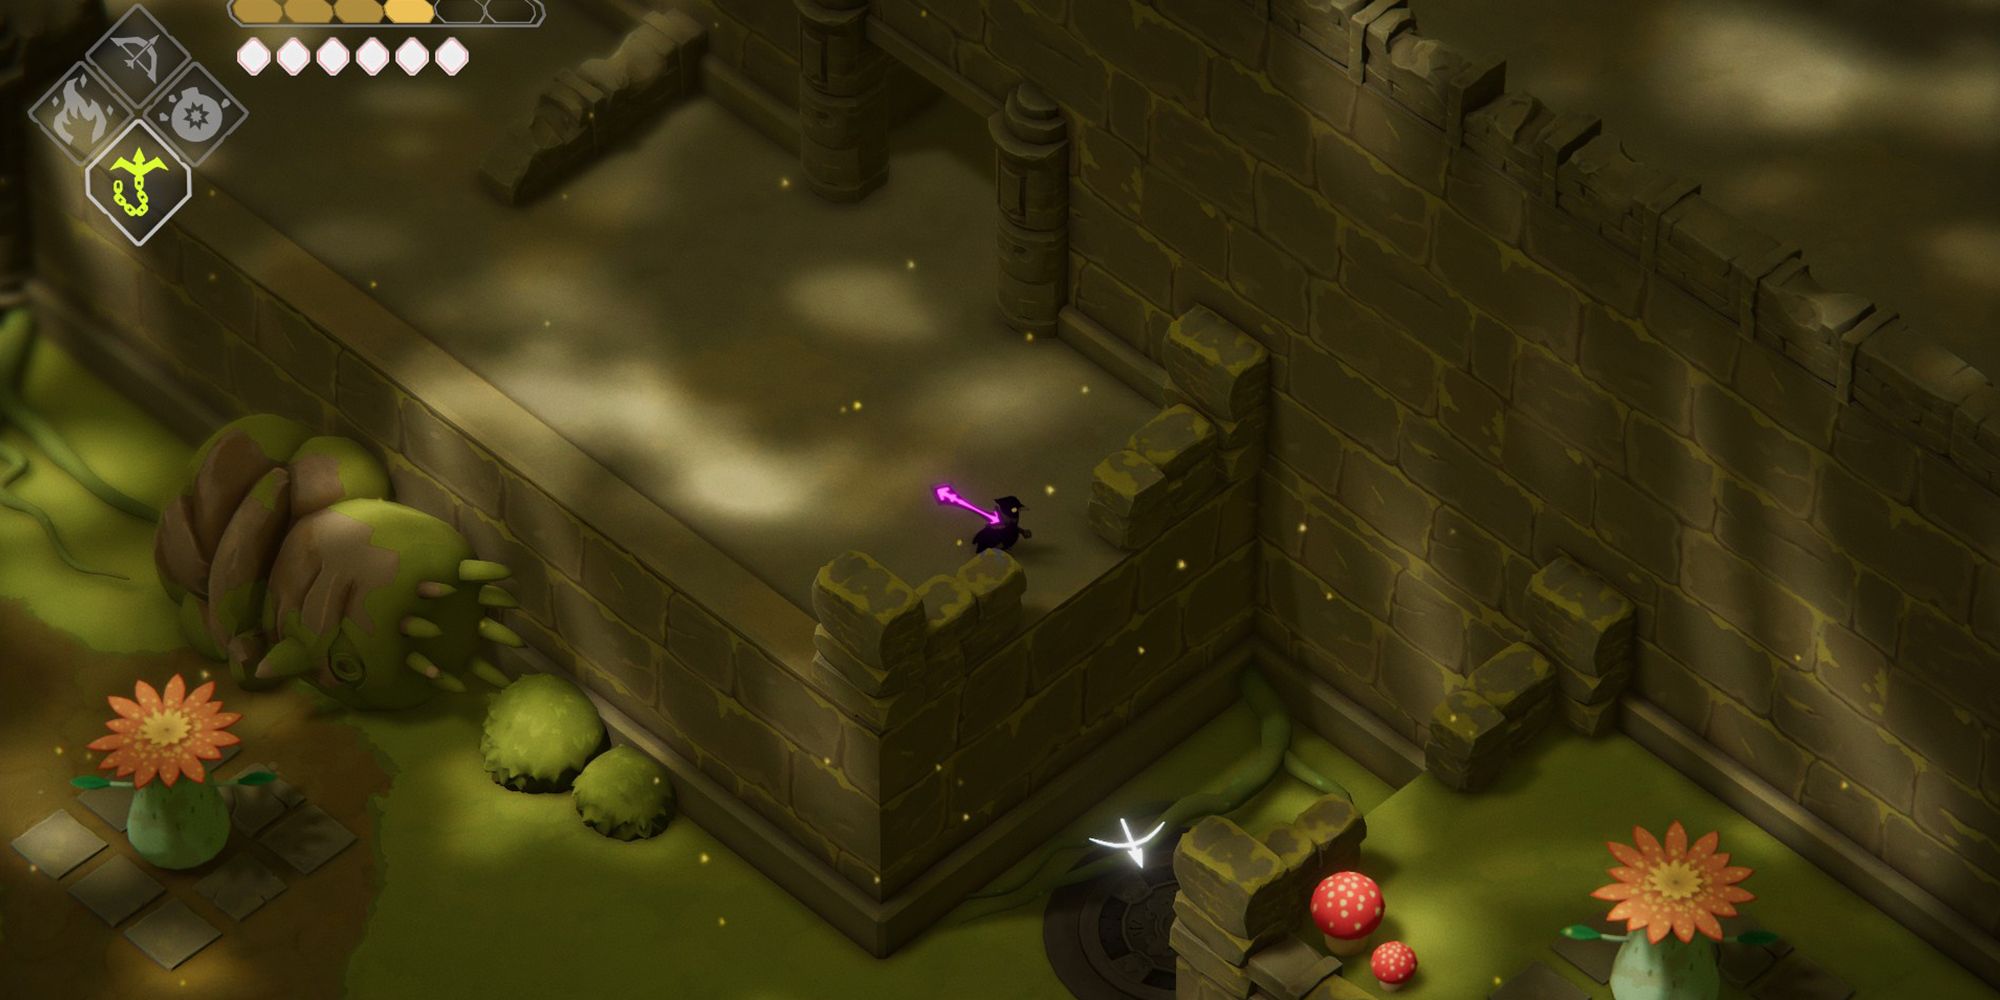
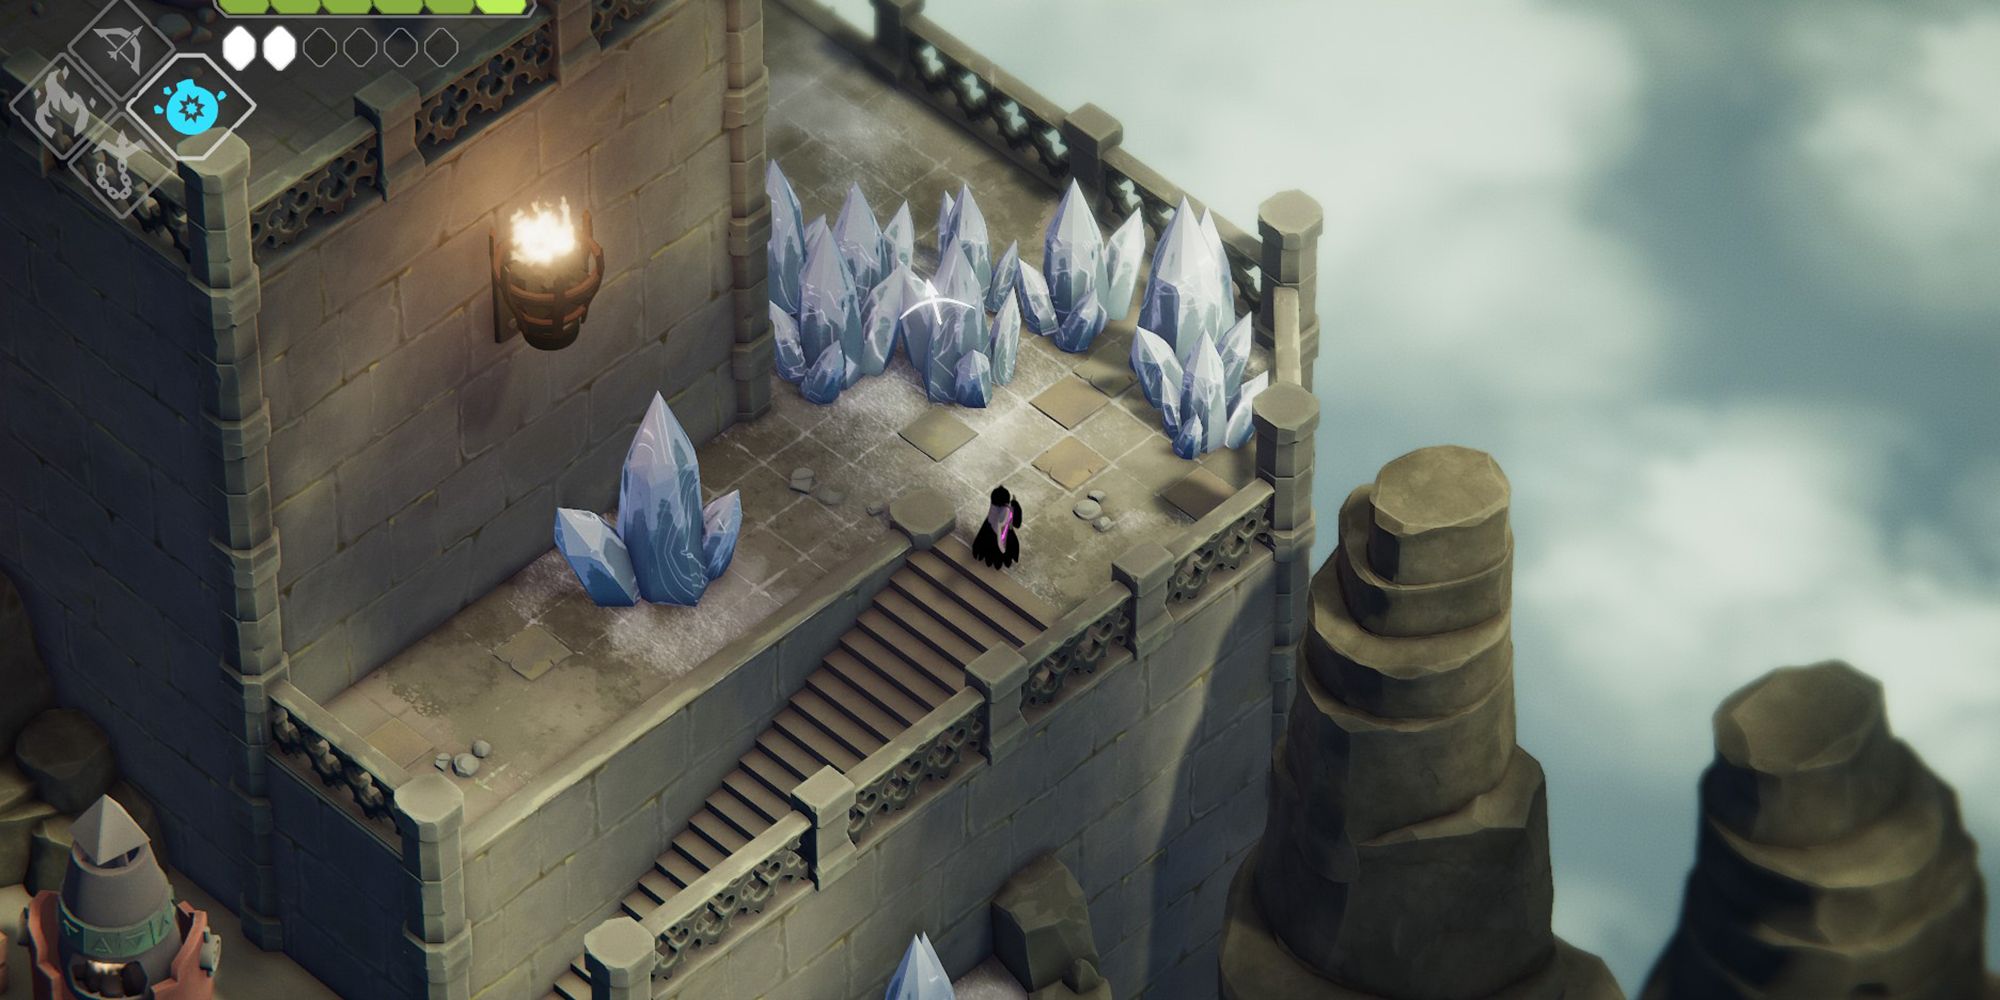
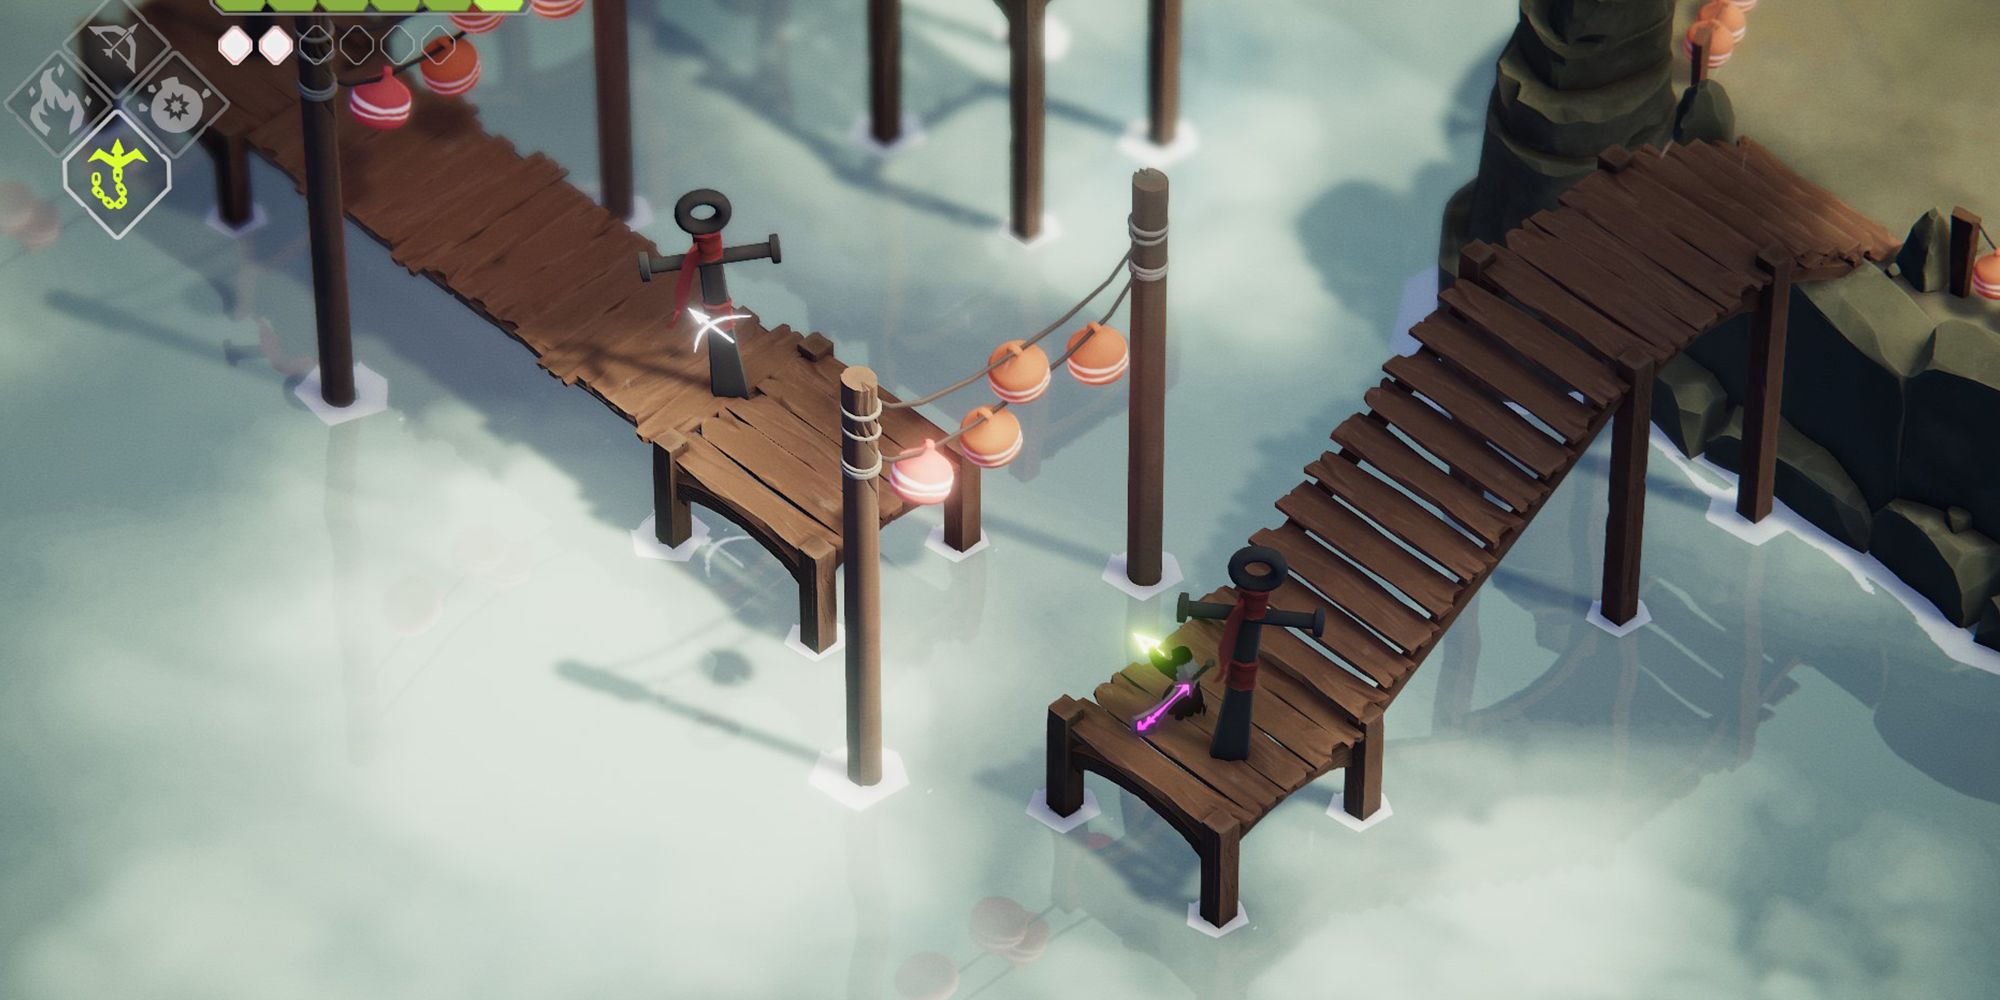
Castle Lockstone (Magic): Rolling Into A Shrine
- Spells Required: Hookshot
After acquiring the Hookshot within Castle Lockstone, return to the castle's main room and travel to the illuminated doorway on the top-left of the screen. Break the ice to climb the ladder and enter the left-most doorway.
Exit through this room's only door and you should find several anchors. Use your hook to reach the closest anchor and carefully roll into the doorway above. Pull the lever inside to open the gate on the other end of the room and inside you'll be rewarded with a Shard.
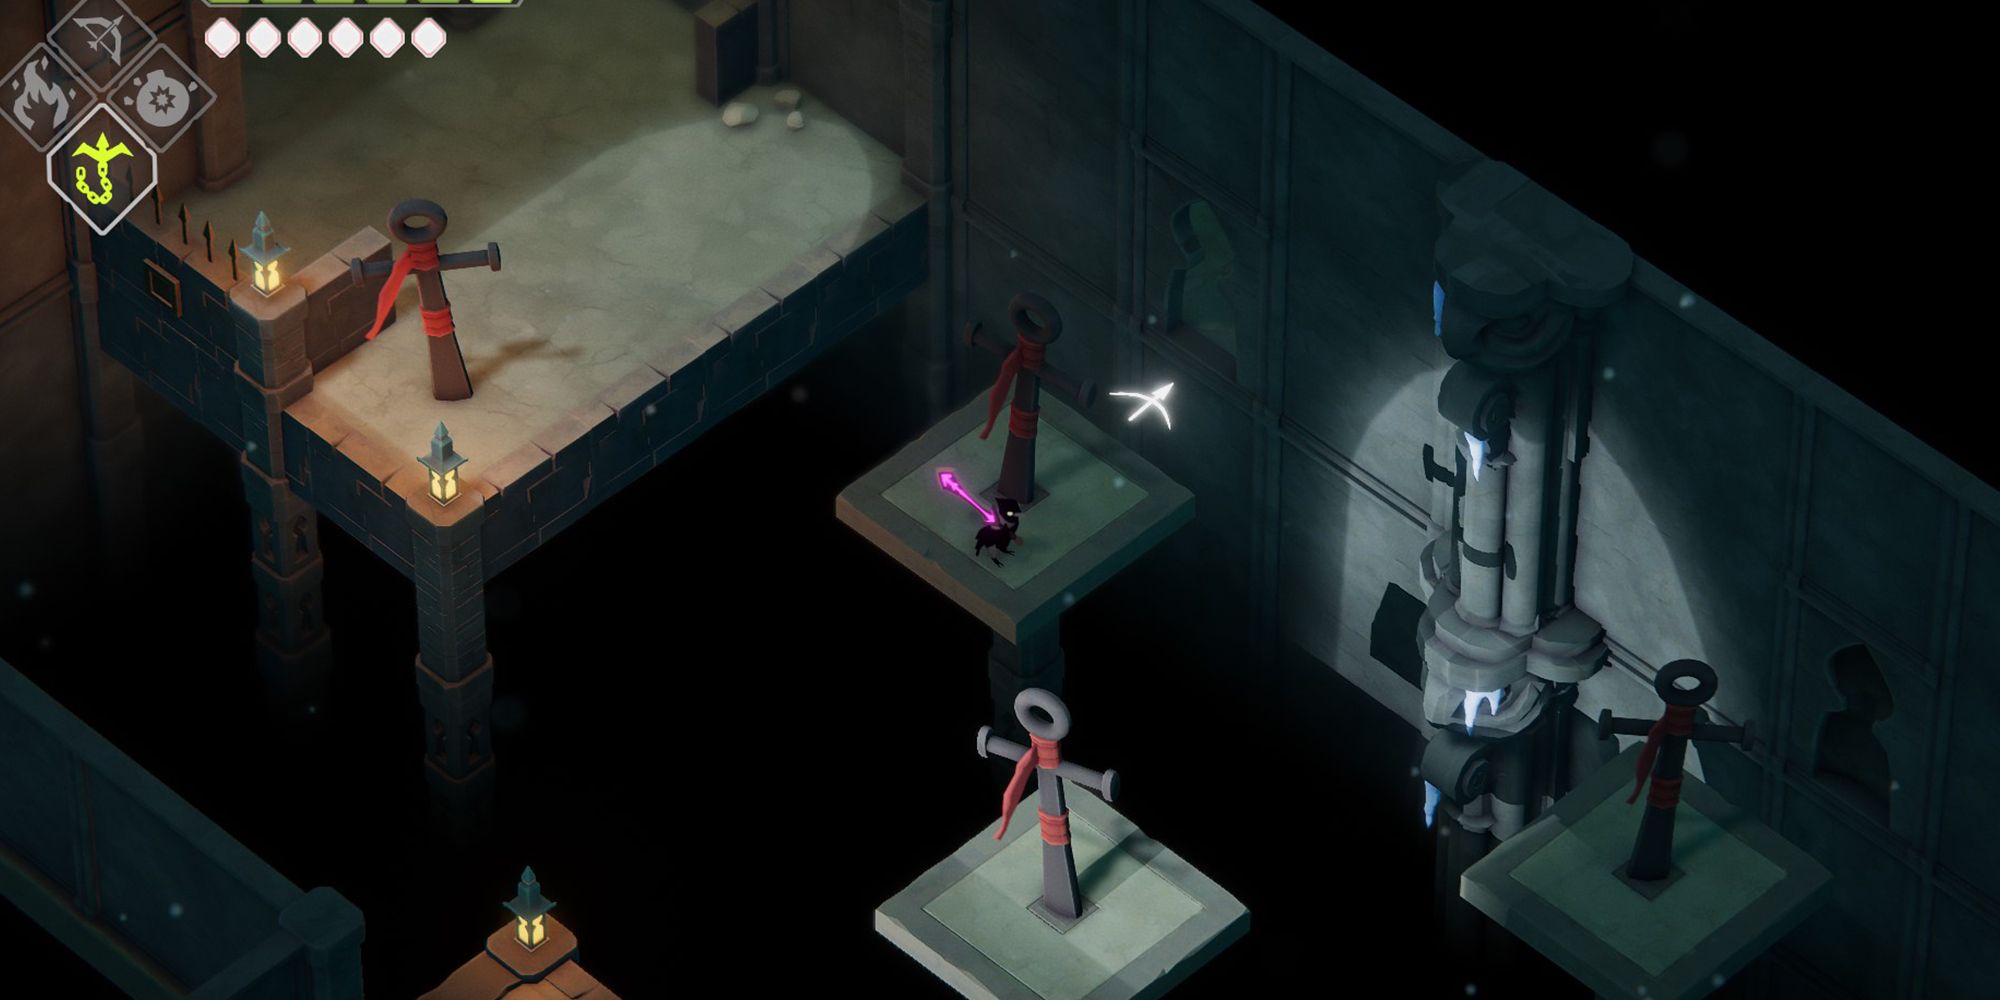
Camp of the Free Crows (Vitality): The Obligatory Ice Puzzles
- Spells Required: Hookshot
After entering through or passing by the Camp of the Free Crows door, make your way to the Northeast and down the ladder. In the next area, you will find several anchors on ice that will require your hook. You'll need to complete three different timed puzzles while skating across the ice in order to get this Shard.
RELATED: Skyward Sword: Where To Find Every Piece Of Heart
This is without a doubt the hardest Shrine to reach, because the timed trials are fairly unforgiving. Make sure to hit the ice before your attempts (another handy tip Death's Door beginners may not have considered), in order to reload and have the necessary ammunition. Using both your dodge roll and the ice's momentum to increase your speed is essential, but don't go overboard or you'll find yourself falling off the map. Also, don't be afraid to get inventive with the angles you use when firing your arrows, as a couple of the puzzles can be completed rather sneakily for extra time.
The Stranded Sailor (Vitality): An Island Brawl
- Spells Required: Hookshot
Return to The Stranded Sailor and make your way to the left of the bridge just past the area containing Jefferson's restaurant. There you'll find several anchors upon wooden docks. Use your hook to get to the square platform where waves of enemies will be waiting. Defeat the enemies and the leftmost anchor will lead you to the Shrine and yet another Vitality Shard.
When fighting the enemies, be careful not to use your bombs, as they can break the platforms and make the whole ordeal much harder by limiting your movement.
Lost Cemetery (Vitality): The Hidden Anchor

- Spells Required: Hookshot
Go back to where it all began and enter The Grove of Spirits door in the center of the Hall of Doors. This will take you back to where you battled the tutorial boss, the Demonic Forest Spirit.
In the boss battle area, you'll see a glowing door. Enter it and you'll return to the Lost Cemetery. After exiting the door, turn 180 degrees and walk into the gap between the rock formation where you'll see an anchor. Follow the path to the final Vitality Shrine.
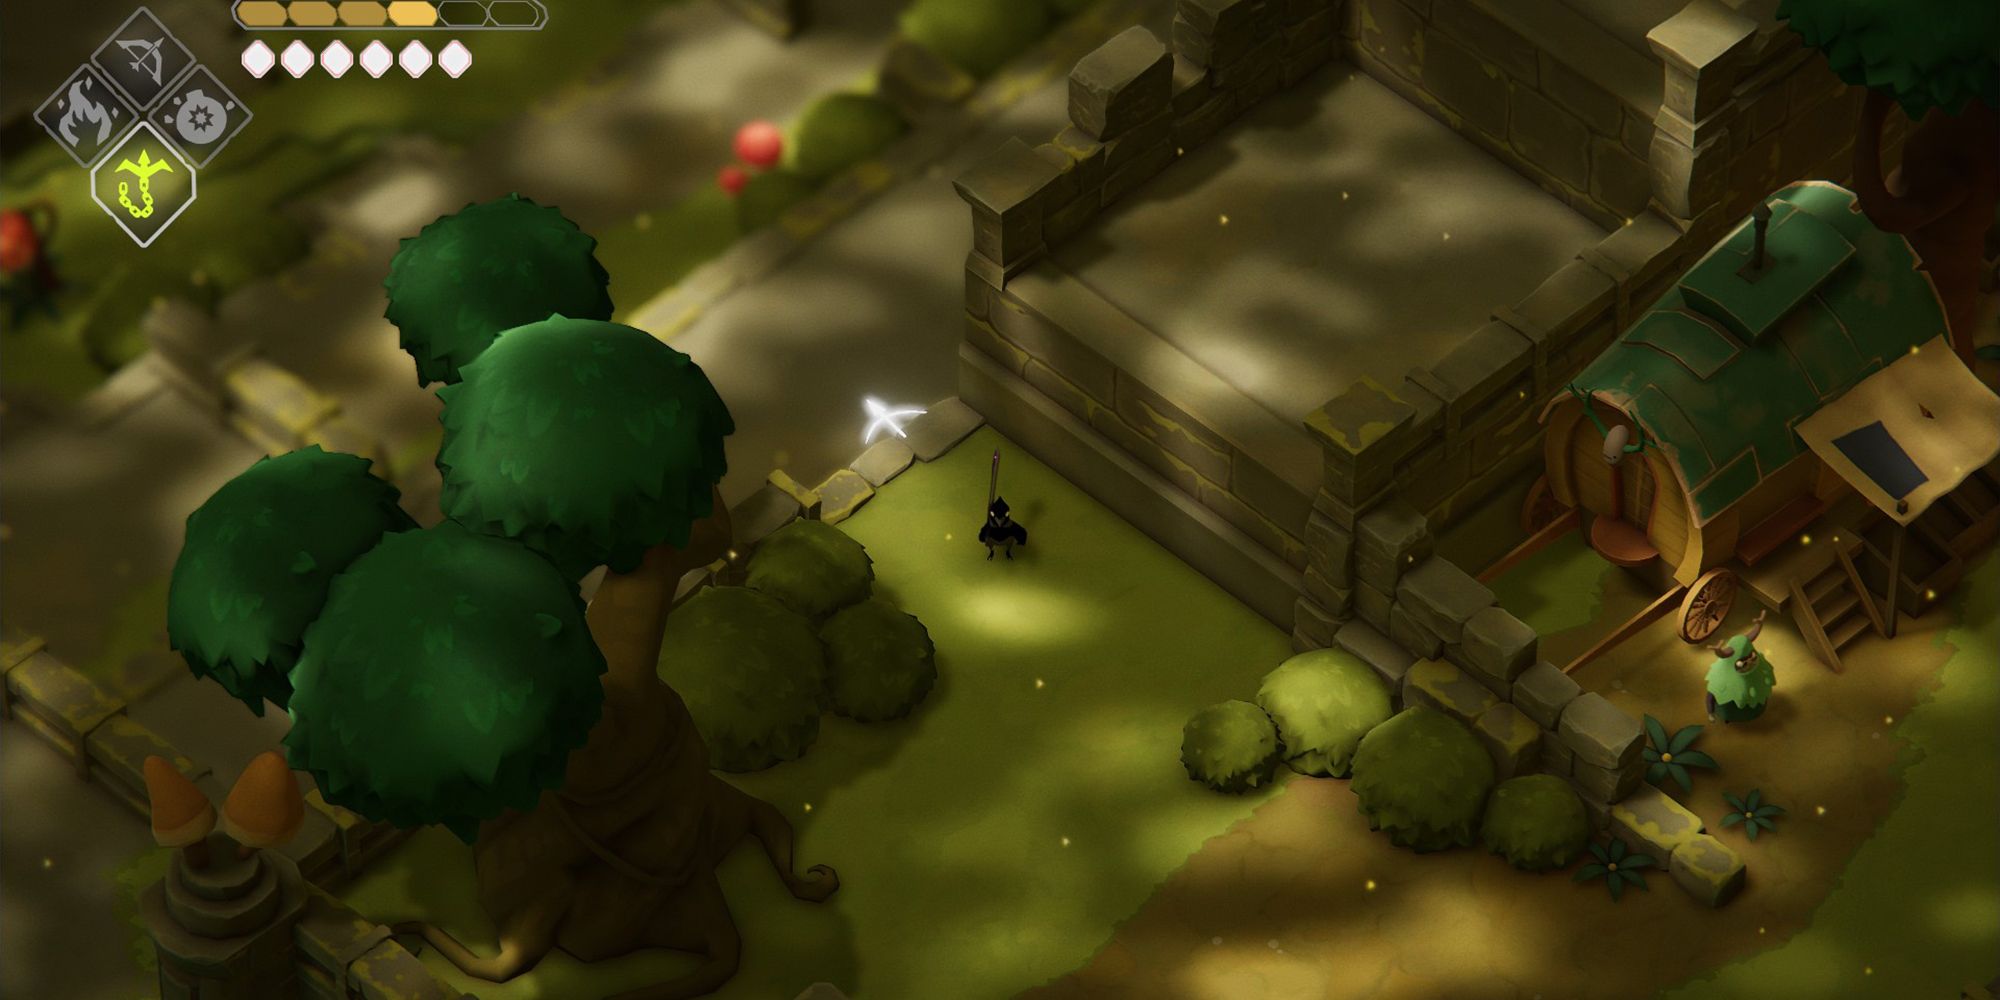
Overgrown Ruins (Magic): The Poison Knight And Friends
- Spells Required: Hookshot
Use the Hall of Doors to return to the Overgrown Ruins. Begin walking towards the left and you should find yourself crossing underneath an archway. Walk beneath the raised platform at the top of the screen and use your hook and bow to make your way across the body of water.
Once across, you'll have to defeat a few waves of enemies, including a poison knight. Once you've survived the onslaught, use the vine to shoot yourself upwards and claim your final Magic Shard on the left.
NEXT: Every Boss in Death's Door and How to Defeat Them