Quick Links
- Modifiers And Recommended Loadout
- A Detailed Guide: Entrance
- A Detailed Guide: Cavern
- A Detailed Guide: Boss Arena
Destiny 2's Season of the Splicer has added additional Legendary Lost Sectors for players to farm, one of which being the EDZ's Scavenger's Den. It was put on a short hiatus due to an exploit, but this Lost Sector is now available for players that want to farm for high-stat Exotic armor.
Related: Destiny 2: Warmind Cells Explained In-Depth
Scavenger's Den ranges in difficulty depending on your loadout, more so than other Lost Sectors. Warmind Cells trivialize this entire Lost Sector, but builds that don't use Warmind Cells will struggle fighting multiple Overload Captains that can easily kill you. We'll be going over some strategies and tips to help you farm this Lost Sector for Exotic rewards.
Modifiers And Recommended Loadout

Depending on your loadout, this Lost Sector will either be a breeze or a total nightmare. Let's go over what modifiers you can expect:
Scavenger's Den Modifiers
| Master Difficulty |
|
| Champions |
|
| Faction Modifier |
|
| Destination Modifier |
|
| Master Modifier |
|
| Burn |
|
| Shields |
|
Be careful with the Solar burn, as Overload Captain use Scorch Cannons in this mission. If you aren't careful, they'll kill you in less than a second. Beyond that, this Lost Sector's modifiers encourage repositioning and clearspeed. Anchoring behind cover for too long will cause enemies to throw constant grenades your way, so bring a subclass that allows for repositioning or good crowd control.
Subclass
| Hunter |
|
|---|---|
| Warlock |
|
| Titan |
|
Weapons
| Seventh Seraph Officer Revolver | Deals great damage from a distance, overloads Champions, and can spawn Warmind Cells |
| Eternal Blazon | Use a roll with Disruption Break to boost the damage of your Kinetic; counters Arc shields |
| Anarchy OR Witherhoard | With Breach and Clear, these weapons can kill Champions with little issue |
| Xenophage | Great alternative to Anarchy and benefits from the singe |
Mods
| Warmind Cell Mods | Warmind Cells make this Lost Sector trivial. Use any mods you own. |
| Rage of the Warmind | This increases your Warmind Cell damage by 50% in this Lost Sector. |
| Protective Light | Gain 50% damage resistance when your shields break, consuming all Charged with Light stacks. |
A Detailed Guide: Entrance
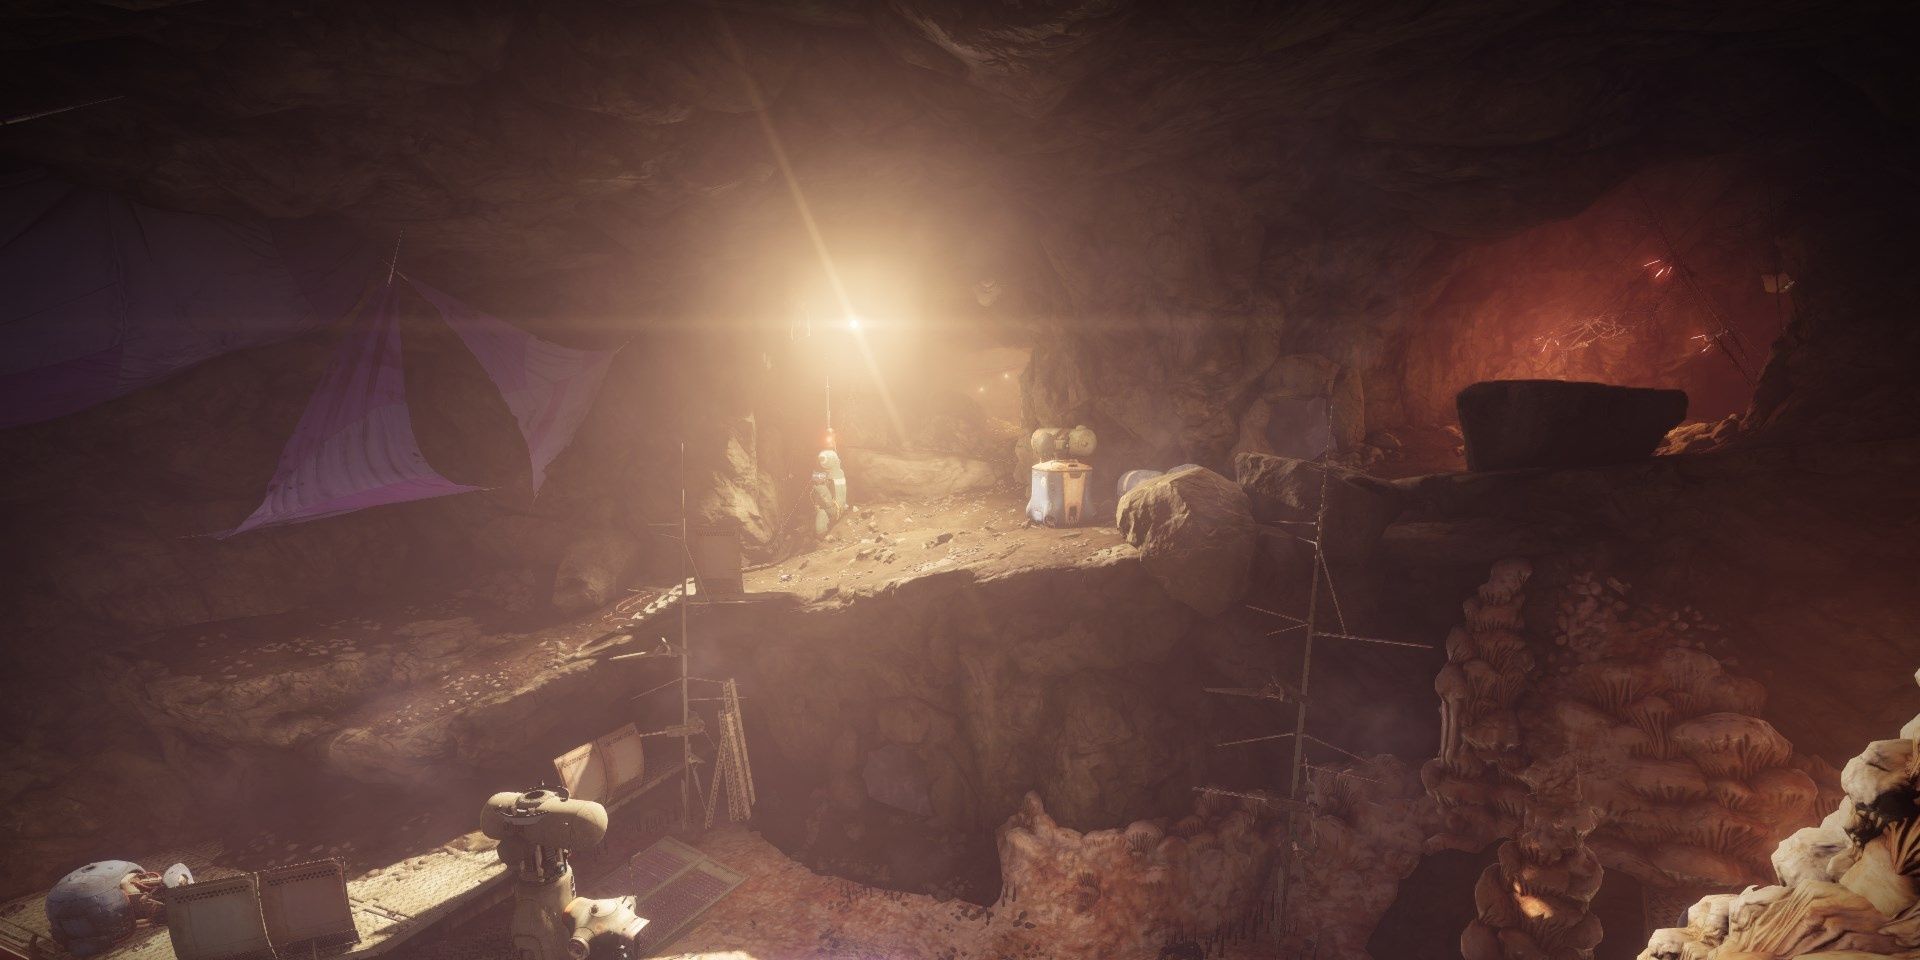
Entrance Enemies
- Two Overload Captains
- One Barrier Servitor
- Vandals
- Marauders
- Shanks
- Dregs
A small group of Dregs will be waiting past the entrance. Focus on the Overload Captain on the right ledge. It'll kill you otherwise. Stun the Captain, clear out the Dregs, then focus on killing the Captain. Try your best not to descend to the lower floor, as a Barrer Servitor and multiple Fallen spawn down there.
With the Captain dead, focus on the Barrier Servitor. It'll be surrounded by multiple adds, so you might need to reposition to get a clear shot. Break its barrier, kill the vulnerable adds, then destroy the Servitor.
Related: Destiny 2: Tips For Farming Legendary Lost Sectors
To the opposite of the entrance will be a new wave of Shanks and an Overload Captain. The Captain shouldn't pose much of a threat once it's stunned. Defeat the Champion, clear out the Shanks, then push forward. You can take either path.
Champion Tip: For Overload Champions, once they recover from a stun, hit them with an Overload Round. This will prevent their HP from regenerating and disable their ability to teleport, even if you don't stun the Champion. As for Barrier Servitors, their immunity tethers break once their barrier is destroyed. Lower their HP to around 80% to force their barrier to appear.
A Detailed Guide: Cavern
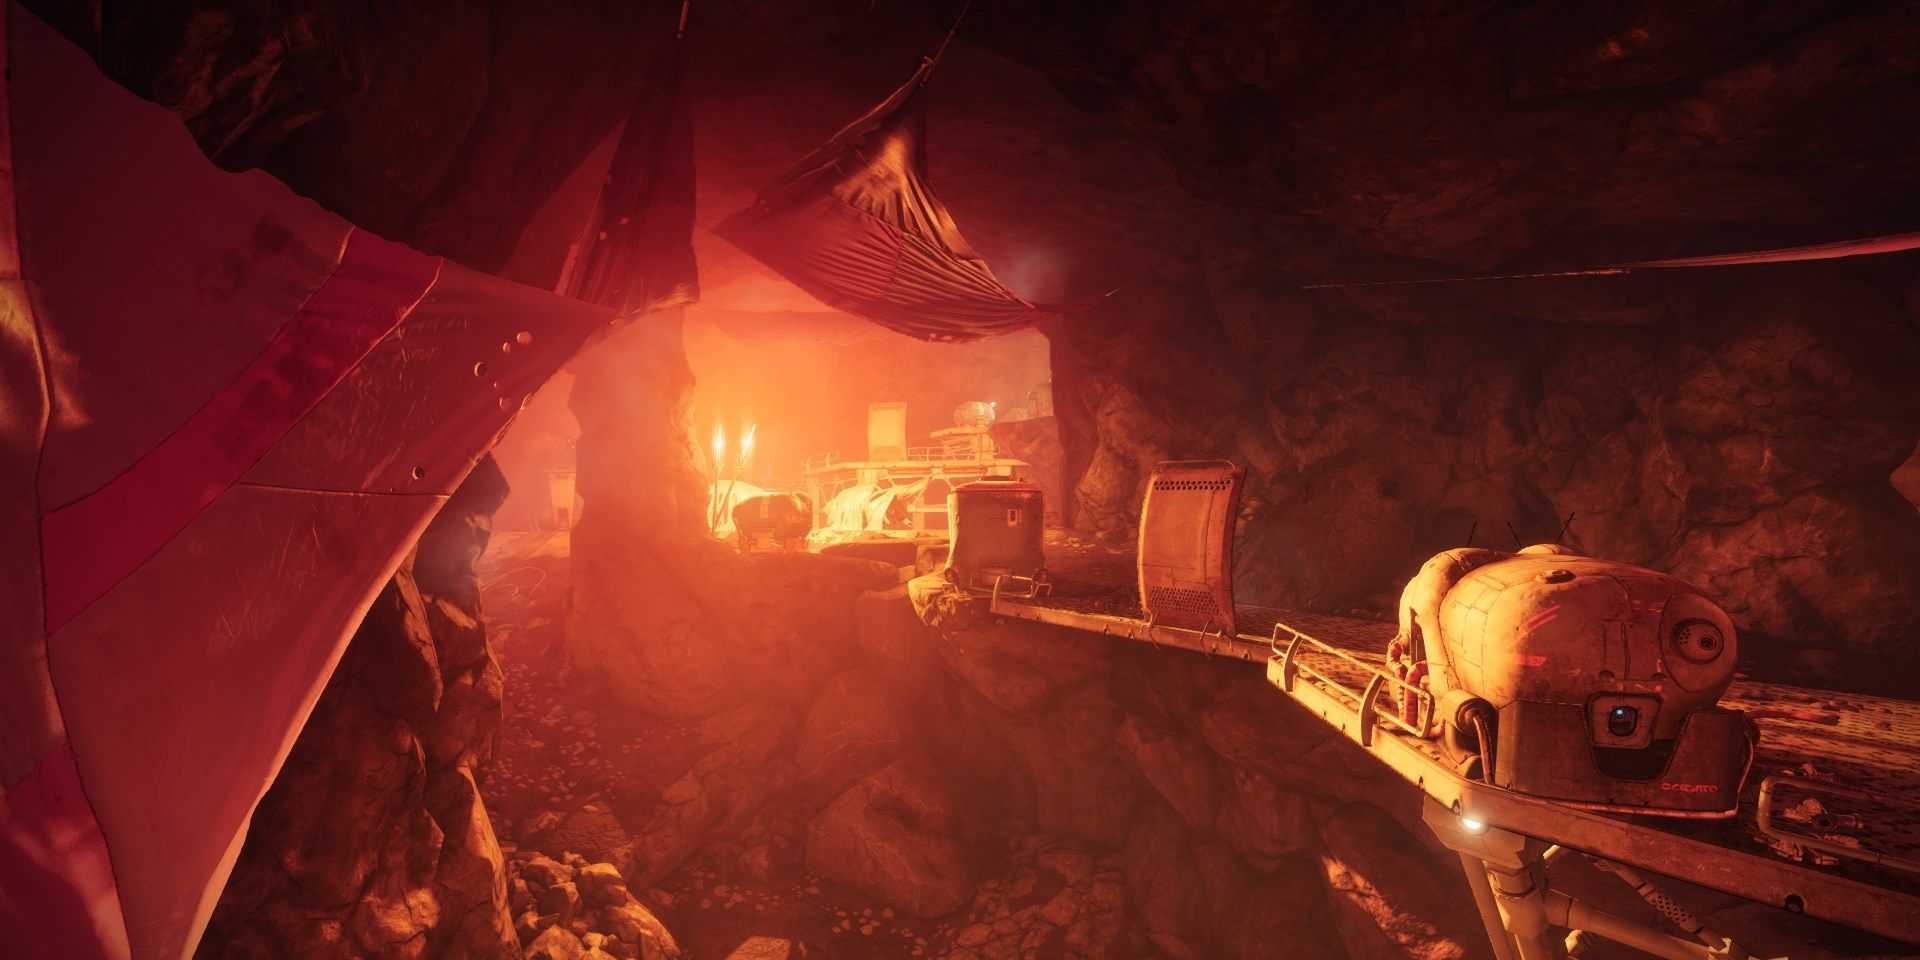
Cavern Enemies
- Two Overload Captains
- Marauders
- Shanks
- Dregs
This section will contain a few fodder enemies supported by two Overload Captains situated near the exit. If you have Warmind Cell mods, a single cell should clear out all of the fodder enemies here. If not, try to stay near the lower level and lure enemies to your location.
Related: Destiny 2: Charged With Light Explained In-Depth
The Overload duo at the end of the room can pose a serious threat if you aren't careful. Stun both Champions before damaging any of them. If you have Anarchy or Witherhoard, stick both of them once they're stunned. If you're using another Heavy, simply focus on killing one of them once they're stunned. Swap back to your Overload weapon once both recover, and keep shooting them until they are stunned once again. You want to hit them with Overload Rounds, even when they cannot be stunned. This will disable their HP regen for a short time.
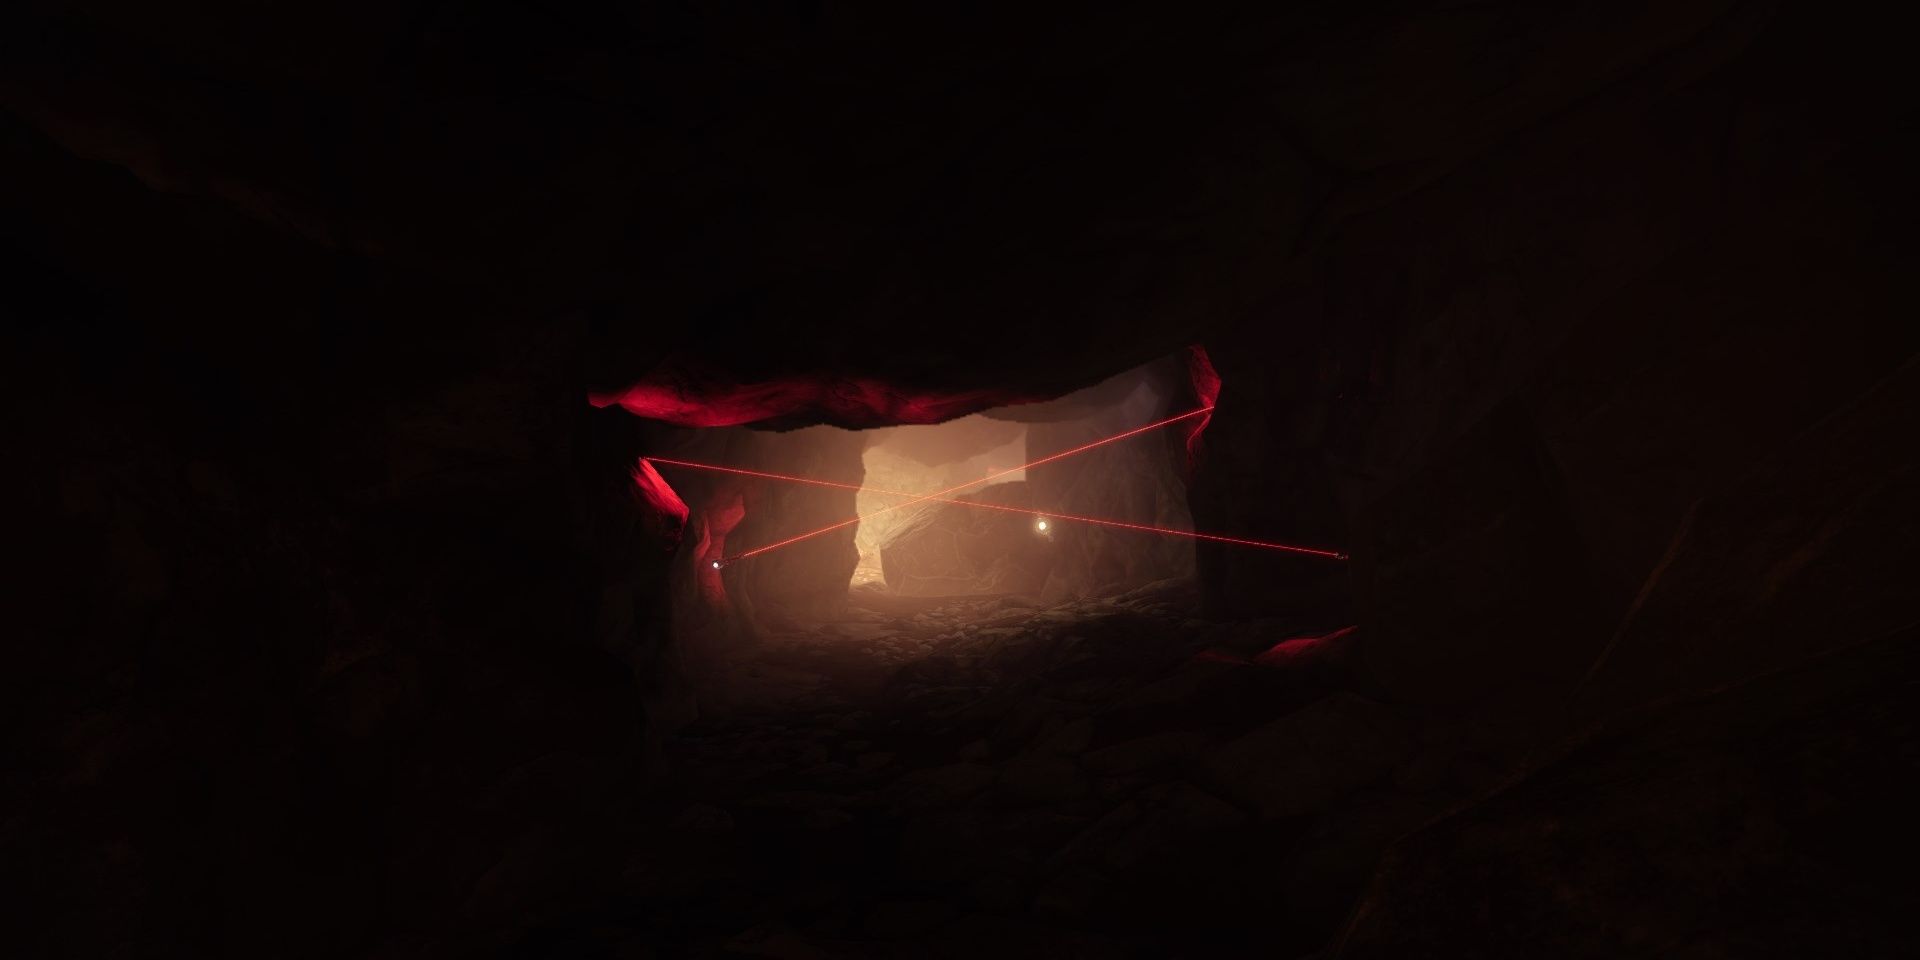
Once the Captains are slain, proceed into the tunnel. Do not run through the trip mines. They deal absurd damage. Shoot them from a long distance—preferably near the tunnel entrance; their effective range is ludicrous. Disable the cluster of trip mines before proceeding.
A Detailed Guide: Boss Arena
Boss Arena Enemies
- One Barrier Servitors
- One Overload Captain
- Graxus, Blind Captain
- Vandals
- Marauders
- Wretches
- Shanks
- Dregs
Depending on your loadout, this will either be a quick or painful final fight.
- Warmind Cell Builds: Focus on killing the Barrier Servitor, then use the Warmind Cell to obliterate all of the adds. Clean up the remaining enemies and Overload Captain.
- Everyone Else: Lure the Overload Captain towards you if you can. Otherwise, focus on the Barrier Servitor. Stick to cover near the entrance, engaging each enemy from a distance.
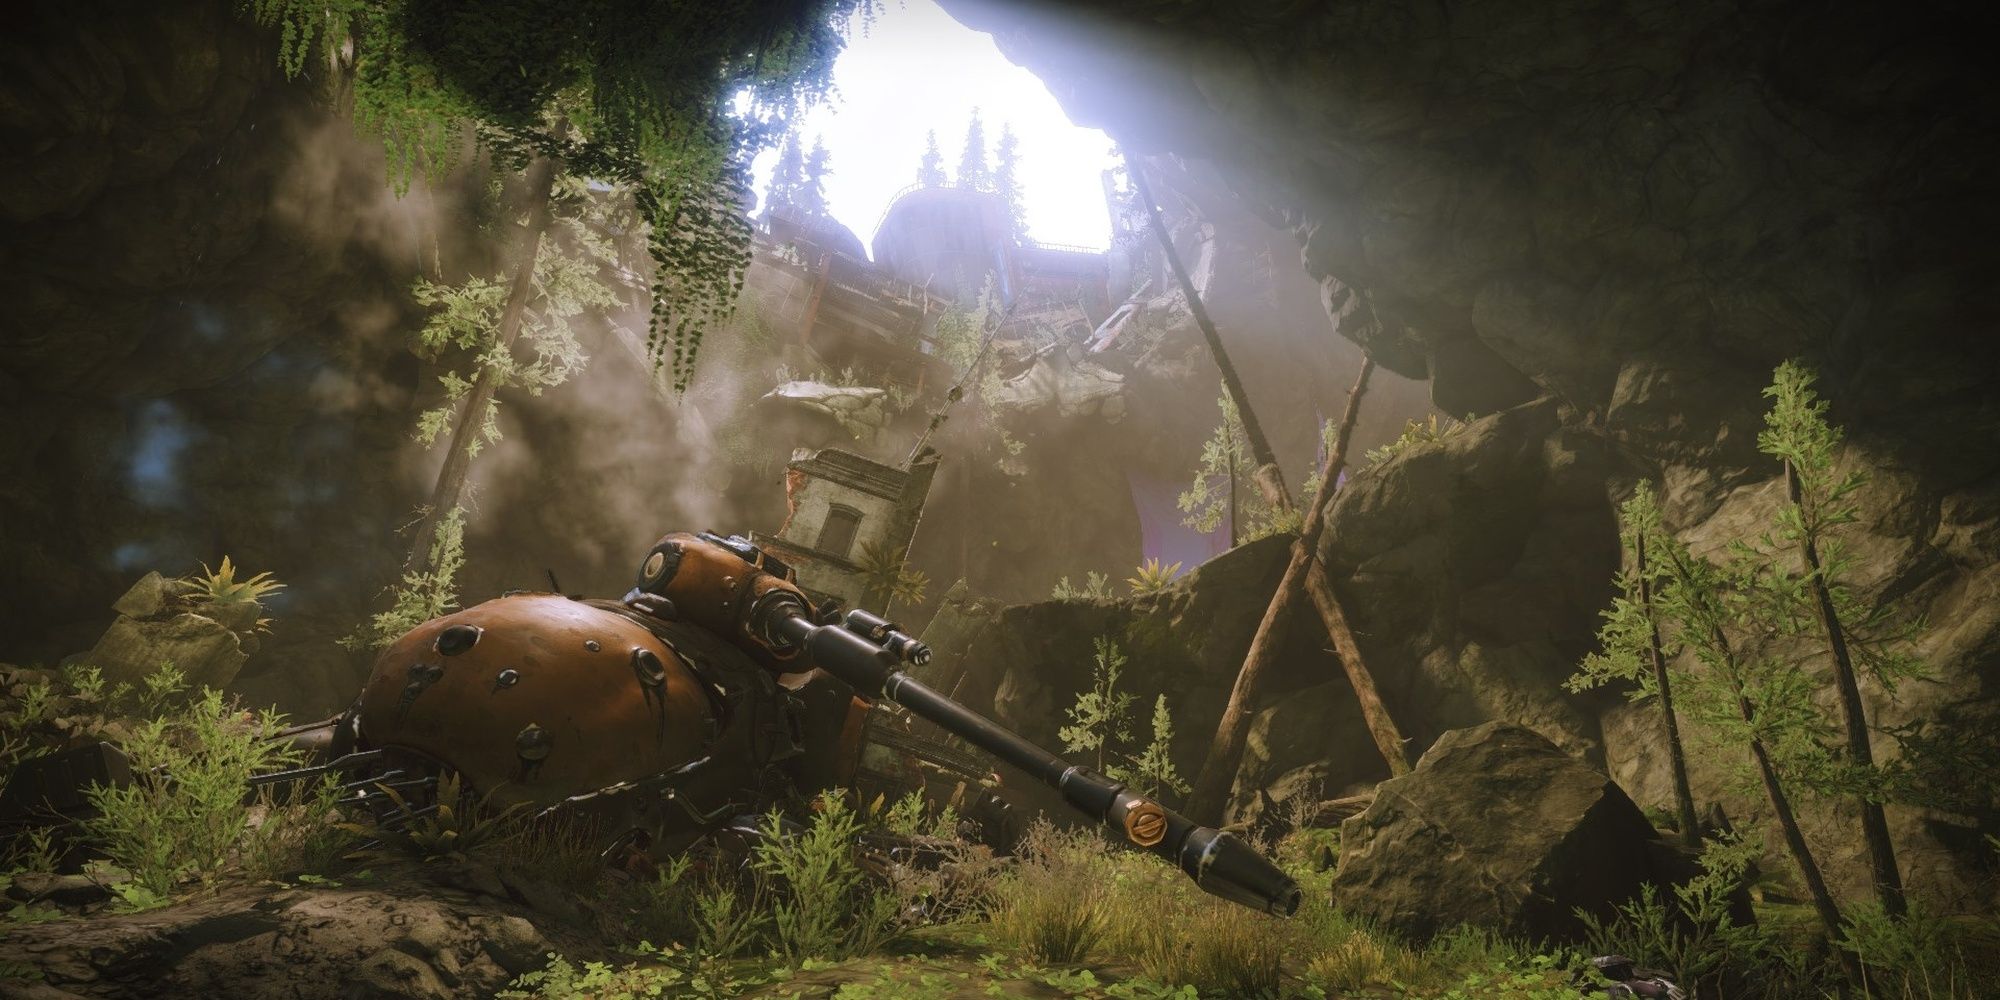
The entrance will have a few Shanks guarding a destroyed Spider Tank. Kill the Shanks, then immediately direct your attention to the Overload Captain, as it will try to push you at this point. Stun it, then either retreat or focus on killing it.
A Barrier Servitor will make its way to the tank shortly afterward, along with a small army of Fallen. Use your Heavy or Scout to damage the Servitor from a distance to deploy its barrier. Break the barrier, then kill the fodder enemies. Repeat until you've killed the Servitor and all of its adds. Try not to push up during this. There isn't much cover past the entrance, so you can easily get shot from multiple directions if you move up too early.
With all of the fodder enemies dead, you can now fight the boss. Head to where the boss is, break its Arc shield, then use your remaining ammo and abilities to finish it off. Open the chest at the end of the arena to claim your loot.
Next: Destiny 2: Beyond Light Complete Guide And Walkthrough