The touchscreen feature is beneficial, no doubt, but accidental clicks can be annoying if you don’t use it often. So, if you wish, you can quickly turn off the touch screen capabilities on your Windows 11 computer. This tutorial will show you how to disable the touchscreen on Windows 11 systems.
Disable Touchscreen Windows 11
It is very simple to turn off the touchscreen and ensure that you never press anything by mistake again. Just follow the steps below:
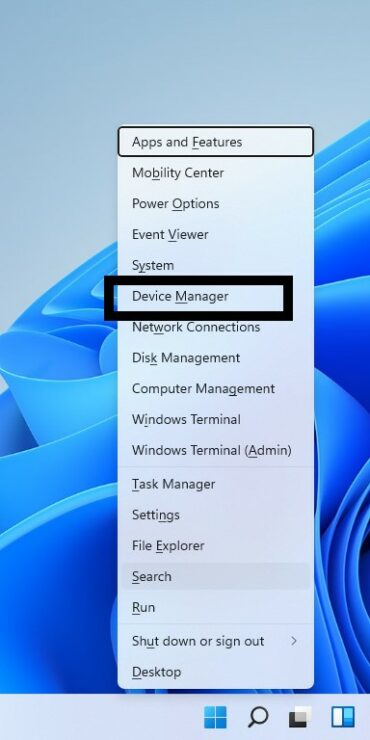
Step-1: Press the shortcut keys Win + X to open the WinX menu.
Step-2: Select Device Manager.

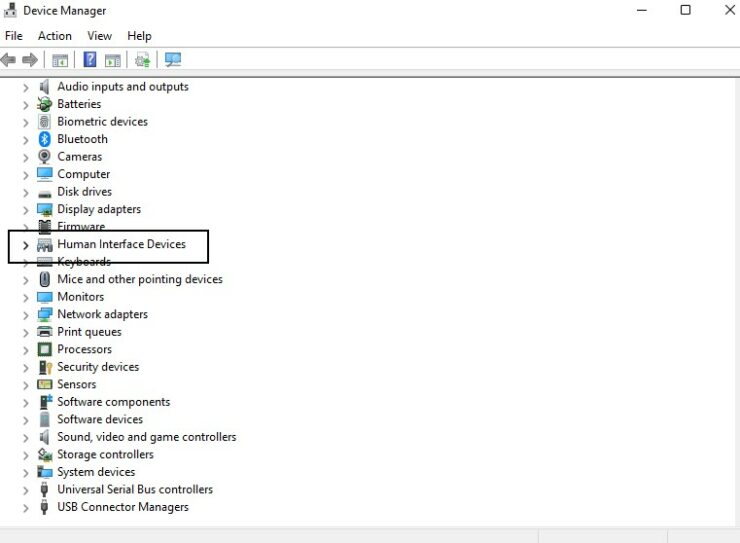
Step-3: Locate Human Interface Devices and click on it to expand the option.
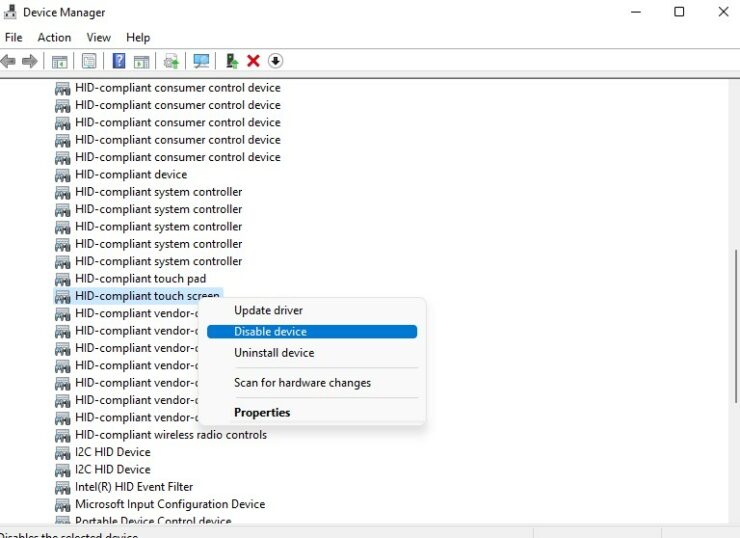
Step-4: Right-click on the HID-compliant touch screen option.
Step-5: Select Disable device.
Step-6: Select Yes to confirm option.
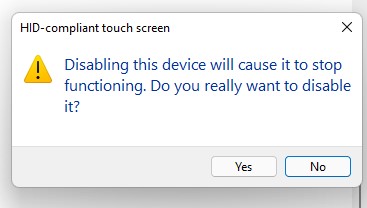
This will disable the touchscreen. However, if for whatever reason you wish to enable it again, follow all the steps above, and in step-5, select Enable device.
Registry Editor
You can also use the Registry Editor to disable your touchscreen. Follow the steps below:
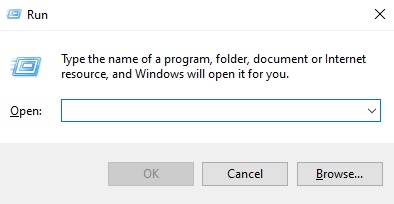
Step-1: Open the Run box using the shortcut keys Win + R.
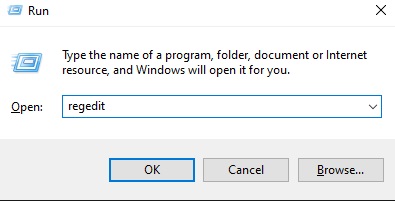
Step-2: Type Regedit and press Enter.
Step-3: You will be asked, do you want to allow this app to make changes to your device? Click Yes.
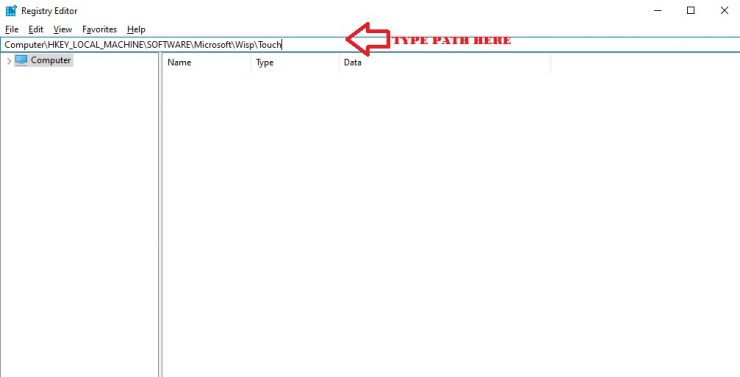
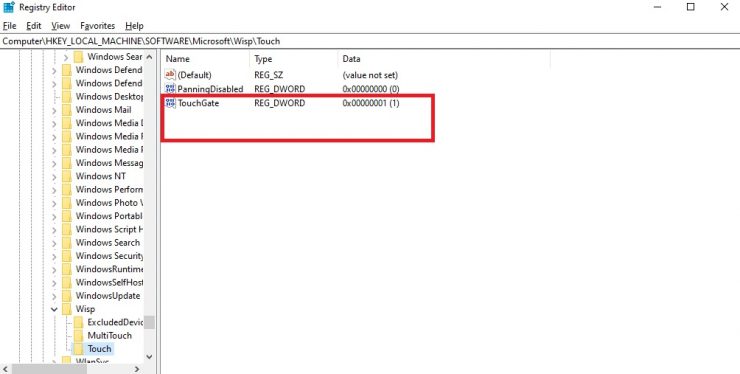
Step-4: In the search bar at the top of the editor window, type the following path and press Enter:
ComputerHKEY_LOCAL_MACHINESOFTWAREMicrosoftWispTouch
You can also navigate manually using the left pane.
Step-5: On the right pane, double-click on the TouchGate option.
Step-6: Type 0 (zero) instead of the ‘1’ and press OK in the Value data.
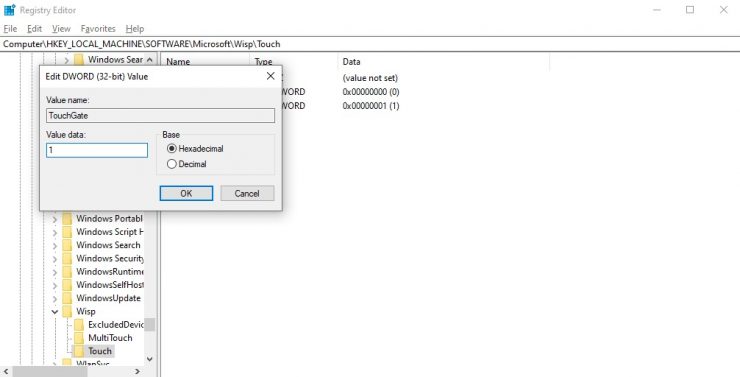
[If you want to enable the touchscreen again, follow all the above steps but in Step-6, enter 1 (one) in the Value data field instead of the 0.]
I hope this helps. Let us know in the comments below.
The post How to Disable Touchscreen on Windows 11 Systems by Zarmeen Shahzad appeared first on Wccftech.


