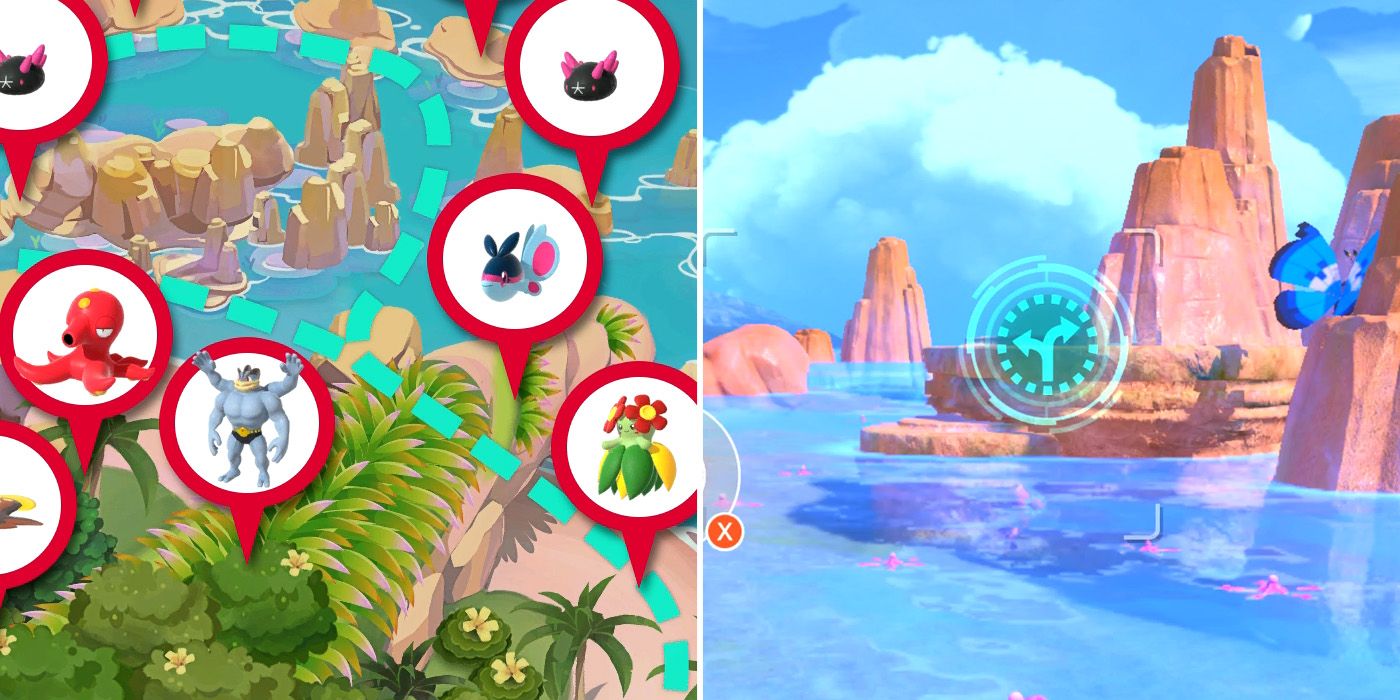
New Pokemon Snap features a total of 30 courses and, much like the original game, many of them feature alternate routes for players to explore. Some of these are available straight away, but others will need to be unlocked either by increasing the course's research level or by interacting with some of the Pokemon that can be found in the immediate area.
RELATED: How To Unlock Every Course In New Pokemon Snap
For the most part, gaining access to New Pokemon Snap's alternate routes is relatively simple and after players have done so once, they can typically do so on future runs simply by scanning the area where the new route begins. There are one or two, however, that can be a little tricky to find and several which will need to be unlocked each time that players wish to explore them.
Updated on August 8, 2021 by Tom Bowen: New Pokemon Snap's 2.0 update has now arrived, bringing with it new requests, new Pokemon, and several new courses. Of course, new courses also means new alternate routes, with the three new DLC areas each having their own special detour. In fact, strictly speaking, one of the three new areas added into the game as part of the update is itself an alternate route, even if players are technically able to select it directly from the course select screen. Either way, exploring these new routes will be vital for those hoping to track down all of the new Pokemon added in the 2.0 update.

Players will unlock the Bidoof Dam route after reaching research level 3 on the Park (Day) course and research level 2 in the course's nighttime variant. At nighttime, players will take the route by default, but they will need to scan for it while playing in the daytime version of the course.

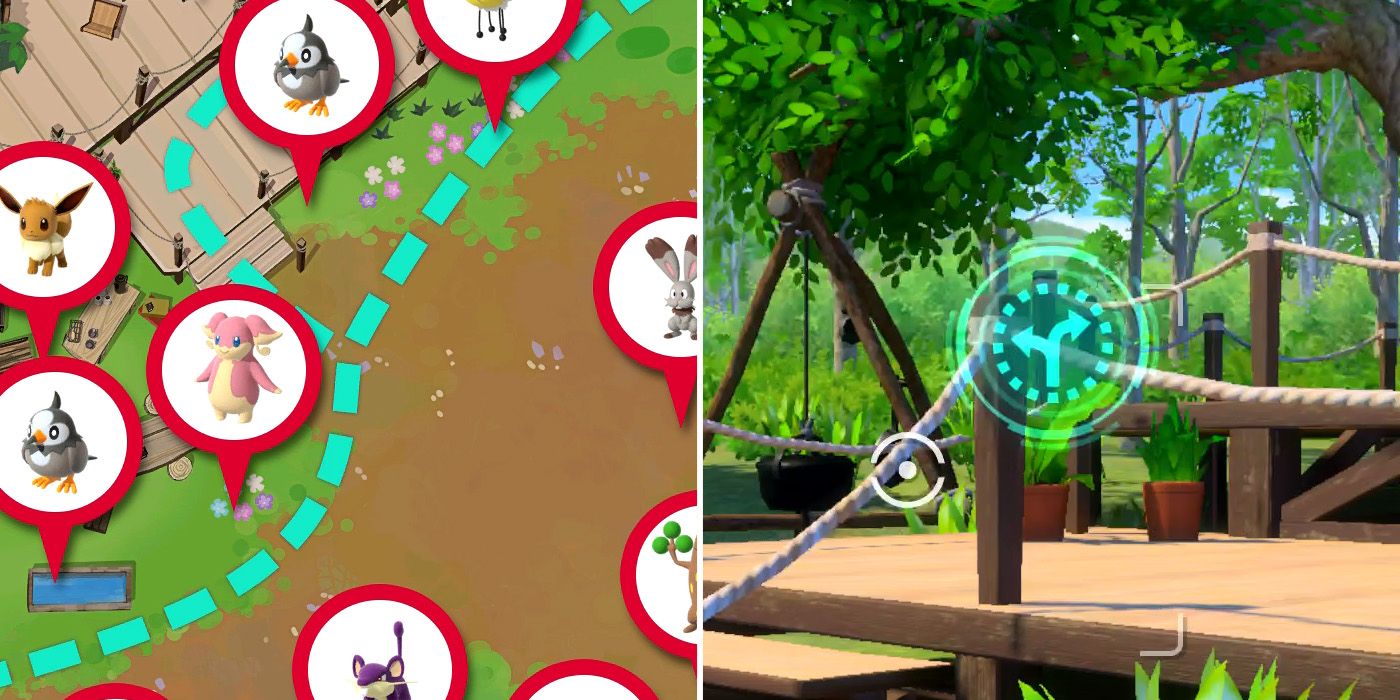
After installing the 2.0 update, players should receive a message from Todd's overly enthusiastic apprentice, Phil. He'll suggest scanning a special tree in the nature park during the daytime in order to test out the NEO-ONE's new shrink function. Doing so once will unlock both day and night versions of Secret Side Path on the course select screen, though players can still continue to access the area by scanning the tree near the lake in a normal Park (Day) or Park (Night) run.

Players will be able to visit Snorlax's den in both the day and night versions of the Secret Side Path course. In order to do so, all they'll need to do is scan the reeds near the start of the course, which will lead to the NEO-ONE veering off to the left. Later on, there can also be a slight deviation to the route near the sleeping Torterra depending on how players interact with the Pokemon in the hollowed-out branches, but the change is so minuscule it has absolutely no bearing on a run.

To gain access to the swamp route, players will need to hit the Crystabloom near the beginning of the Jungle (Night) course with an Illumina Orb and then scan the glowing footprints. After doing so, the route will be available in both versions of the course by scanning the area.

The ruins route is only available in the nighttime version of Founja Jungle at research level 2 or above. To gains access to it, players should not take the swamp route and instead look for a Liepard sleeping on a cliff over to the right just past the two sleeping Toucannon. Hitting it with Illumina Orbs and Fluffruit won't seem to have much effect, but if players are successful, the same Liepard will show up behind them just after the NEO-ONE heads out over the branches. This will cause another Liepard to jump down from a branch above and knock players down into the jungle below. Annoyingly, this process must be repeated every time players want to take the ruins route.

Players can get behind the waterfall at research level 3 in both versions of the course. To do so, they'll need to look ahead while they're traveling over the branches and find a Liepard that's sitting or standing on a rock. Hitting it with Illumina Orbs and Fluffruit as early as possible will cause it to jump off the rock rather than fall asleep as it usually would and players can then scan the area to follow the new route. As with the ruins route though, players will have to repeat this process every time they want to get behind the waterfall.

To unlock the winter area in the Forest course, players will need to reach research level 3 and then use the Melody Player near the Trevenant that's standing by the floating blue rock. Once it moves the rock, players need to perform a scan and then hit Espeon with an Illumina Orb. The route will remain unlocked in future runs, although players will need to hit the Espeon with an Illumina Orb every time they take it to avoid going to the summer area instead.

Once players hit research level 3, they'll notice a lost Deerling over to their right in the second foggy area. They'll need to illuminate the nearby Crystablooms to guide the Pokemon along the course, although should only hit the one at the back when they reach the alcove with two Crystablooms. If done correctly, Deerling will be reunited with Sawsbuck and the pair will run ahead and open up a new path to the right of the default route. After this, scanning the area will allow players to take the route whenever they please.

Players can pass through the Moonlit Cave in River (Night) by reaching research level 2 and then scanning the vines with the three Beautifly on them. For those having trouble finding them, they're on the right not long after Gyarados' waterfall. After visiting the cave at night, players will be able to go there at research levels 1 and 3 in the River (Day) course by scanning in the same area. It's also possible to get knocked onto land in each course; automatically just past the waterfall in River (Day) and near the start of River (Night) if the Feraligatr dives off the cliff – both at research level 2.
Players can visit the private beach in both versions of the Blushing Beach course without needing to increase their research level. To do so, they'll simply need to perform a scan shortly after passing through the stone archway near where the sleeping Exeggutor blocks their path during the day.

Much like the one found at Blushing Beach, Maricopia Reef's alternate route is accessible from the get go. To gain access to it, players will need to perform a scan in the area between the whirlpool and the rocky section at the end of the course. It's also possible to alter the path that the NEO-ONE takes around the Wailord by turning the camera left or right when they appear.

Once players have reached research level 2 and unlocked the pink Illumina Orbs by photographing the glowing Frillish, they'll come across a Clawitzer near the beginning of the course. Hitting it with an Illumina Orb will cause it to destroy a boulder that had been blocking a nearby tunnel and this grants access to the undersea cave. From here on out, players will be able to perform a scan to revisit the cave whenever they return to the course.

If players take the undersea cave route at research level 3 and have already completed the game, they'll find a Lanturn swimming around in the deep tunnel that leads down to the seafloor's depths. Hitting it with an Illumina Orb will cause it to swim downwards while a hoard of other Pokemon swim up. Immediately after the Wailord passes, players should see the Lanturn hanging out with two Frillish and will need to hit it with another Illumina Orb so that it continues its descent. Upon arriving at the bottom of the tunnel, performing a scan will grant access to Lugia's Den, although players will need to repeat the entire process if they wish to return there in future runs.

The default routes for the Sands (Day) and Sands (Night) courses are slightly different. Upon reaching research level 2 in each course, however, players will be able to perform a scan immediately after traveling down the first big sand dune to switch over to the route found in the other version of the course.

Upon reaching research level 2 and reentering the course, the default route in Fireflow Volcano will change shortly after players enter the main volcano area. After this, players will be able to perform a scan in the same area to choose whether to take the alternate route again.

To unlock the Geyser Route in the daytime version of Barren Badlands, players will need to reach research level 2 and then quickly illuminate the Crystabloom over to their right when they start the course. This will cause a Minior to crash down and knock over the giant boulder, allowing players to scan to change routes. At nighttime, players will instead need to hit two Diglett with Illumina Orbs and then photograph them before illuminating the Crystabloom. They'll need to be very quick in both courses, as the window for changing routes is fairly small.

Upon reaching research level 2 in Snowfields (Day), players will be able to find an Alolan Sandslash immediately to their left after they spawn into the course. Taking a photograph of it will cause it to disappear and then show up again a little further ahead to the left. Taking a second picture will cause it to dig through the snow wall near the foot of the steep hill. From here on out, scanning the wall will allow players to pass through it in both versions of the course.
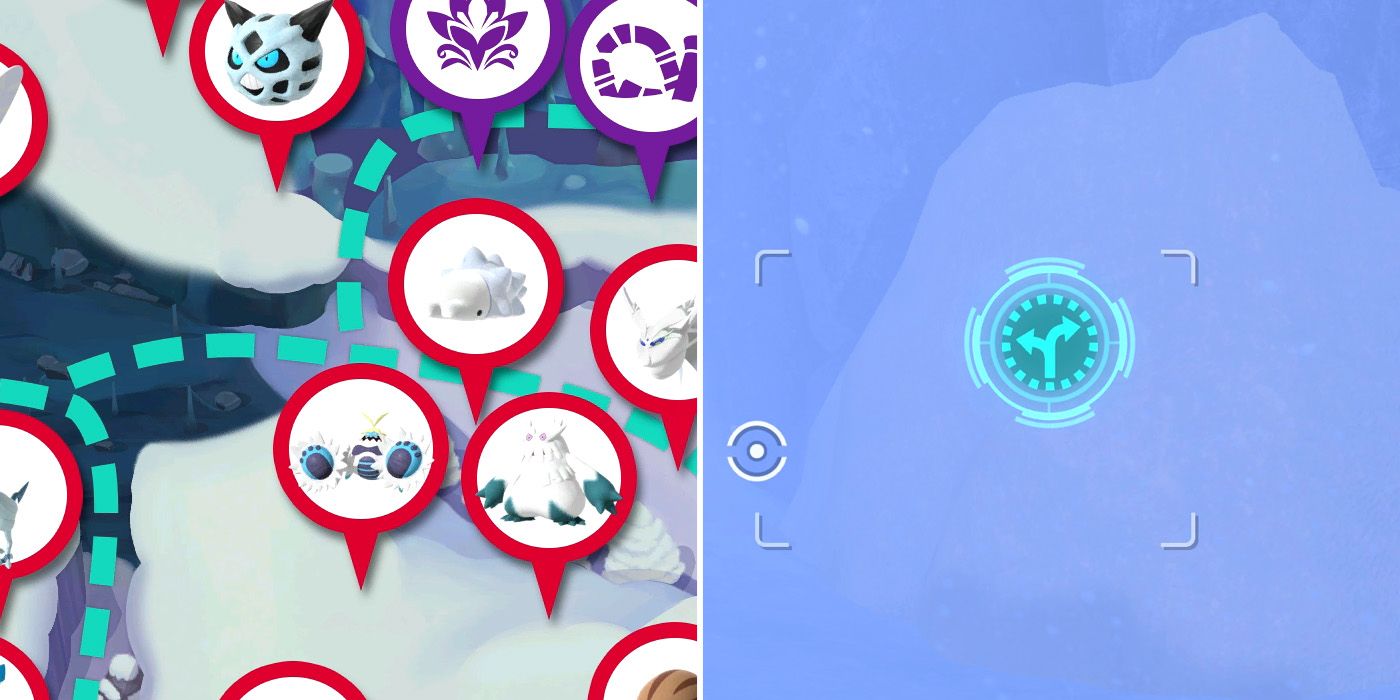
Once players have unlocked the icy valley route and reached research level 2 in both versions of the course, those who pass through the snow wall in Snowfields (Night) will now be greeted by a Crabominable and a sleeping Abomasnow. If players hit the Crabominable with an Illumina Orb before it punches the tree near Abomasnow, the latter will wake up and summon a Froslass. If players then snap a photo of the Froslass, it will disappear through another snow wall, which will unlock the frosty shore route in both versions of the course.

Once players reach research level 2 in Outaway Cave, returning to the course will lead to them taking an alternate route when they reach the bottom of the deep crater. In subsequent runs, scanning this area will allow players to follow the route again whenever they please.

Shortly after the point where the two main paths meet, players will find a sleeping Crobat on their left-hand side near the hiding Sableye. They'll need to wake it with an Illumina Orb and then use the Melody Player to summon a Gengar from the portal on the ceiling to scare another Crobat a little further ahead. If done correctly, players will now be able to perform a scan near the angry Rampardos and pass over the rimstone pools. Unfortunately, this process will need to be repeated each time players want to take the route.
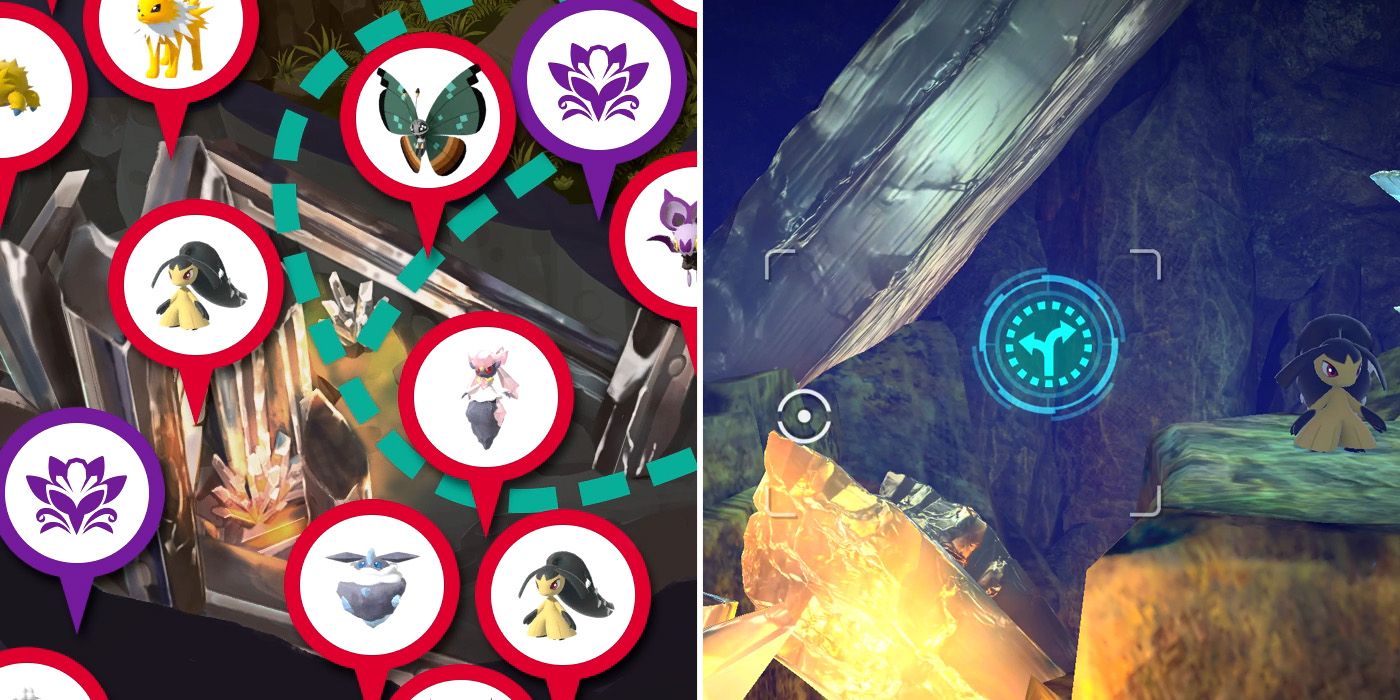
At research level 3, players who take the crystal cave route after completing the game should see a Mawile and two Carbink directly beneath them as soon as they enter the area. Hitting all three with Illumina Orbs will summon Diancie from behind a nearby crystal and hitting the Legendary Pokemon with another Illumina Orb will cause it to let out a flash of blinding pink light. This will calm the nearby Mawile and allow players to perform a scan to take a different underground route. As with the rimstone path though, they'll need to repeat this entire process to follow the route again on future runs.

The ancient ruins route actually shows up in the cave's Illumina Spot and will be unlocked after players have completed the course for the first time. After players visit as part of the main story, they'll be able to perform a scan near the end of the course to return to the area in future runs.

On a normal run of the Ruins course, there will be a Golurk blocking access to the big golden altar that's on the player's right as they exit the course. To make it move, players will need to illuminate all six of the Crystablooms that are near the big statues, including the one that's hidden behind the Golurk with the Natu on its shoulder. If done correctly, the Golurk will move and players will exit the course via the altar. This will need to be done every time players visit the course, although there's really no need to do after the first time other than perhaps to get a better photo of Jirachi.
Performing a scan near the wooden decking area will allow players to gain access to Professor Mirror's lab. Once players have photographed their third Illumina Pokemon, they'll also be able to change the position from which they start the course, although the process for doing so is both clunky and time-consuming. Players will need to enter the Research Camp course, return to the main menu and then reenter the course each time they want to change the starting position. Simply restarting at the end of a run doesn't work for whatever reason.
NEXT: New Pokemon Snap Complete Guide for Tips, Tricks & Pokemon Locations