Quick Links
- Talk To The Castaway
- Follow The Green Light And Enter The Portal
- Stop At The Shack And Head To The Shipwreck
- Jump Into The Rowboat And Take It To Your Ship
- Go To The Shack On Your Left
- Find Three Journals
- Head To The Next Area And Open The Gate
- Collect The Lockpick And The Next Journal
- Pick The Door Lock And Collect The Fifth Journal
- Take The Cage Up And Follow The Platforms
- Ignite The Beacons Then Defeat The Phantoms
- Take Your Ship And Follow The Black Pearl
- Other Town Commendations And The Mercado Key
- Take A Rowboat Ride And Dig Up The Valuables
- Follow Captain Jack Sparrow Then Release The Prisoners
- Move The Platforms Then Find The Key
- Fight The Phantoms And Collect The Journal
- Find Captain Jack Sparrow
The third tall tale of Season 3 in Sea of Thieves is called Captains of the Damned and it will take you another adventure with Jack Sparrow. You will be blown away by the amount of scenery you experience as you travel through several different areas during this adventure. It is one of the most involved tall tales of the series, and possibly even the best of them all.
RELATED: Sea Of Thieves: How To Change Your Character
There is so much to see and do, especially if you want to complete all of the commendations. No stone should be left unturned in Sea of Thieves, and this walkthrough will ensure you don't miss a single one when playing through the Captains of the Damned Tall Tale.
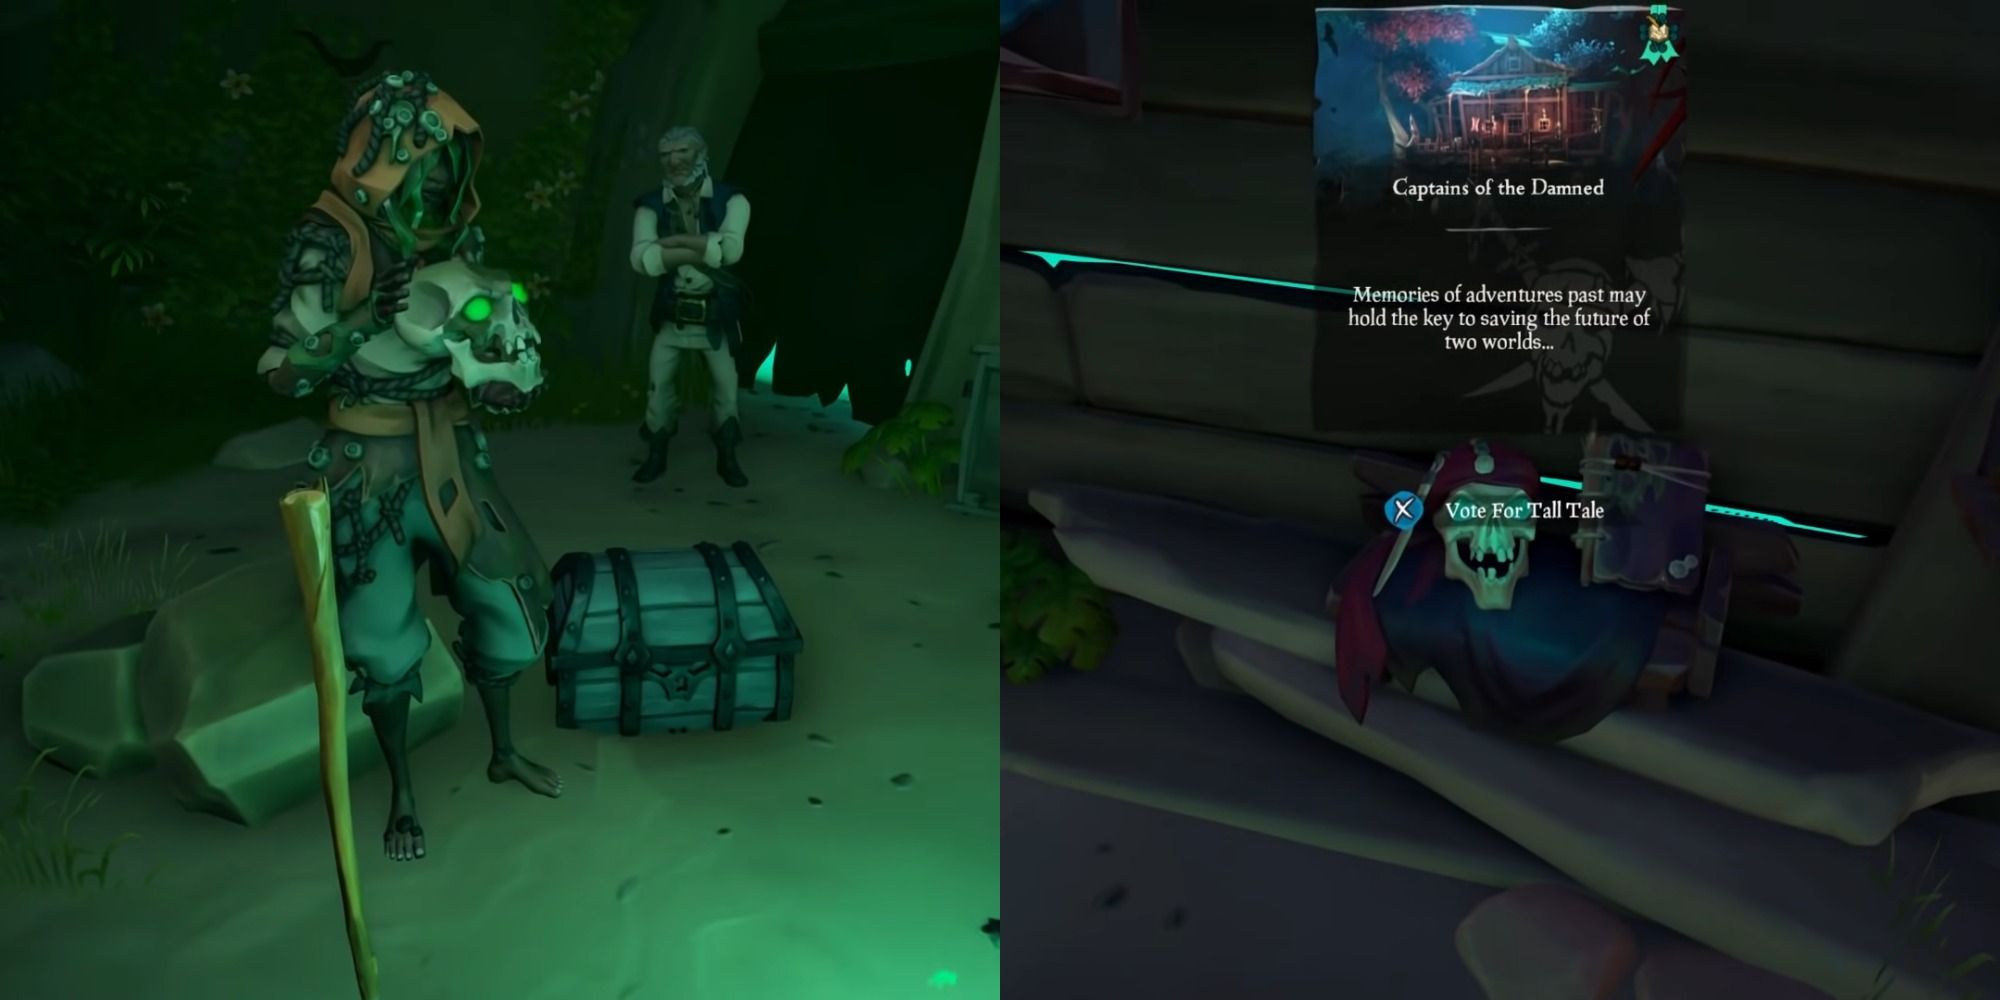
Talk To The Castaway

The first thing you need to do is find the Castaway on the beach at any of the outposts. Next, vote on the tall tale by interacting with the skull on the side of their makeshift hut. You will then launch into a cutscene where you will learn your job is to find Captain Jack Sparrow in the Sea of the Damned.
Follow The Green Light And Enter The Portal

If you think back to the first tall tale called A Pirate's Life, you might remember the portal you had to enter in order to make your way into the Sea of the Damned. This follows the same concept as a green light will appear in the sky and you must sail to it, then enter the same portal.
However, this time your journey will be a bit different, as you will keep on sailing until you reach a swampy area.
Stop At The Shack And Head To The Shipwreck

A shack will be on your left immediately before a tall wall of green and this is where you need to hop off your ship and head to shore. You want to go to the land on your right and follow the torches until you reach a shipwreck called the Blue Bayou.
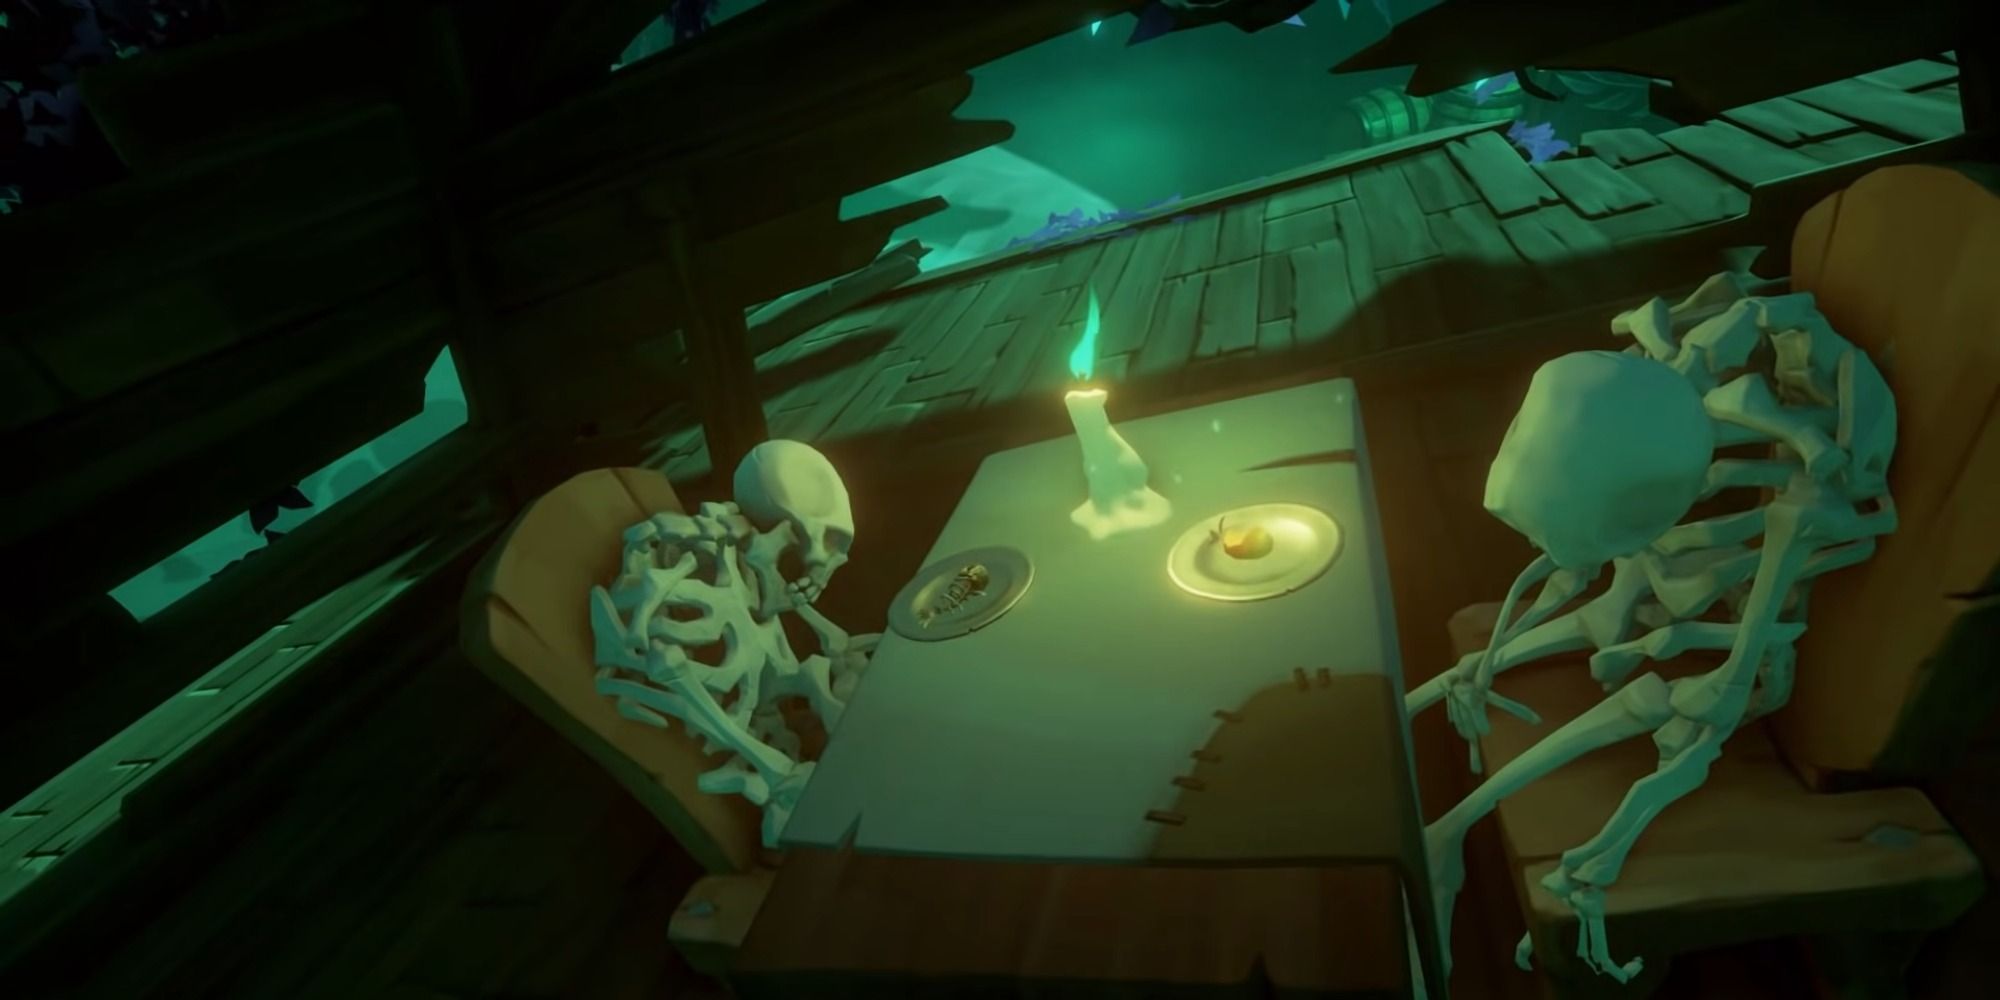
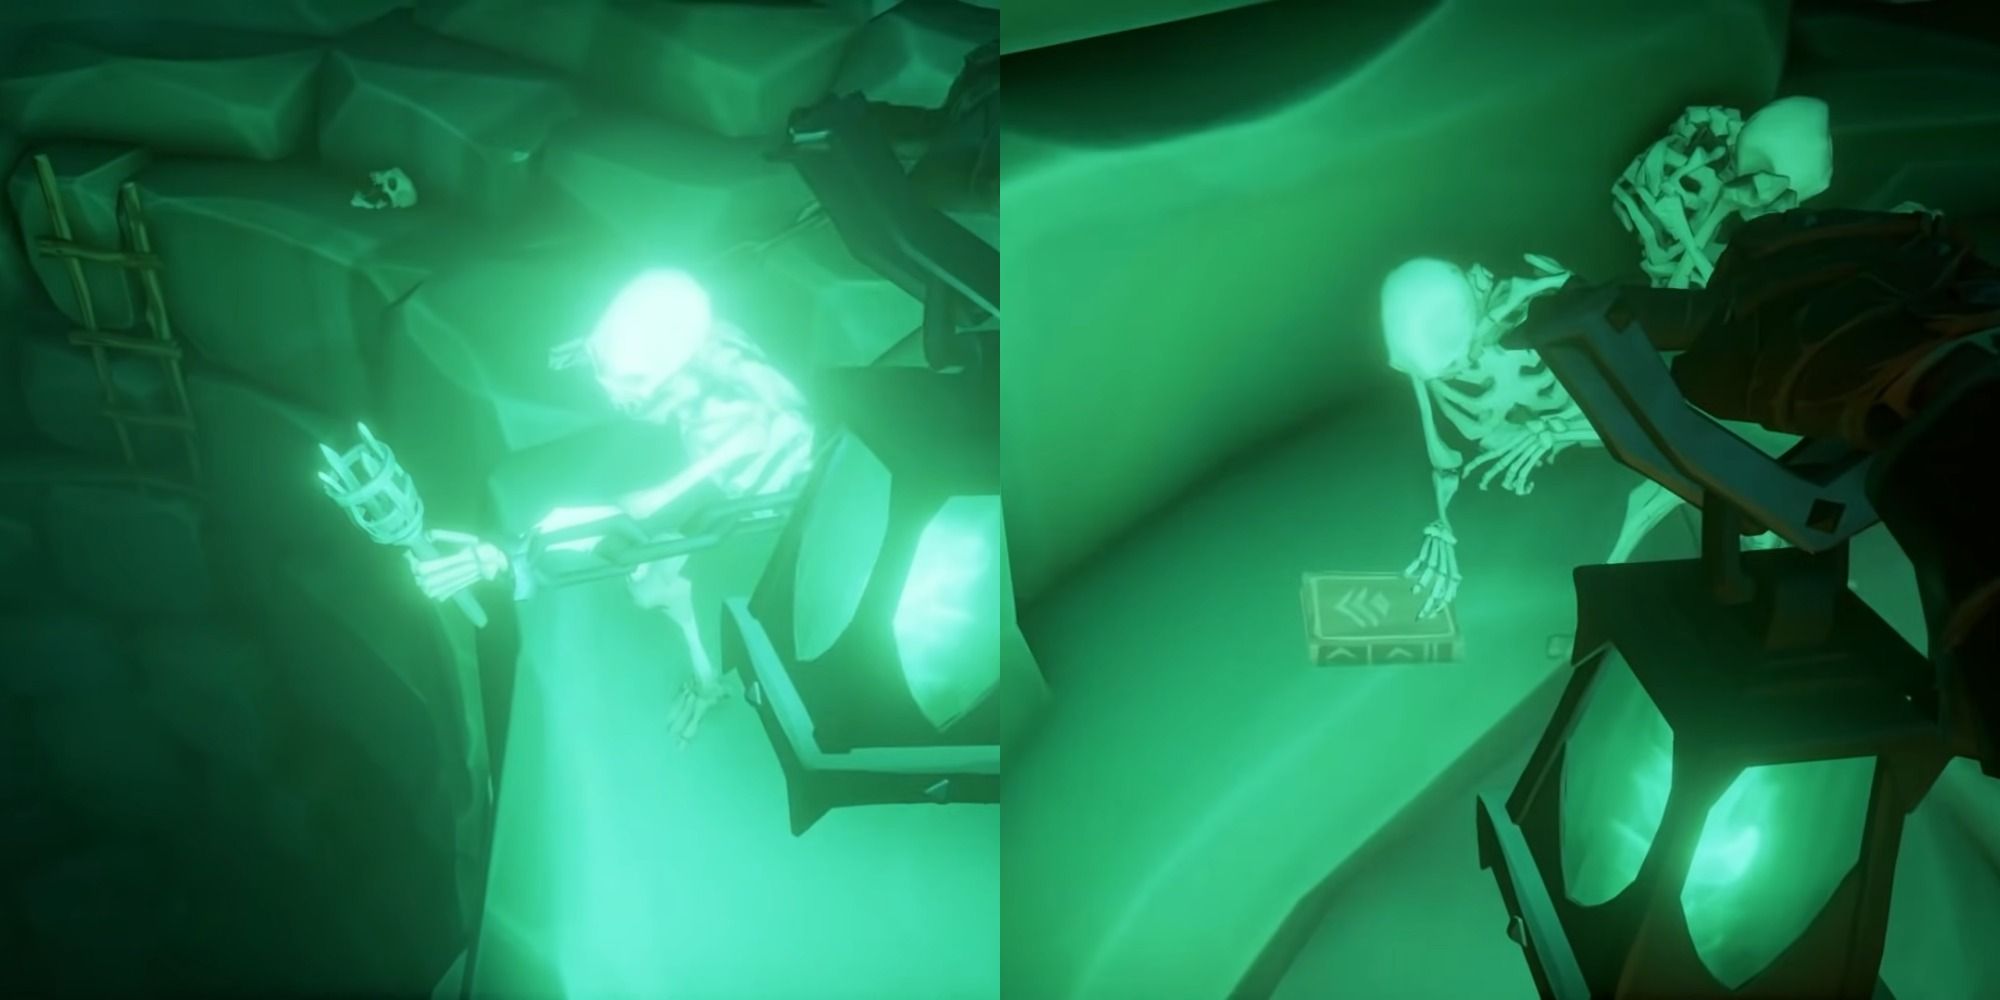
Next, hop onto the ship and head inside to the Captain's Quarters where two skeletons will be sitting at a desk. You want to take out your lantern and collect the Flame of Souls from the candle in the center, and you can then use it to customize your ship's lanterns.
Jump Into The Rowboat And Take It To Your Ship

There will be a rowboat just off the front of the shipwreck and you need to make your onto this, then start rowing. There will be a series of dialogue and you will need to keep going until you make it all the way back to your ship.
Go To The Shack On Your Left

Next, you need to go to the shack on your left that initially served as your stopping point when you were aboard your ship. Climb the ladder out front and then take your lantern to light the two lamps on either side of the door.
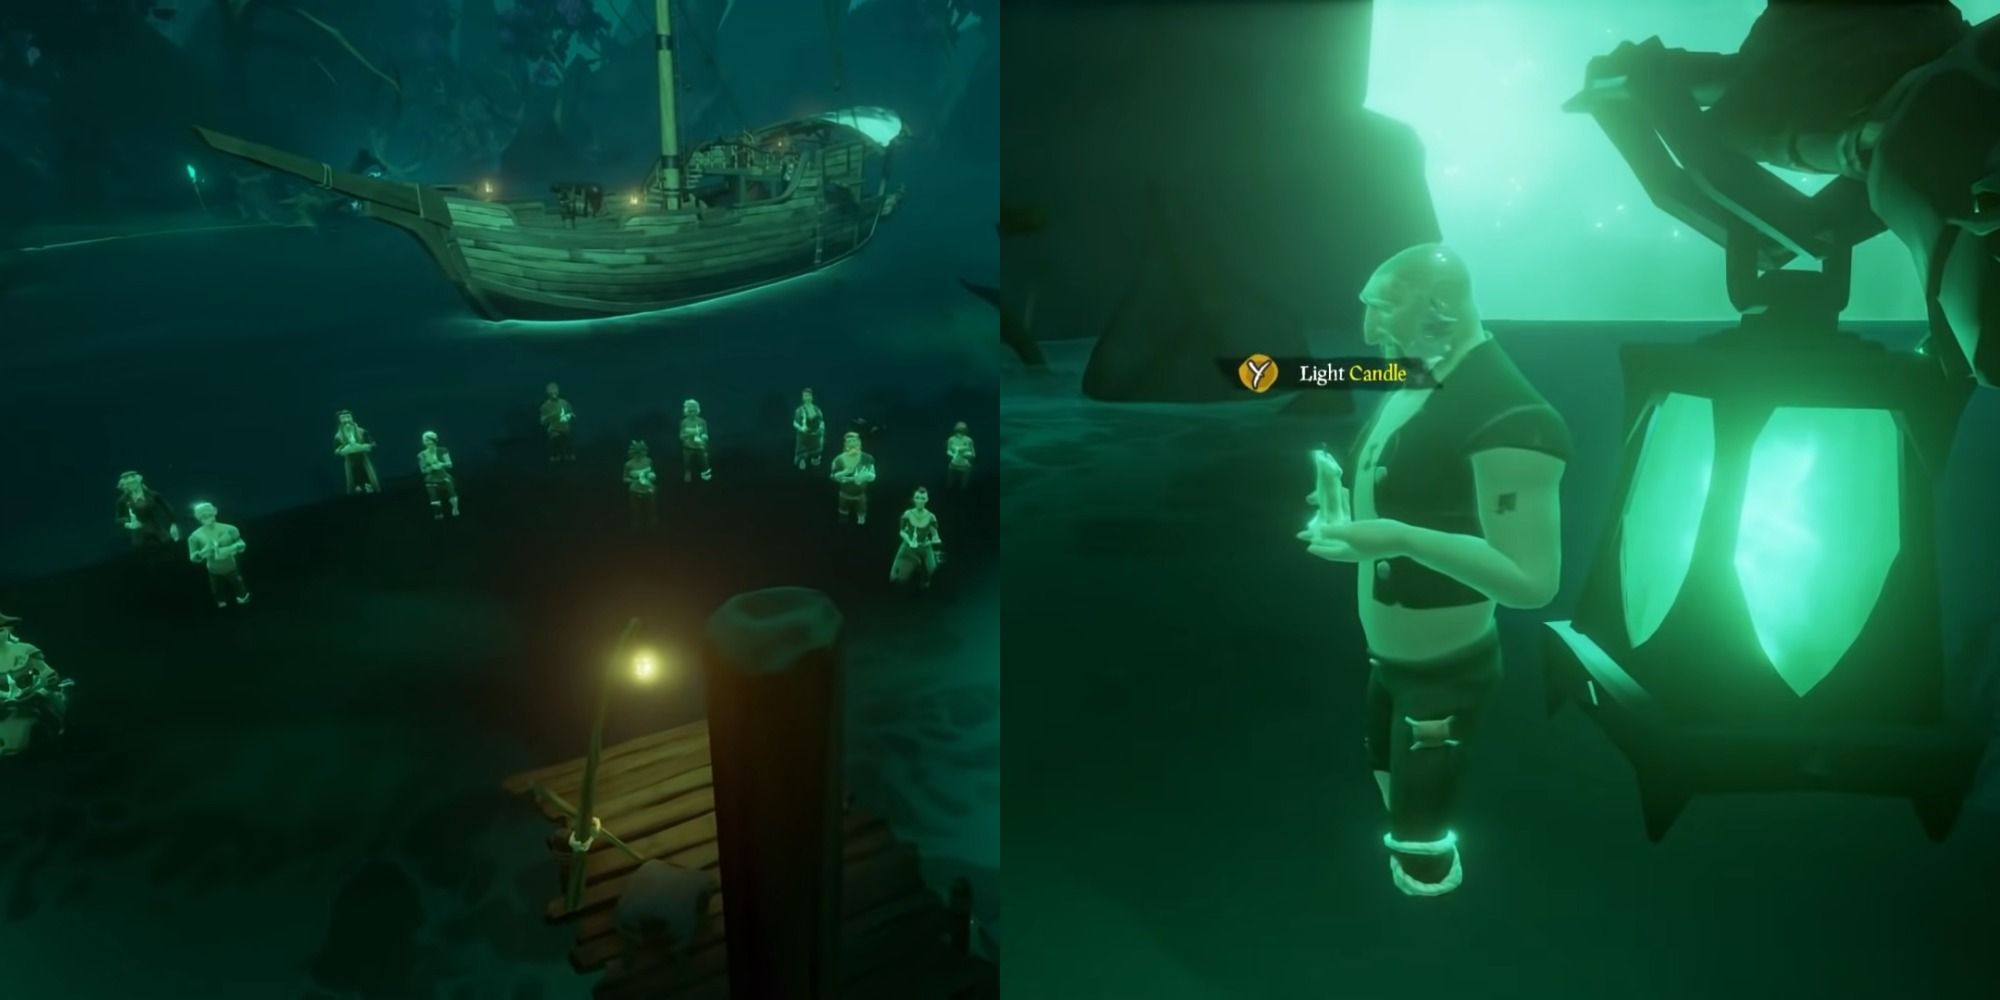
This will cause several souls to appear down below who are holding candles, but not all of them are lit. You need to light the unlit candles of three of the lost souls, which will then cause the Tia Dalma to appear.
Find Three Journals
Once this is done you need to find the three journals before you leave the area. You will have to light a torch near each one in order to reveal its exact location.
RELATED: Sea Of Thieves: How To Crossplay Co-Op Between PC and Xbox
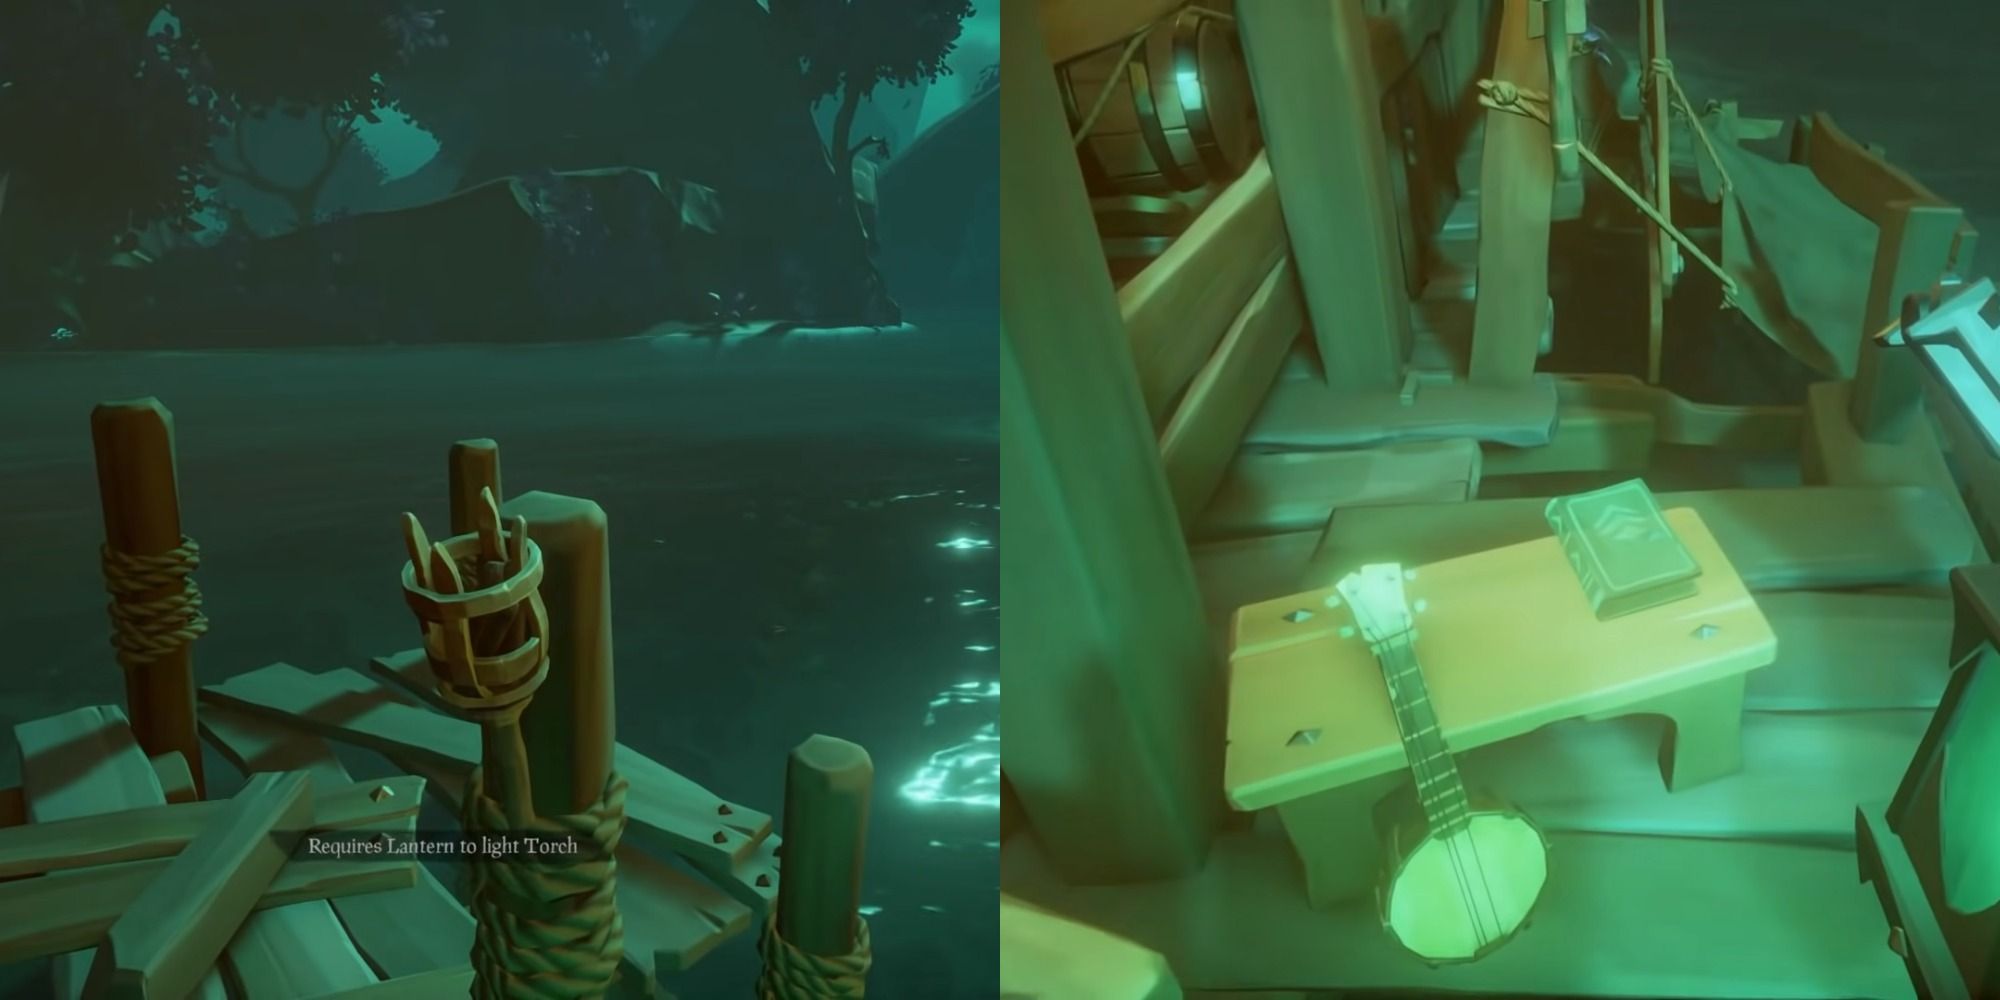
The first journal is near the shack at a smaller shack with a dock. You need to light the torch on the dock and the book will appear on a bench behind you.
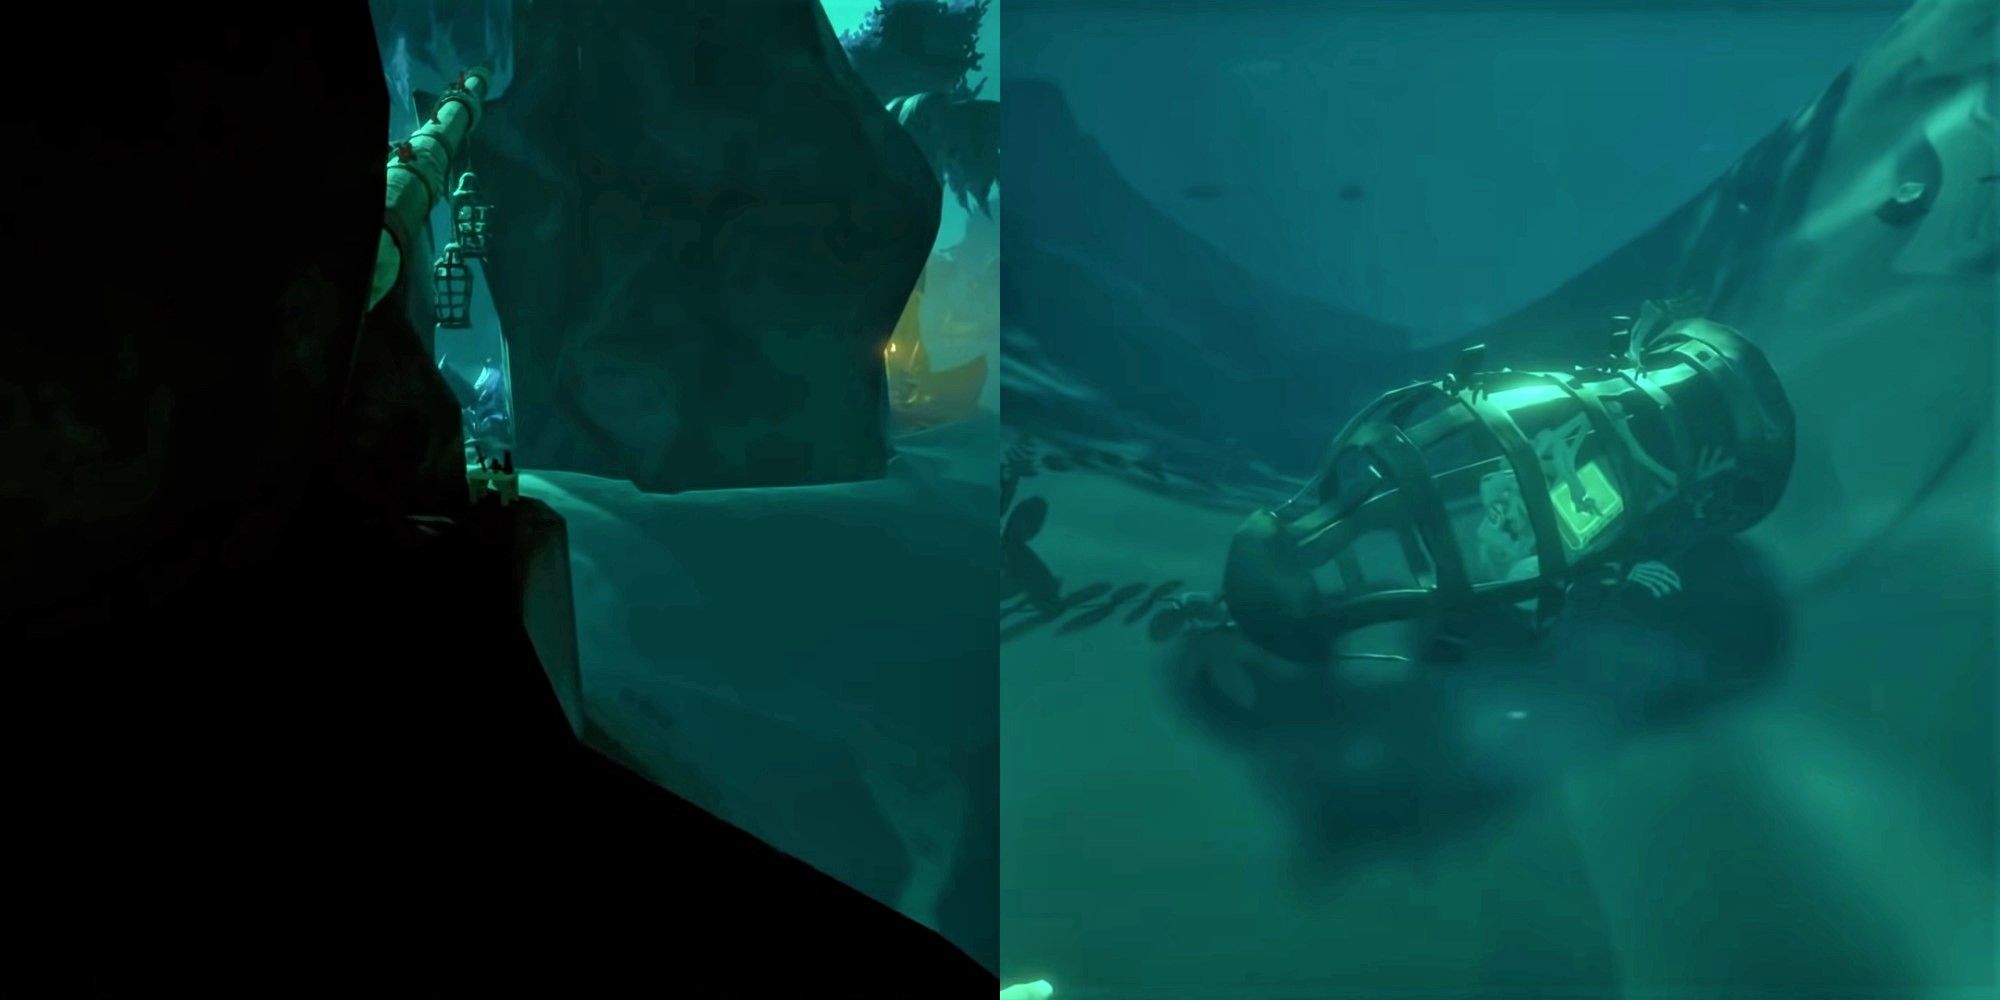
The second journal is a bit ways south of where you parked your ship. You want to look for two hanging cages and then climb up onto the rock face. The torch will be located here and then you need to shoot down the second cage with the skeleton inside of it. The cage will fall into the water and you have to go in after it in order to retrieve the journal.
The third and final journal is on an island across from the one with the cages and you will want to look for another small shack. The torch will be here, but once it is lit you want to head out back and follow the torches to the edge of the water.
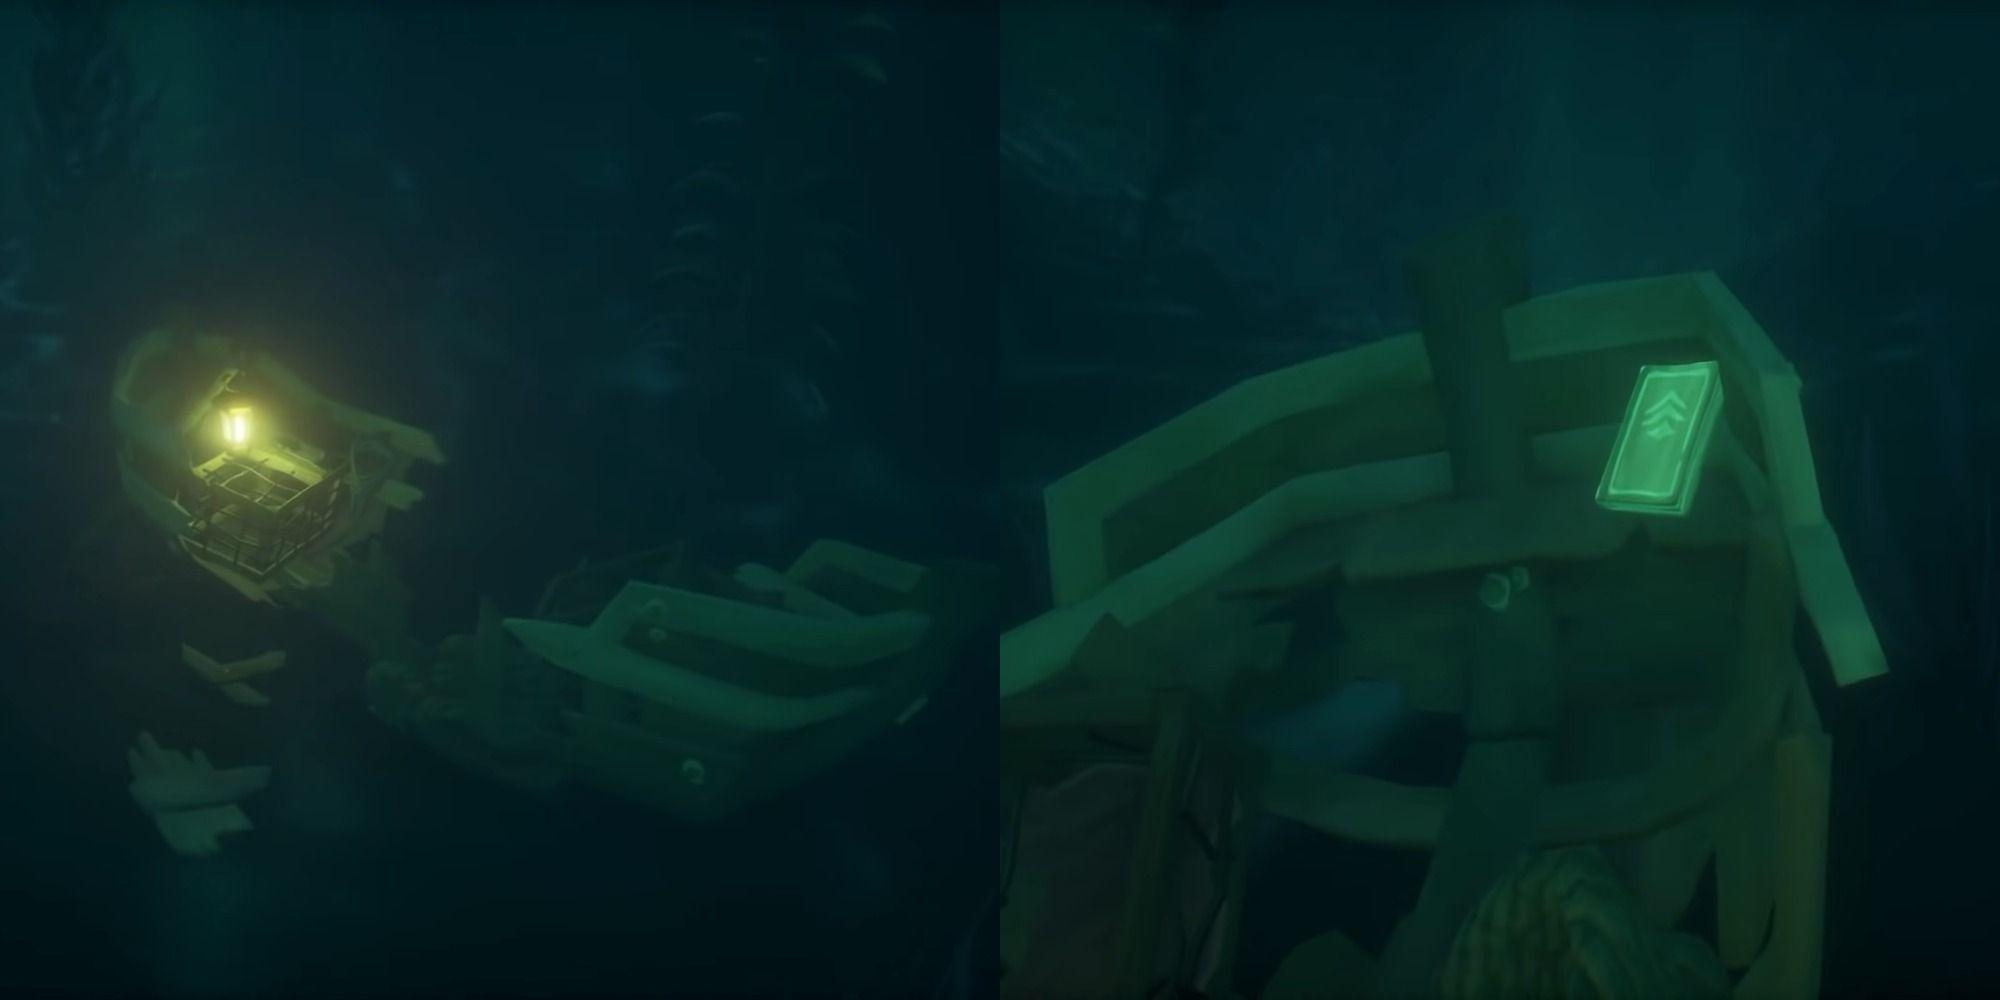
Once no more torches appear you need to jump into the water and look for the light near the seabed, which is a lantern in a rowboat. The third journal can be found here sitting at the end of it.
Head To The Next Area And Open The Gate
After you have all the journals you can hop back into your ship, which you chose based on the pros and cons of each of them, and head into the next area which is now open to you. You will keep going until you reach a small prison with a dock.
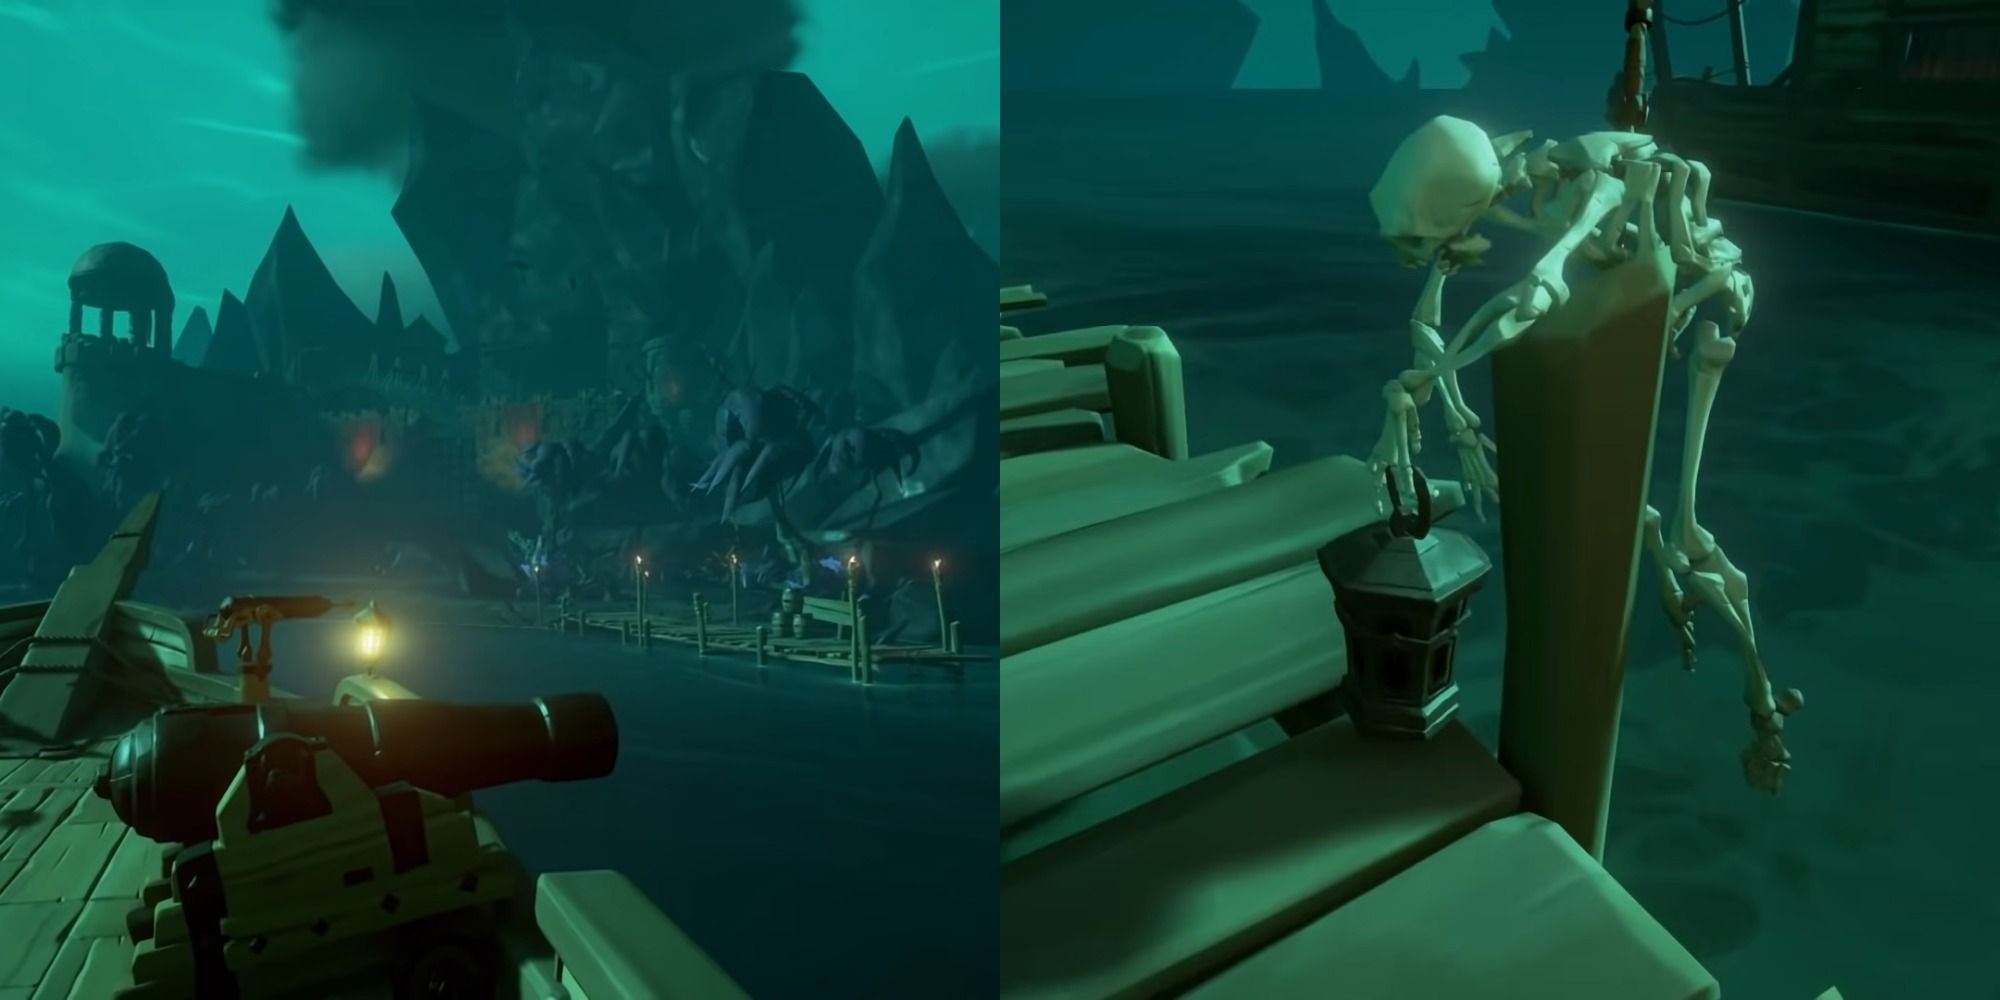
The first thing you need to do is open the gate, which can be done by lighting the lantern of the skeleton on the dock.
Collect The Lockpick And The Next Journal
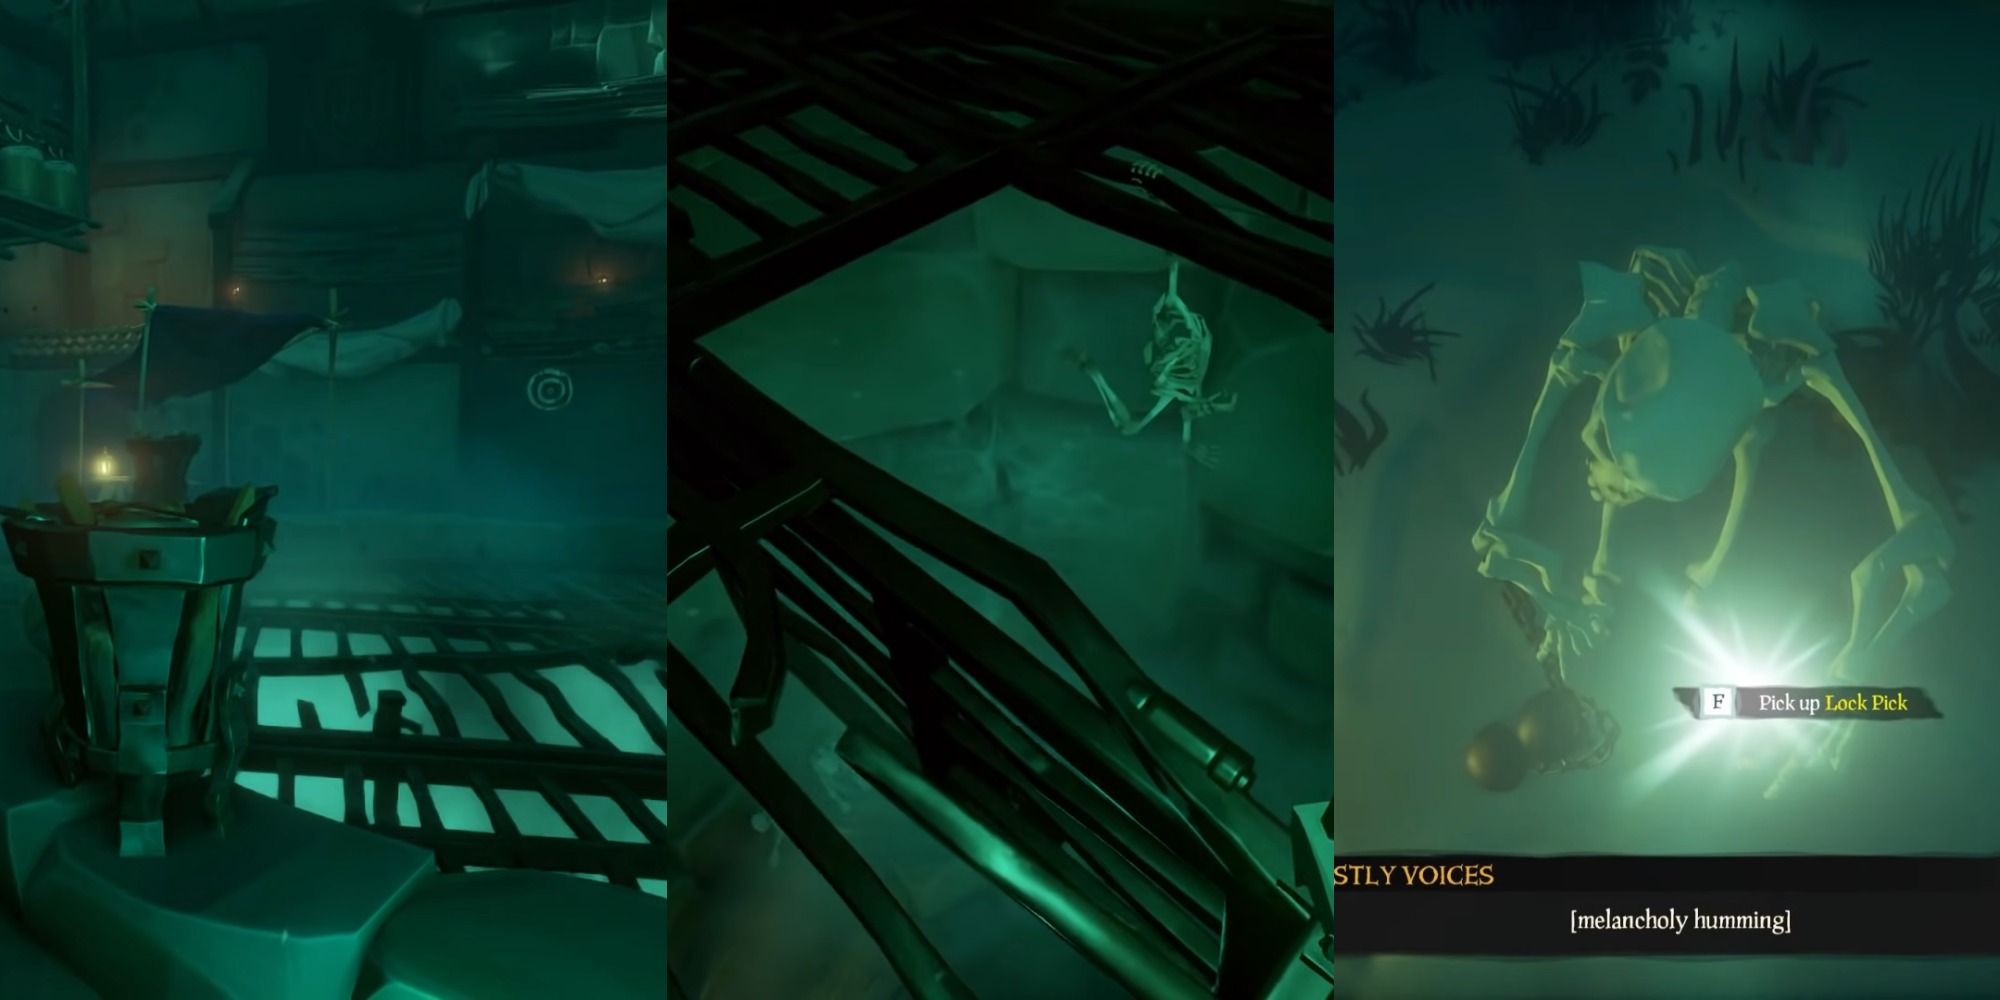
Once inside, head to the round grate in the center and light the four torches around its outer edge. This will open the grate and you need to jump all the way down until you hit the water. Next, swim down to the bottom and collect the lock pick from the skeleton.
When you climb out of the water you want to look for a skeleton holding a torch and light it, as this will reveal the fourth journal. It will be sitting on the other side of the pool and you just need to grab it before heading back up to the top.
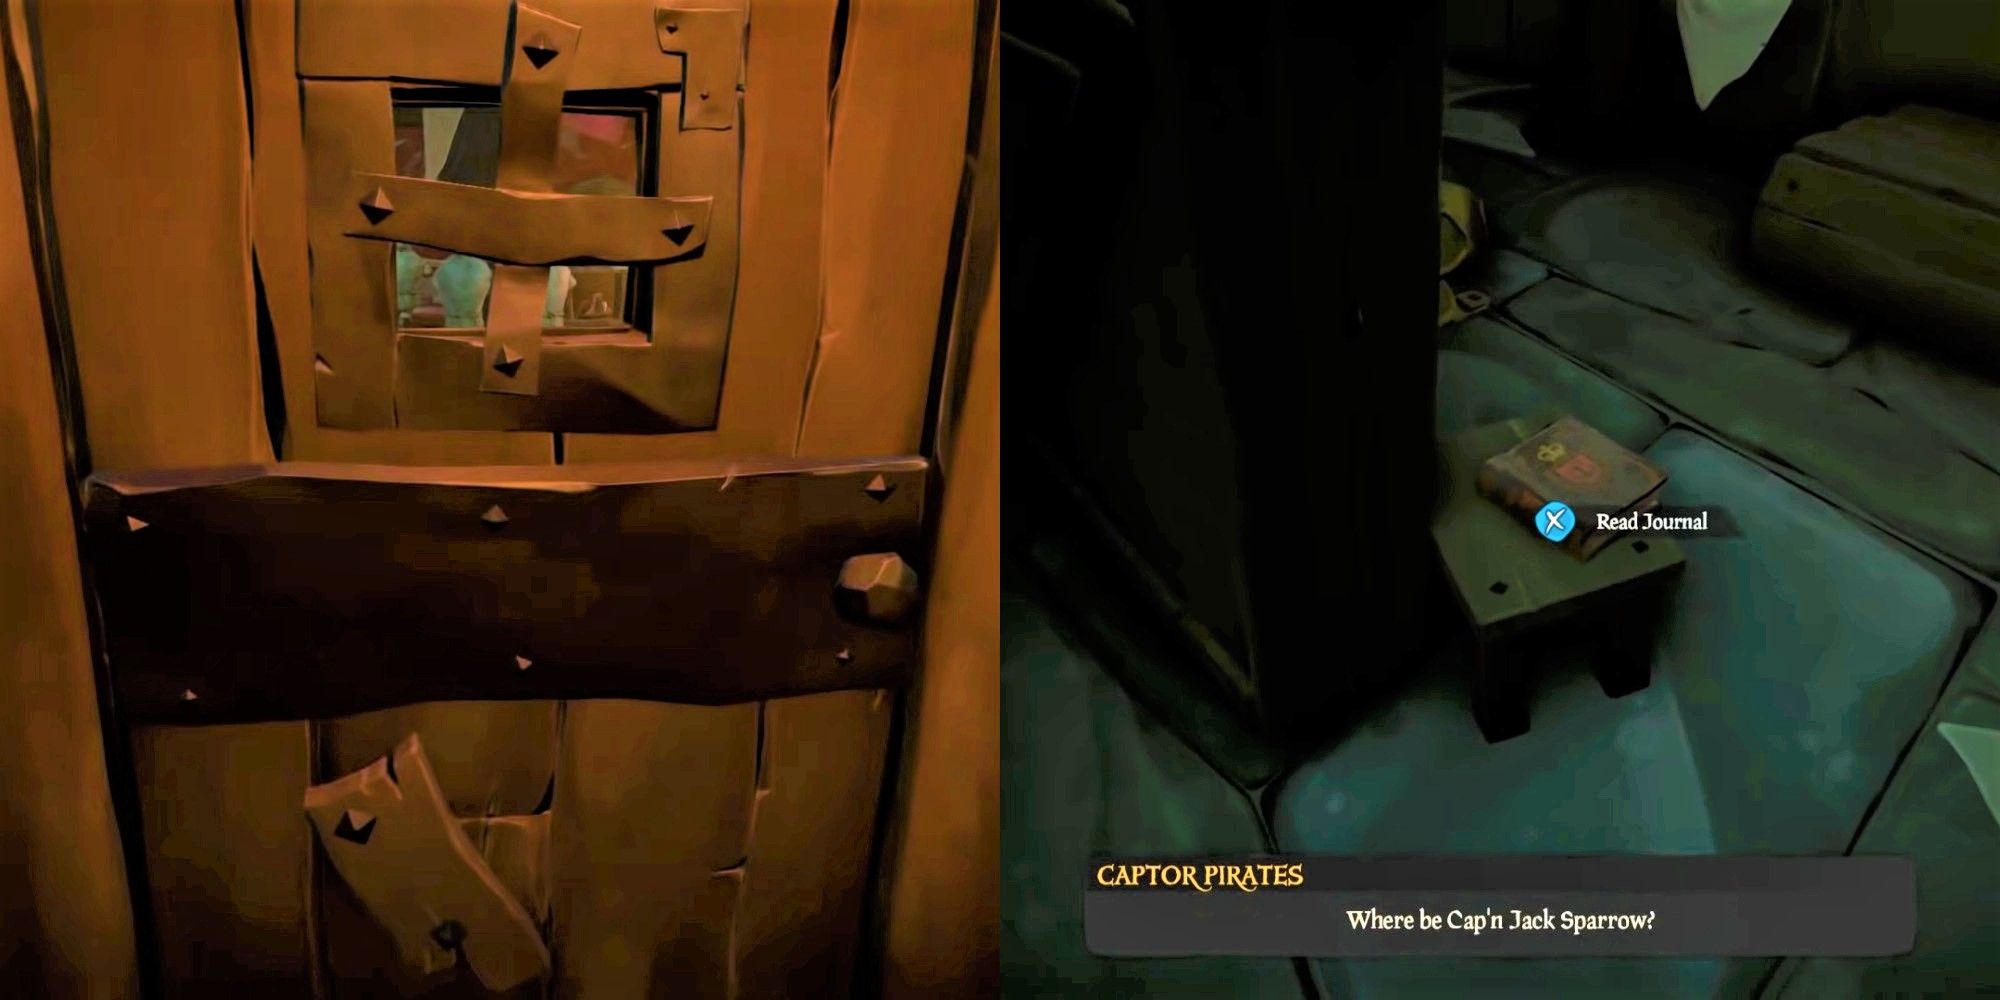
Pick The Door Lock And Collect The Fifth Journal
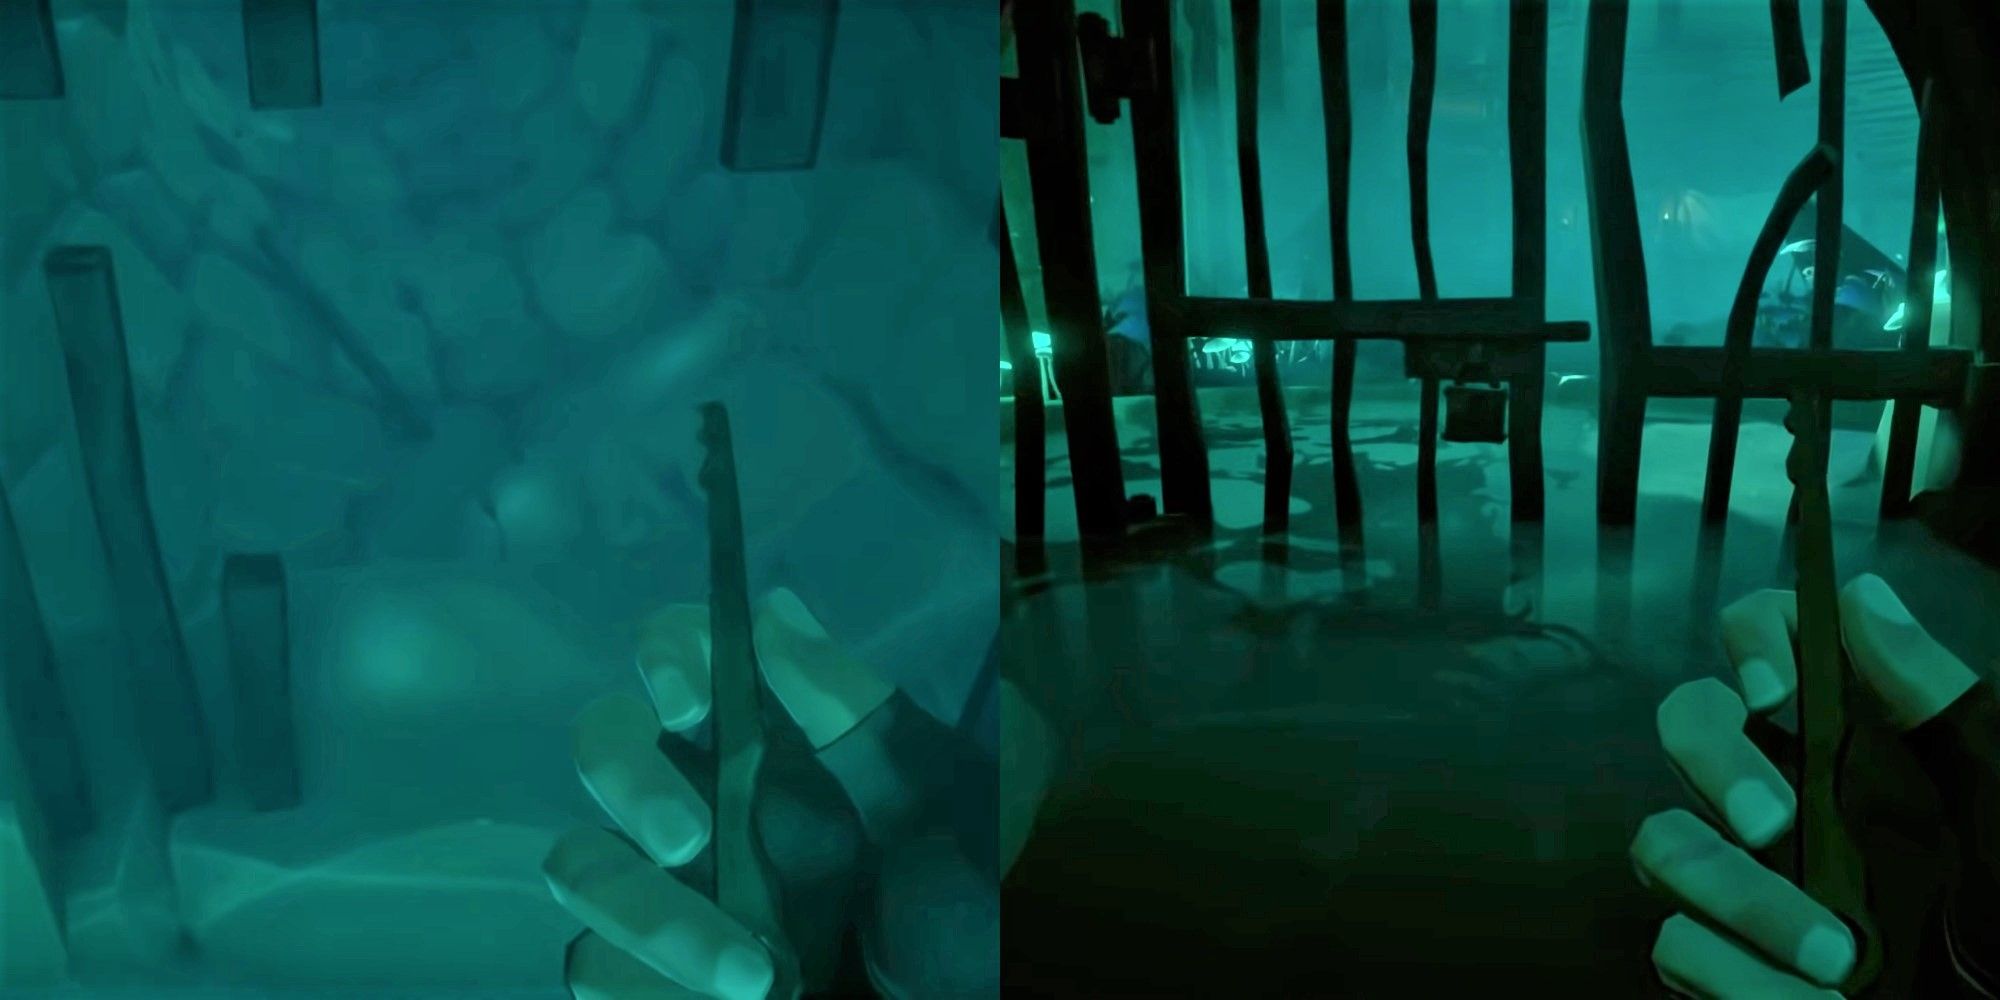
You can't climb up to get out of the well, rather, jump back into the water and look along the wall for an opening. You need to swim through the passageways until you reach a locked door above the waterline. The lock pick will open it up and allow you to enter the prison yard once again.

Once you are back in the main area you need to light the torch in front of one of the cells to reveal the fifth journal. However, there is no door to let you in and you will have to go to the other side of the plaza to find a locked jail cell.
RELATED: Sea Of Thieves: Can You Sell The Trident Of Dark Tides?
Take your lock pick once again to open this door, then travel along the roofs until you can drop down into the room on the other side. You will have to use your sword to cut a rope to drop a platform along the way, otherwise, it is very straightforward.
Take The Cage Up And Follow The Platforms
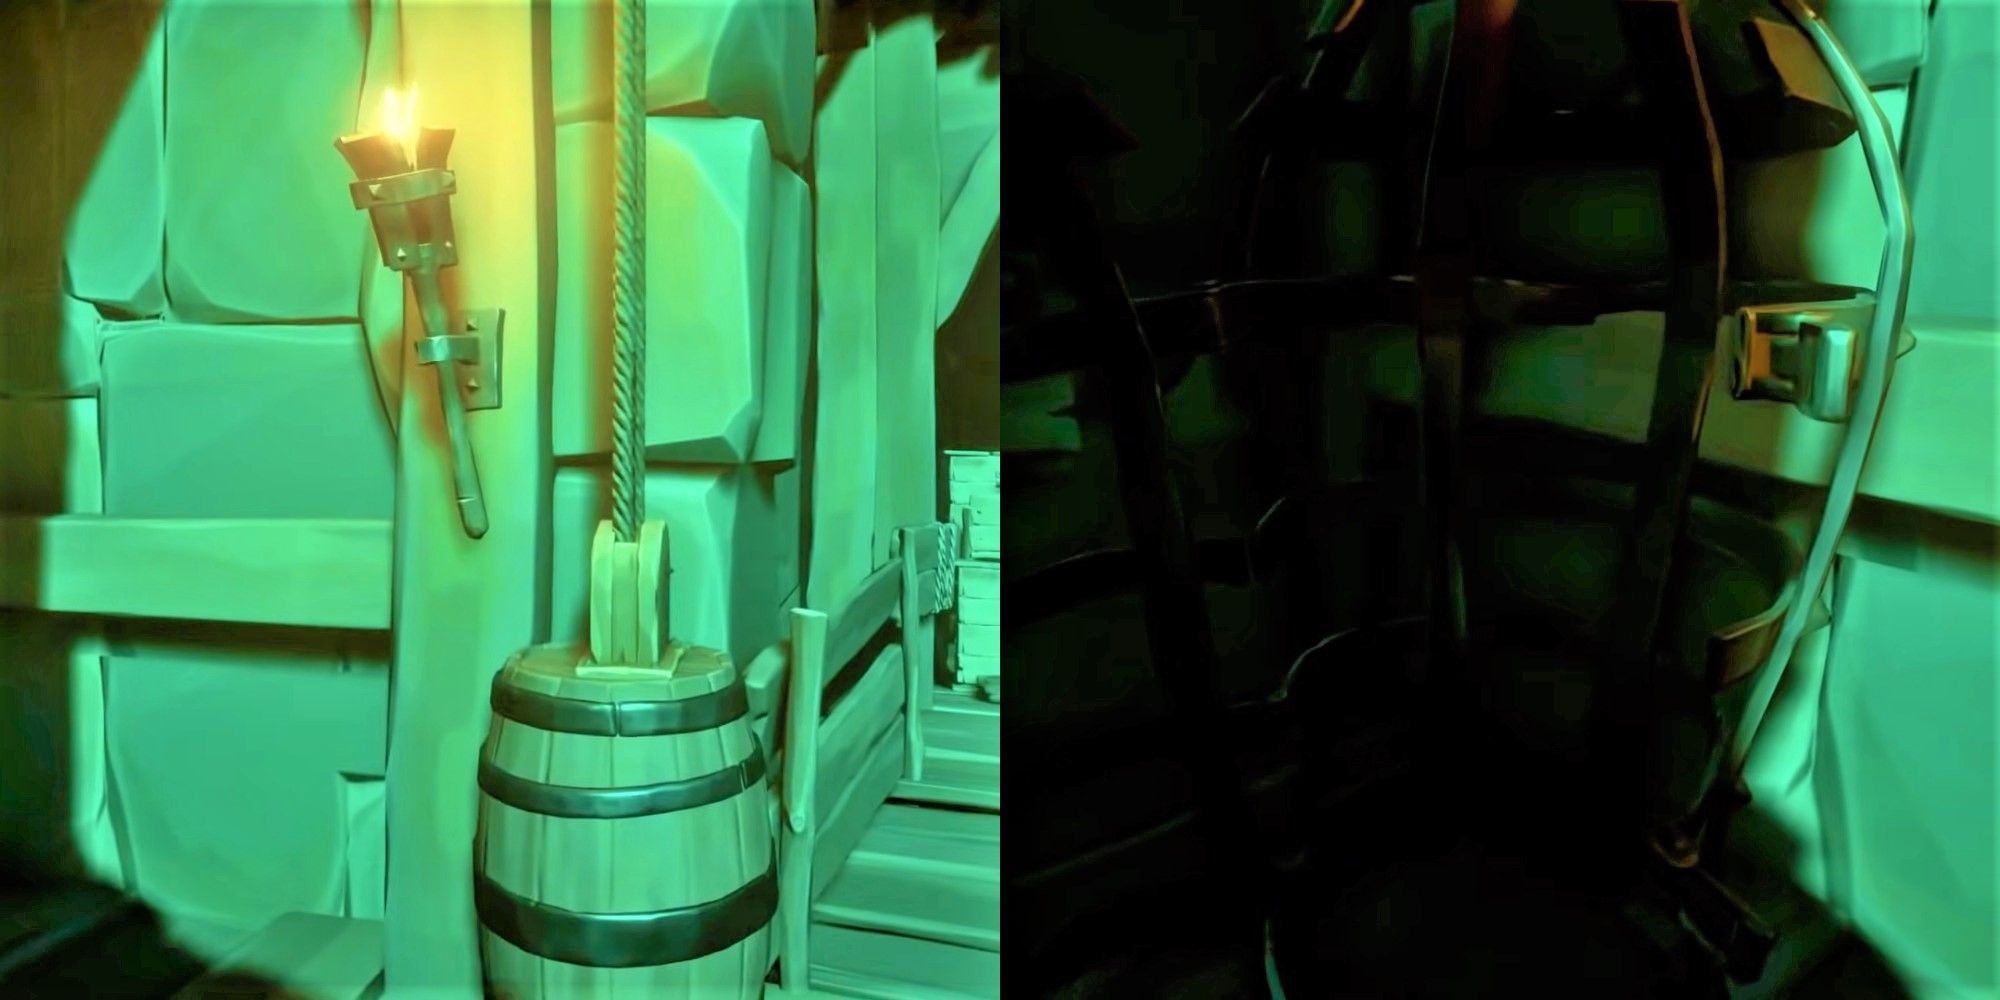
Head back out to the main area and look for a pulley along the outer edge near two cages. Activate the pulley to bring down one cage and then step into the cage as it will take you up to the second level.
After you reach the top head to your left and follow the platforms that take you along the outer edge of the wall. Eventually, you will reach some cannons and you need to activate the pulley after them to take yourself up to the next level once again, similar to how you would in The Sunken Pearl Tall Tale.
Ignite The Beacons Then Defeat The Phantoms
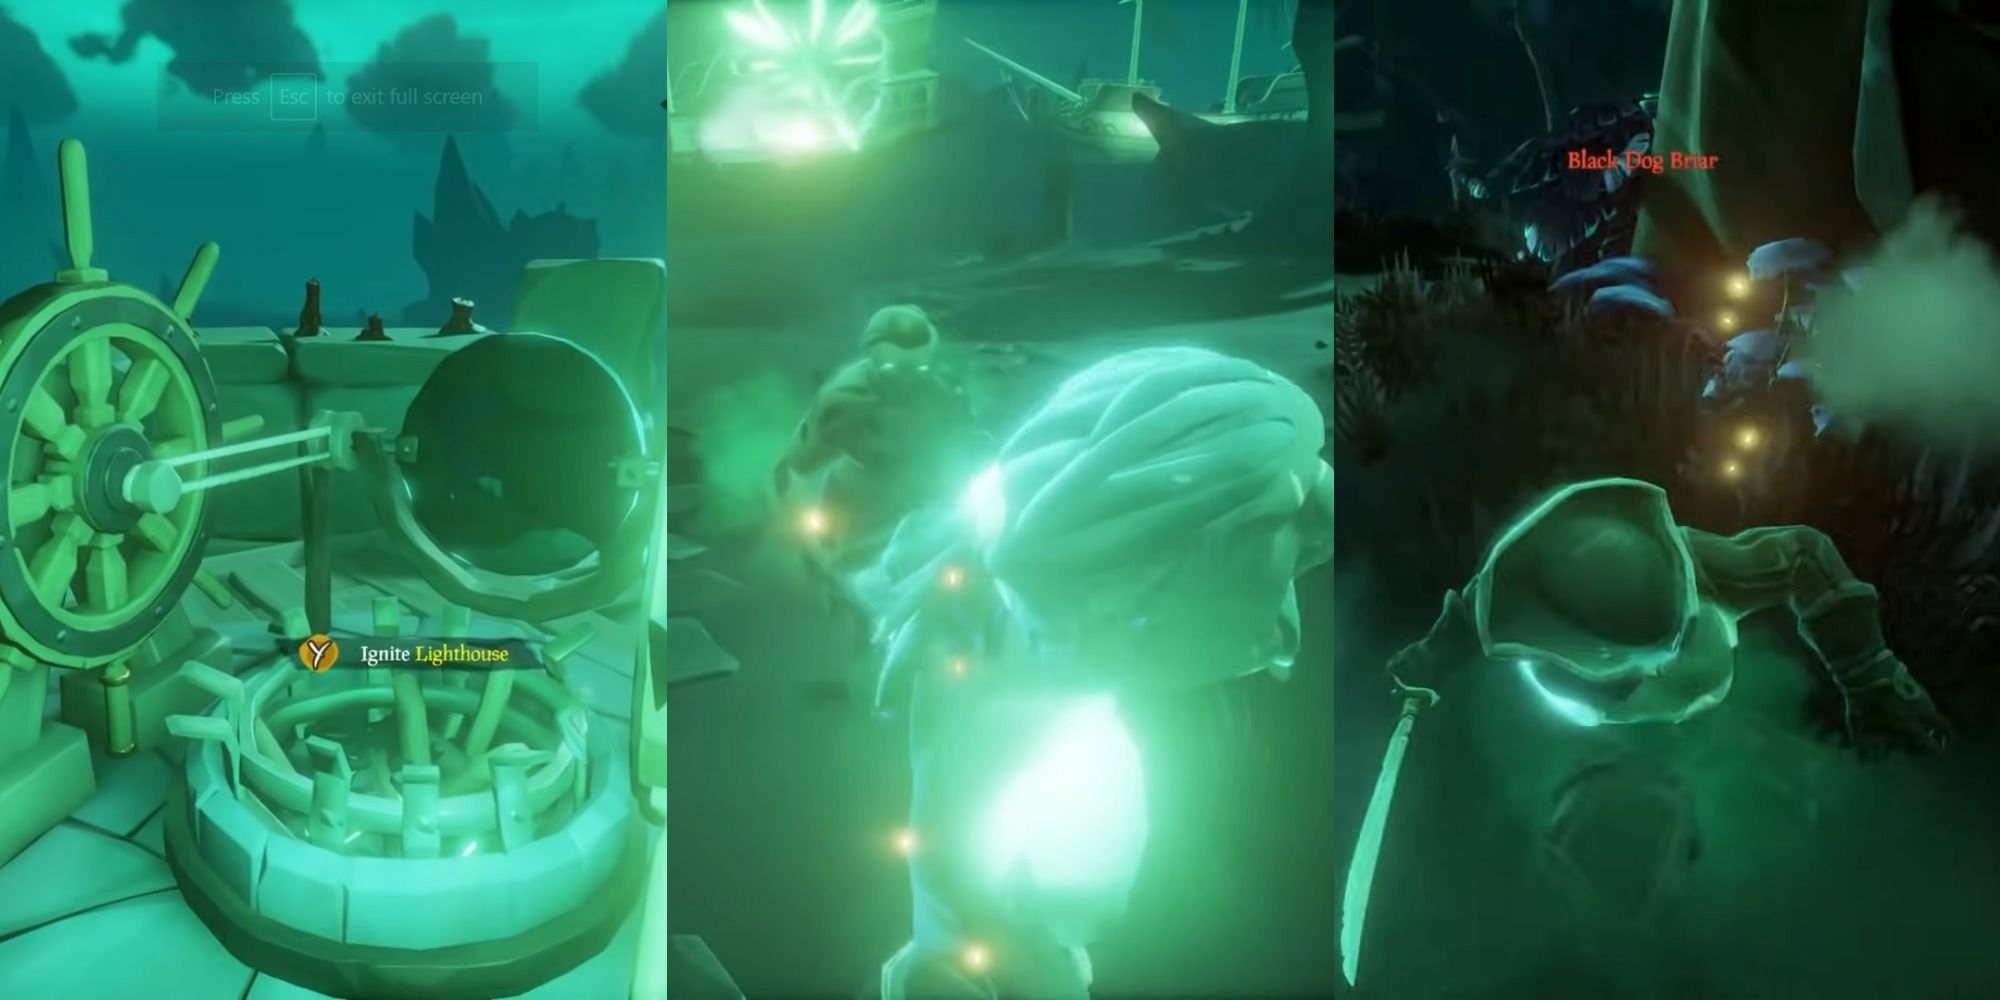
Go to the left and you will see a setup similar to the one you encountered during the first tall tale. Light the brazier in the center then spin the wheels to ignite the braziers on the rockfaces out on the water.
This will signal phantom boats to appear and you need to head down to the beach and take down each of the phantoms. After this is done you will take on Captain Black Dog Briar who will flee once defeated.
Take Your Ship And Follow The Black Pearl

Hop back aboard your ship and head to the next area, which will eventually have you following The Black Pearl herself with Captain Barbosa at the helm.
You will come across him fighting a town, and you will want to get in on the action, but not from your own ship. If you want to earn the commendation and unlock a new shanty, you need to go to the town, run up the stairs, and use the cannons that are at the top to shoot at The Black Pearl.
Other Town Commendations And The Mercado Key
There are a few other commendations in the town, and a few journals, that you will want to snag. First, head to the dress shop where you will see Jack Sparrow enter through the door. Follow him inside and then look to your left as the first journal will be sitting here.
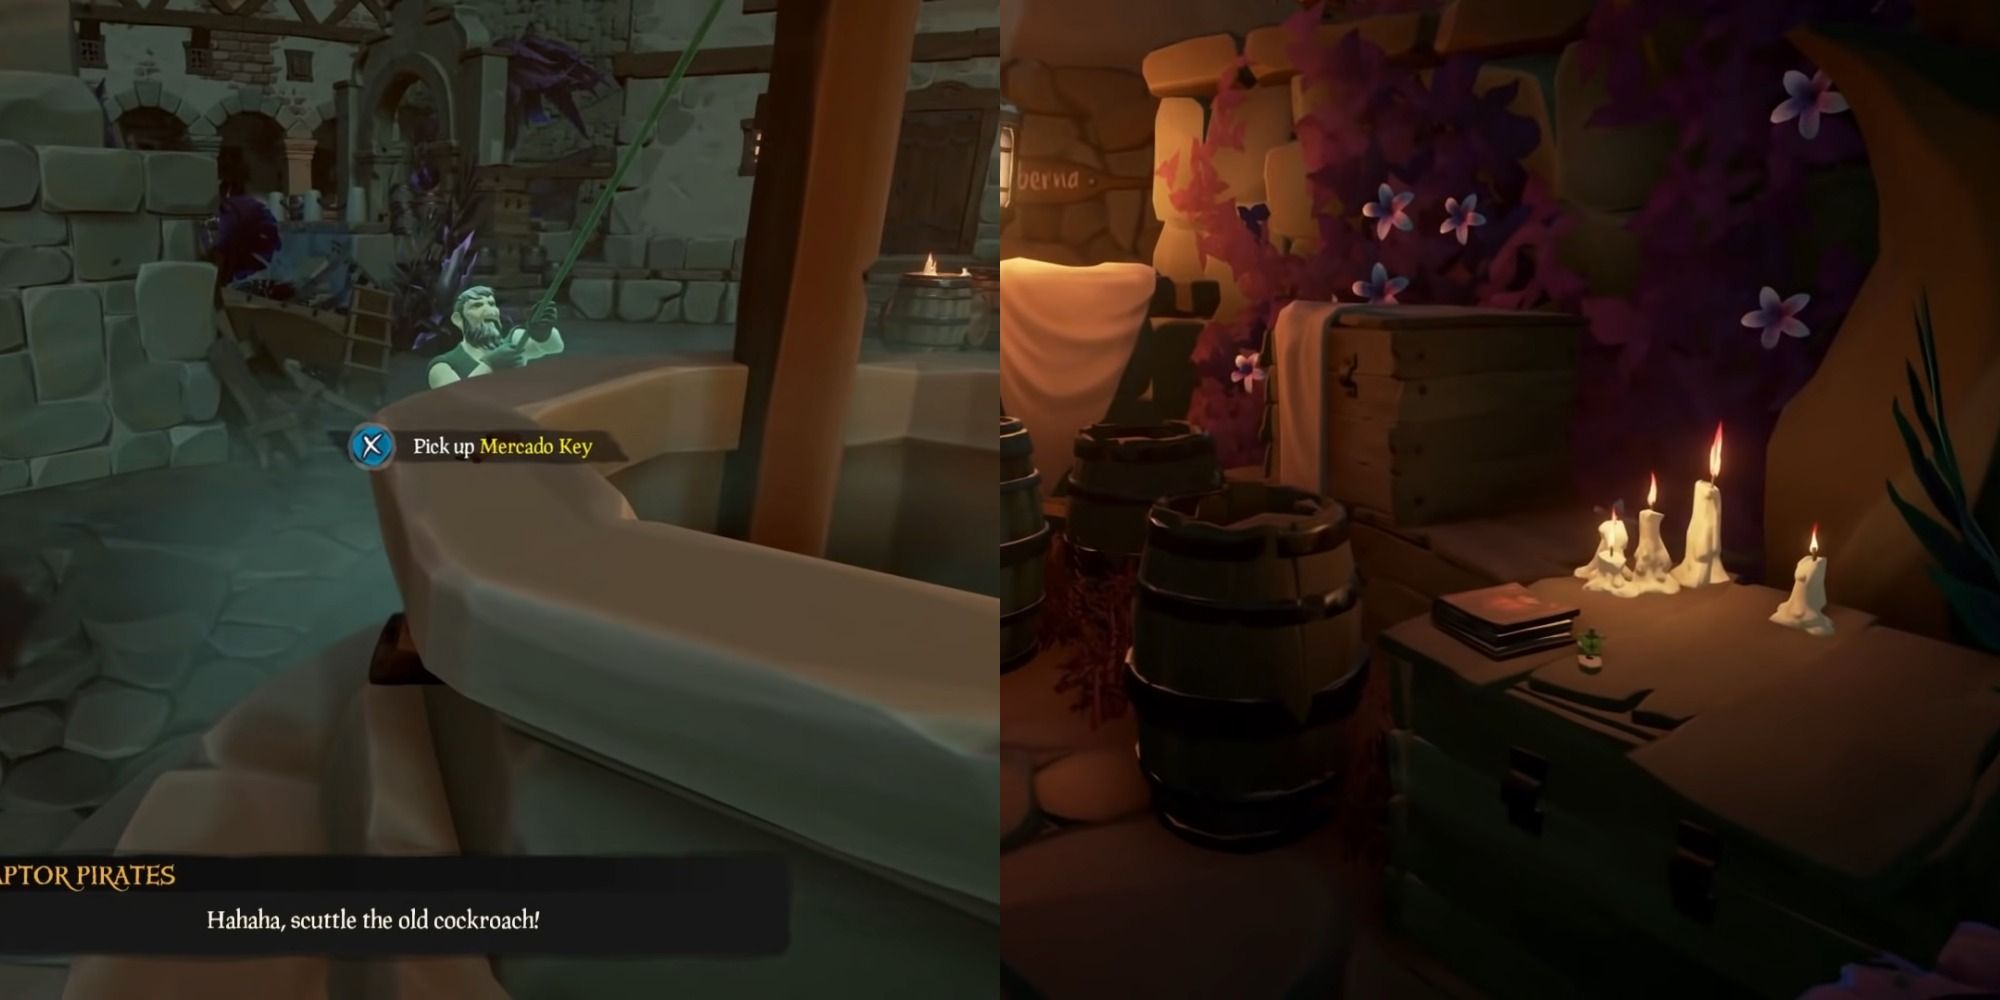
Next, head back to the square and find the well, then pick up the Mercado Key which is sitting on the backside of it. You can go back to the dress shop and make your way through it by heading to the right of the shop.

Along the way make sure you snag the journal by some barrels on your right, then cross the bridge and open the door with your key. Go up the stairs and find the crate, then close the lid in order to reveal a note. Finally, go to the window and light the torch so you can continue onto the next leg of your journey.
Take A Rowboat Ride And Dig Up The Valuables

Go down to the water and hop into the waiting rowboat with the skeletons, then make your way down the canal. You will come across a gate and you just have to jump out and activate the pulley to move onto the next area.
There is also a journal right before you reach the phantoms in a shootout and it will be on your left-hand side up a short set of stairs.
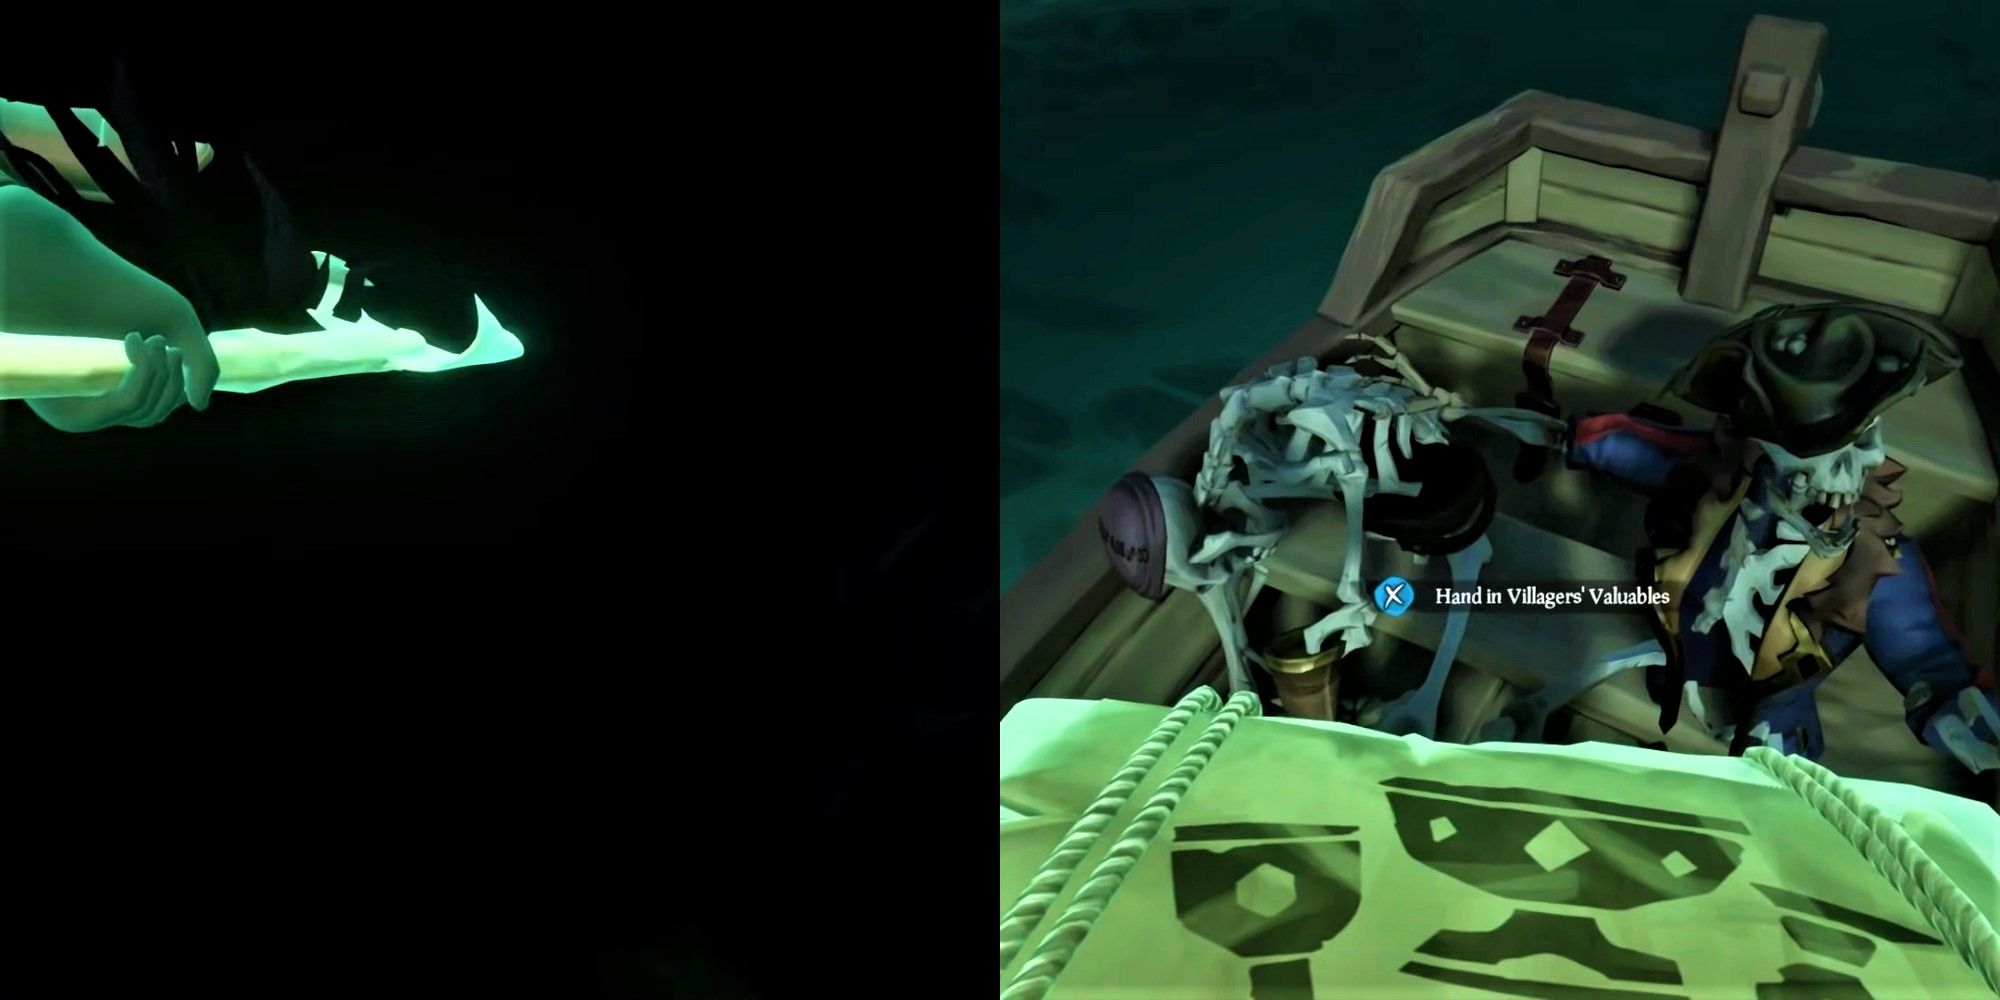
Near the end of the ride, you will see some phantoms with shovels on the left-hand side. Jump out and help them out by pulling out your own shovel to dig. A crate will appear and you will need to take this back to your rowboat and hand it to the skeletons, even though it won't earn you a lot of money like these tried and true methods.
Follow Captain Jack Sparrow Then Release The Prisoners

Head back to the bridge in the town that took you to the second area and take the stairs on the right down to the water. You will see a drunk pirate and Captain Jack Sparrow will hop out of the barrel behind him. You need to chase him until he runs through a massive gate.
RELATED: I Love Sea Of Thieves But It’s One Crash Away From Being Uninstalled Forever
However, before you continue your chase head up the stairs to your right as there is a journal at the top. Once it is collected go back down and activate the pulley to make your way up and around the gate.
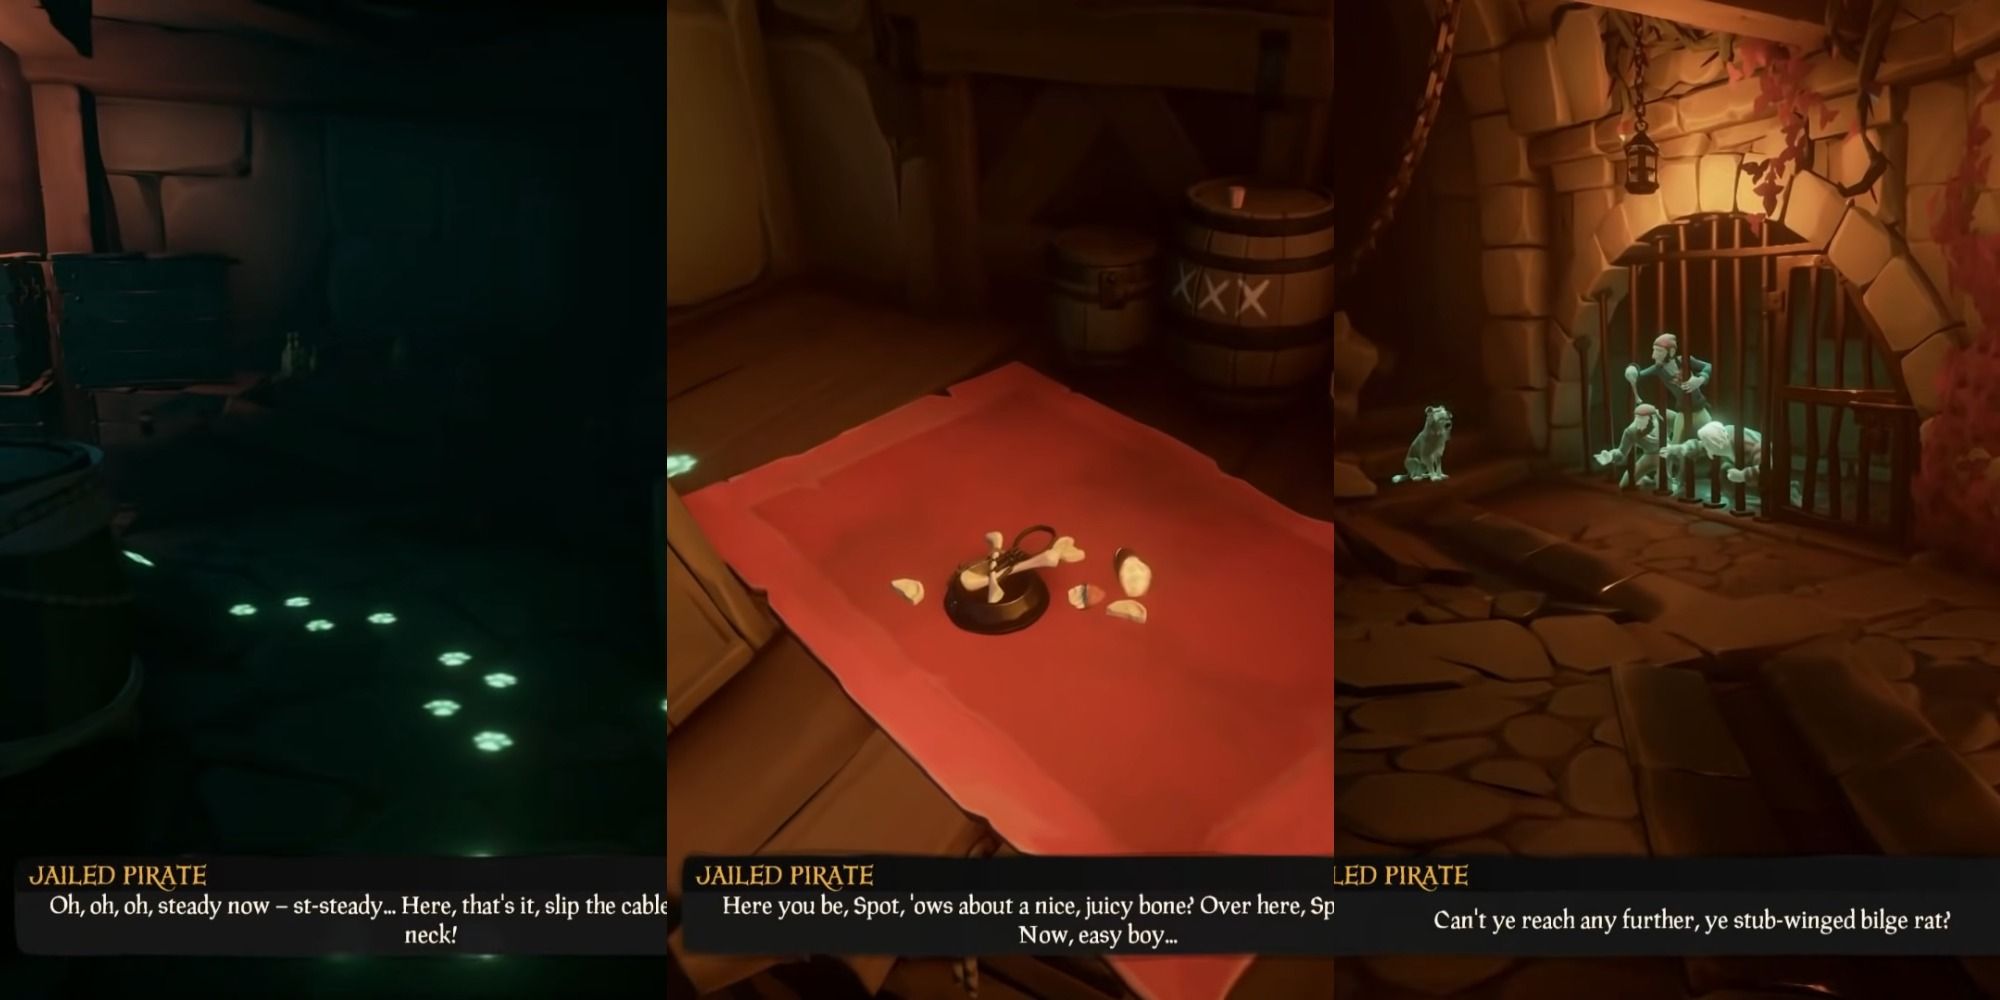
Eventually, you will make it to an area where the prisoners are trying to retrieve the keys from a dog. The dog's footprints will appear and you will need to follow them to its food bowl, which is where the keys can be collected.
Open the first gate, then release the prisoners from their cell. There will be one more door after this which the keys will unlock.
Move The Platforms Then Find The Key

You will make it to a room where you need to activate two pulleys and shoot one rope to move three platforms into position. After this, you will follow Jack Sparrow up to a set of double doors that you need another key to open, but it is easier to find than the Silver Blade Key. The key can be found in the well and you just need to activate the pulley to pull it up to the top.
Fight The Phantoms And Collect The Journal

After you catch up with Jack you will enter into a fight with some phantoms, and it isn't anything too difficult. However, make sure to collect the last journal which requires jumping down a roof to a balcony and it will be sitting on the banister.
There will be more phantoms for you to fight along the way up until you make it back to your ship. The final fight involves you killing the captain you fought earlier named Black Dog Briar.
Find Captain Jack Sparrow
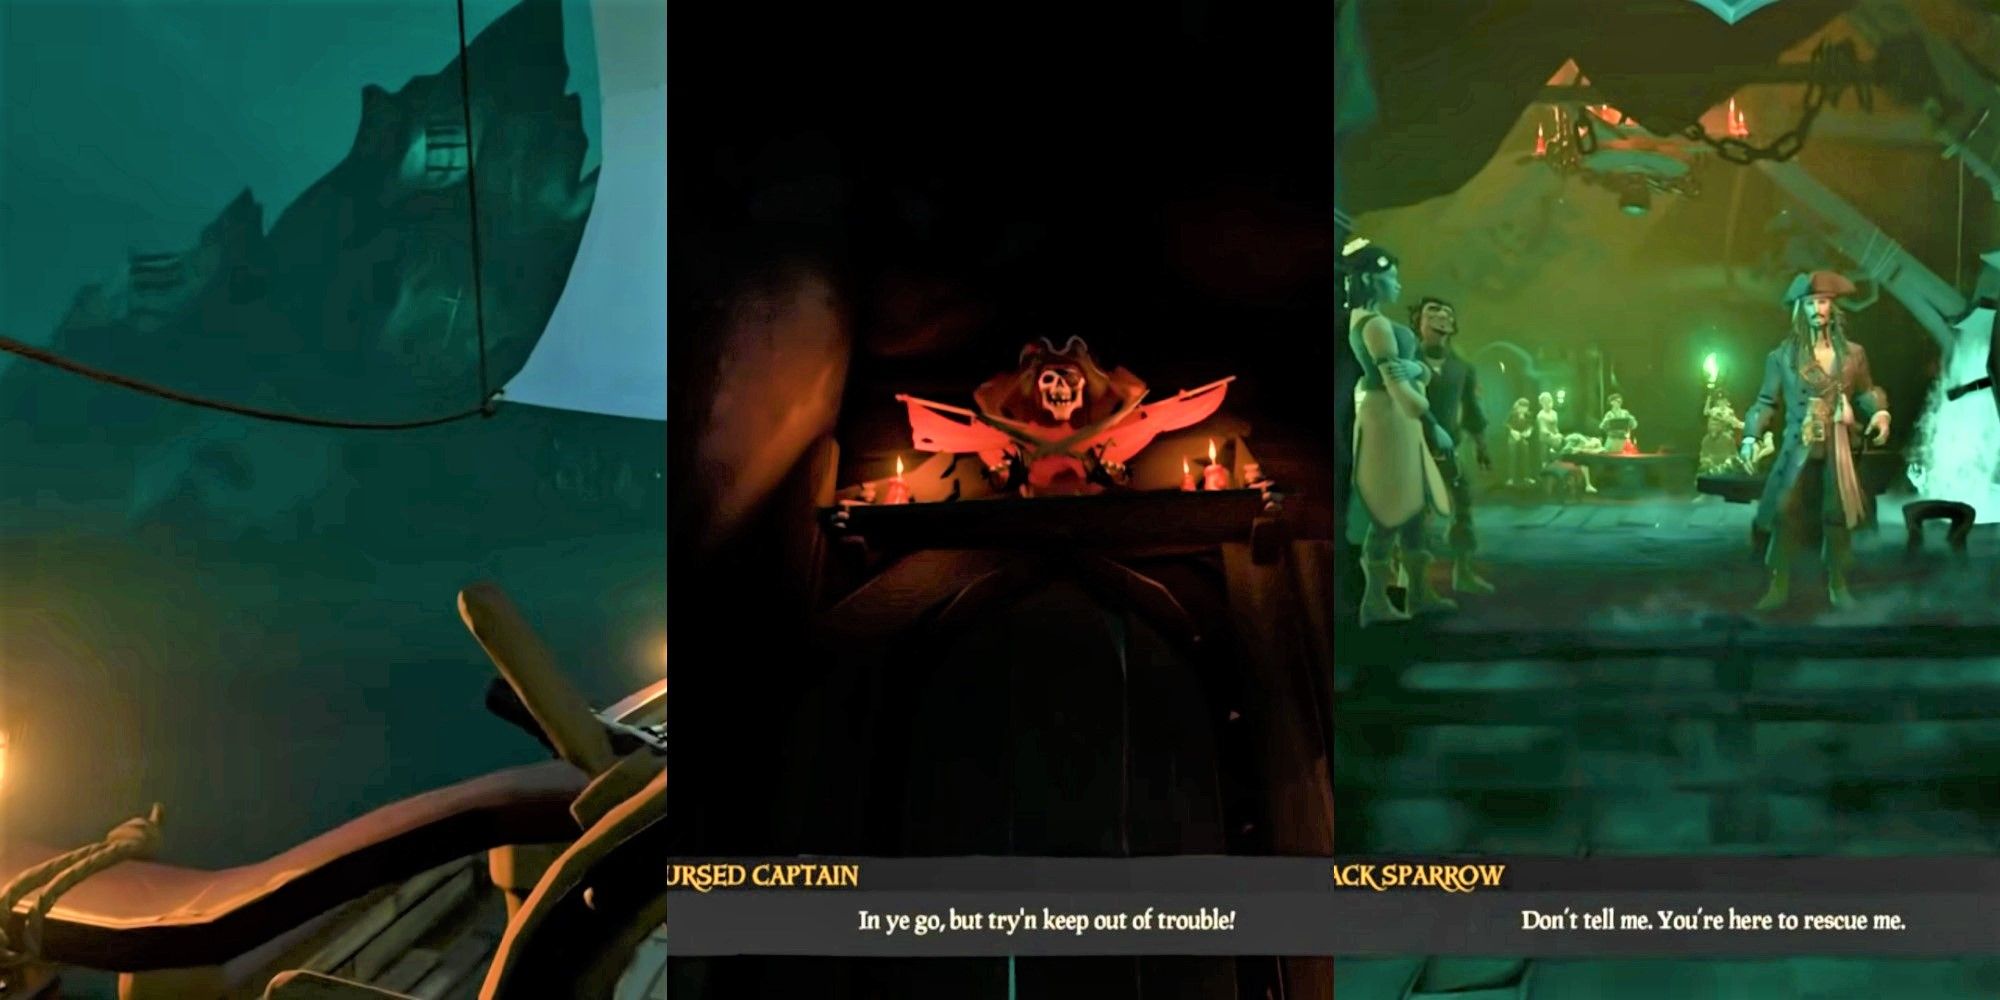
You can now head back to your ship where the Flying Dutchman and The Black Pearl will appear. After they destroy Barbosa's ship you can sail forward until you reach an island. This is where you will find Captain Jack Sparrow and you need to find the door with the Cursed Captain's skull over it.
There will be some dialogue, but at this point, you have finished the tall tale and can move onto the next one until you reach one of the final tall tales called The Dark Brethren.
Next: Every Curse In Sea Of Thieves (& How To Obtain Them)