Quick Links
- A Note About Anima Weapons Before You Begin
- Complete The Quest 'An Unexpected Proposal'
- Complete The Quest 'Soul Without Life'
- Complete The Quest 'Toughening Up'
- Complete 'Coming Into Its Own'
- Complete 'Finding Your Voice'
- Complete 'A Dream Fulfilled'
- Complete 'Future Proof'
- Complete 'Born Again Anima'
- Complete 'Body And Soul'
- Complete 'Words of Wisdom'
- Complete 'Best Friends Forever'
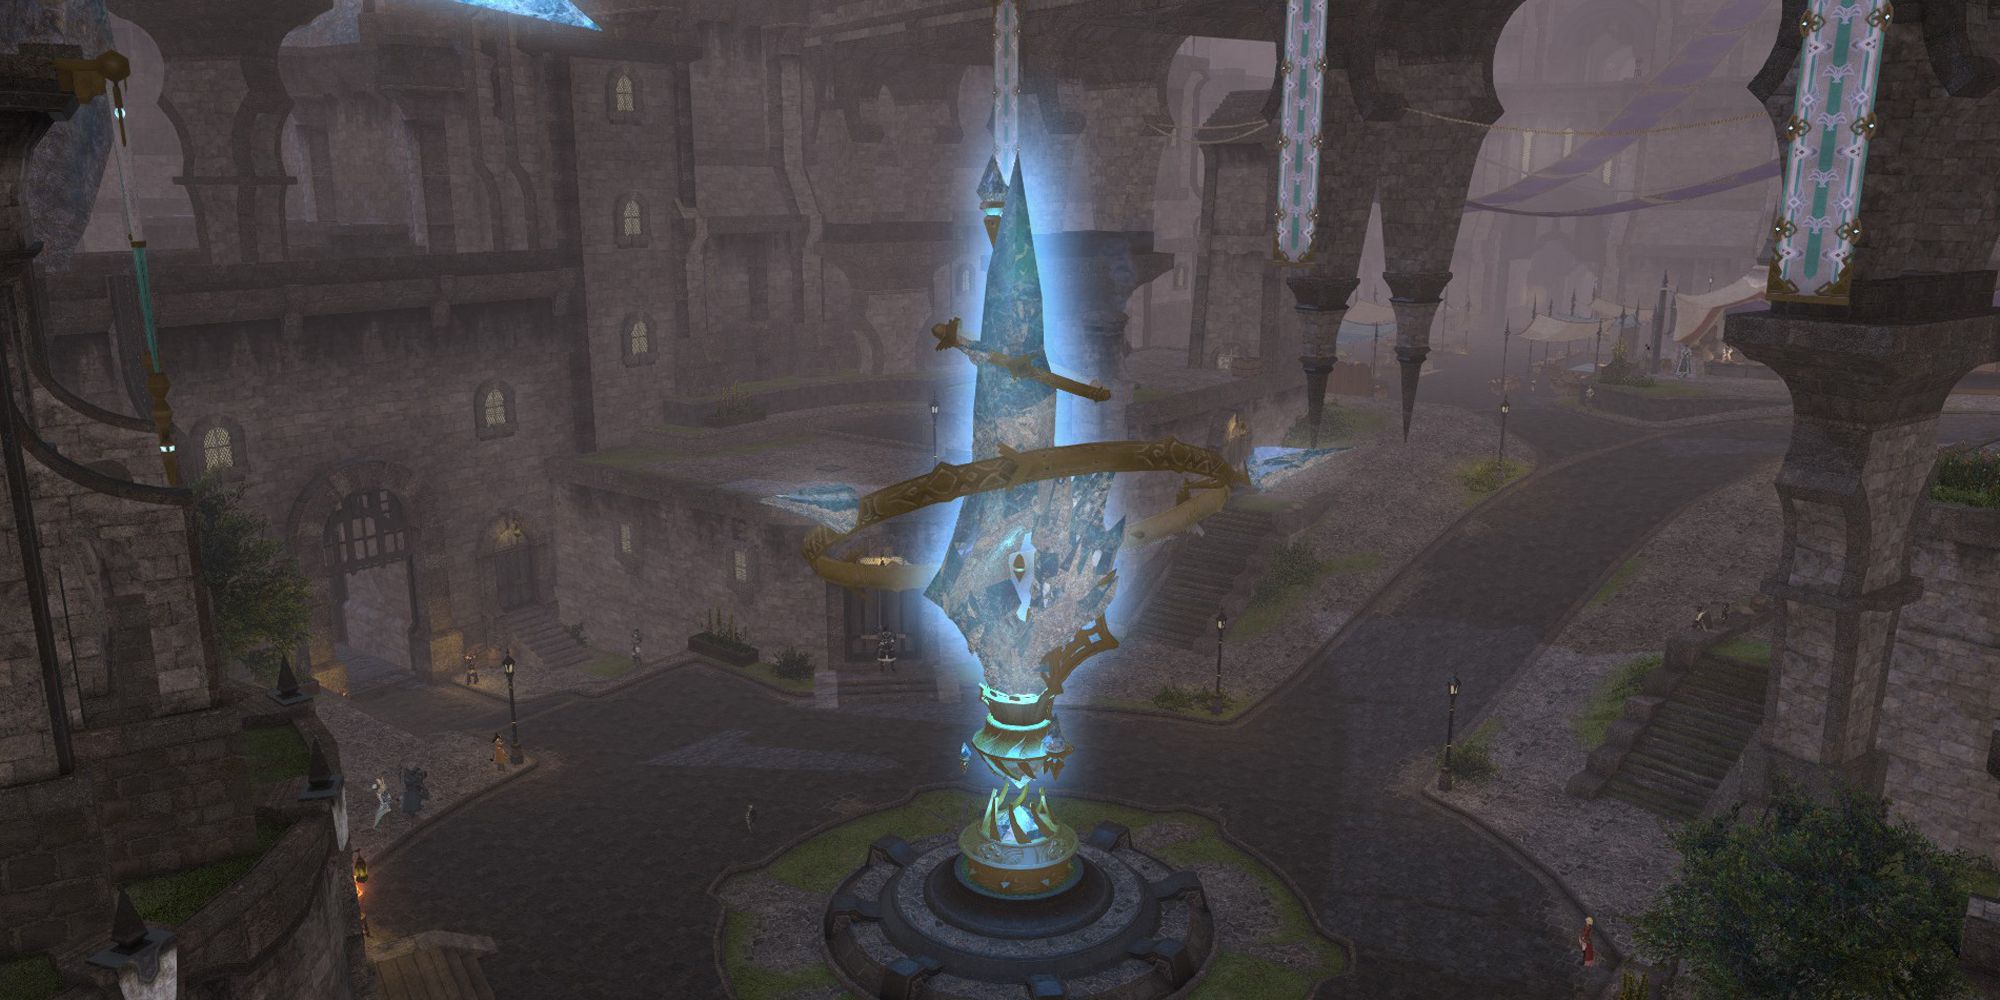
Final Fantasy XIV's first expansion, Heavensward, introduced the Anima Weapon Quest. This long questline was originally updated periodically through the course of the expansion and had you slowly upgrading an incredibly strong and impressive-looking weapon. Although there are bigger and better weapons to work towards now, you'll still want to eventually craft your own Anima Weapon, even if only for the epic design. Let's take a look at each quest in the chain, and what you have to do to complete your Anima Weapon.
Related: Final Fantasy 14: Beginner's Guide To Crafting
A Note About Anima Weapons Before You Begin
Before you start the questline, let's go over some baseline information that will help down the road. First, crafting an Anima Weapon is not for the faint of heart. This quest will involve grinding and investing tons of time and materials into the process.
Additionally, the weapon you receive and upgrade will be level 60. Currently, these weapons are outdated, and should only be used for cosmetic purposes. This weapon will also be job-specific, and each step will have to be repeated if you want to craft an Anima Weapon for a second job.
Complete The Quest 'An Unexpected Proposal'
Your Anima Weapon journey will begin with the quest An Unexpected Proposal. Note that this quest does not have to be repeated for additional Anima Weapons.
-
Pre-requisites:
- Complete the Main Scenario Quest 'Heavensward',
- Reach level 60 for the job you will be undertaking the quest as.
-
NPC Location:
- Rowena Dravania, Idyllshire (x:5.7, y:5.5)
To complete this quest, simply talk to Rowena in Idyllshire, then travel to the Alpha Quadrant in Azys Lla and speak to Ardashir.
Complete The Quest 'Soul Without Life'
-
NPC Location:
- Ardashir – Alpha Quadrant, Azys Lla (x:7, y:11)
This follow-on quest will task you with gathering an Astral and Umbral Nodule.
Tip: You can skip this quest by trading in a competed Zodiac Zeta Weapon for both Nodules.
If you followed the Relic Questline from A Realm Reborn, the Zodiac Zeta Weapon is the final, completed relic. If you don't trade a Zodiac Zeta Weapon in, you will have to gather elemental crystals from Heavensward zones (levels 51-60). Here's where you can find them:
Where To Find The Crystals For The Astral Nodule
| Crystal | Location |
| Luminous Wind Crystal | The Sea of Clouds |
| Luminous Fire Crystal | Azys Lla |
| Luminous Lightning Crystal | The Churning Mists |
Where To Find The Crystals For The Umbral Nodule
| Crystal | Location |
| Luminous Ice Crystal | Coerthas Western Highlands |
| Luminous Earth Crystal | The Dravanian Forelands |
| Luminous Water Crystal | The Dravanian Hinterlands |
In order to get a crystal to drop from a Fate, you will need to receive a gold rating. This step is RNG dependant, so expect to invest some time into grinding Fates if the drops aren't in your favor.
After you have gathered one crystal of each element, return to Ardashir in Azys Lla (x7, y11).
Rewards
- 1447 gil
- Animated Weapon
Complete The Quest 'Toughening Up'
- NPC Location: Ardashir – Alpha Quadrant, Azys Lla (x:7, y:11)
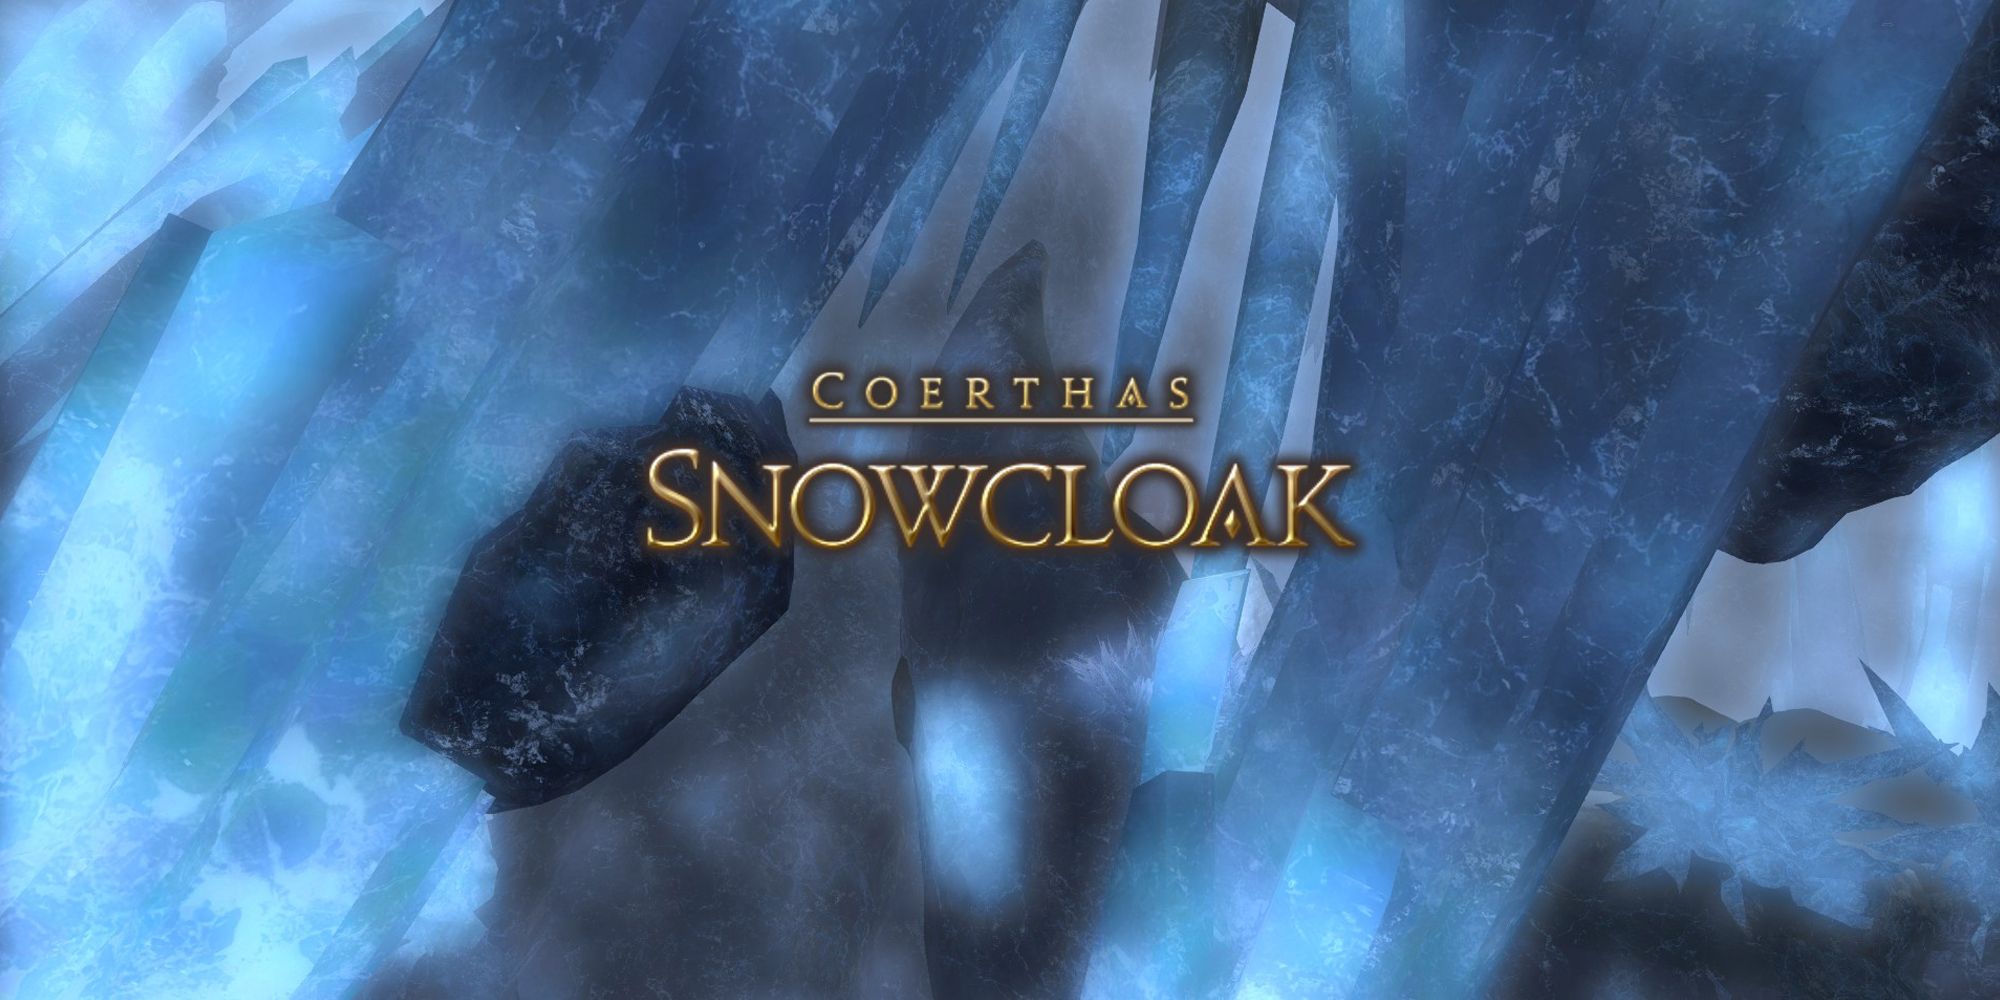
This quest will require you to complete a total of ten dungeons with your Animated Weapon equipped. The dungeons must be completed in the following order:
- Snowcloak
- Sastasha (Hard)
- The Sunken Temple of Qarn (Hard)
- Keeper of the Lake
- Wanderer's Palace (Hard)
- Amdapor Keep (Hard)
- Dusk Vigil
- Sohm Al
- The Aery
- The Vault
After completing The Sunken Temple of Qarn (Hard), Amdapor Keep, and The Vault, you will have to talk to Ardashir.He will appear next to you after you exit the dungeon the first two times. After you complete the tenth dungeon, you will have to go back to the Alpha Quadrant and speak to him again.
These dungeons can be completed in an undersized party. This means you can enter at your current level, and on your own if you wish, which will be especially useful if you are playing a DPS class so you don't have to wait for long queue times. If you're level 70 or above, you shouldn't have too much trouble doing these dungeons solo.
Additionally, while this quest requires you to equip your Animated Weapon to complete it, you only have to equip the weapon as you leave each dungeon. This means you can quickly run through the dungeon with your best weapon, then switch before you leave the dungeon.
Rewards
- 868 gil
- Awoken Weapon
Related: Final Fantasy 14: How To Get The Phoenix Triple Triad Card
Complete 'Coming Into Its Own'
- NPC Location: Ardashir – Alpha Quadrant, Azys Lla (x:7, y:11)
For this quest, you will be required to collect four items. Each of these items will require two tokens that you will combine into the final item. You will need ten of each of the first token and four of each of the second token. Here's a breakdown:
| Material | First Token | Second Token |
| Enchanted Rubber | 10x Unidentifiable Bone | 4x Adamantite Francesca |
| Fast-drying Carboncoat | 10x Unidentifiable Shell | 4x Titanium Alloy Mirror |
| Divine Water | 10x Unidentifiable Ore | 4x Dispelling Arrow |
| Fast-acting Allagan Catalyst | 10x Unidentifiable Seeds | 4x Kingcake |
You can obtain the Unidentifiable Materials in the following ways:
| Unidentifiable Material | Method 1 | Method 2 | Method 3 | Method 4 |
| Unidentifiable Bone | 150 Tomestone of Poetics |
|
3 Precision Gordian Bolt | 300 Allied Seals |
| Unidentifiable Shell | 150 Tomestone of Poetics |
|
3 Precision Gordian Lens | Timeworn Wyvernskin Map |
| Unidentifiable Ore | 150 Tomestone of Poetics |
|
3 Precision Gordian Spring | Timeworn Dragonskin Map |
| Unidentifiable Seeds | 150 Tomestone of Poetics |
|
3 Precision Gordian Shaft | 300 Allied Seals |
The second Tokens can be obtained in the following ways:
| Second Token | Method 1 | Method 2 |
| Adamantite Francesca | Craft as Blacksmith | 5000 Company Seals |
| Titanium Alloy Mirror | Craft as Alchemist | 5000 Company Seals |
| Dispelling Arrow | Craft as Carpenter | 5000 Company Seals |
| Kingcake | Craft as Culinarian | 5000 Company Seals |
After you have gathered both tokens, take them to Cristiana in Mor Dhona to trade them for the Weapon Material. After you've traded each material, return to the Alpha Quadrant and give them to Gerolt (x7, y11). This is the first quest in the questline that will take some grinding.
Tip: For subsequent Anima Weapons, you can gather these items in advance by diligently doing your Beast Tribe Quests and stocking up on Tomestones of Poetics.
Rewards
- 1512 gil
- Anima Weapon
Complete 'Finding Your Voice'
- NPC Location: Ardashir – Alpha Quadrant, Azys Lla (x:7, y:11)
For this quest, you simply need to gather five Aether Oils, which can be done in two ways.
- Complete the weekly quest The Gift of the Archmagus for one Aether Oil
- Buy for 350 Tomestone of Poetics to Hismena in Idyllshire(loc)
The quest Gift of the Archmagus requires you to complete all three Crystal Tower series raids, then deliver the Pearls you get from each raid to Koh Rapntah in Revenant's Toll (x21, y8).
You can gather the five Aether Oils using both methods. If you don't want to spend your tomestones, the weekly quest is the better option. Or, if you want to get this quest over with as soon as possible, you can simply buy them for a total of 1750 Tomestones of Poetics.
Rewards
- 518 gil
- Hyperconductive Anima Weapon
- Access to replica Awoken and Anima Weapons from the Restoration Node
Complete 'A Dream Fulfilled'

- NPC Location: Ardashir – Alpha Quadrant, Azys Lla (x:7, y:11)
For this quest, you will be sent to Idyllshire to meet with Ulan, who will ask you to gather Crystal Sand and Umbrite. These items can be obtained in various methods, which we will outline below. After obtaining both, you will combine them into Treated Crystal Sand by talking to Ulan. It costs one Crystal Sand and one Umbrite to receive three Treated Crystal Sand.
You will use Treated Crystal Sand to enhance the attributes of your Hyperconductive Anima Weapon, up to a maximum of 240 points. After you reach 120 points, there is a chance you will gain bonus Treated Crystal Sand when converting it from Crystal Sand and Umbrite, up to a maximum of six at a time. The basic steps for this quest are as follows:
- Obtain Crystal Sand by trading with Ulan for various items
- Obtain Umbrite by purchasing for 75 Tomestones of Poetics from Hismena in Idyllshire (x5.8, y5.1)
- Combine these two materials into Treated Crystal Sand
- Allocate Treated Crystal Sand into your weapon to increase its stats
After you have allocated a total of 240 points, you will finish this step.
Below is a list of how you can obtain Crystal Sand. Each required item on the left will grant you one Crystal Sand.
| Required Item | How to Obtain |
| 5 Rowena's Token (Blue Crafters' Scrip) | 25 Yellow Crafters' Scrip (125 in total) |
| 5 Rowena's Token (Blue Gatherers' Scrip) | 25 Yellow Gatherers' Scrip (125 in total) |
|
|
| 1 Amber-encased Vilekin | Heavensward Levequests |
|
Buy from Market Board |
|
Buy from Market Board |
|
Desynthesis |
| 5 Moonstone |
|
|
|
|
|
|
|
|
|
|
Any of the methods listed in Coming Into Its Own Step |
You can deliver any of the items on the left to obtain the Crystal Sands you need. If you have a lot of Leve Allowances piled up, you can undertake Heavensward Levequests to try to get Amber-encased Vilekin. The method is simple, just follow the steps below:
- Accept the levequest and go to the location
- Start the levequest
-
Fly around and look for a chest
- If you find a chest, open it for one Amber-encased Vilekin
- If you don't find a chest, proceed to step four
- Abandon the levequest
- Repeat steps two to four
Using this method, you can quickly find Amber-encased Vilekins to turn into Crystal Sand.
The best method for obtaining Crystal Sands is to grind Yellow Crafters' Scrips and trade them for Rowena's Tokens. However, this only works if you have a crafter leveled to at least level 50.
Rewards
- 488 gil
- Reconditioned Anima Weapon
Complete 'Future Proof'
- NPC Location: Ardashir – Alpha Quadrant, Azys Lla (x:7, y:11)
For this quest, you will need to gather 50 Singing Clusters. There are three options for gathering this item that can be completed in conjunction
-
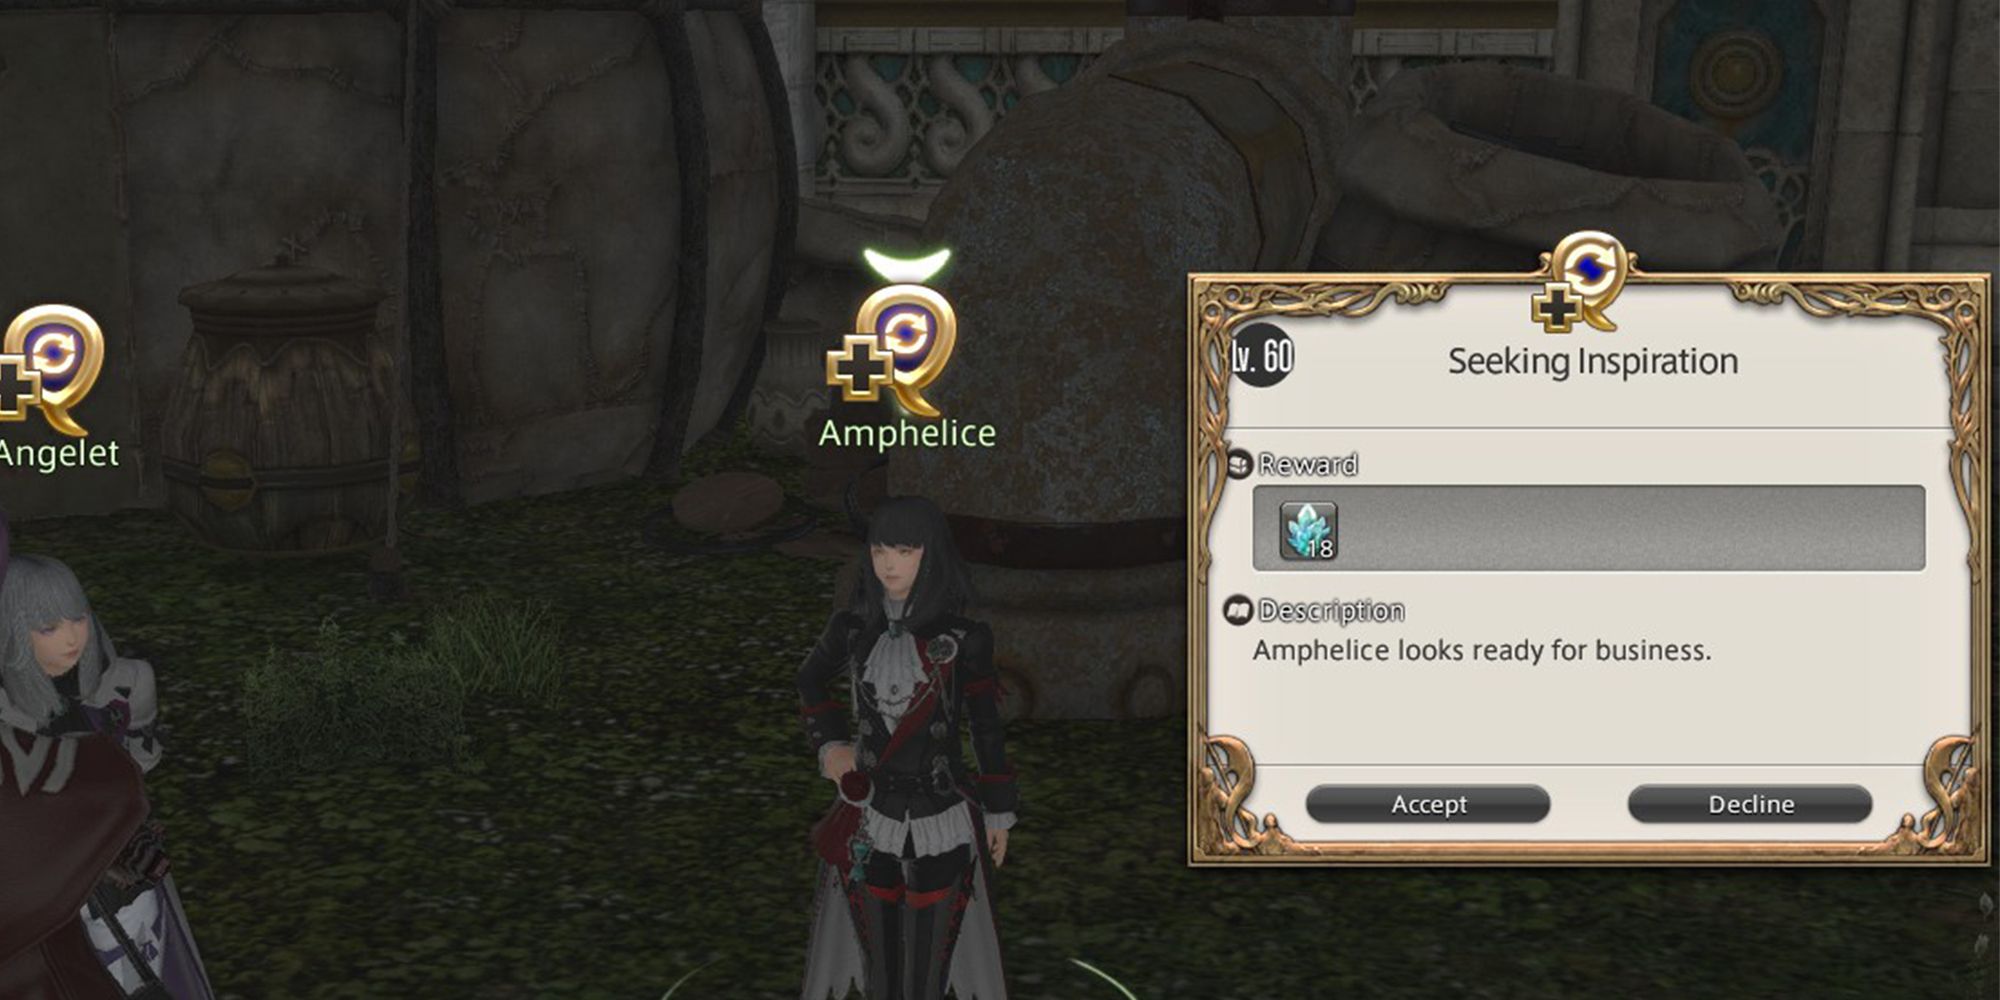
Complete the weekly quest 'Seeking Inspiration'
- Complete Duty Roulette: Leveling three times.
- Rewards 18 Singing Clusters
-
Complete the daily quest 'Cut From a Different Cloth'
- Complete Duty Roulette: Level 50/60/70 Dungeons
- Rewards one Singing Cluster
- Purchase for 40 Tomestones of Poetics from Hismena in Idyllshire (x5.8, y5.3)
If you don't buy Singing Clusters using Tomestones, it will take at least two weeks to gather enough. We recommend doing both quests, then buying the rest with Tomestones of Poetics if you want to finish this step as soon as possible.
Rewards
Sharpened Anima Weapon
Related: Final Fantasy 14: Beginner's Guide To Gathering
Complete 'Born Again Anima'
- NPC Location: Ardashir – Alpha Quadrant, Azys Lla (x:7, y:11)
This quest will start with Ardashir asking you to complete three dungeons as the job you are currently making the Anima Weapon for. These dungeons are as follows:
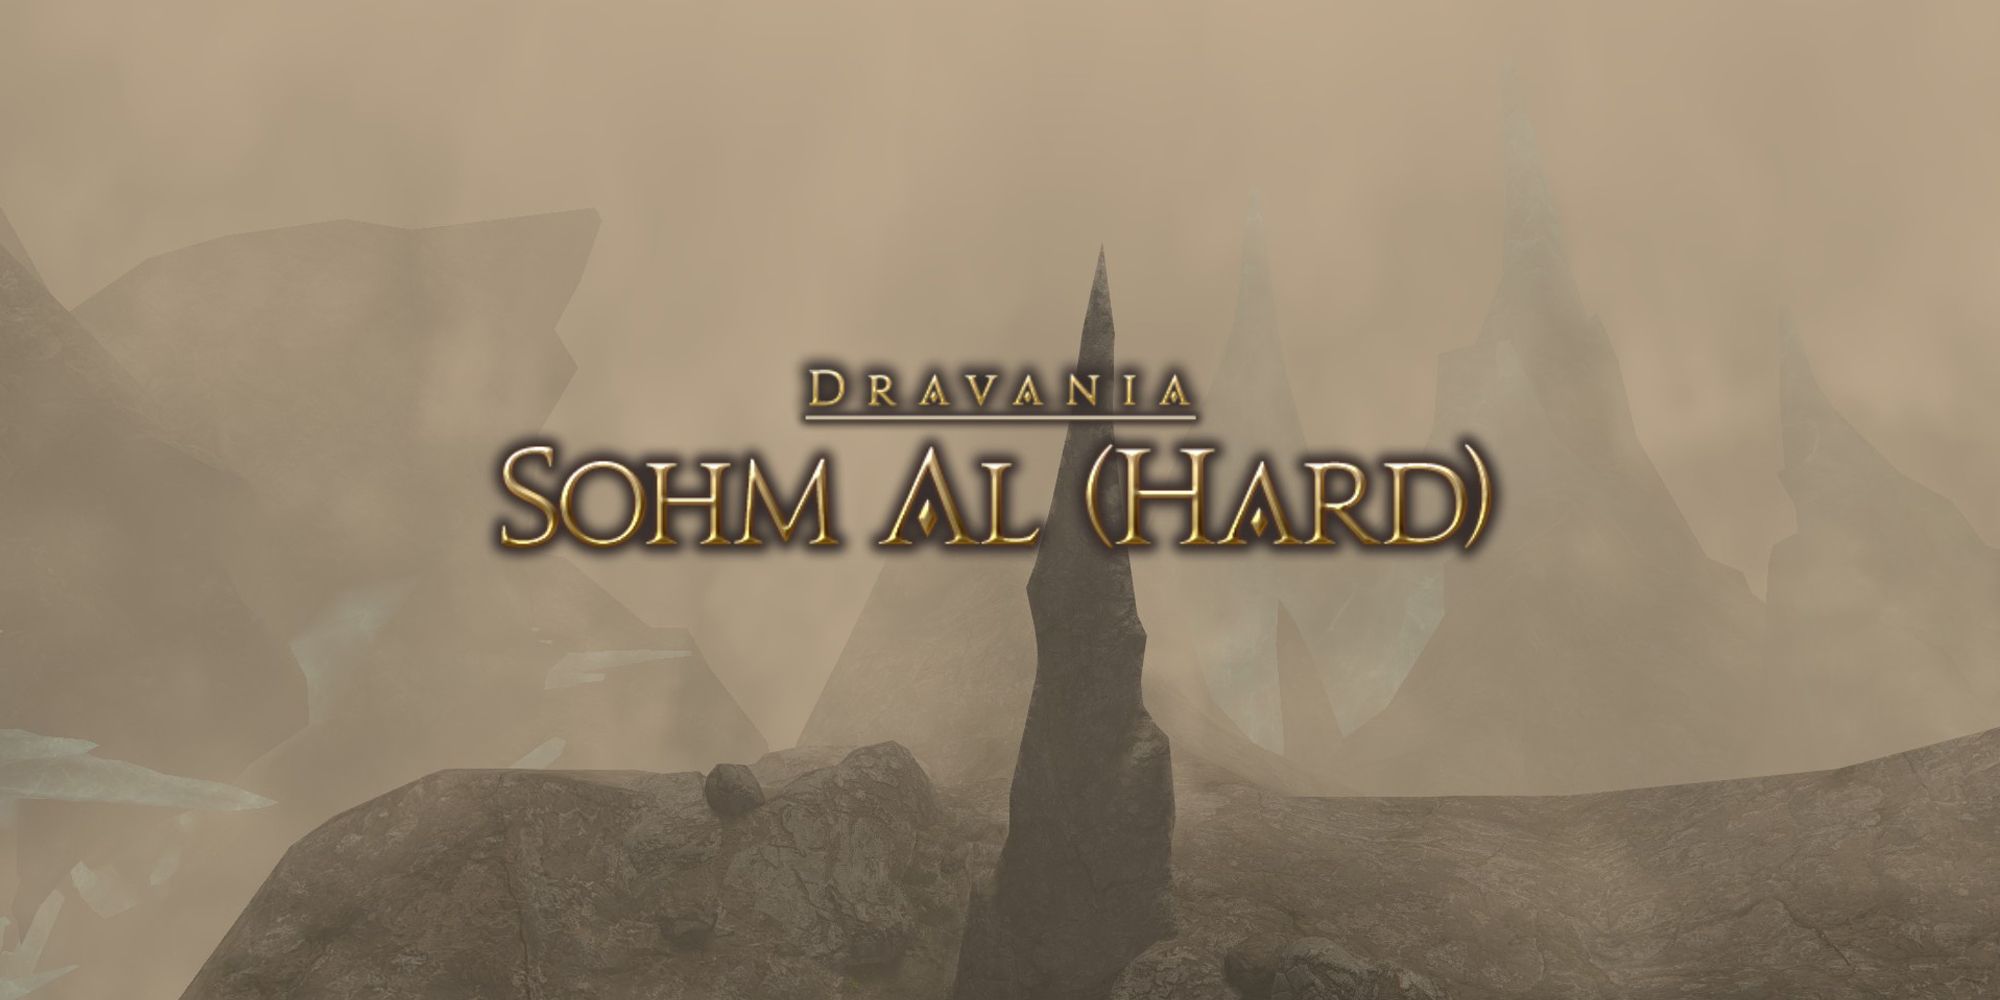
- Sohm Al (Hard)
- The Great Gubal Library (Hard)
- The Lost City of Amdapor (Hard)
After completing these dungeons, you will need to speak to two NPCs in either order
- Speak to the Processing Node and complete the quest 'Some Assembly Required'
- Speak to the Verification Node and gather Aetheric Density for your weapon
Some Assembly Required
To complete this subquest, you will need to gather 15 pneumite. This item can be obtained in the following ways:
- Purchase for 100 Tomestones of Poetics from Hismena in Idyllshire (x5.8, y5.3)
- Purchase for 4000 Grand Company Seals from your Grand Company's HQ
- Obtain through a random chest drop from a Timeworn Dragonskin Map
After completing this quest, you will be rewarded with the Newborn Soulstone, which you will need after you finish gathering Aetheric Density.
Aetheric Density
Gathering Aetheric Density will involve you filling up a special meter with points that are obtained from various duties. You will need to have your Anima Weapon equipped when completing all of the activities below in order to receive Aetheric Density. You can undertake any of the following to fill the meter:
- Heavensward Fates, Hard and Extreme Trials, Dungeons, and Raids (8 and 24-player)
- A Realm Reborn Dungeons (level 50)
The best way to finish this step is to join a farming group and complete Alexander Savage Raids. Usually, people choose to do A1S or A9S, as they are the fastest with an undersized party.
If you don't want to do this step in a group, you can always run level 50 dungeons like Huakke Manor (Hard), Amdapor Keep (Hard), or Brayflox Longstop (Hard). Of course, you can run these in an undersized party as a level 80 solo player. Once you get the hang of running these dungeons, you should be able to clear them in around five minutes. Just be sure to have your Anima Weapon equipped by the end or you won't gain Aetheric Density.
Rewards
- 615 gil
- Complete Anima Weapon
Complete 'Body And Soul'
- NPC Location: Automaton – Alpha Quadrant, Azys Lla (x7, y12)
Thankfully, this is a simple quest that will only involve you going to Idyllshire, speaking to Rowena, then heading back to Azys Lla to talk to Ardashir.
Rewards
- 1559 gil
- Anima minion
Complete 'Words of Wisdom'
- NPC Location: Ardashir – Alpha Quadrant, Azys Lla (x:7, y:11)
This is another simple quest. Ardashir will send you to speak with Rowena in Idyllshire, then you have to head back to Azys Lla and speak to Ardashir again.
Rewards
- 1526 gil
Complete 'Best Friends Forever'
- NPC Location: Ardashir – Alpha Quadrant, Azys Lla (x:7, y:11)
This is the final step in the Anima Weapon questline. You can think of this quest as a sort of "victory lap", as it will take you through every level 50-60 Hard trial. You will have to do these trials with your Anima Weapon equipped, and they must be completed in the following order:
- Bowl of Embers (Hard)
- Howling Eye (Hard)
- The Naval (Hard)
- Thornmarch (Hard)
- Whorleater (Hard)
- Striking Tree (Hard)
- Akh Afah Amphitheatre (Hard)
- Thok ast Thok (Hard)
- The Limitless Blue (Hard)
- Containment Bay S1T7
- Containment Bay P1T6
- Containment Bay Z1T9
After you have completed these trials, return to and speak with Ardashir in Azys Lla. He will then ask you to deliver an Archaic Enchanted Ink, which you can obtain for 500 Tomestones of Poetics from Hismena in Idyllshire (x5.8, y5.3)
After delivering the Ink to Ardashir, your Anima Weapon will be complete!
Rewards
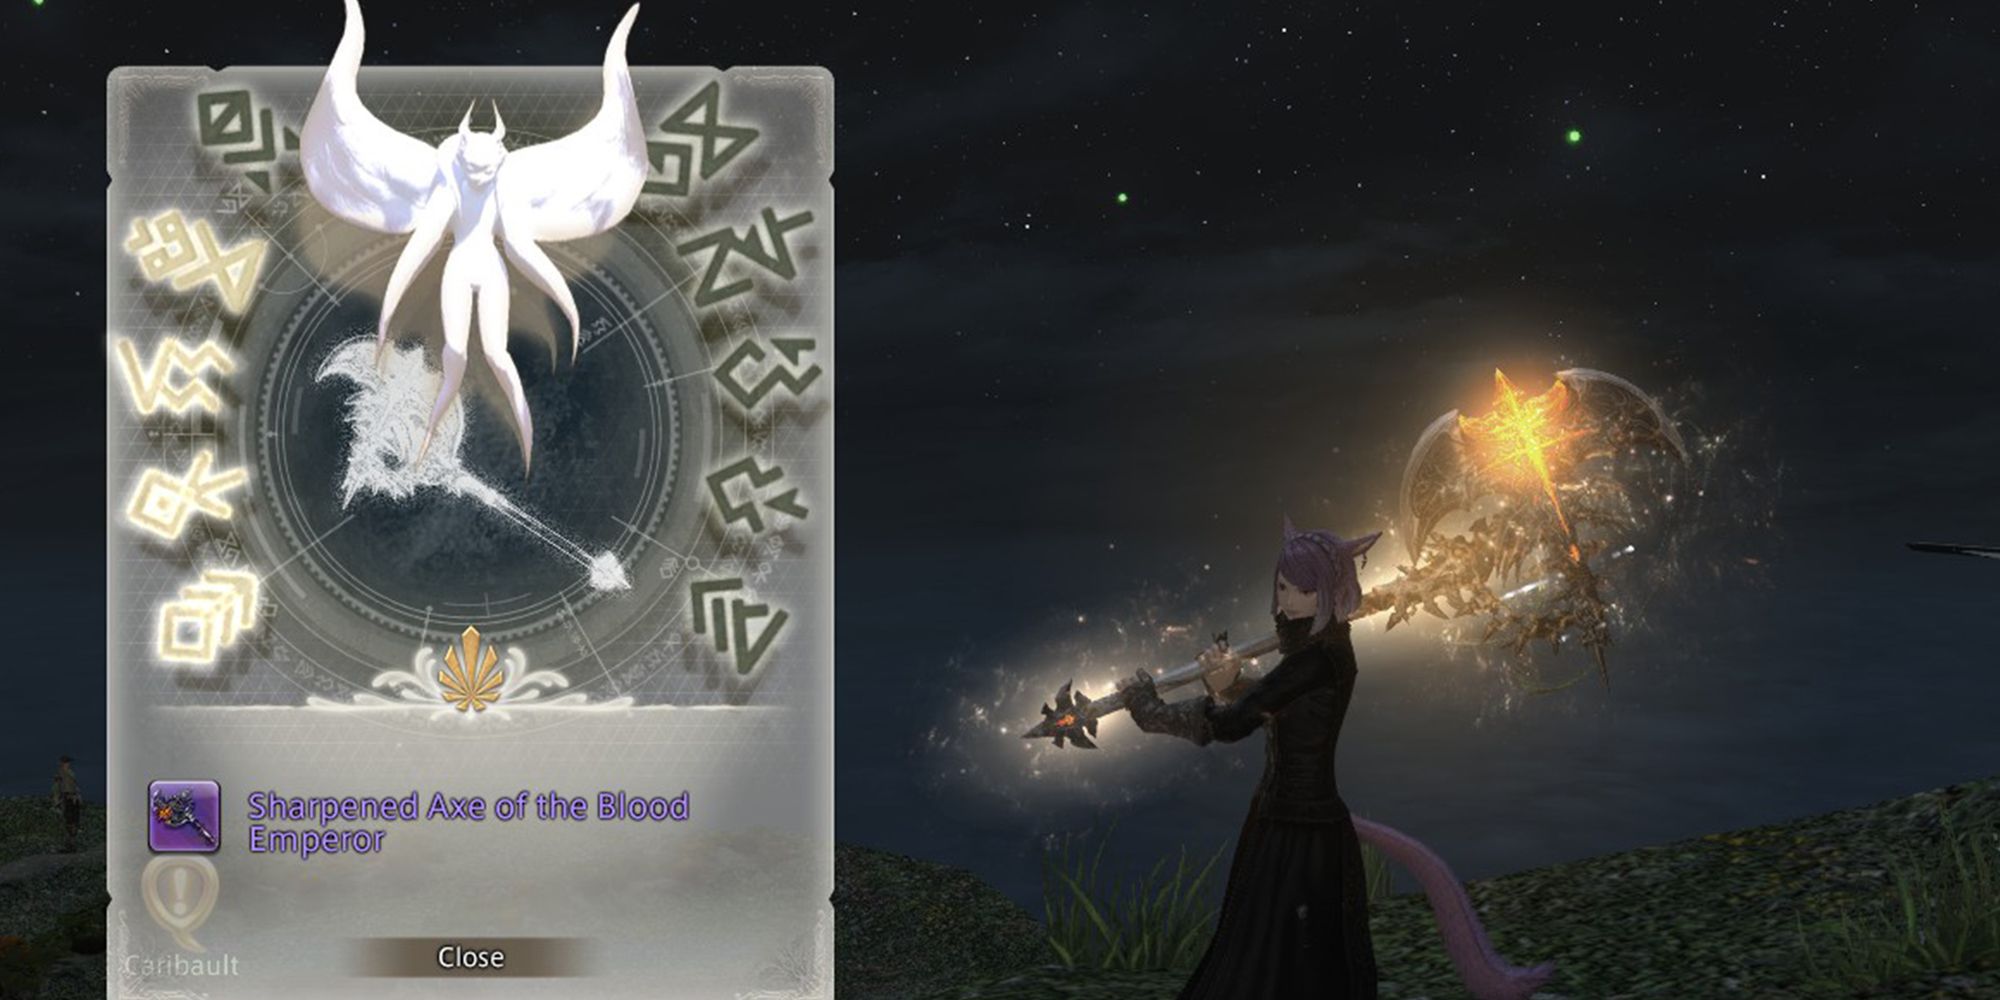
- Lux Anima Weapon
Next: Final Fantasy 14: How To Get The Firebird Mount