Table Of Contents
- What Are Trivial Mysteries?
- All Trivial Mysteries
- What Are Ascendant Anchors?
- All Ascendant Anchor Locations
Destiny 2's Season of the Lost has introduced a new weekly mission type for players to explore. Named the Shattered Realm, these missions involve exploring the Ascendant Realm to rescue Mara Sov's corrupted Techeuns. As with most content surrounding the Ascendant Realm, there are quite a few secrets to uncover.
Related: Destiny 2: Shattered Realm – Forest Of Echoes Guide
Shattered Realm missions contain two types of secrets: Mysteries and Ascendant Anchors. Both types of secrets are closely tied with some of Season 15's Triumphs and Seasonal Challenges, so it's in your best interest to find these collectibles. We'll go over each type of secret and explain how you can find every Trivial Mystery and Ascendant Anchor in the Shattered Realm's Forest of Echoes.
What Are Trivial Mysteries?
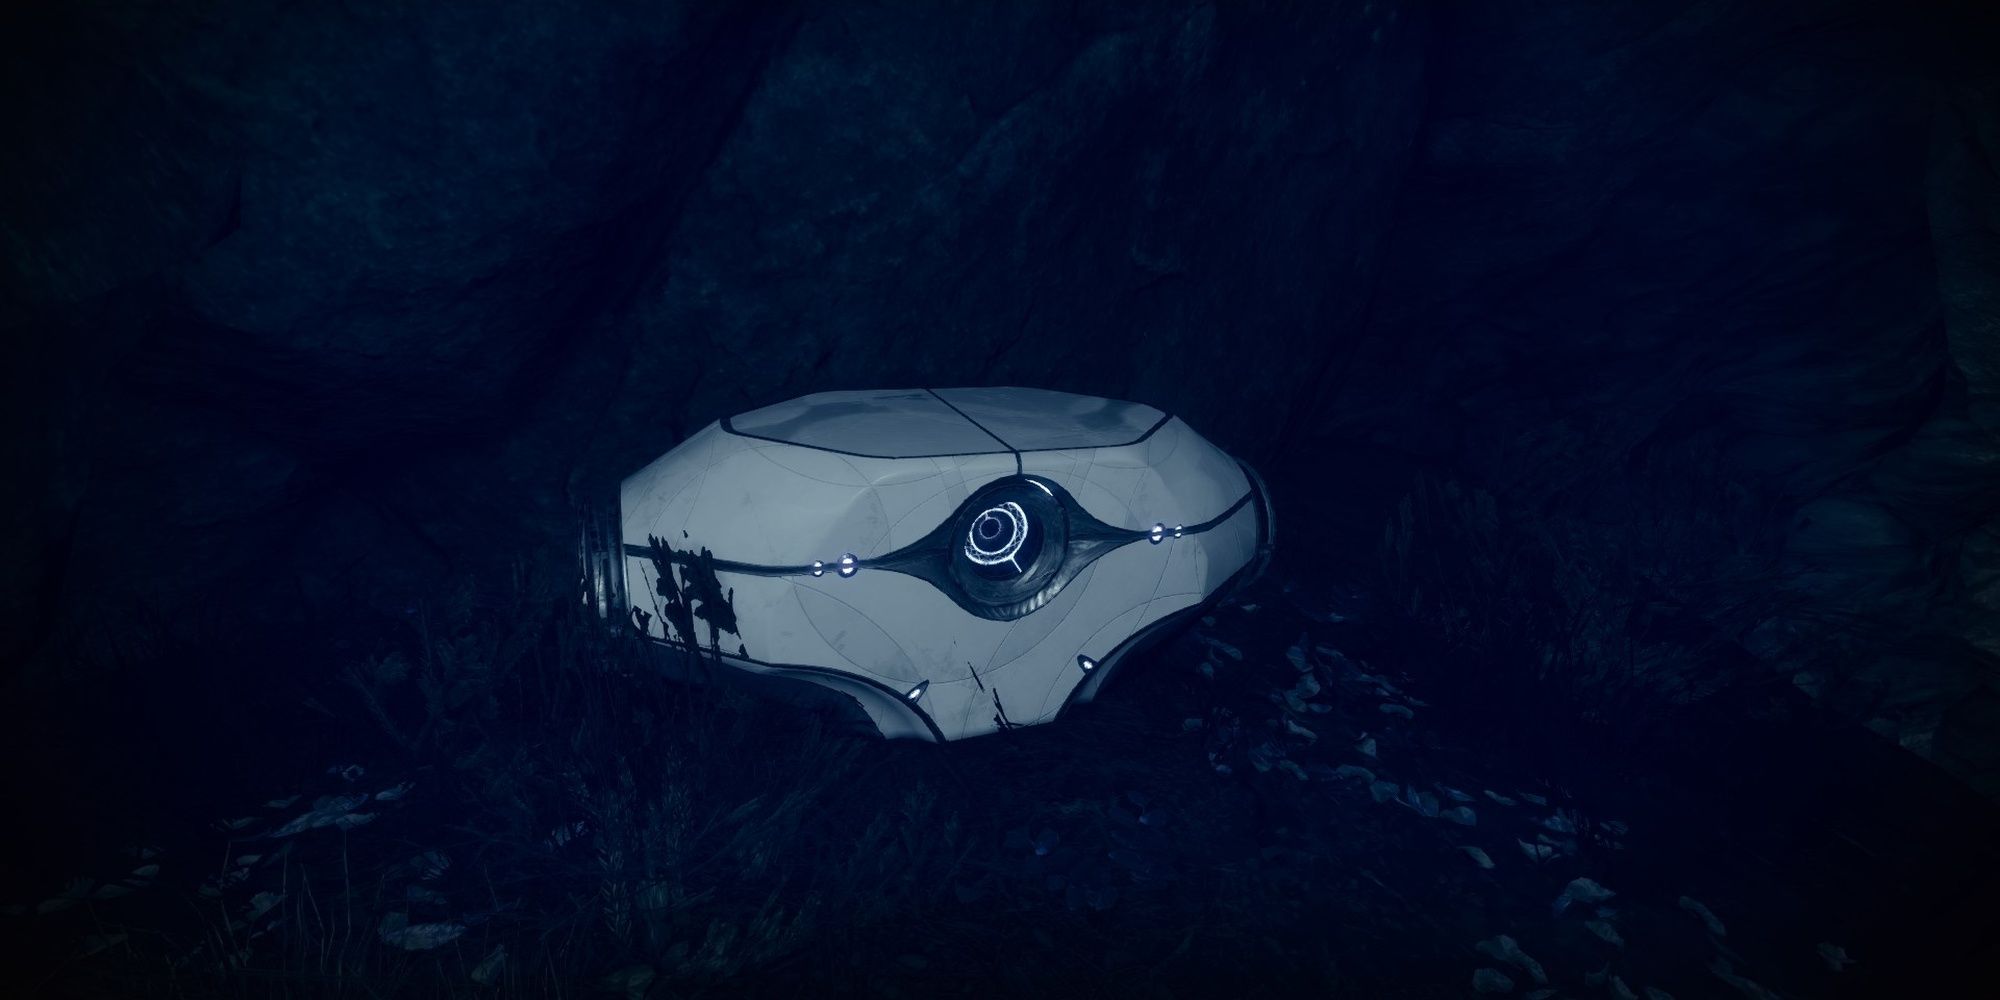
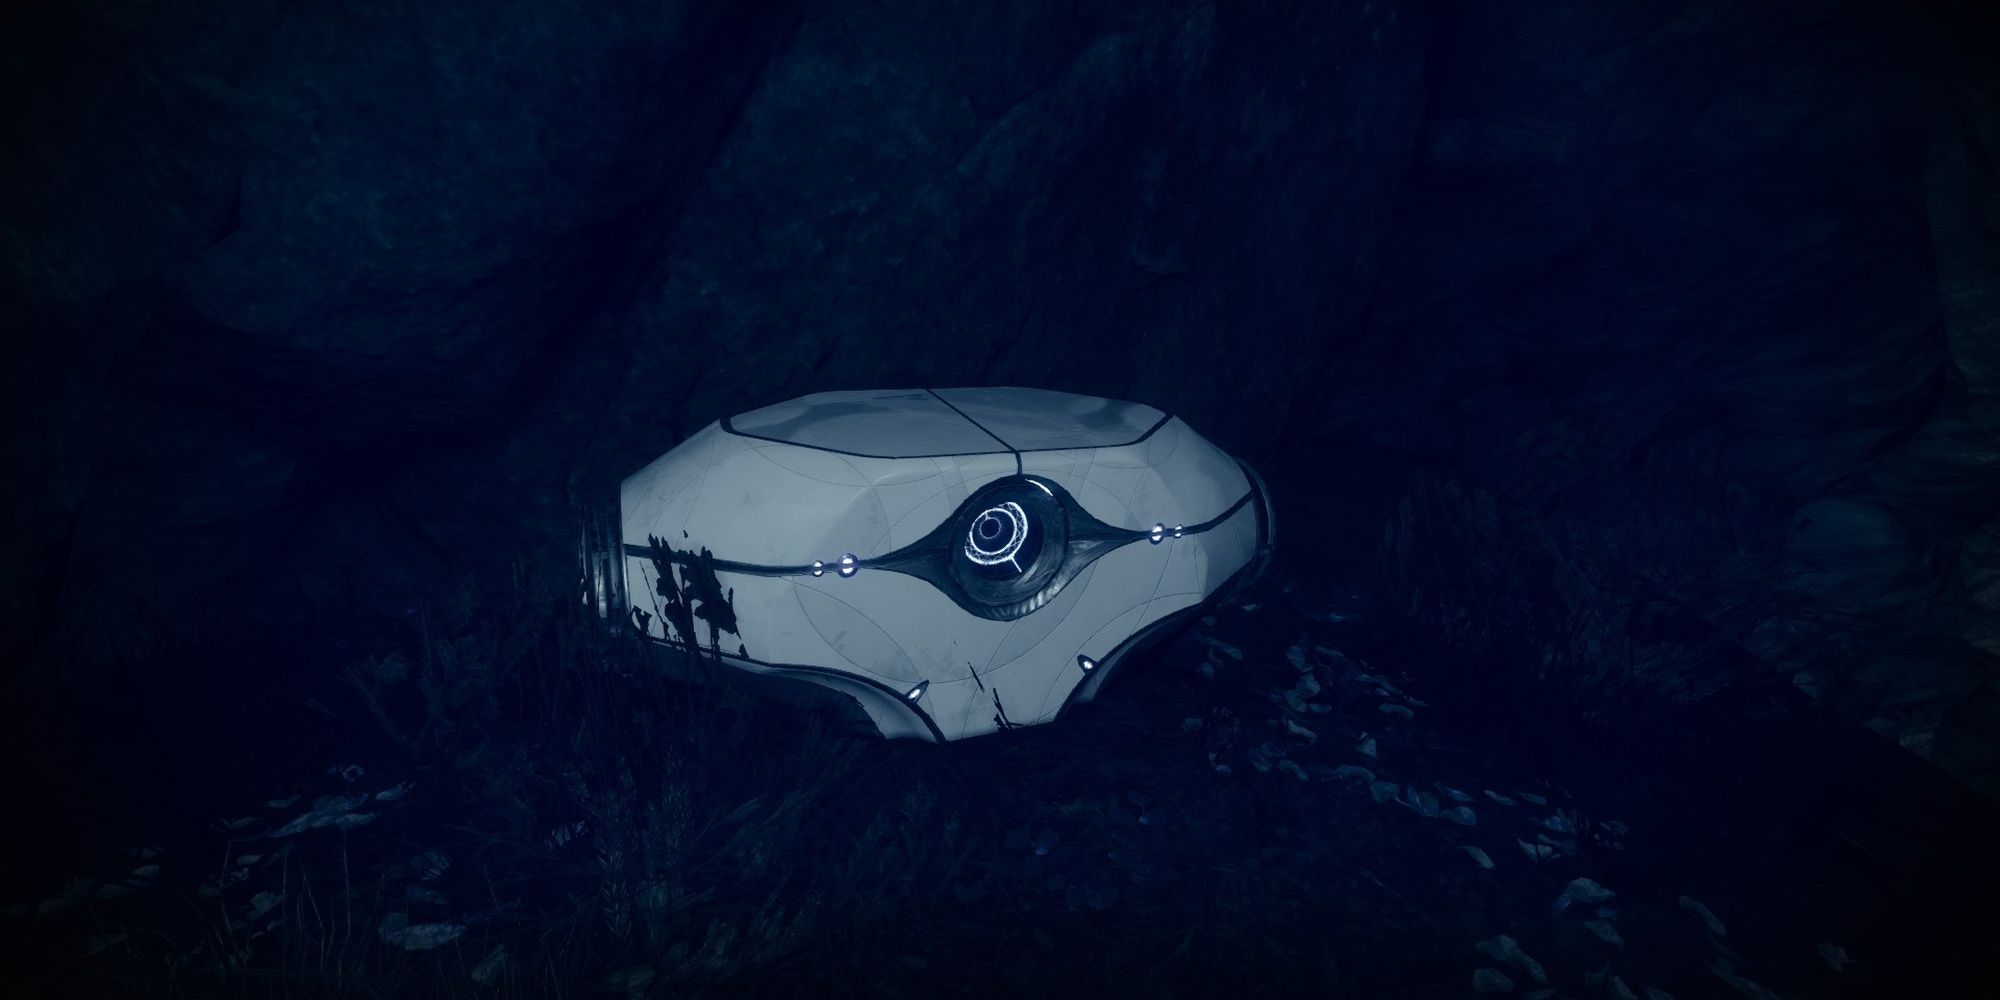
Trivial Mysteries are hidden chests found behind Awoken barriers. Completing week one's "Ley Line Rumors" Seasonal Challenge will require that you find and open three of these chests. Breaching these barriers will require two things:
- The ability to breach Awoken barriers.
- A nearby Barrier Breach marker.
How To Breach Barriers
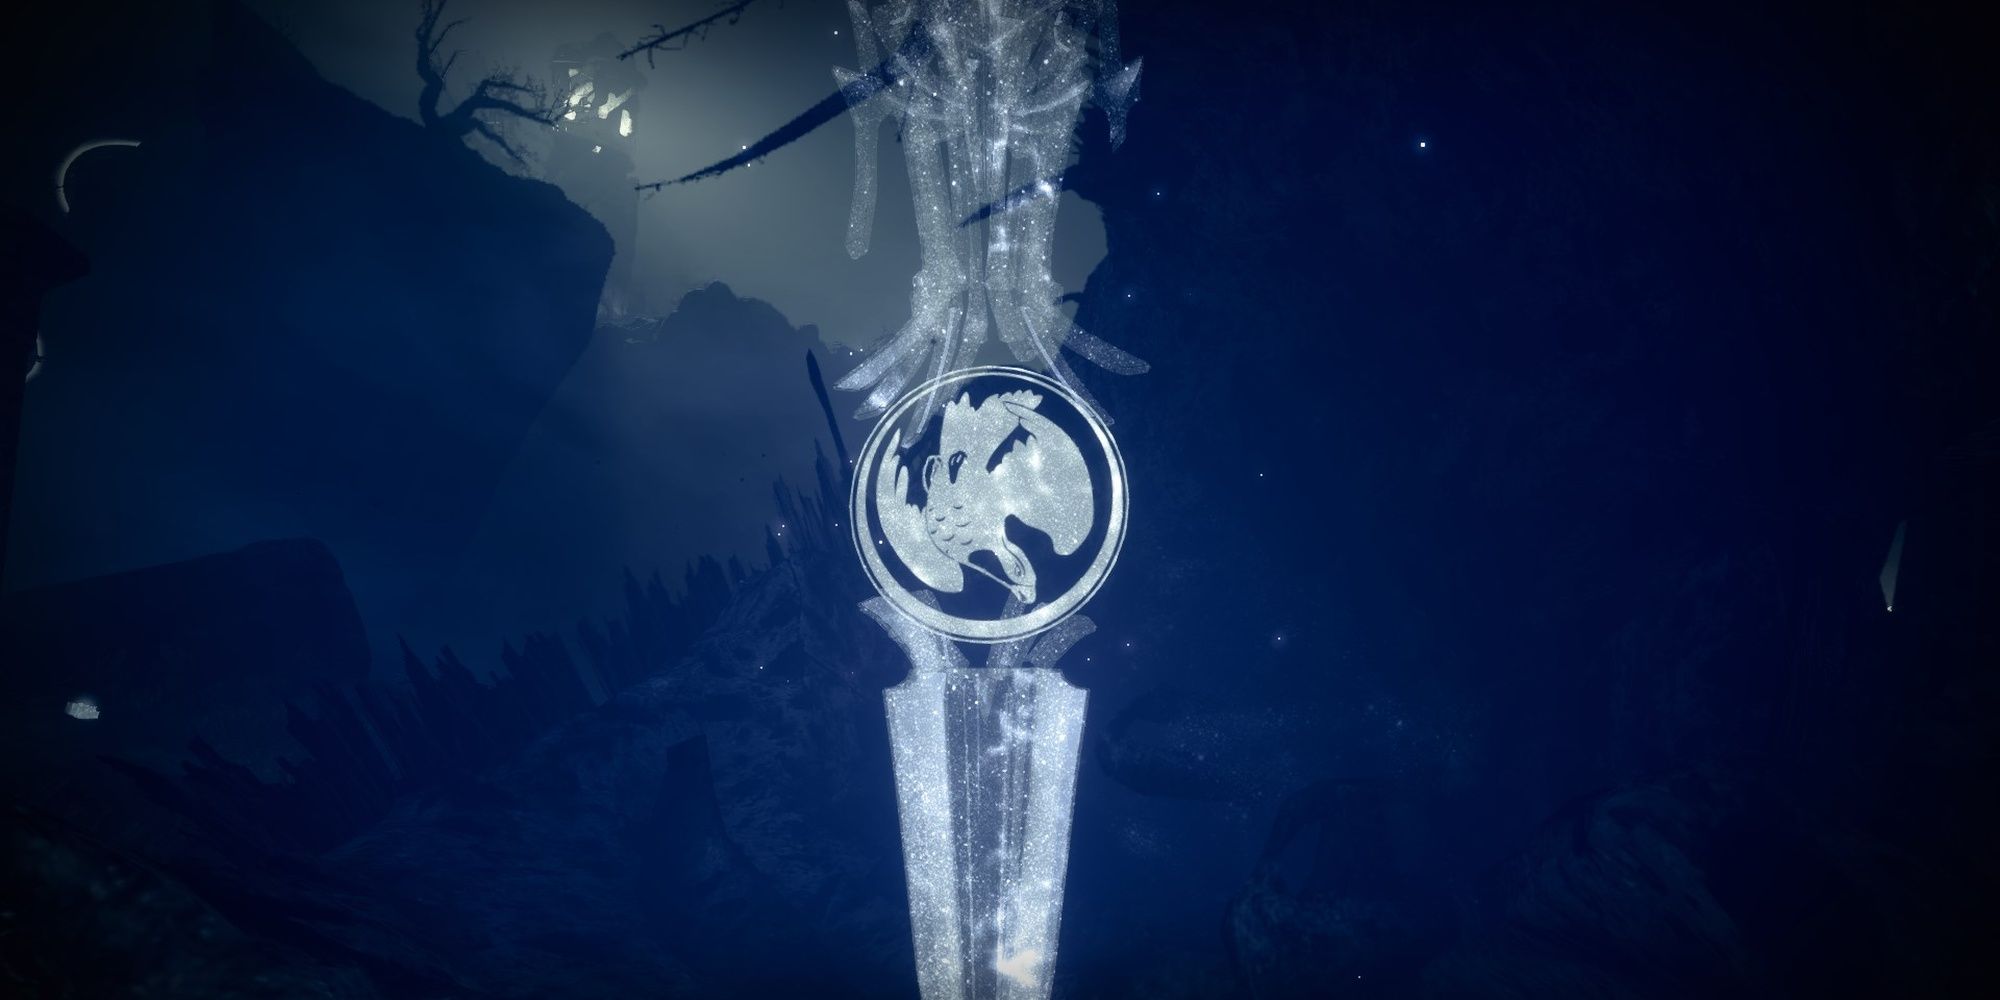
Complete the Forest of Echoes mission once to unlock the Barrier Breach ability. Future runs of the mission will allow you to interact with purple markers around the level. They'll spawn transparent, preventing use. You'll need to charge the closest beacon to the marker to turn it opaque, allowing you to activate the marker.
Related: Destiny 2: Season Of The Lost Artifact Mods Explained
Some markers have the "Barrier Breach" interaction, allowing you to run through Awoken barriers for 15 seconds. Most hidden zones have a barrier marker in them, so don't worry about getting stuck. Activate a marker, run through a nearby Awoken barrier, then open the hidden chest inside. This is also how you find some of this level's Ascendant Anchors (explained later in the guide).
Shattered Realm's Markers Explained
Image Gallery (3 Images)
Expand
Expand
Expand
Close
There's a good chance there are more mysteries to the Forest of Echoes than we have access to currently. This mission contains three types of markers, each granting a unique ability. As of writing, players only have access to the Barrier Breach marker—which is unlocked by clearing the Forest of Echoes mission at least once. The next two markers are likely unlocked by clearing the other two Shattered Realm missions that'll release in the coming weeks.
You can tell what the marker does off of the symbol on the marker. If you've played the Last Wish raid, these symbols should be familiar:
-
Barrier Breach
- Effect: For 15 seconds, you can walk through Awoken barriers.
- Symbol: Bird diving
-
True Sight
- Effect: Currently unknown
- Symbol: Bird flying
-
Safe Passage
- Effect: Currently unknown
- Symbol: Bird standing
Once you've activated the closest beacon to that marker, it'll go from translucent to opaque. So long as you have the marker's respective ability unlocked, you can invoke your ability at the marker. In this case, you'll be able to breach barriers for 15 seconds after activating one of the markers with a bird diving symbol.
All Trivial Mysteries
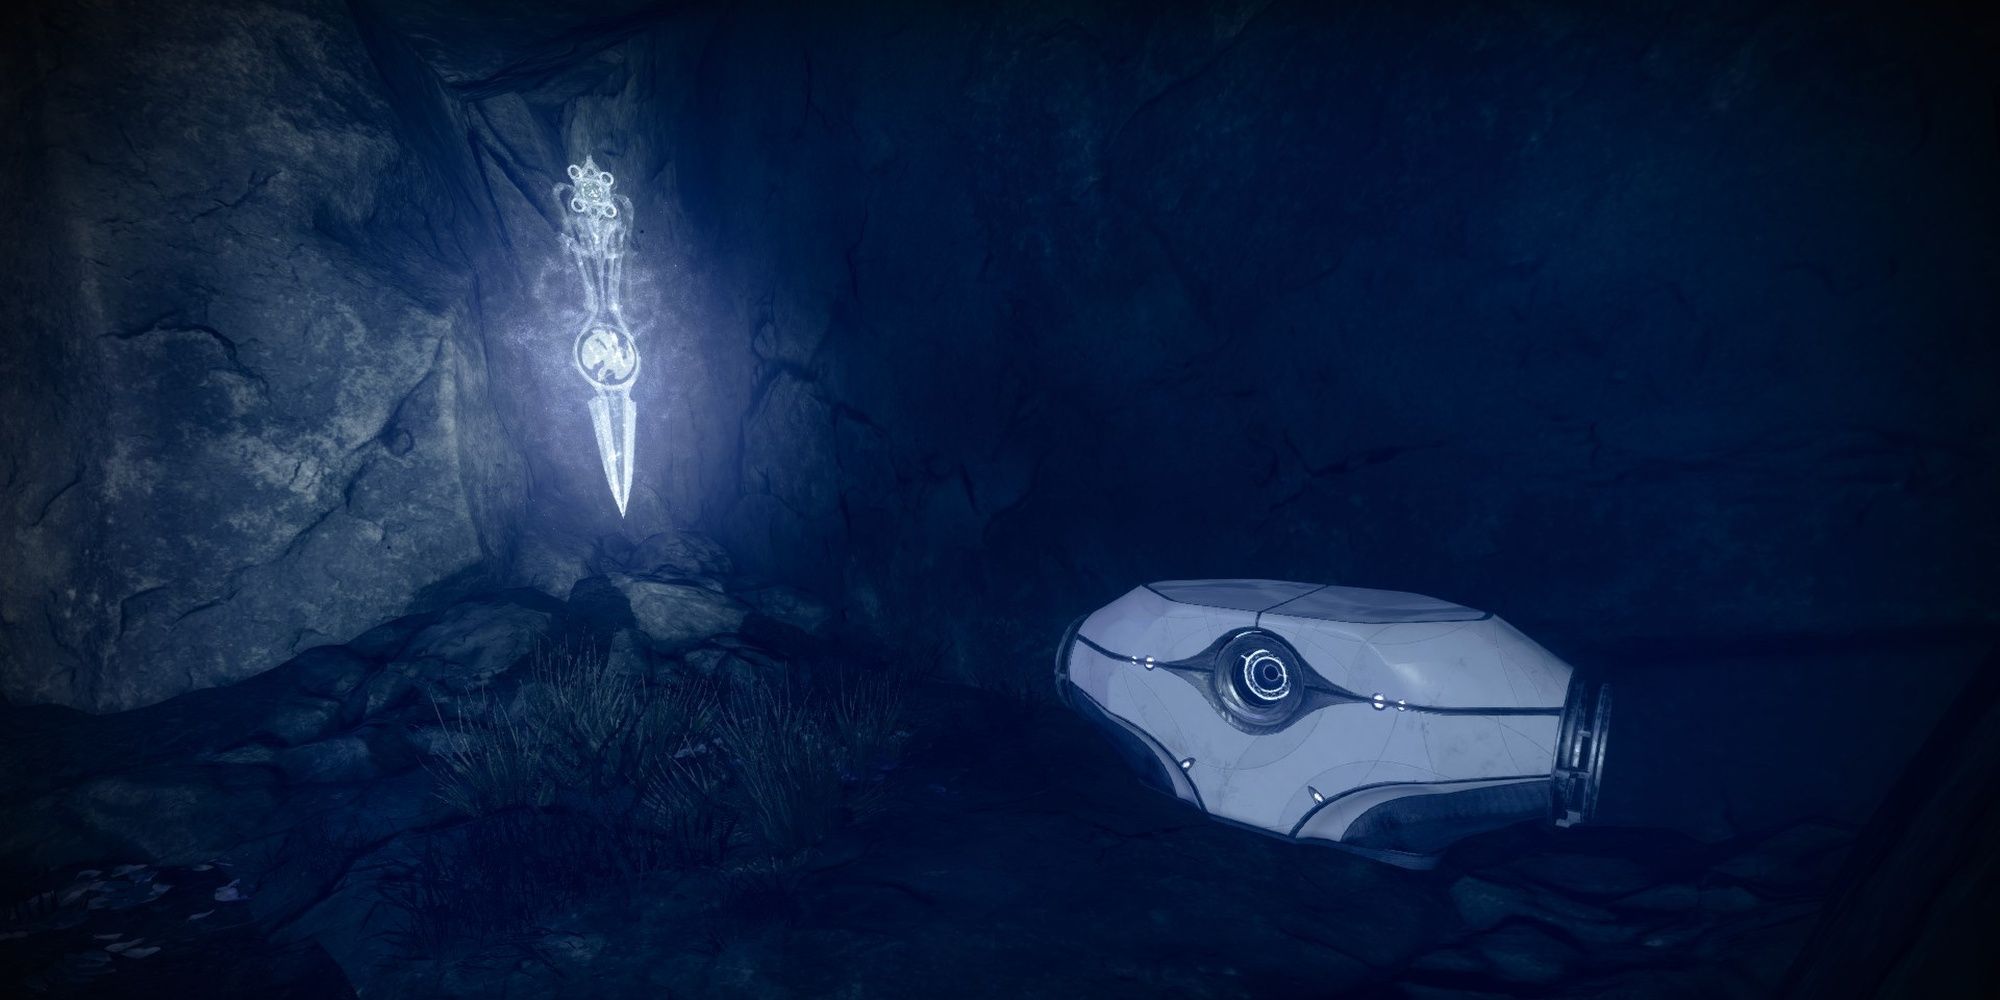
The Forest of Echoes has seven Trivial Mysteries—otherwise known as hidden chests—for you to find. You only need to grab three for the Seasonal Challenge. Each chest claimed will complete a Triumph. Let's go over where you can find all of them.
| Reminder: You must have cleared this mission at least once to breach these Awoken barriers. |
Trivial Mystery #1: The Catacombs
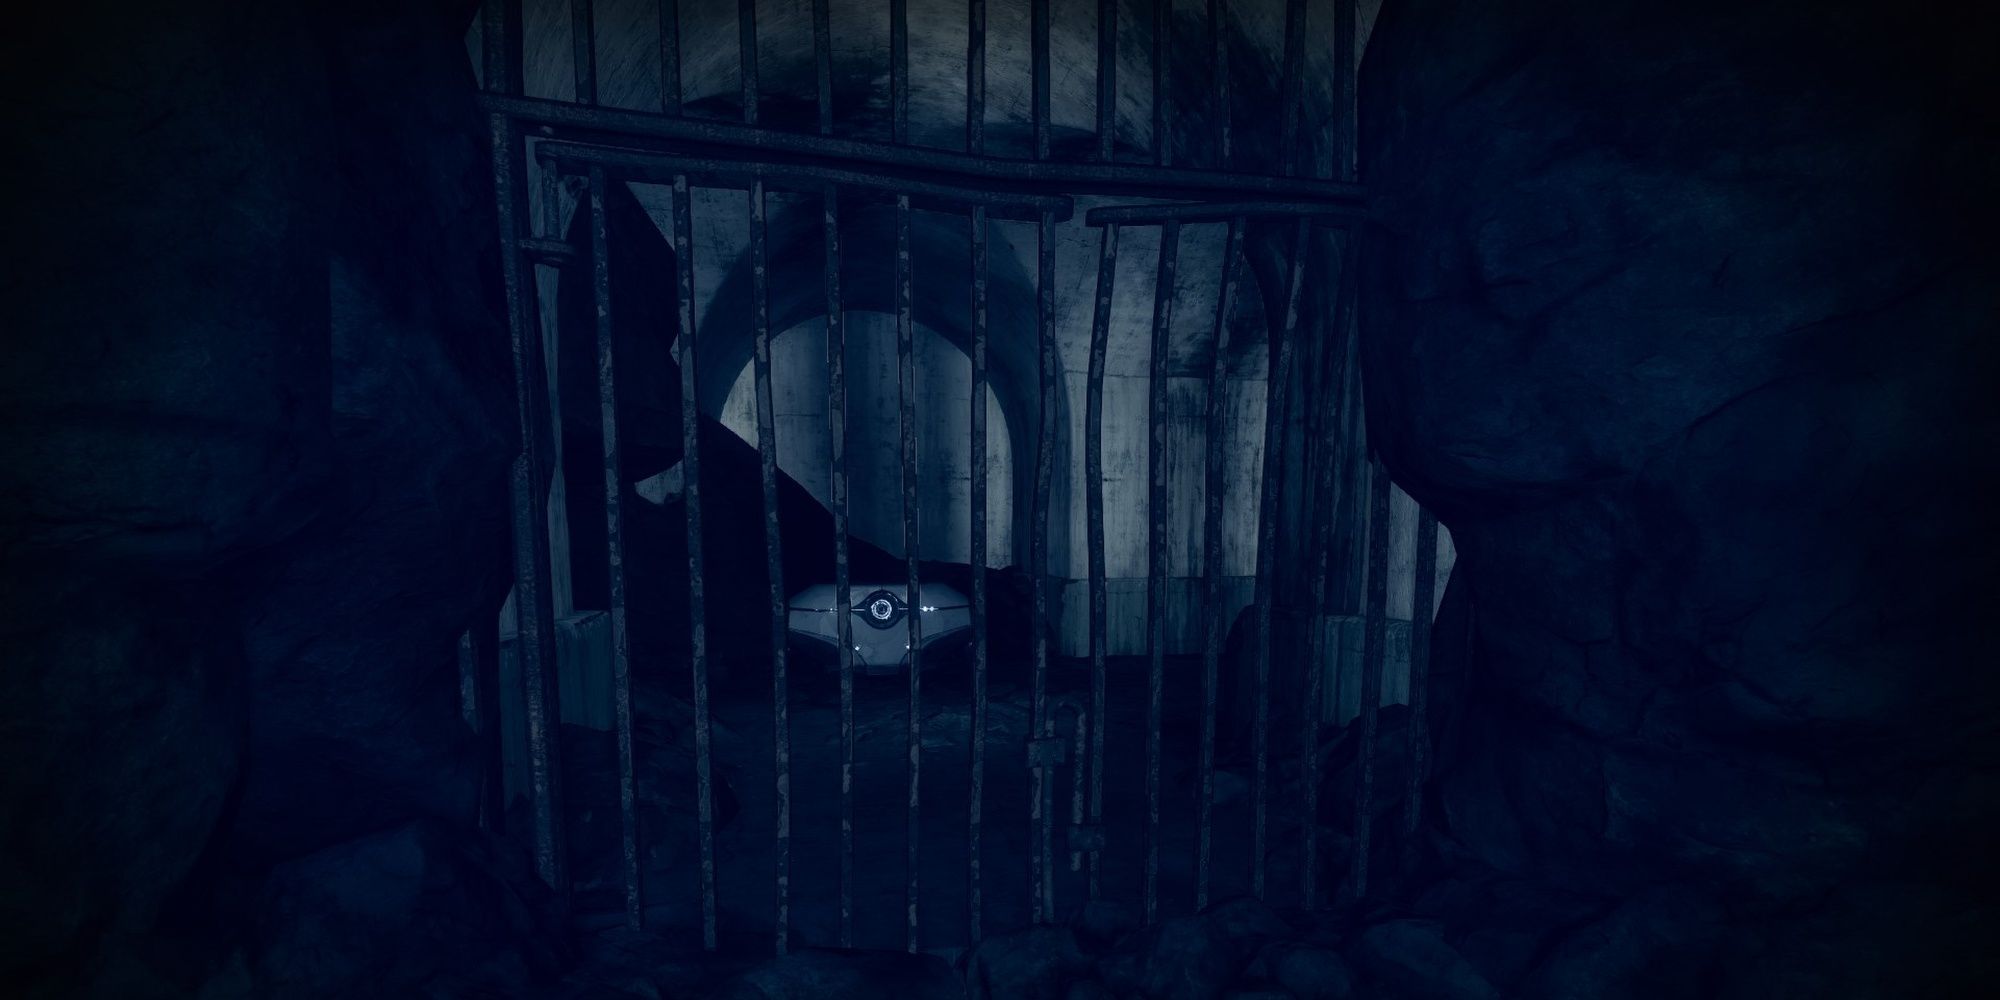
Image Gallery (4 Images)
Expand
Expand
Expand
Expand
Close
- Location: The Crypt
- Beacon Requirement: #1
When you start the mission, you'll be led to a withering forest guarded by a group of Taken forces. Right next to the Taken slow field surrounding a church is a small building that leads to a crypt. Activate the Barrier Breach marker outside the crypt entrance, then head inside. The chest will be guarded by three Taken Thrall in a short corridor.
Trivial Mystery #2: The Ruins
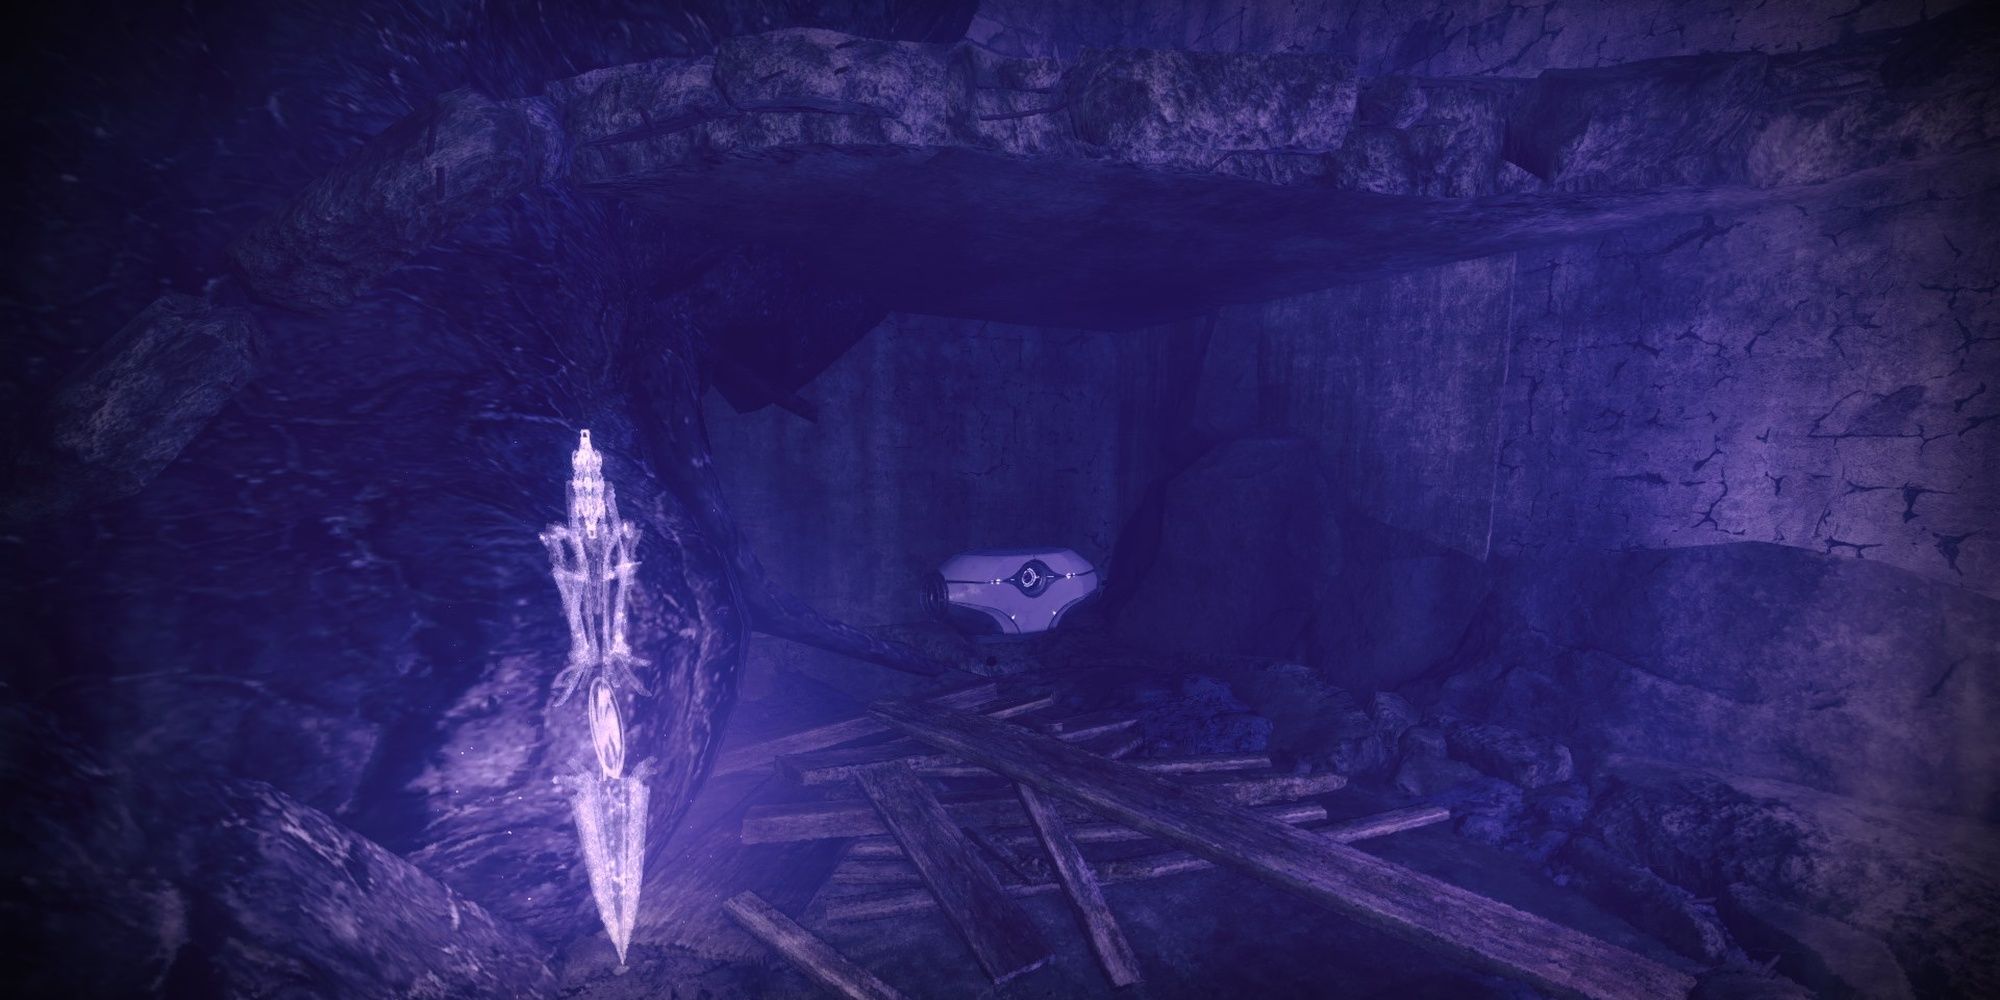
Image Gallery (5 Images)
Expand
Expand
Expand
Expand
Expand
Close
- Location: The Outskirts
- Beacon Requirement: #1
Travel to the east side of the church. A short rock path should be visible, leading you up a cliffside. Climb up the path to reach the ruins of a building. You'll want to jump on top of a pointy boulder, then climb up a floor. Cross a gap to find the Breach Barrier marker. Activate it, then descend to the bottom floor. The chest will be tucked in a corner.
Trivial Mystery #3: The Outer Ruins
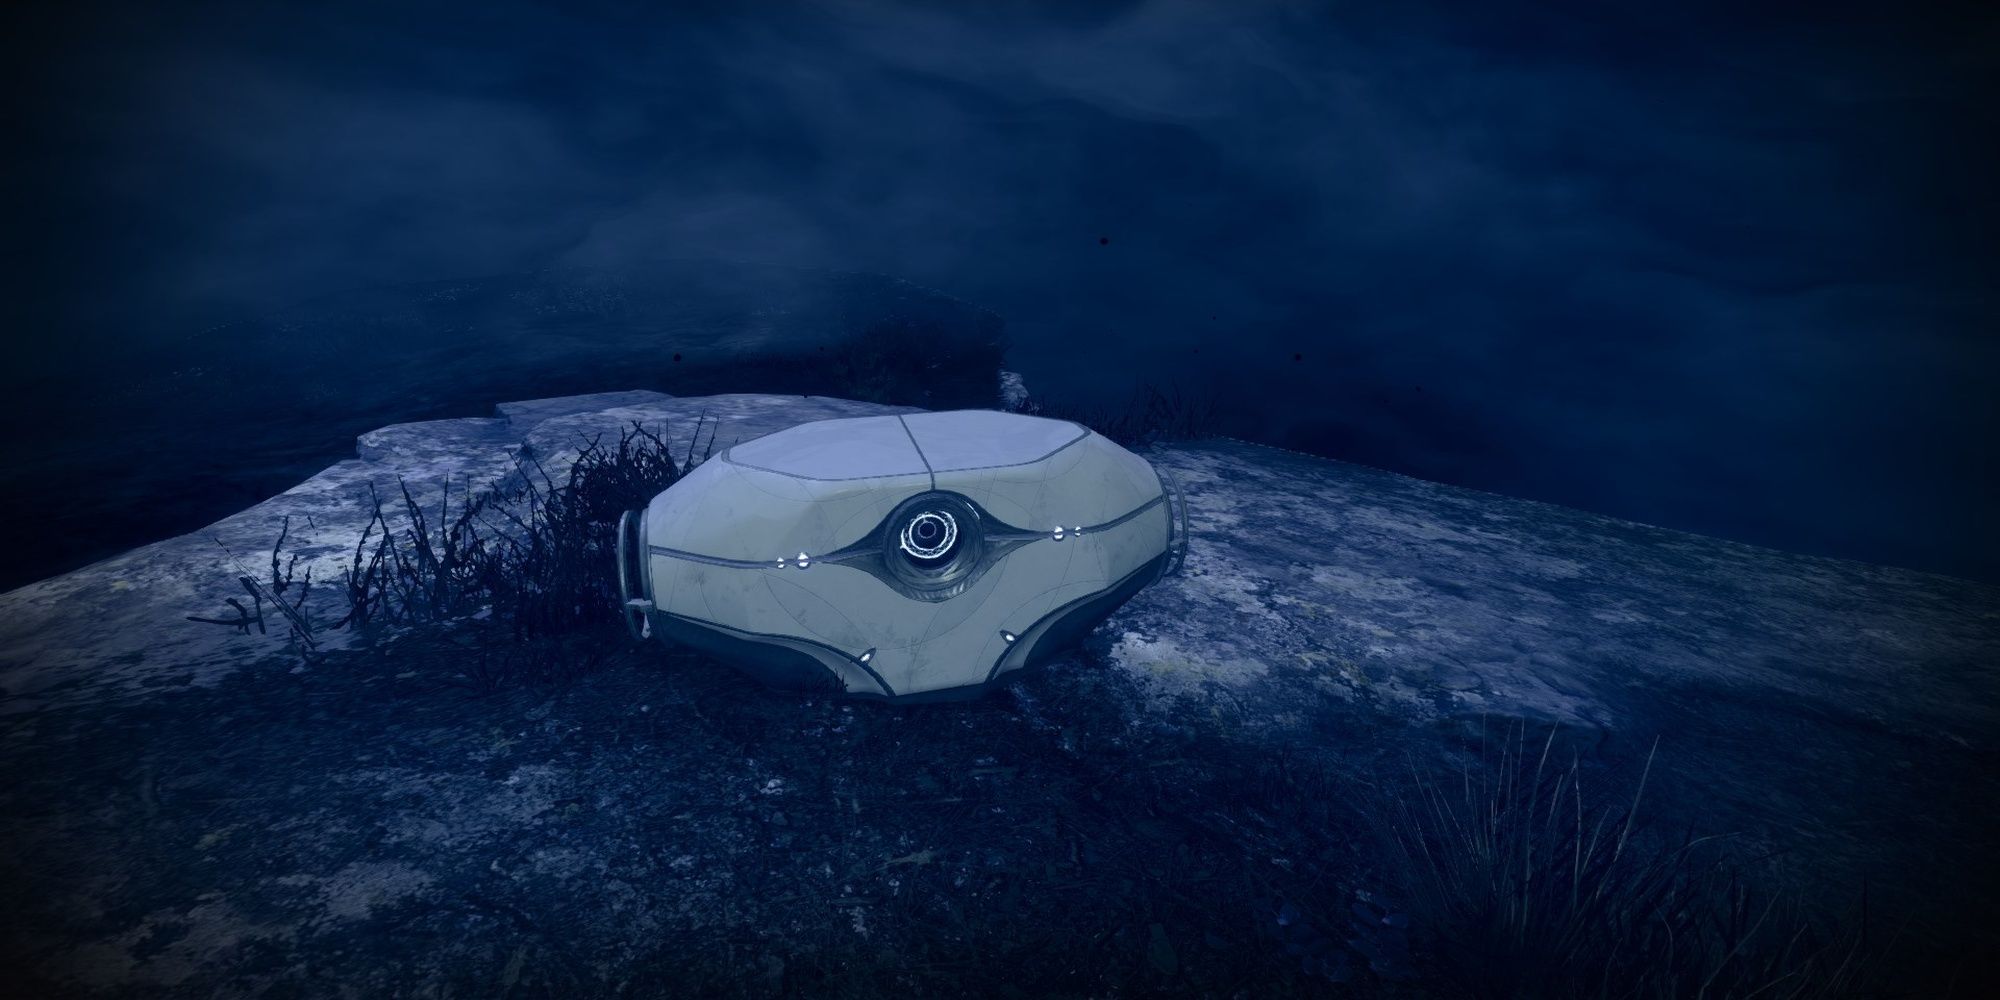
Image Gallery (6 Images)
Expand
Expand
Expand
Expand
Expand
Expand
Close
- Location: The Outer Ruins
- Beacon Requirement: #1
Make your way to the ruins east of the crypt entrance. This rather spacious building has an Awoken barrier at the back of the second floor. Hop up the ruins of a pillar to reach the second floor. Loop around the pillar to your left to find a Barrier Breach marker. Activate it, then run through the barrier. You'll find the chest on a floating platform.
Trivial Mystery #4: The Descent

Image Gallery (3 Images)
Expand
Expand
Expand
Close
- Location: The Dark Forest
- Beacon Requirement: #2
From the crypt entrance in Trivial Mystery #1, head west towards the base of a withered tree. A nearby tree to your right will have a Breach Barrier marker. Invoke your Breach Barrier ability, then run through the barrier at the base of the tree. Turn left to find the chest.
Trivial Mystery #5: Harrowed Cliffs

Image Gallery (4 Images)
Expand
Expand
Expand
Expand
Close
- Location: The Harrowed Cliffs
- Beacon Requirement: #2
Right as you activate the second beacon, climb up the cliffs to the east. When you reach the top, you should see a group of Taken Acolytes guarding a circle of markers right under you. Drop down, take out the Taken, then look for a Breach Barrier marker. Invoke the marker, then jump through the hole in the cliffside in front of you.
Trivial Mystery #6: The Mill

Image Gallery (4 Images)
Expand
Expand
Expand
Expand
Close
| Note: You'll need to invoke a marker from Trivial Mystery #5 to reach this chest. |
- Location: The Harrowed Cliffs
- Beacon Requirement: #2
Invoke the Breach Barrier marker from the Harrowed Cliffs chest (described in the above entry). Run directly across the beacon to the Taken slow field. Enter the mill to your left to find a chest.
Trivial Mystery #7: Sunken Cave

Image Gallery (6 Images)
Expand
Expand
Expand
Expand
Expand
Expand
Close
- Location: The Ruins
- Beacon Requirement: #2
Make your way to The Ruins—a destroyed building located south of the church. Instead of swinging left towards the second beacon, head right. Look straight down the cliffside for a narrow platform. Jump down. You should see a marker to your left. Reach that marker, then enter the cave to see the chest protected by a barrier. Invoke the Breach Barrier marker floating atop a rock to reach the chest.
What Are Ascendant Anchors?
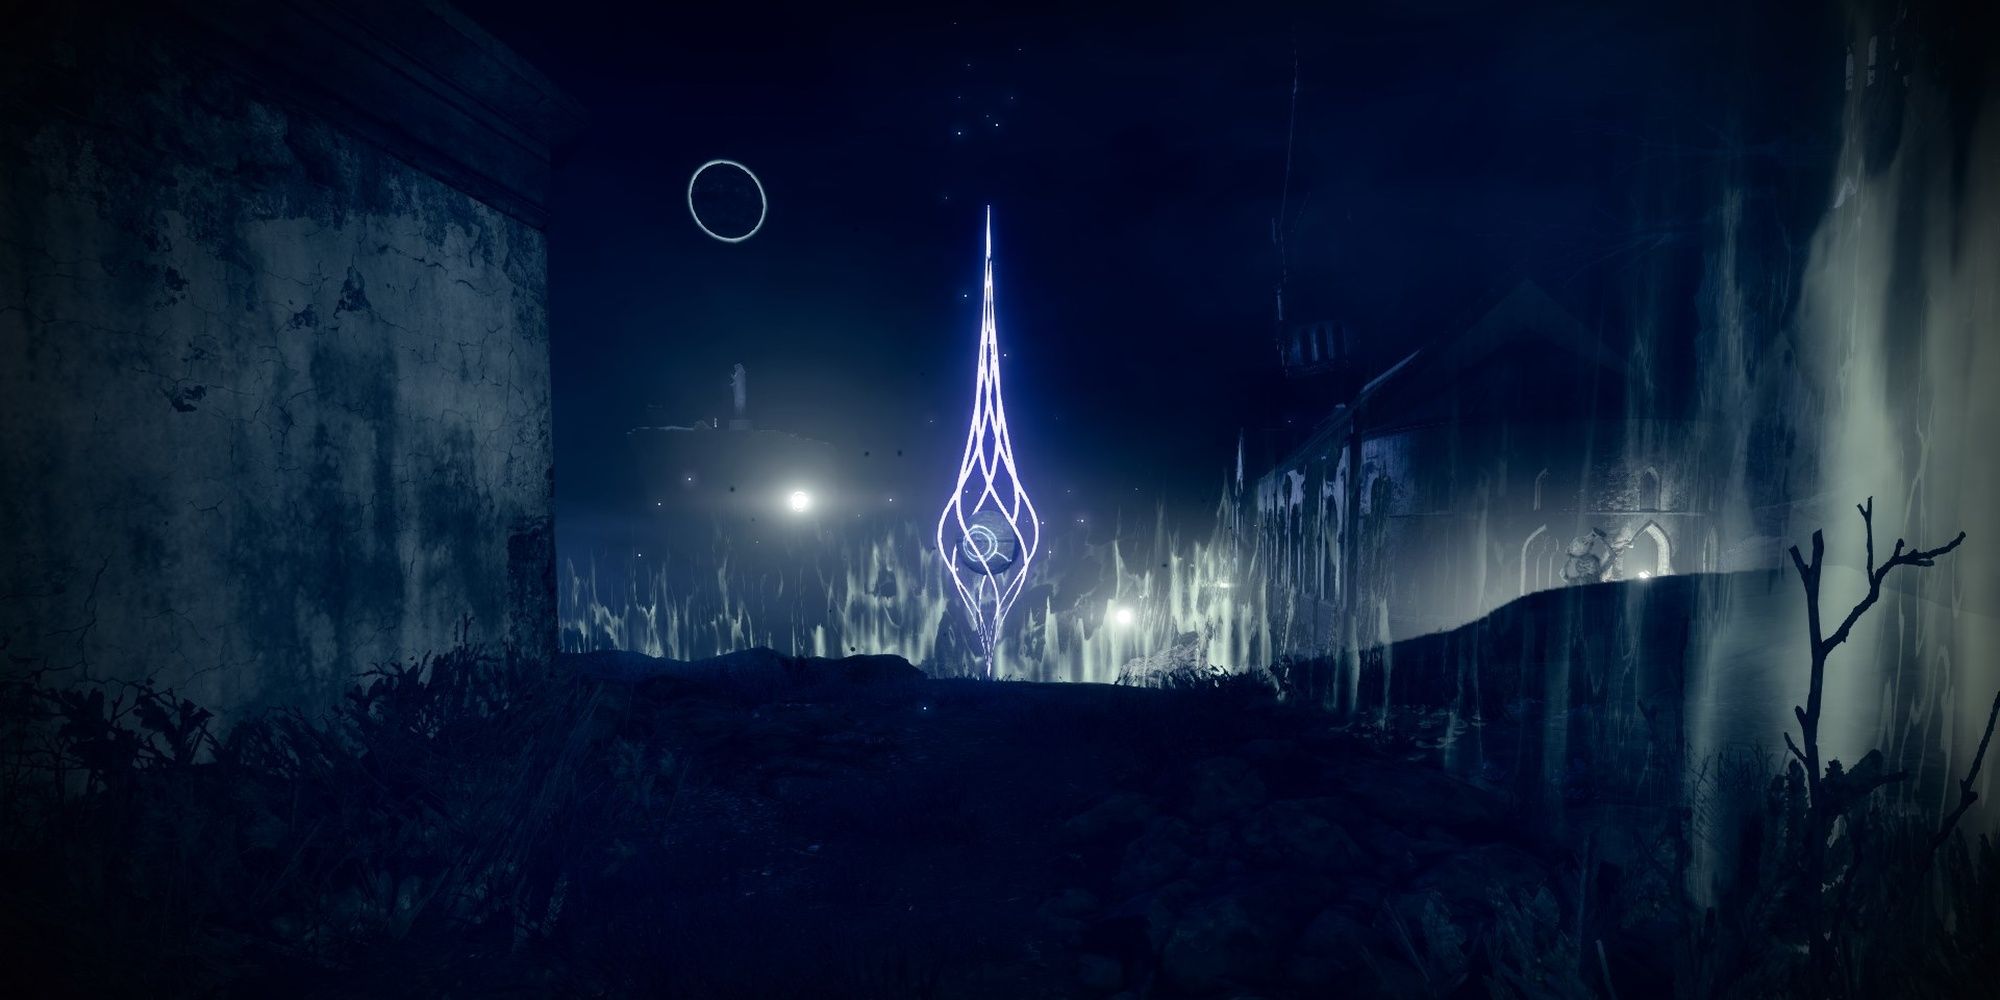
Ascendant Anchors are floating orbs scattered throughout the Ascendant Plane. These orbs emit a purple pillar of light to help denote their location. Unfortunately, most of these Anchors are hidden in caves and other interiors across the Shattered Realm. You'll need to go on a scavenger hunt to find all of them.
Related: Destiny 2: The Best Rolls For The New Season Of The Lost Prophecy Dungeon Weapons
There are ten Anchors in the Forest of Echoes, which is just enough to complete the "Ley Line Rumors" Seasonal Challenge. If your challenge bugged out and you can't get all ten, Anchors obtained from next week's Shattered Realm will contribute progress as well.
All Ascendant Anchor Locations
Below is a list of every Ascendant Anchor you'll find in the Forest Echoes. For images that don't have a proper Anchor present, Stasis crystals have been placed in their stead.
| IMPORTANT: The Mill Ascendant Anchor resets progress towards "Ley Line Rumors." Grab this Anchor first to avoid this bug. |
Ascendant Anchor #1: The Dark Forest
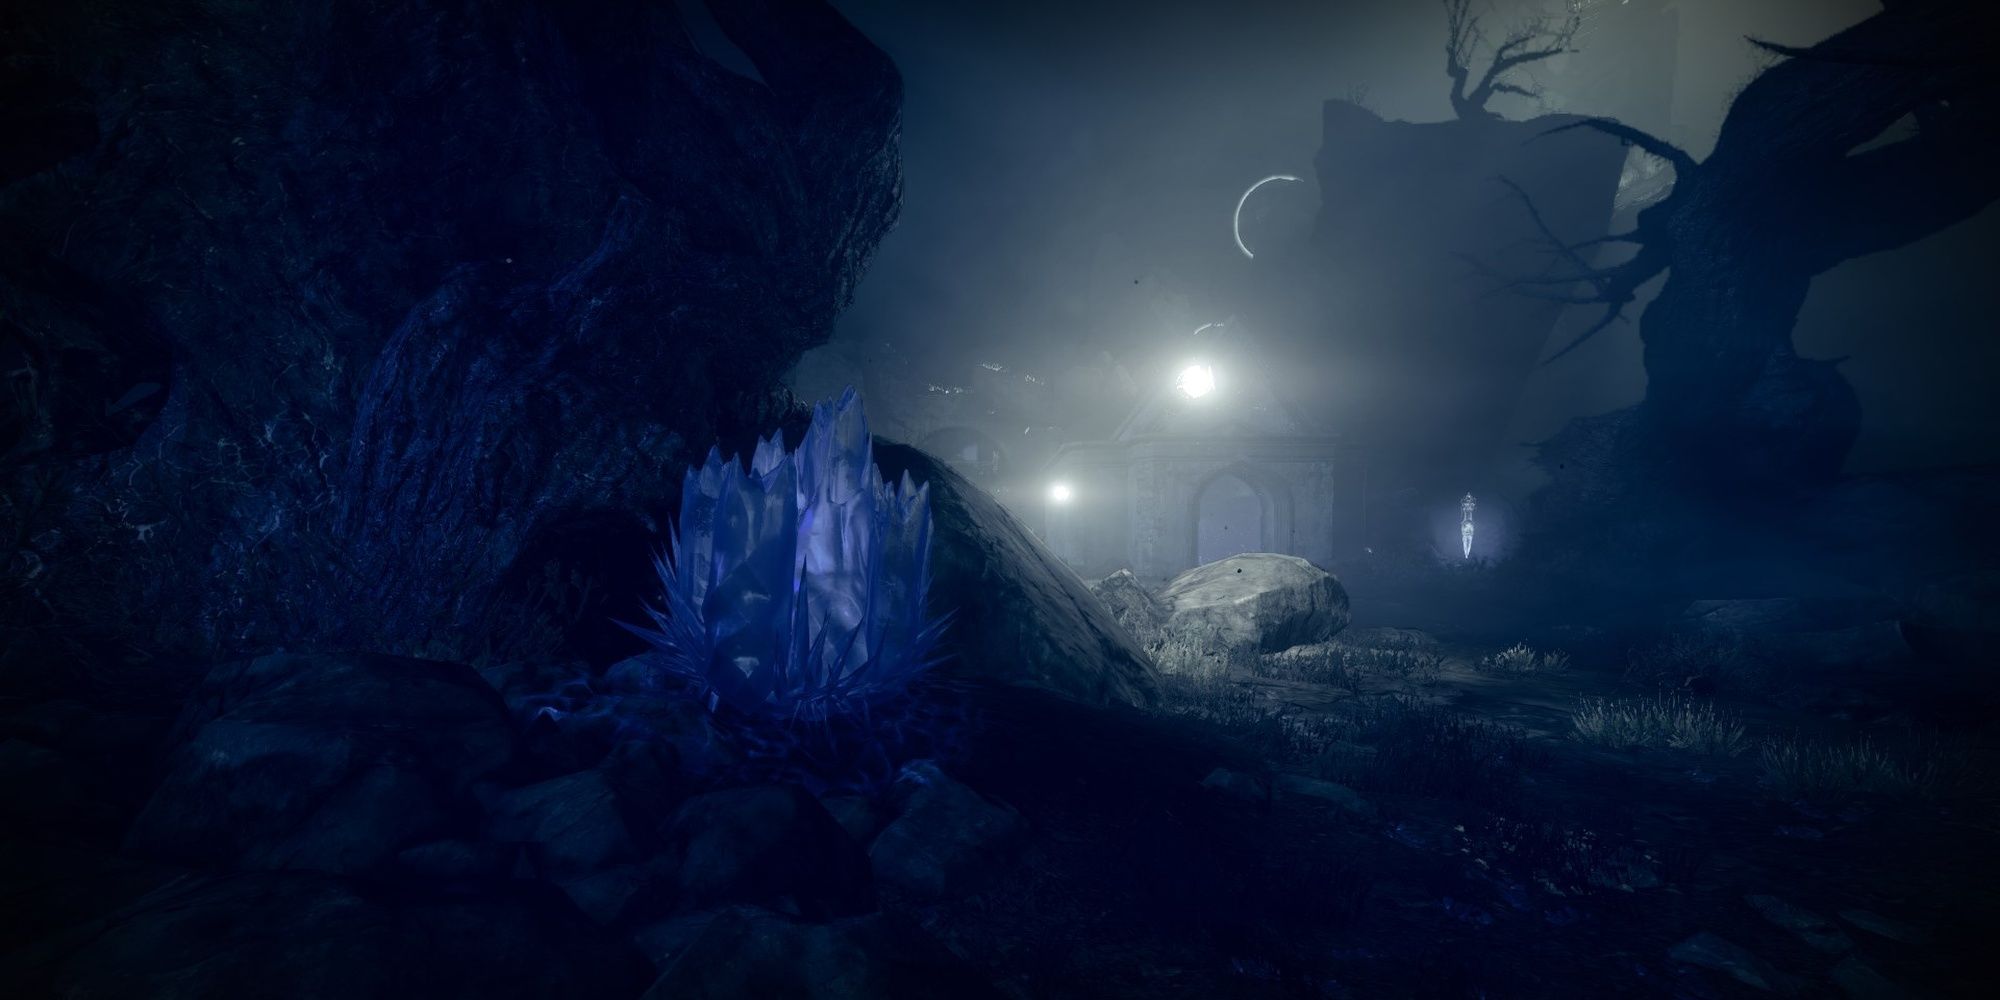
Image Gallery (3 Images)
Expand
Expand
Expand
Close
- Location: The Dark Forest
You'll find this Anchor resting beside a tree on your way to the first beacon, right next to the crypt entrance. This one is incredibly hard to miss.
Ascendant Anchor #2: The Abbey Of Whispers
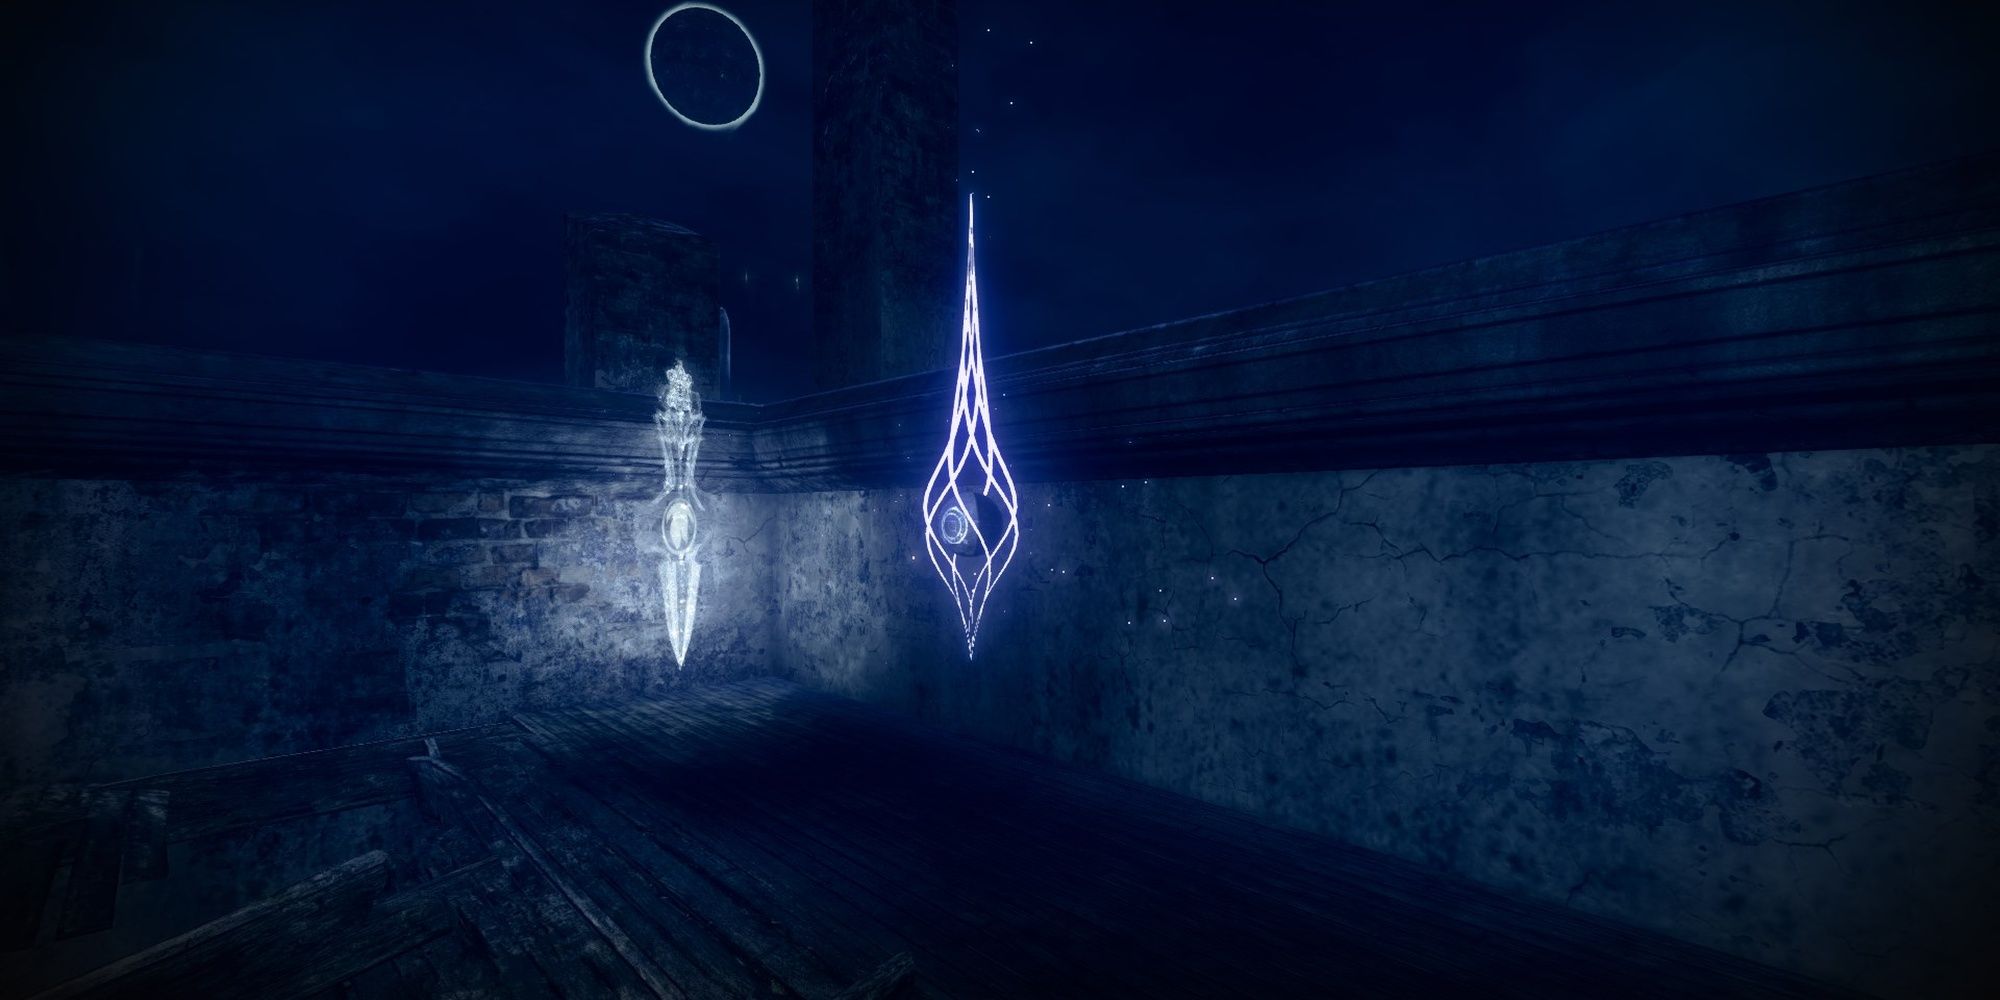
Image Gallery (4 Images)
Expand
Expand
Expand
Expand
Close
- Location: Beacon #1
After you finish charging the first beacon, run to the other side of the church's interior to find a Breach Barrier marker. Activate it, then climb up the pillars beside the beacon. You should see a wooden platform near the roof. Hop onto the wooden platform to find the Ascendant Anchor.
Ascendant Anchor #3: The Outskirts
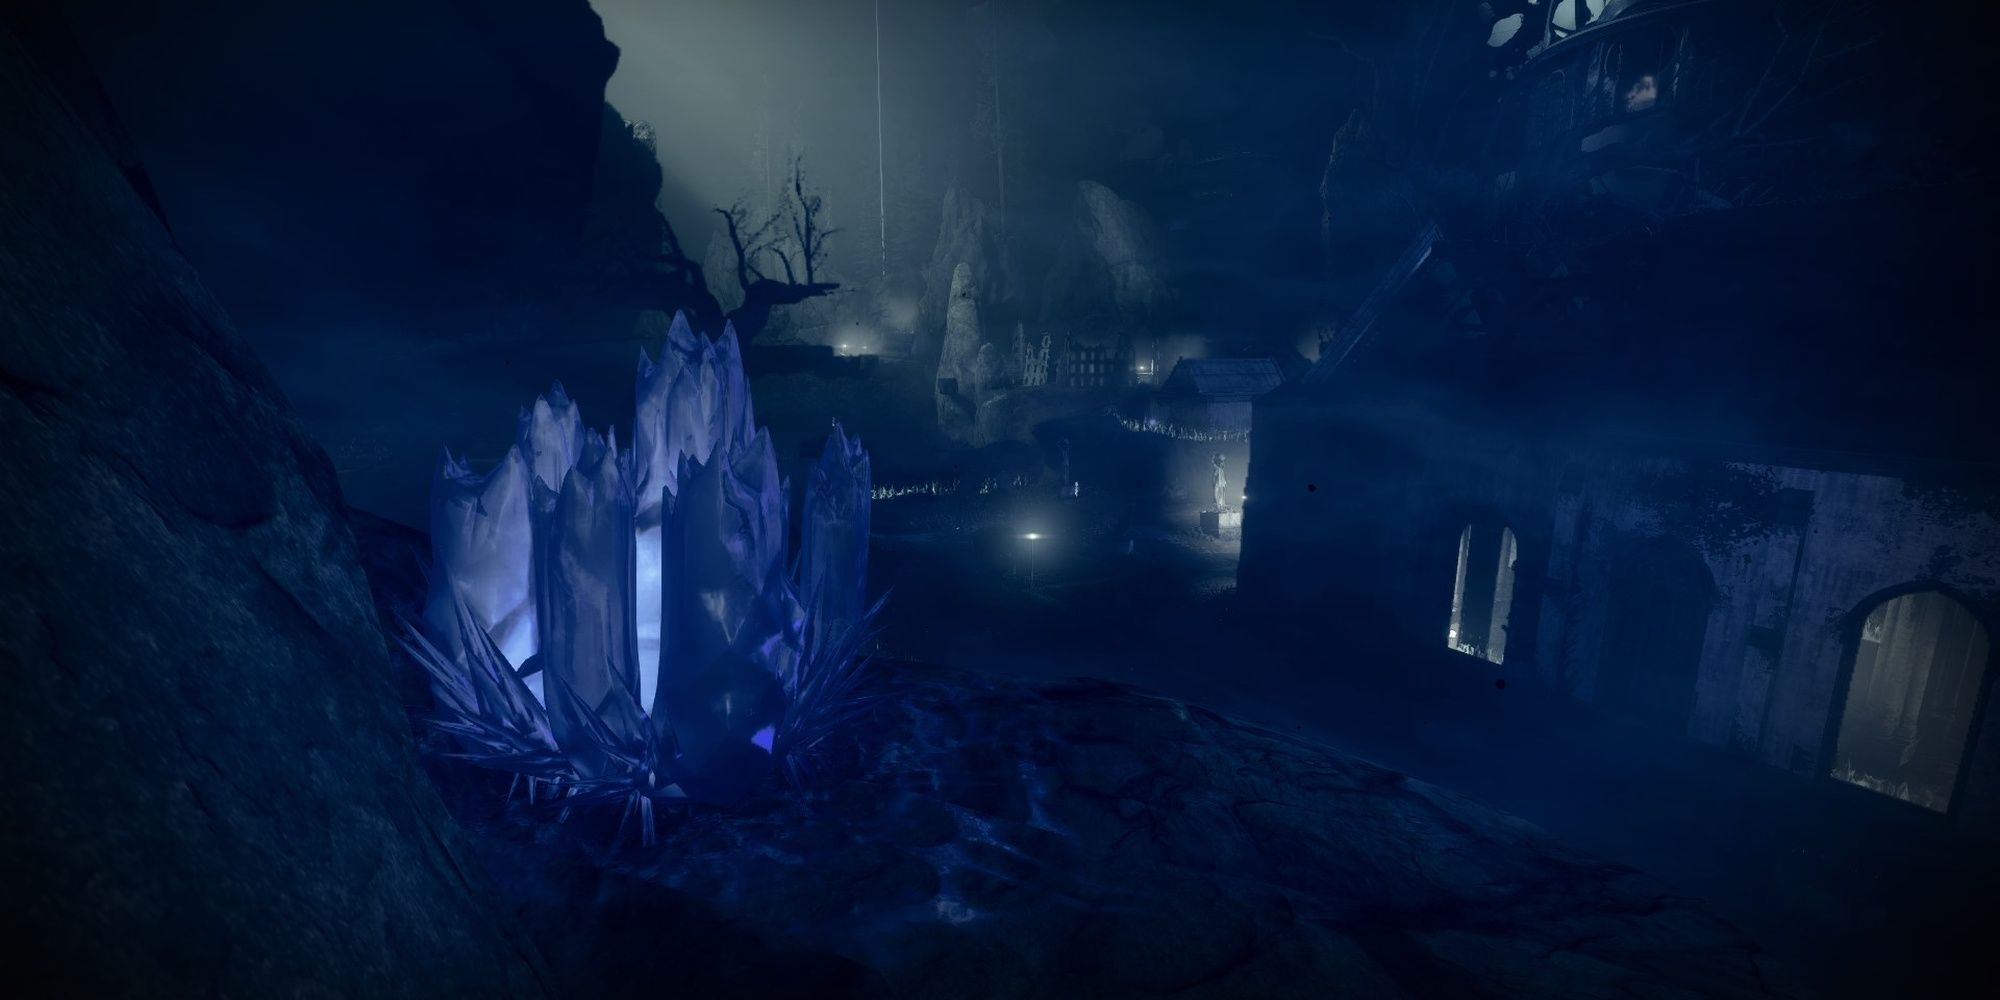
Image Gallery (3 Images)
Expand
Expand
Expand
Close
- Location: East of the Abbey of Whispers
Run outside of the church that the first beacon is in. You should see a path up a cliffside just outside of the Taken slow field. Climb up the path to find an Ascendant Anchor overlooking the area.
Ascendant Anchor #4: The Dark Forest

Image Gallery (3 Images)
Expand
Expand
Expand
Close
- Location: Behind the Crypt entrance
This Anchor is hiding behind the building that leads to the crypt.
Ascendant Anchor #5: The Crypt
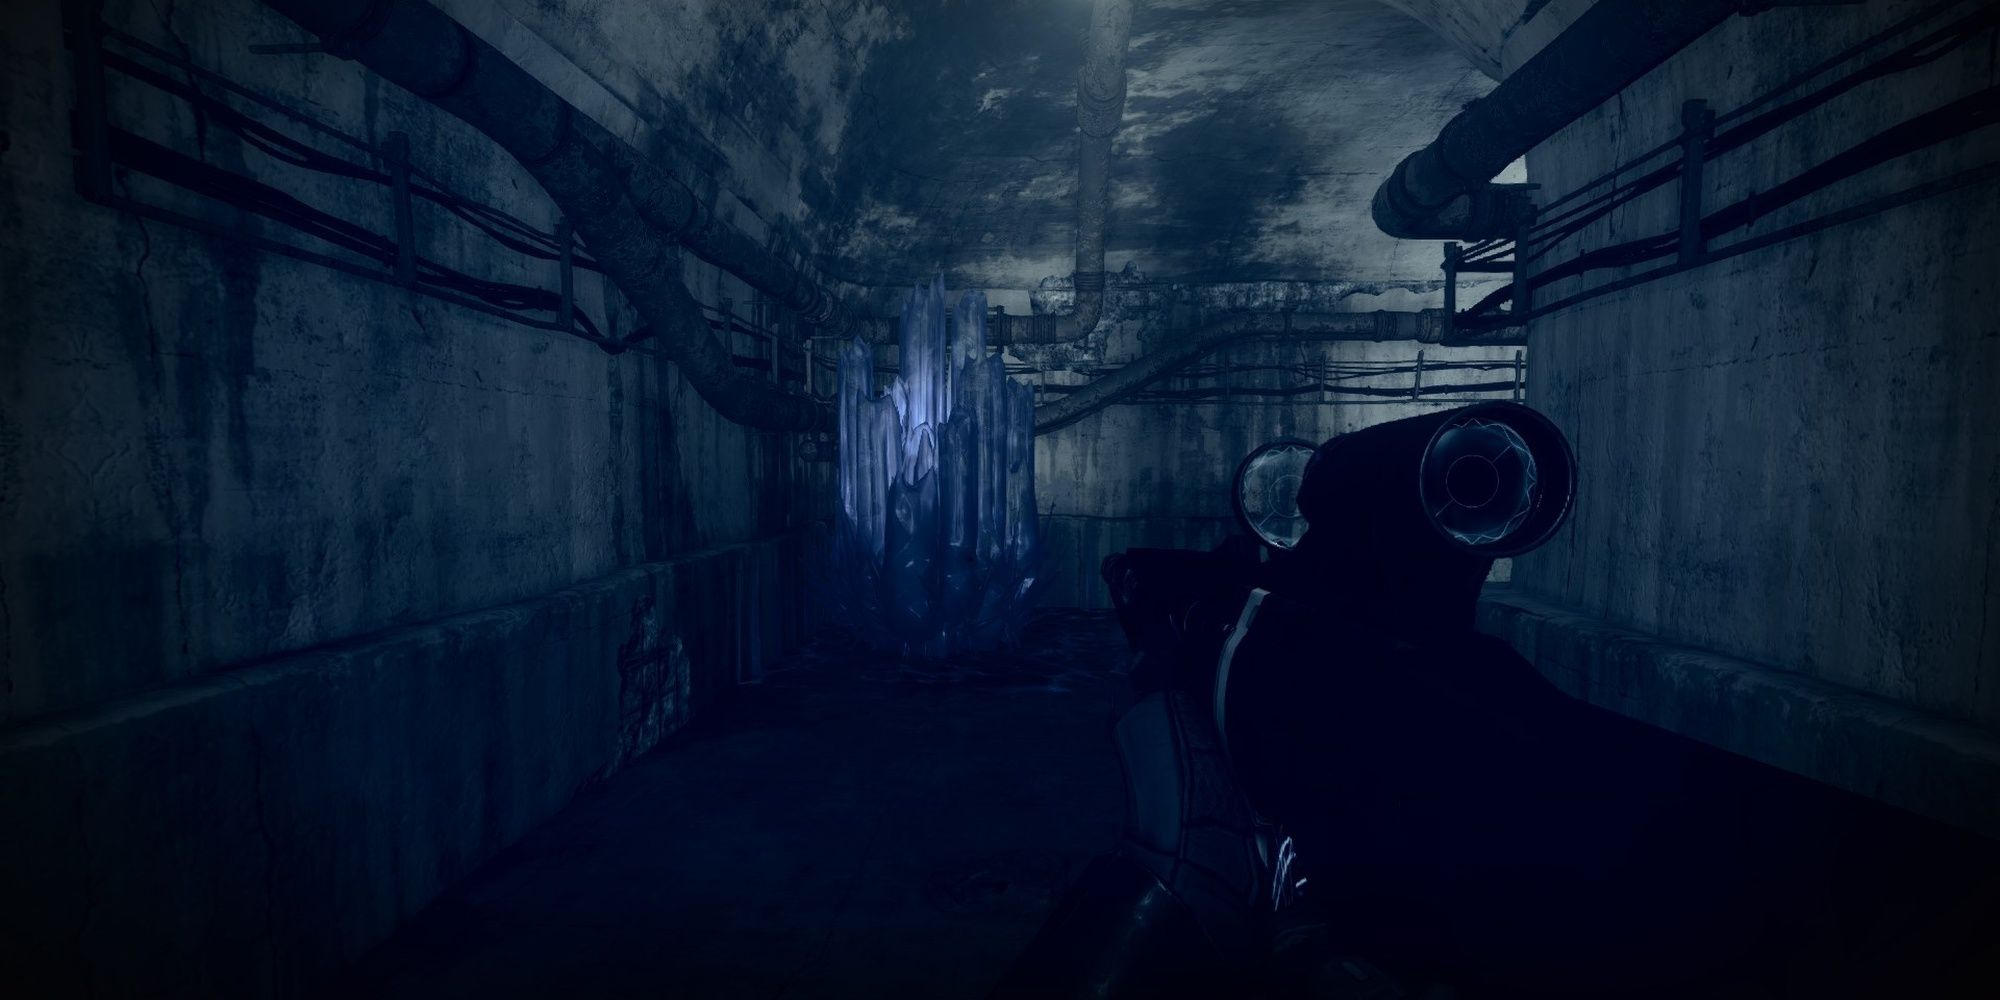
Image Gallery (4 Images)
Expand
Expand
Expand
Expand
Close
- Location: The Crypt
- Beacon Requirement: Beacon #1
Invoke the Barrier Breach marker beside the crypt entrance. Descend into the crypt, then hang left to find the Anchor in a corner.
Ascendant Anchor #6: The Dark Forest
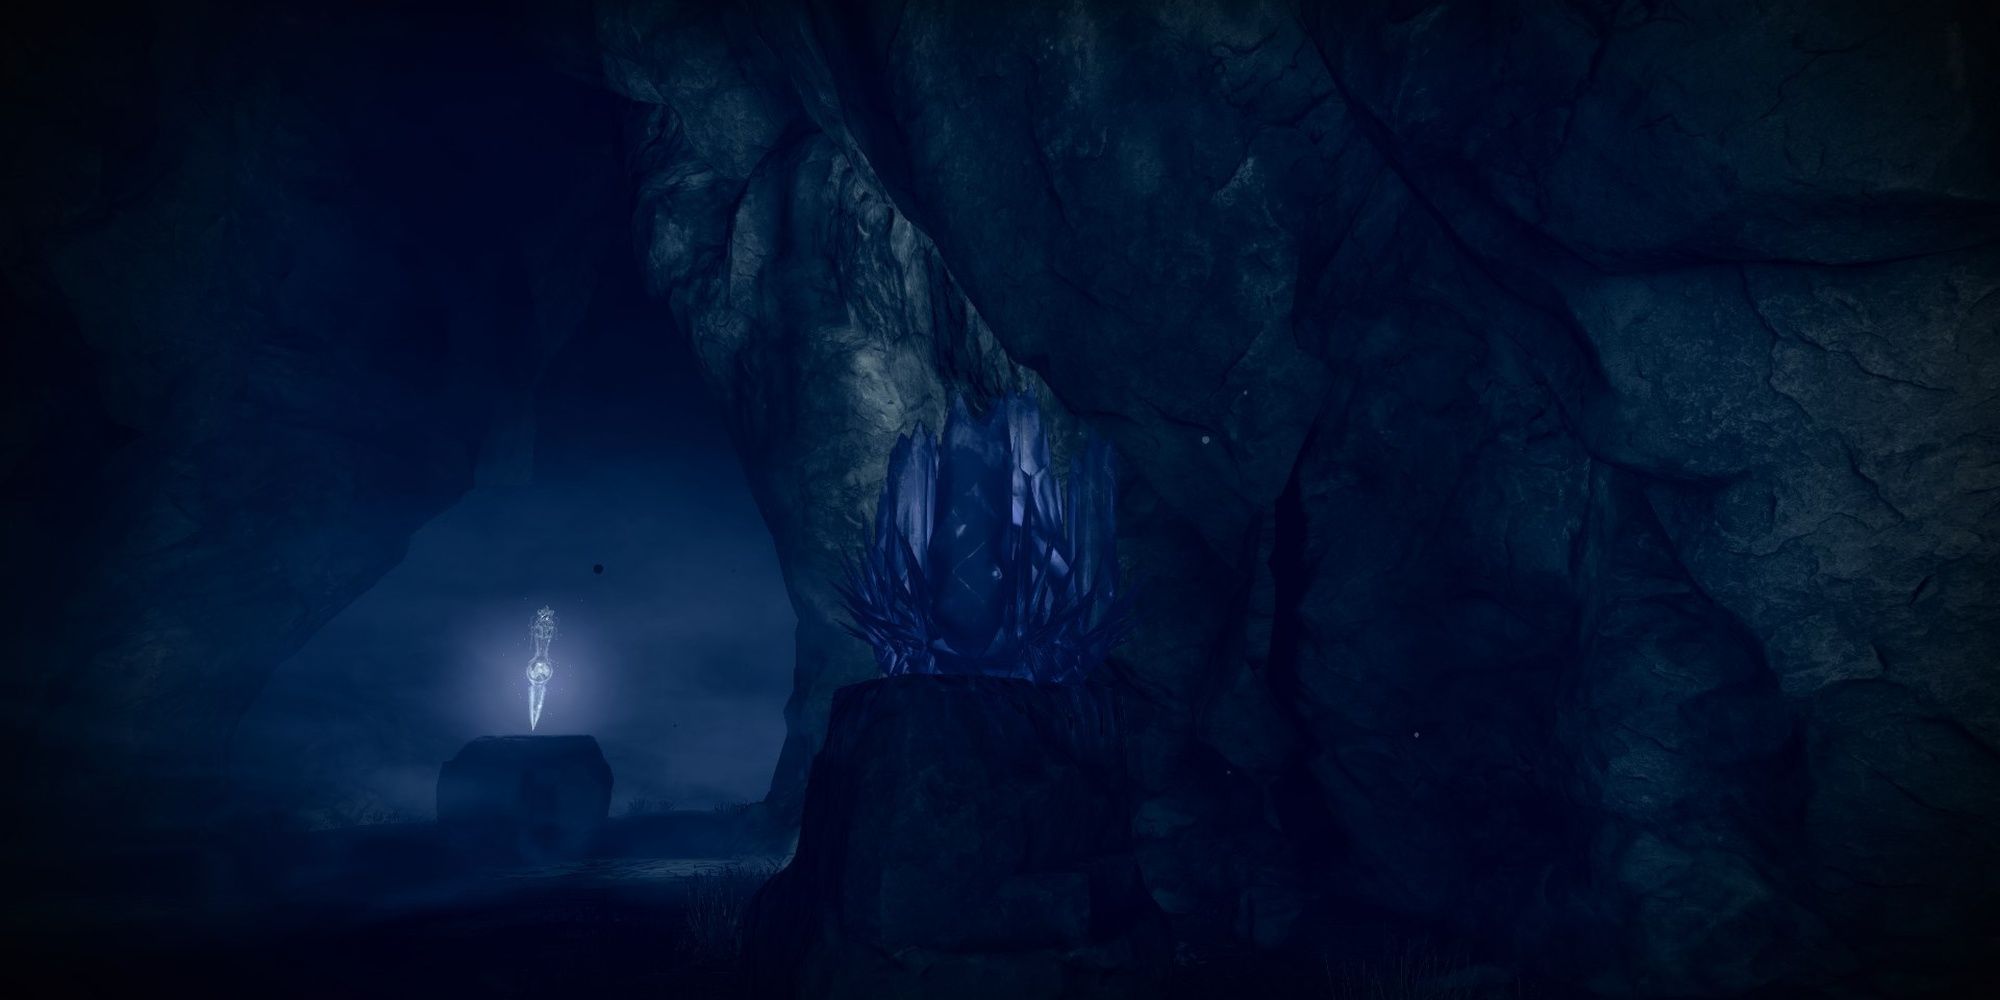
Image Gallery (3 Images)
Expand
Expand
Expand
Close
- Location: The Dark Forest (next to Anchor #1)
- Beacon Requirement: Beacon #1
The Dark Forest is the first area you reach after you start the mission. The base of a massive withering tree contains an Awoken barrier. Use the nearby Barrier Breaching marker to enter the tree. You'll find the Anchor on the lower floor of the cave, floating above a rock.
Ascendant Anchor #7: The Ruins
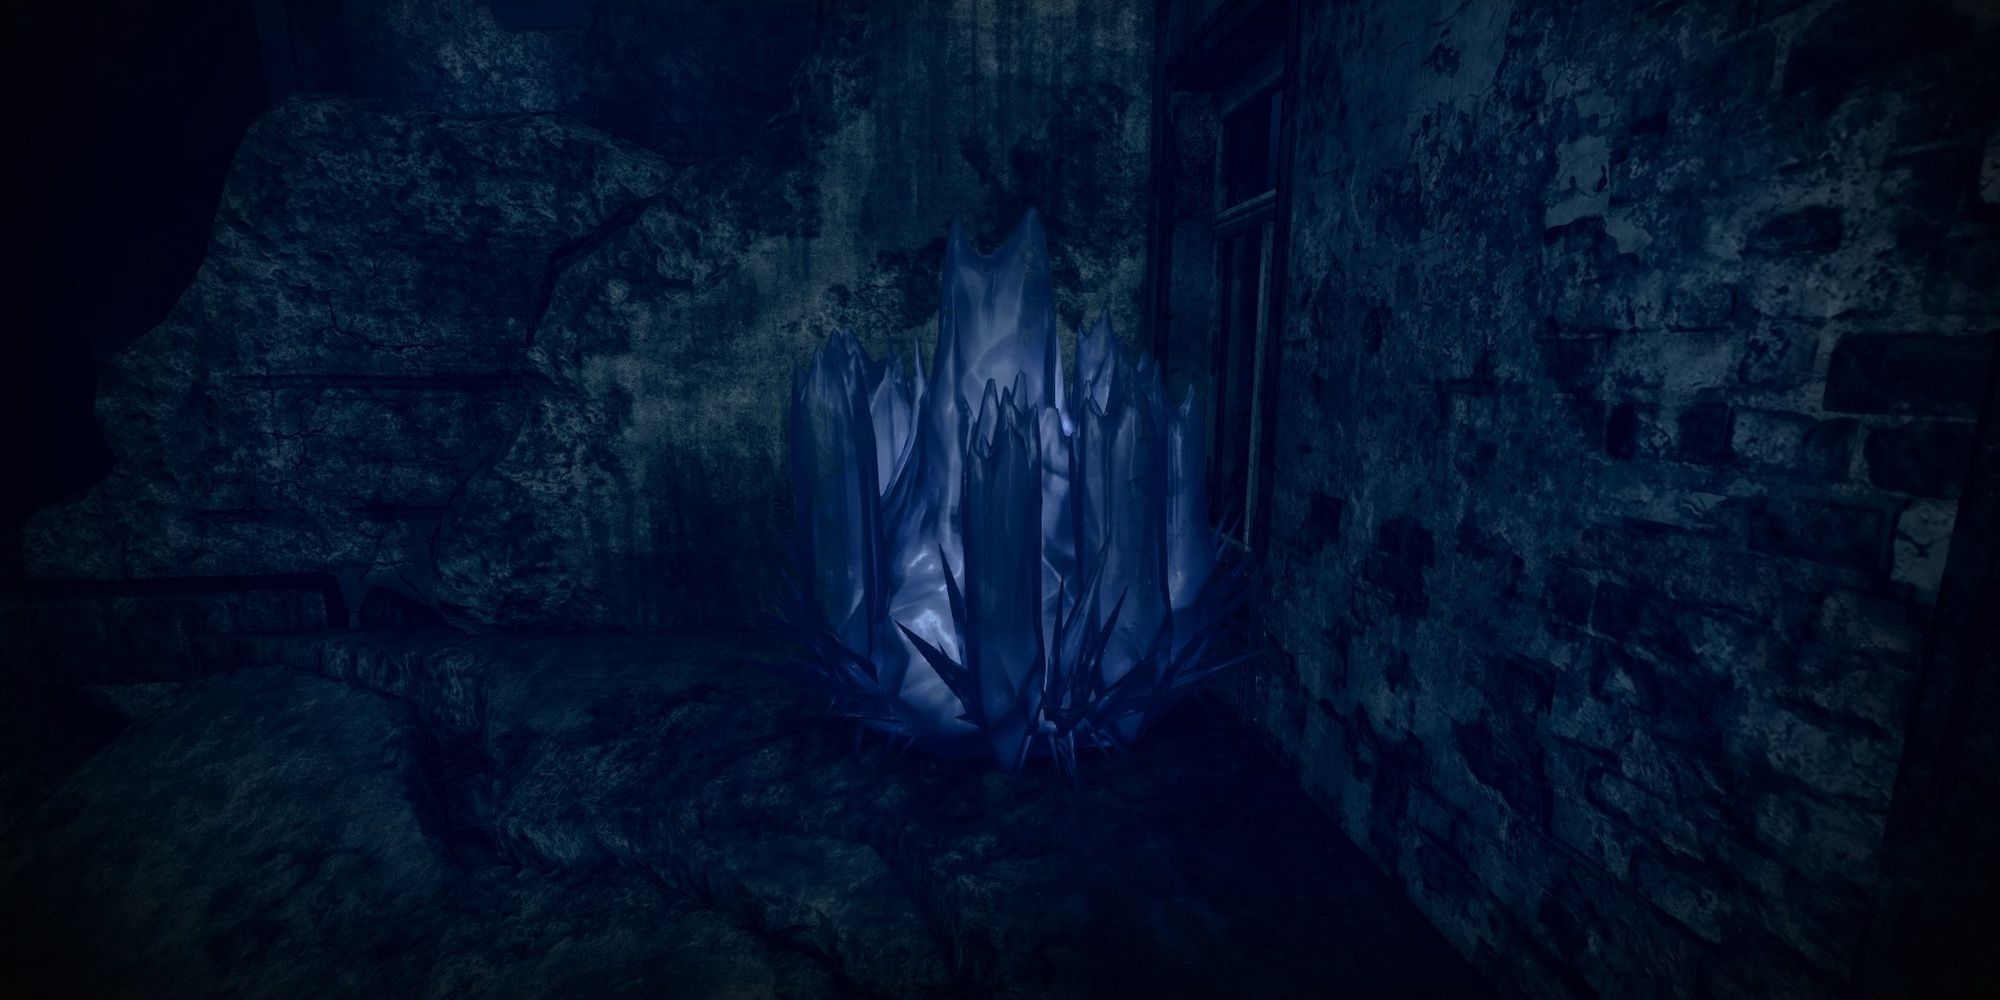
Image Gallery (3 Images)
Expand
Expand
Expand
Close
- Location: The Ruins (building south of the crypt)
You'll reach this location on your way to the second beacon. When you reach the destroyed building, climb up to the remains of the top floor on your right. They'll be an Anchor hiding in the corner.
Ascendant Anchor #8: The Sunken Cave
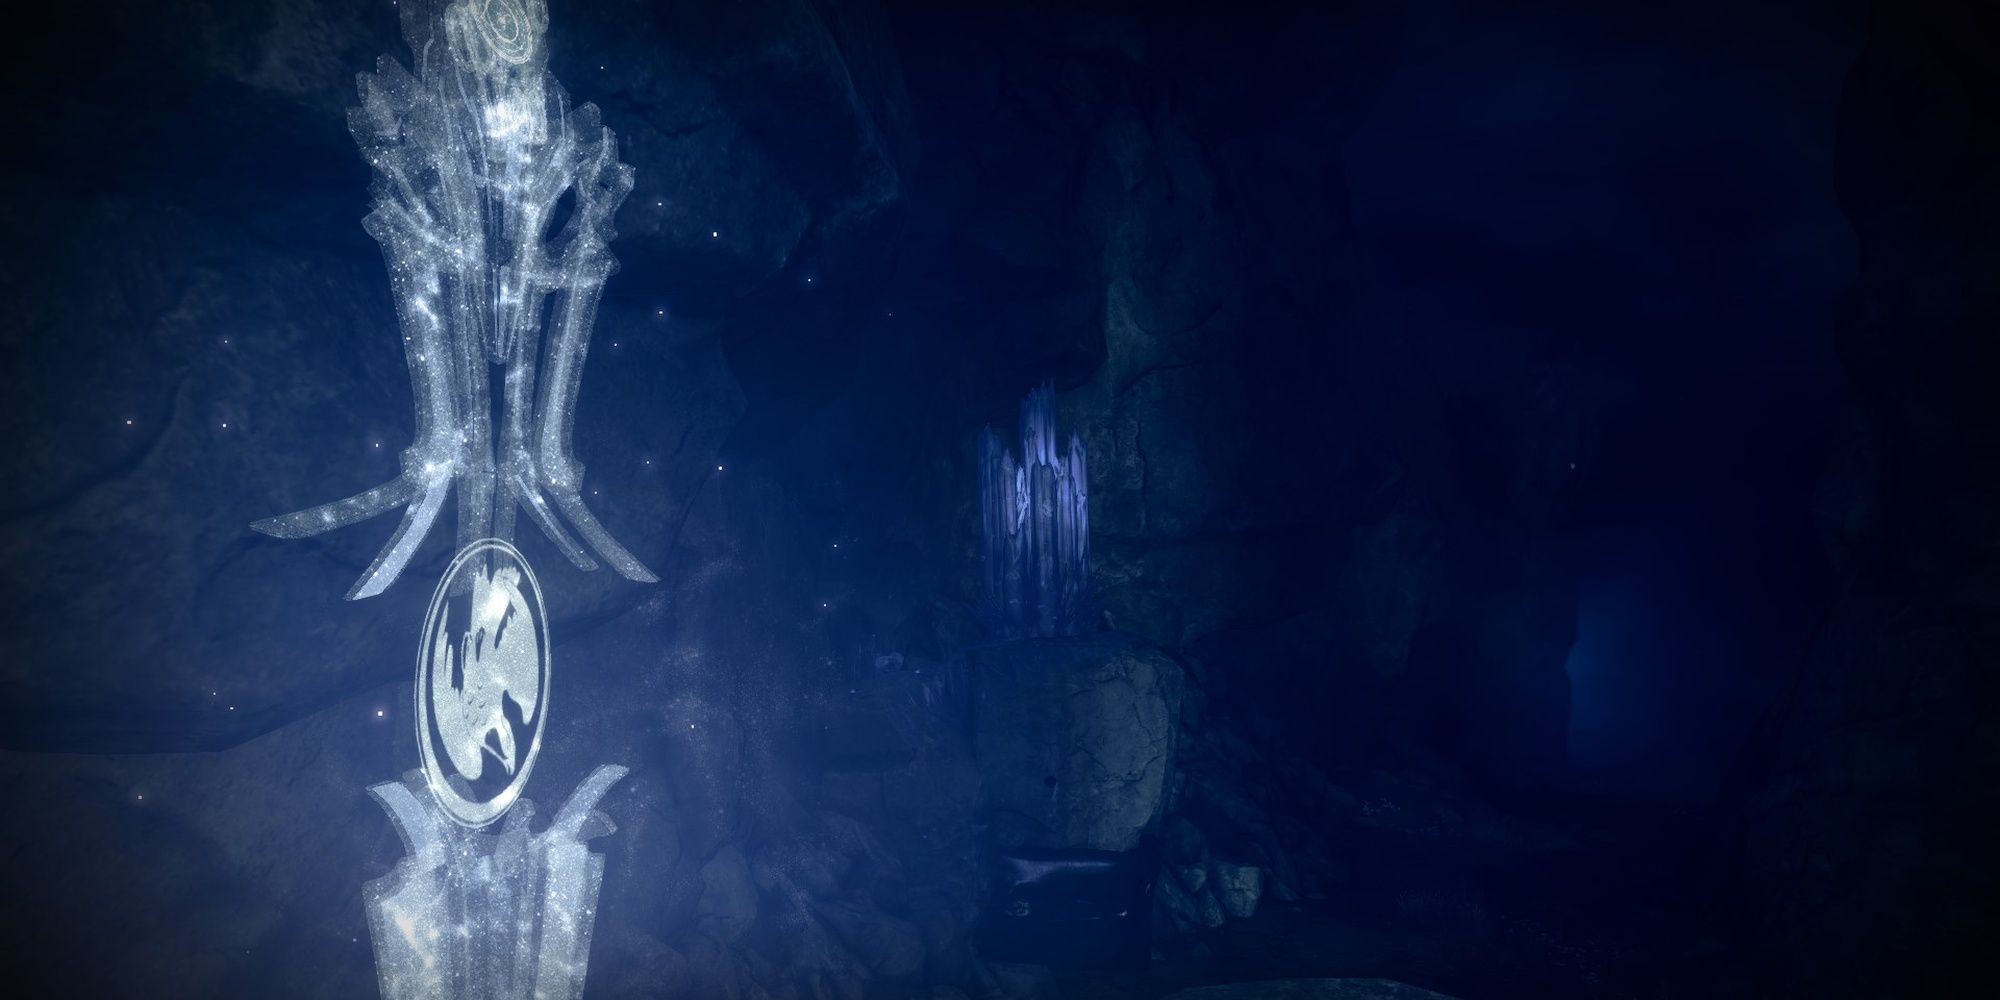
Image Gallery (4 Images)
Expand
Expand
Expand
Expand
Close
- Location: The Ruins
From the same ruins as Anchor #7, head to the cliffside opposite of the path you take to reach beacon #2. Look down the cliffside to see a narrow ledge. Follow the series of ledges to find a hidden cave. Inside the cave is an Ascendant Anchor floating above a rock.
Ascendant Anchor #9: The Mill
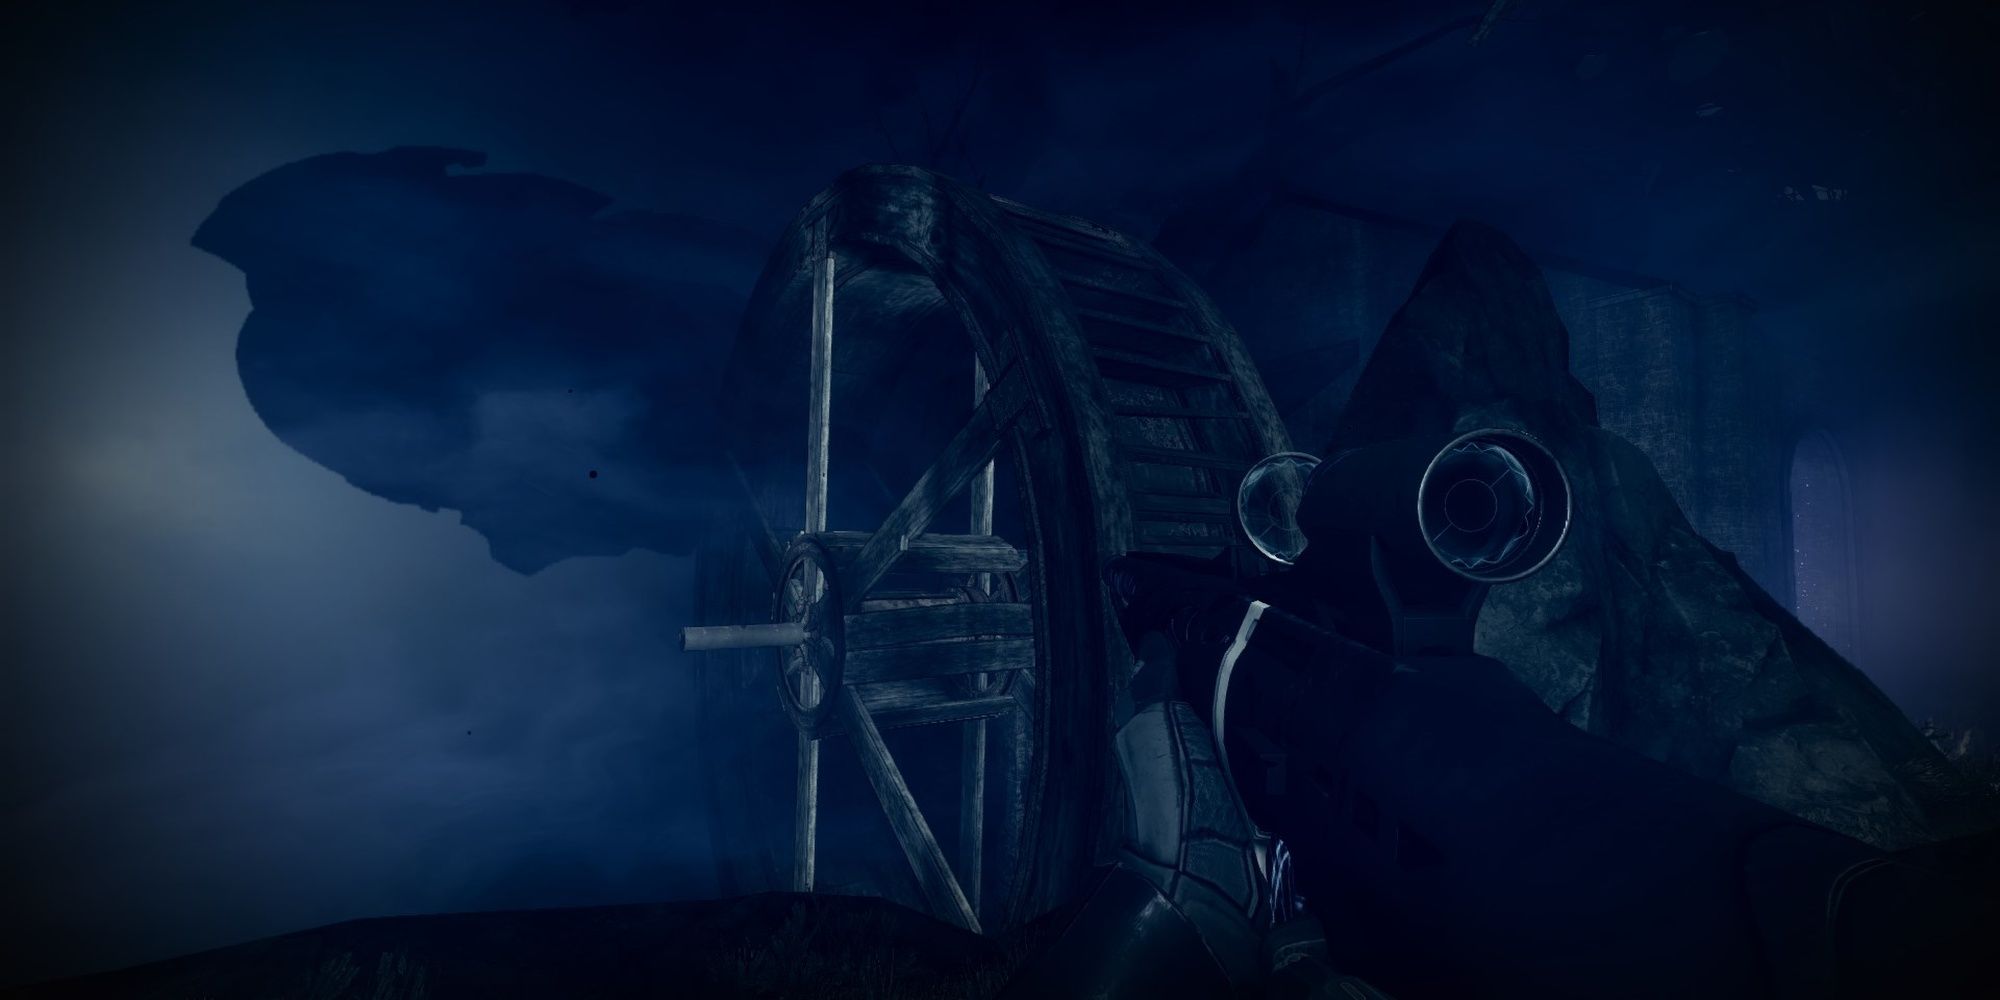
Image Gallery (3 Images)
Expand
Expand
Expand
Close
| IMPORTANT: This Anchor will reset progress on the "Ley Line Anchors" challenge. Grab this one first to prevent any loss of progress. |
- Location: Beacon #2
From the second beacon, look for a mill. The large, spinning wheel tied to the mill is close to the Taken slow field. You'll find the Anchor floating in the middle of the wheel.
Ascendant Anchor #10: The Harrowed Cliffs
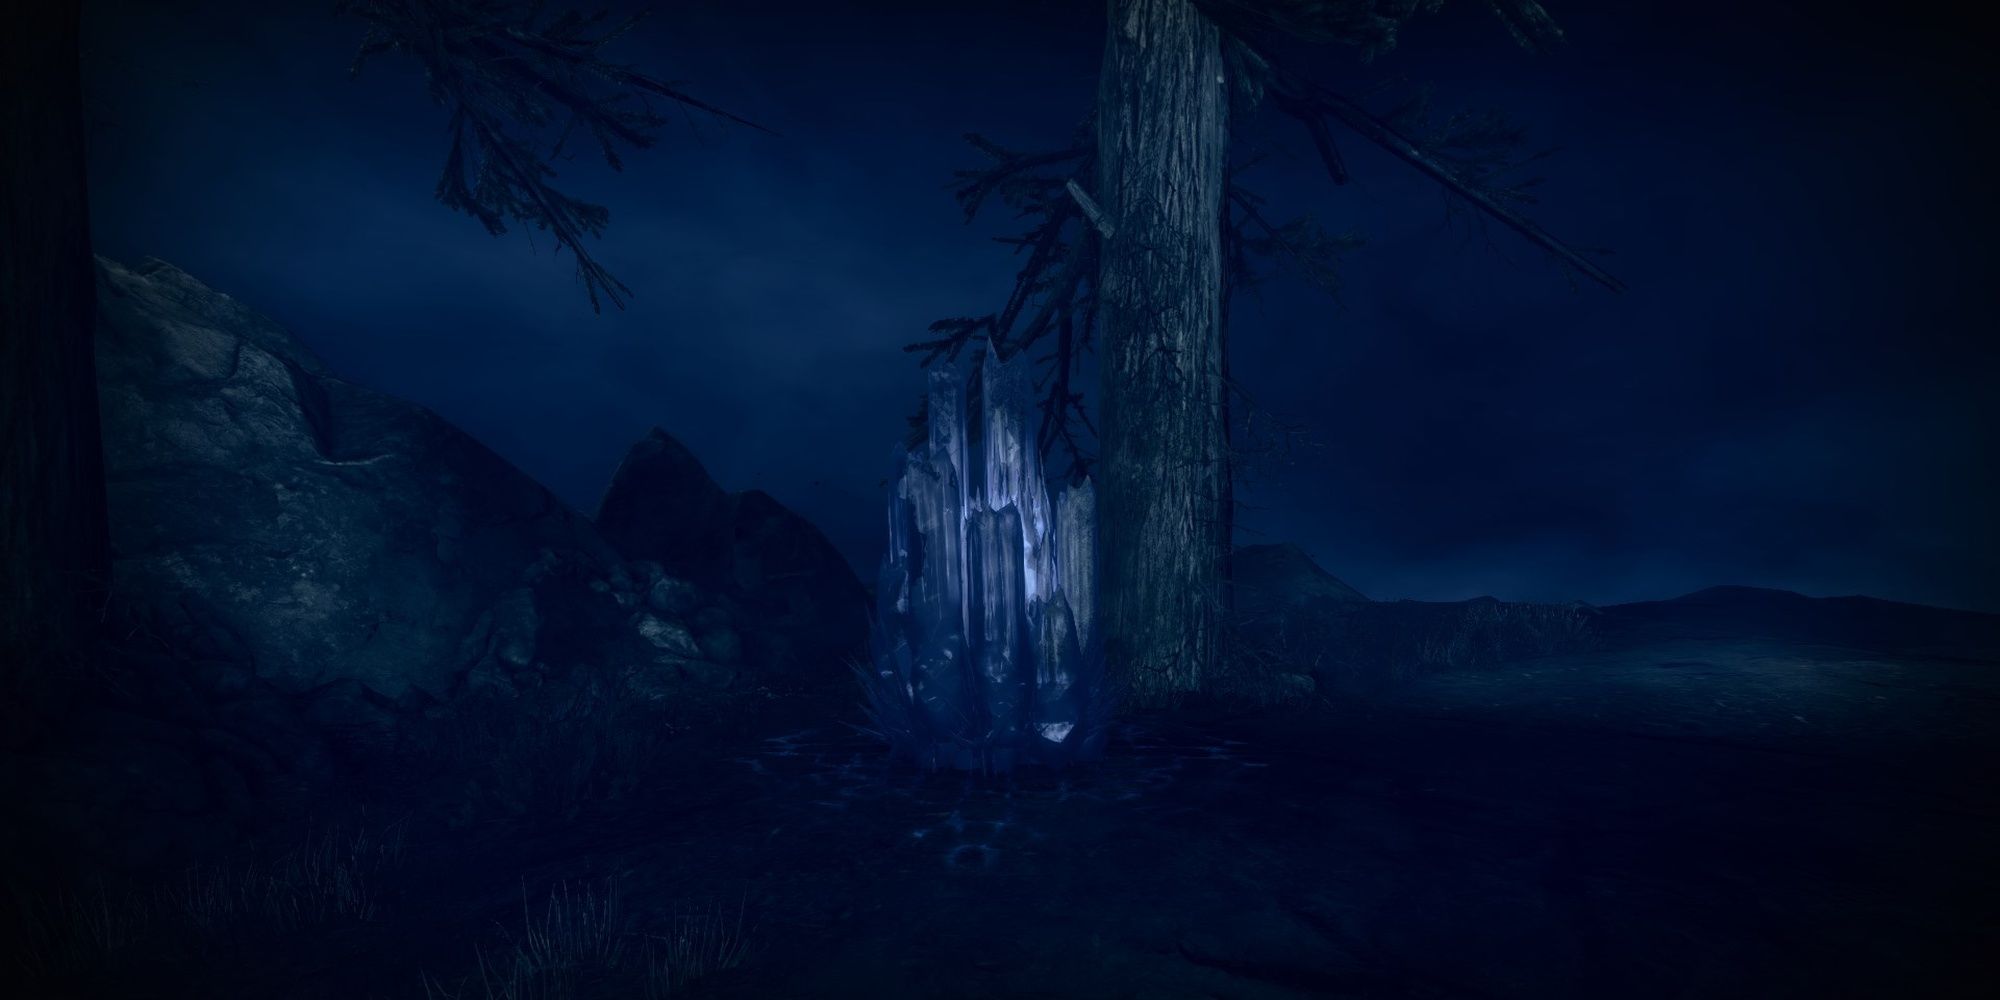
Image Gallery (3 Images)
Expand
Expand
Expand
Close
- Location: Beacon #2
Climb up the cliffs next to the second beacon. At the edge of the cliff, you should see a floating platform surrounded by markers. Drop down to the floating island to find an Anchor beside a tree.
Next: Destiny 2: Beyond Light Complete Guide And Walkthrough
