
There are a lot of things for you to discover in Horizon Zero Dawnthat will assist in piecing the story together alongside the information you're given in the main quests. You need to play through the side quests and find all of the game's collectibles to be able to truly discover what happened and why the world seems so different from the one we're in now.
RELATED: Horizon Zero Dawn: All Tallneck Locations And How To Scale Them
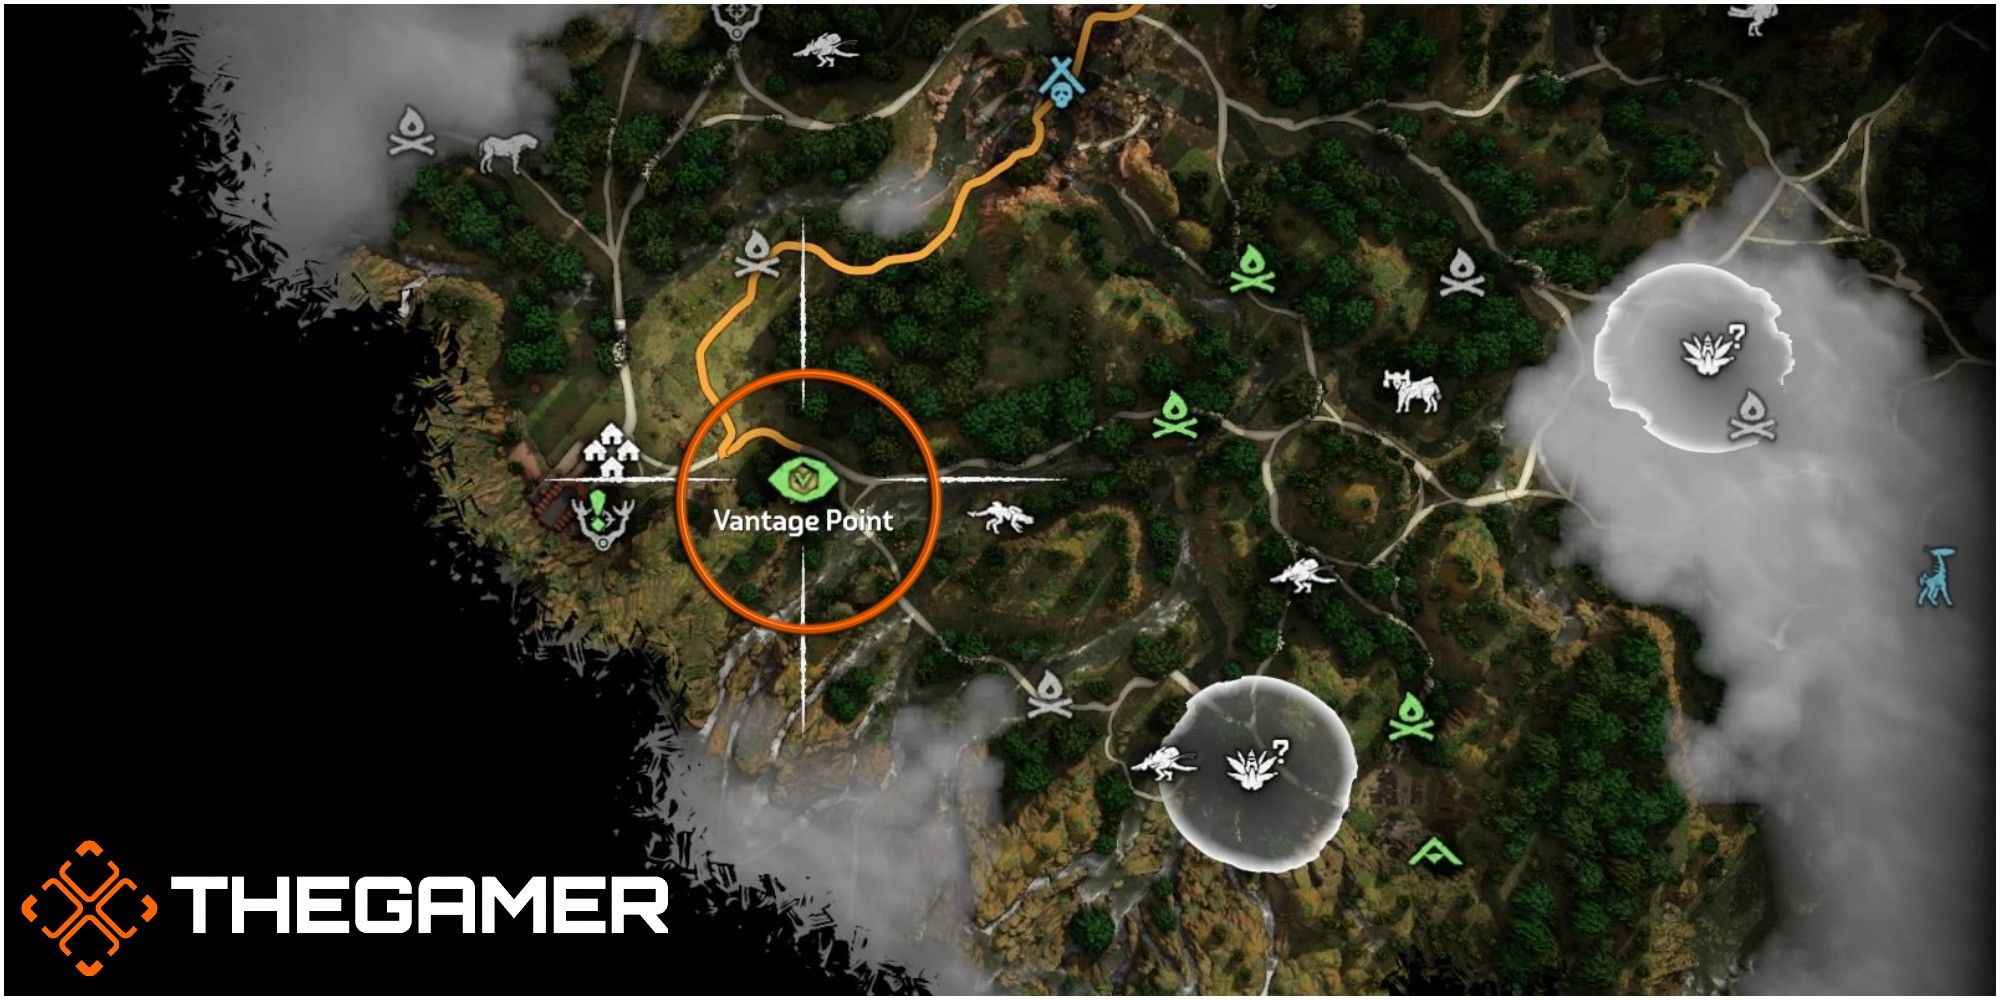
One of the collectible items that hold a lot of background information is the Vantage points that are spread across the maps. The Vantage points are by no means easy to get to and they can be a bit tricky to find if you're not sure where to look. This guide is going to tell you where they all are and how to get them!
Important: This guide is going to give you the Vantage point locations in order of their layout on the Map. The guide does include the images from the Vantage points.
What Are Vantage Points?
They're points where Aloy can use her Focus to scan the landscape. Images of the old world will then be displayed to her alongside key bits of information about how the world came to be the way it is currently. They are scattered across the entire map of the game (not including the Frozen Wilds Expansion) and can be extremely high up or tricky to reach. There are always inventory boxes next to or near the Vantage points, so if you've hurt yourself or need supplies, then you can stock up.
You can buy a map from some Merchants that will tell you the rough location of the Vantage points. They will mark the area but it's up to you to go there and search for them.
Tip: If you haven't discovered a lot of the save point fires in the game or own a fast travel pack, you should get a Mount as there is a lot of ground to cover between each point.
Vantage Point One

Location: Southeast of the Main Embrace Gate

Closest Fast Travel Fire: The closest one to the point is located just outside of the Main Embrace gate.
When you get close to the Vantage area you should see a large rock formation. Around to the rear of this rock formation, there will be a ledge sticking out and this is where the Vantage is. This is by far the easiest one to get to out of all of them.

All you need to do is walk up to the area that is marked by a holographic purple eye and press R3.
Vantage Point Two

Location: Northeast of Devil's Thirst

Closest Fast Travel Fire: Southeast of Devil's Thirst
When you get close to the Vantage area you will see a few tall buildings. The building that you're looking for will stand out amongst the rest. It's the tallest building in the immediate area and half of it has collapsed over time.

The Vantage point is halfway up this building, so you need to climb up to it. To do this, you need to head around the outside of the building — the beginning of the climbing trail can be found up the side of a half-cracked concrete stack.

Tip: If you're having trouble finding the trail, the holds for the trail will be yellow.
All you need to do is follow the climbing trail up until it brings you to a small ledge inside the building. Jump in front of you and you should grab onto another hold. This will pull you up to another ledge. Look opposite you and there will be a gap, then another ledge where the edge of it is slightly yellow.

Run and jump for this and Aloy should grab the hold.
Now all you need to do is follow the climbing trail as you did outside. When you're at the Vantage point, press R3 to access it.
Vantage Three

Location: North of Devil's Thirst Bandit Camp

Closest Fast Travel Fire: If you've completed it then there will be one in the Bandit Camp. If you haven't completed it, then it will be the one on the crossroads to the far north of the Bandit Camp.
Next to the first Vantage point, this is the next easiest one in the game. You can find it on the road that is north of the camp. When you get to the Vantage area you will see a rather random rock formation. The Vantage Point is at the top of this.

If you walk around to the back of the formation, you will find the climb trail that will get you up here.
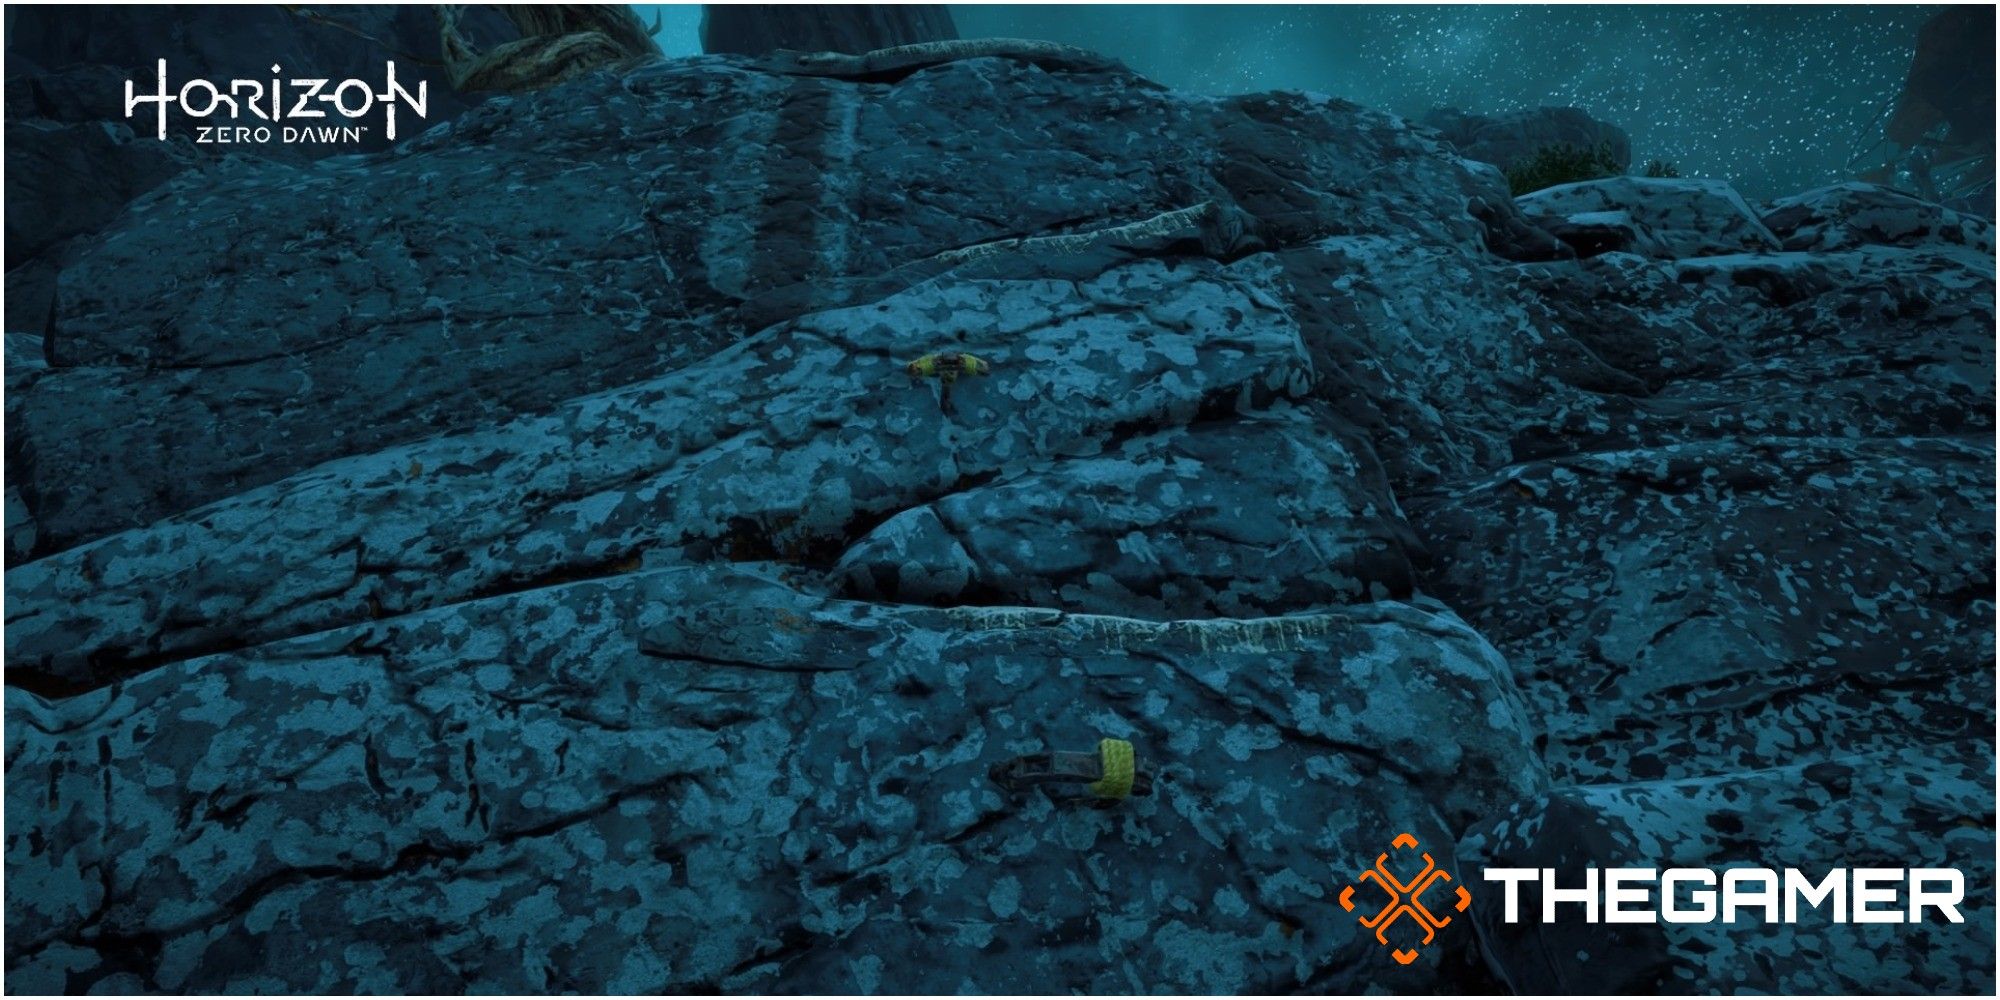
Tip: Climb trails on rocks are different from the trails on buildings as they are not painted yellow. However, they are pretty easy to spot as they look different from the rest of the rock.
Vantage Point Four

Location: Northeast of the SIGMA Cauldron (directly north of the previous Vantage Point)

Closest Fast Travel Fire: Luckily, it's right next to the Vantage Point.
When you get to the vantage area, you need to look around the ground area. The Vantage is going to be on the ground this time and if you're lost, look for the fire as it's on a lowered section near it. Also, it's near a huge rock formation.

Walk up to the Vantage point and press R3 to get more of the backstory.
Vantage Point Five

Location: Northeast of Devil's Grief

Closest Fast Travel Fire: North of Devil's Grief
When you get into the Vantage area, you will see a lot of buildings. The building that you need to find is the tallest one in the area. It has a chunk missing from the side of it and this is where you need to go.

You need to head into the building and start climbing as the Vantage point is halfway up the building.
When you enter the building through the missing chunk, you will be able to find the start of the climbing trail at the back of the building. (The holds will be yellow so you should be able to spot them.)

You need to follow the climbing trail all the way around until it takes you to a ledge. The Vantage will be on this ledge.
Vantage Point Six

Location: South of Two Teeth Bandit Camp

Closest Fast Travel Fire: If you have completed it then there is a fire in the Bandit Camp. If you haven't, then there are fires to the west and southeast of the camp that are the same distance away from the Vantage point.
Be careful in this area, there are a lot of Watchers hanging around with Lancehorns and Sawtooths.
When you are in the Vantage area, you need to go to the base of the cliff where there is a large path that resembles a road. If you look around, you will see several large ledges and a rock formation on one of them that stands quite tall. It should look like this:

This is where the Vantage point is. You need to find the start of the climbing trail at the base of the ledges and then climb up it.

It will take you almost directly to the Vantage point.
RELATED: Horizon Zero Dawn: How To Start The Most Crucial Side Missions
Vantage Point Seven

Location: Southwest of Cut Cliffs settlement.

Closest Fast Travel Fire: At the base of the cliff, southwest of Cut Cliffs and fairly close to the Vantage point.
When you are in the Vantage area you need to go to the base of the cliffs. You need to find the fast-travel fire and then look at the cliff to the left of it. The Vantage point is at the top of this cliff, if you look for the rappel point sticking out the side of the cliff, it will be easier to find.

If you walk to the base of the cliff, you will find the start of a very long climb trail. You need to climb all the way up this and it will take you to the top of the cliff where the Vantage point is.

When you're up here, be careful not to fall off and press R3 to access the Vantage point.
Vantage Point Eight

Location: Southwest of Dimmed Bones

Closest Fast Travel Fire: Southwest of Dimmed Bones but slightly north of the Vantage Point.
When you are in the Vantage area, there is a good chance you're going to need to take care of a few Snapmaws as they are abundant around there.
After taking care of them, you need to look above you at the top of the cliffs until you see two rappel points at the very top. The highest rappel point is the one you need to head for.

Next to the fast travel fire, there is a lower rappel point and there will be a climbing trail up the side of the cliff. You need to climb up this and then go to your left.

You will find another climbing trail up the side of the cliff, and when you've climbed up this, you need to go to your left. You will now see a rope crossing the ravine to get to another cliff and you have to walk across this.

Once you're here, you need to turn to your right and the next climbing trail will be clearly visible. All you need to do now is follow this climbing trail up and it will take you directly to the Vantage point.
Vantage Point Nine

Location: Northeast of Sunfall

Closest Fast Travel Fire: Northeast of Sunfall, slightly north of the Vantage location on the road.
When you are in the Vantage area, you need to go left from the fast travel fire. Keep going left until you see a couple of Longlegs hanging around. If you look right towards the cliffs, you should see the beginning of a climbing trail.

You need to follow this all the way up and around. It's a bit of a climb but eventually, you will get to the Vantage Location. When you first come here, there will be two Scrappers waiting for you, so you need to take them out before accessing the Vantage point.
Vantage Point Ten

Location: Southeast of Maker's End

Closest Fast Travel Fire: Southeast of Maker's End and north of the Vantage point.
When you are near the Vantage point you are going to run directly into a Shell-Walker site. You can choose to engage these or leave them alone, the choice is yours.
When you are in the area, you need to head up the side of the mountain until you see a tall rock formation with a rappel point sticking out of the side of it. You should see this:

You need to walk up to the rock formation below the rappel point and this is where the climbing trail starts. The ledges are covered in snow, so they can be a little tricky to see but they are there.

Follow this trail up and you will be taken to the Vantage point.
Vantage Point Eleven

Location: East of Sunstone Rock
Closest Fast Travel Fire: Northeast of Sunstone Rock and directly north of the Vantage point.
When you are in the Vantage area, you need to look up at the cliffs until you see a smaller cliff that has a tree and a rappel point on it. This is where the Vantage point is.

To get to this, you need to head to your right and look at the sides of the cliffs until you see the start of a climbing trail.

Tip: When you find the climbing trail, you will get a message saying that you're entering Sunstone Rock.
Climb up this trail until it takes you to a ledge. On this ledge, you need to go left and do a short climb up to another ledge.
On the left of this ledge, you will see a zip wire leading down to a lower area. Jump onto this and it will take you down to the Vantage point.
Vantage Point Twelve

Location: West of GAIA Prime

Closest Fast Travel Fire: Southwest of Gaia Prime and southwest of the Vantage Point.
Gear up if you're going to this Vantage point, you're going to fight a few machines on your way there.

When you're in the Vantage area (after you've dealt with the machines), you need to find the start of a climbing trail at the base of the cliffs. This climbing trail will take you up to the next area. There are yellow climbing holds on this trail.
When you have completed the first part of the climb, you need to head to your right and, just before the waterfall, there will be a climbing trail going up the side of the cliff.
After you've climbed up this bit, you will come to a small ledge and the trail will continue directly in front of you.
Once you've climbed this trail, you will come to a large clearing. At this clearing, you need to keep to your left and run past the scraps of metal pieces. When you get past the metal scraps, you should see a rappel point to your left sticking out of a rock. You need to walk up to this at the base of the cliff.
When you're stood there, head to your left and you should find the next climbing trail.

Follow this trail upwards and it will take you directly to your final Vantage point!
NEXT: Horizon Zero Dawn: Some Ways New Game+ Is Even Better Than The Initial Playthrough