Quick Links
- Getting The Whip, Ancient Cistern – Zelda: Skyward Sword HD
- Changing The Buddha's Height, Ancient Cistern – Zelda: Skyward Sword HD
- Underground, Ancient Cistern – Zelda: Skyward Sword
The Legend of Zelda: Skyward Sword HD is now available on Nintendo Switch, and we are continuing with our full walkthrough of the game with the fourth proper dungeon, the Ancient Cistern. I know, water dungeons are scary, but this one is actually one of the mostly smartly designed dungeons in the entire Zelda series, not to mention that it looks gorgeous.
Related: Skyward Sword HD Is A Reminder Of How Much The Series Needed To Move On
In this guide we're breaking down each and every step of the journey you need to take in order to complete the Ancient Cistern. We'll be grabbing some brand new items, and making our way to the final boss challenge. Just read our info down below and you'll soon clean up. If you still need help finding the Ancient Cistern in Lake Floria, make sure to reference our previous guide.
Getting The Whip, Ancient Cistern – Zelda: Skyward Sword HD
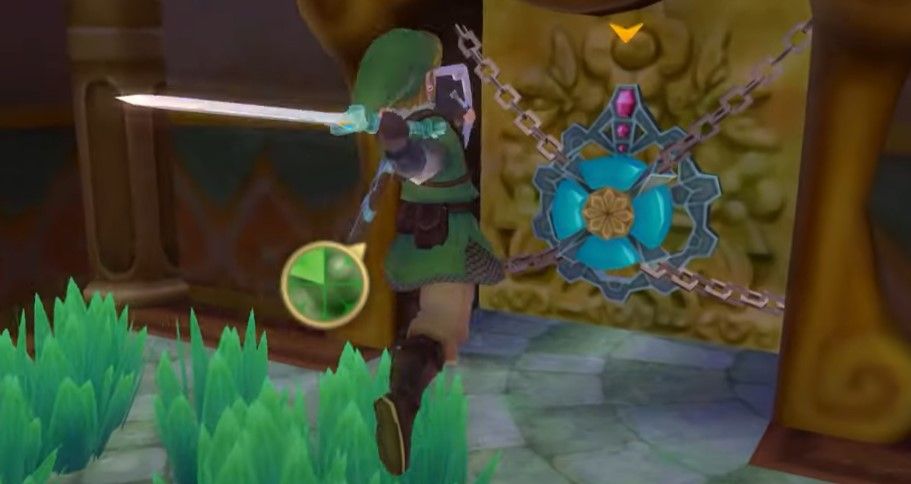
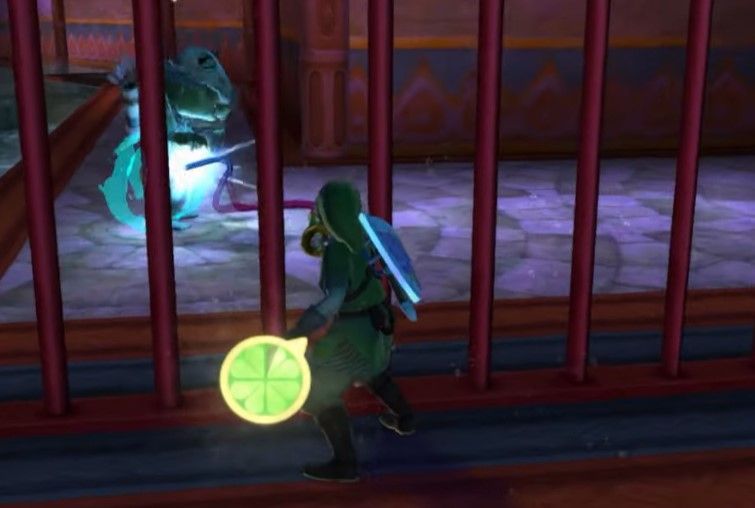
Yes, there's a lot of water here, but don't let that scare you. Run over to the right and you'll find a gated door with a switch next to it – the switch opens the door. See? Easy so far. Head on through, slash dive into the water below, emerge from the water over to the left, slash through the Skulltula webs, head through the passage, and hit the gem on the door in the following order: top, bottom, left, right.
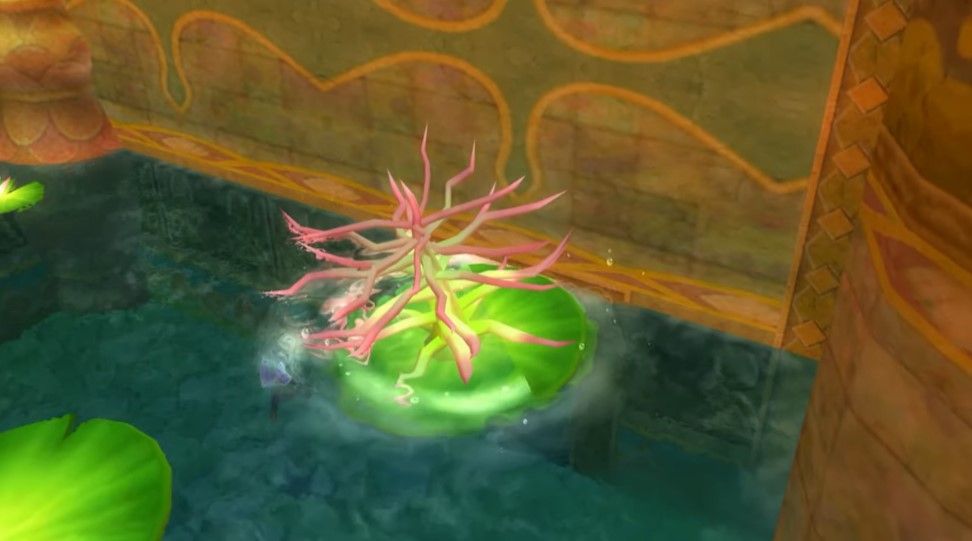
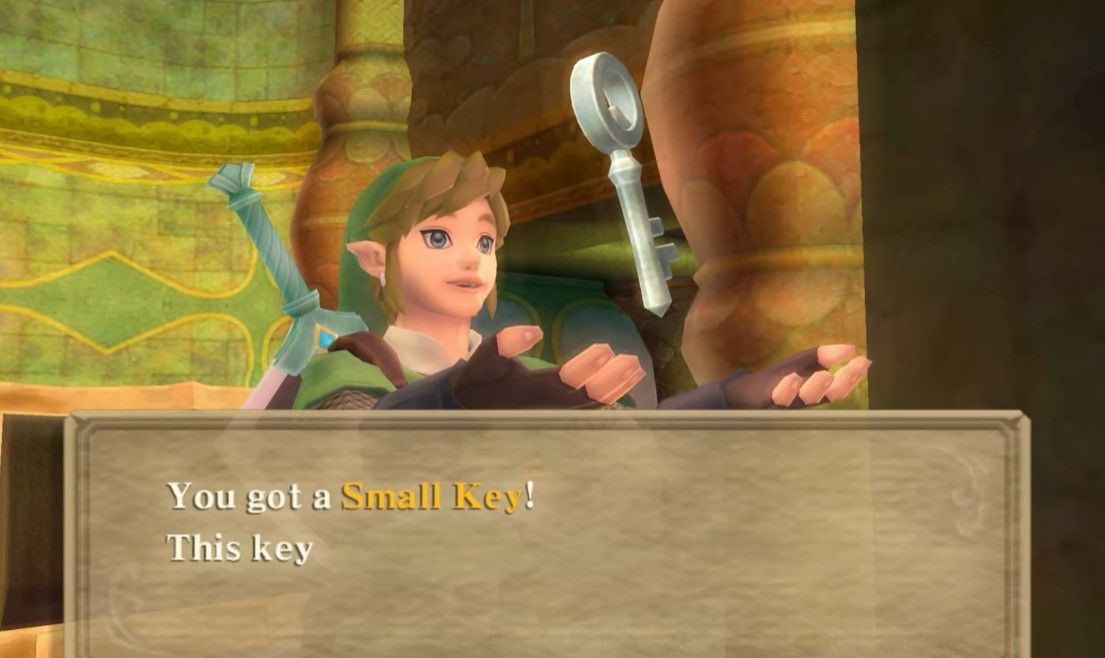
Use the Beetle to cut the Skulltula thread in the centre of the room, and then climb up the vines on the pillar in the far corner. If you jump onto these lilipads from a height, they will flip over, and some of them have treasures or passages hidden behind their roots. As you climb up, the lilipad you need to flip will be on the left side. Head on through, spin attack through the wooden boards, and emerge. Climb the vines, open the door, and there's a Small Key in the chest. Take it, and then use the water spout on the left to return to the main room.
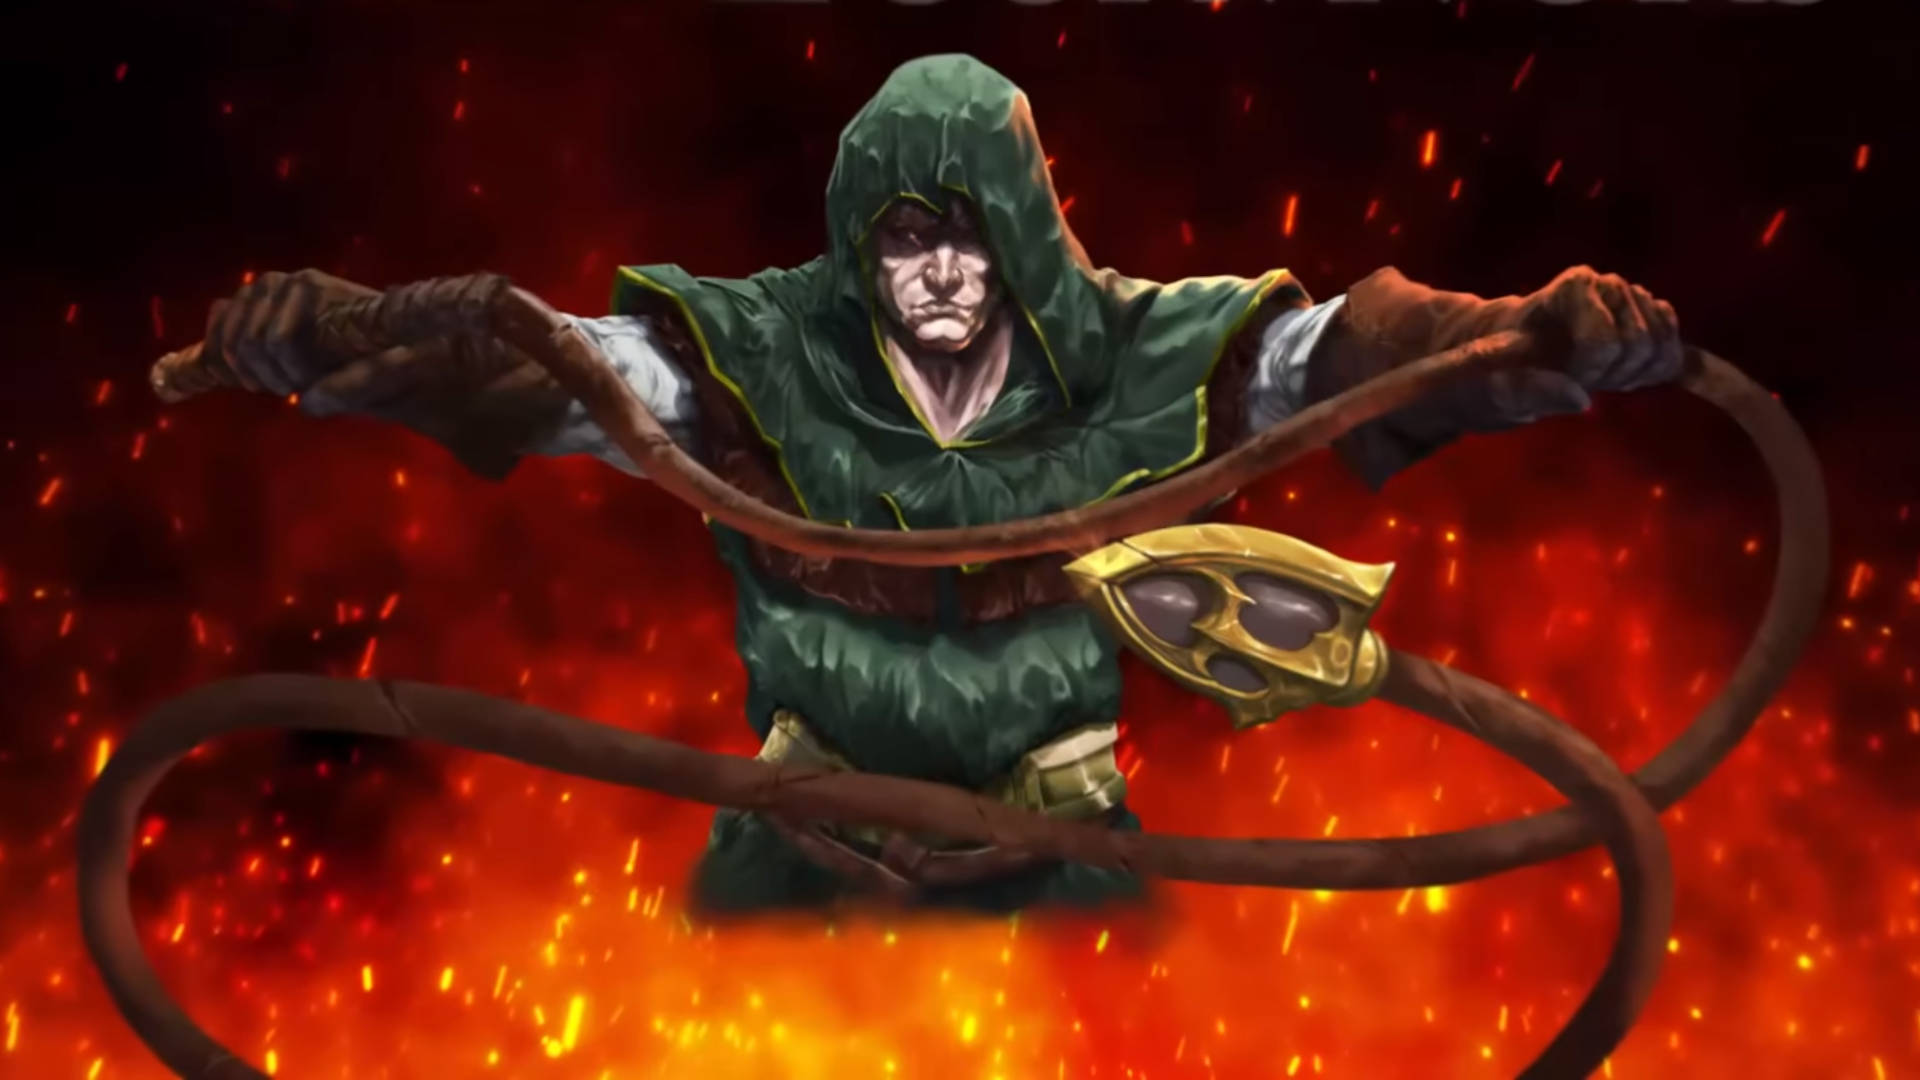
Go back to the main entrance, and face the Buddha (that sounded more threatening than intended). Hop the lilipads and go inside using the Small Key. Hop straight down into the hole, and it'll begin a fight with a powerful Stalmaster – which we have a guide for right here. He has four arms, and can defend better than other foes, so be careful. Once the fight is over, head through the opened door, open the chest, and the Whip is yours. Now return into the fight room, and use the Whip on the taps. This will unlock water spouts that can carry you all the way to the top of this large chamber – though you won't need to do that quite yet.
Changing The Buddha's Height, Ancient Cistern – Zelda: Skyward Sword HD

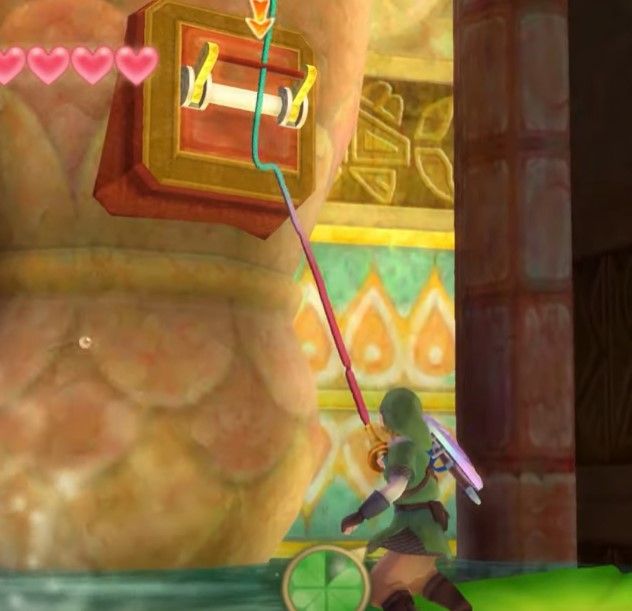
There are a lot of steps to change the Buddha's height, so brace yourself. Go up the first water spout and exit through the same door you entered the Buddha with. Head back over to the door where you first emerged with the Small Key, and head up the platforms to the left of that door. At the top, use your Whip on the hook to create a rope to swing over the gap with. Swing over the next gap in the same way and open the chest here to get the Dungeon Map – nice and easy.
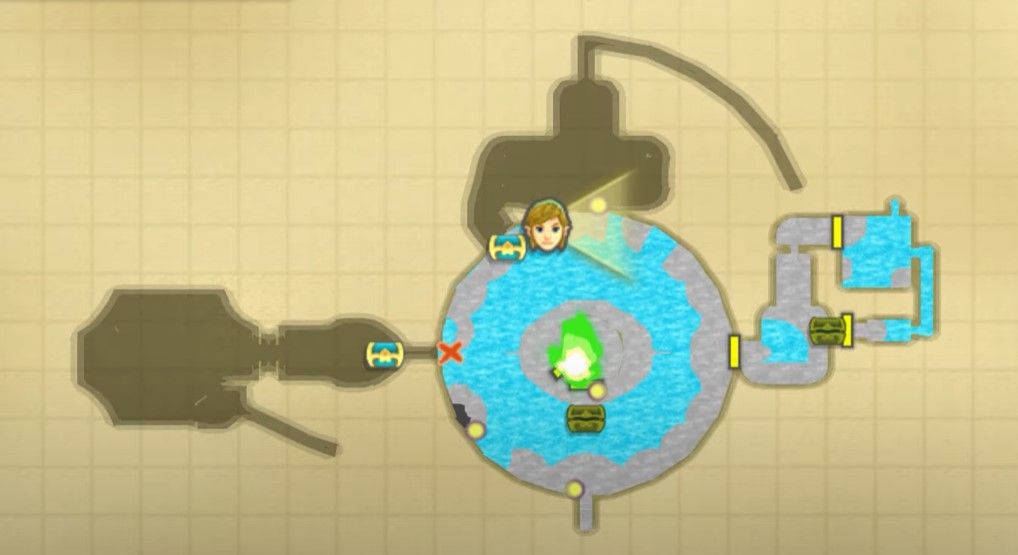
Check the map and you'll see a red X on the left side of the room – head over there. Hop on the lilipads to the right of the big fish sculpture underwater, and use the Whip to flip the lilipad nearest to the switch on the wall. Now you can activate this switch with your Whip, shutting off the waterfall, allowing you to enter the mouth of the fish sculpture. Swim through and kill the Skulltula. You can open the gate by using your Whip on the switch through the gate.
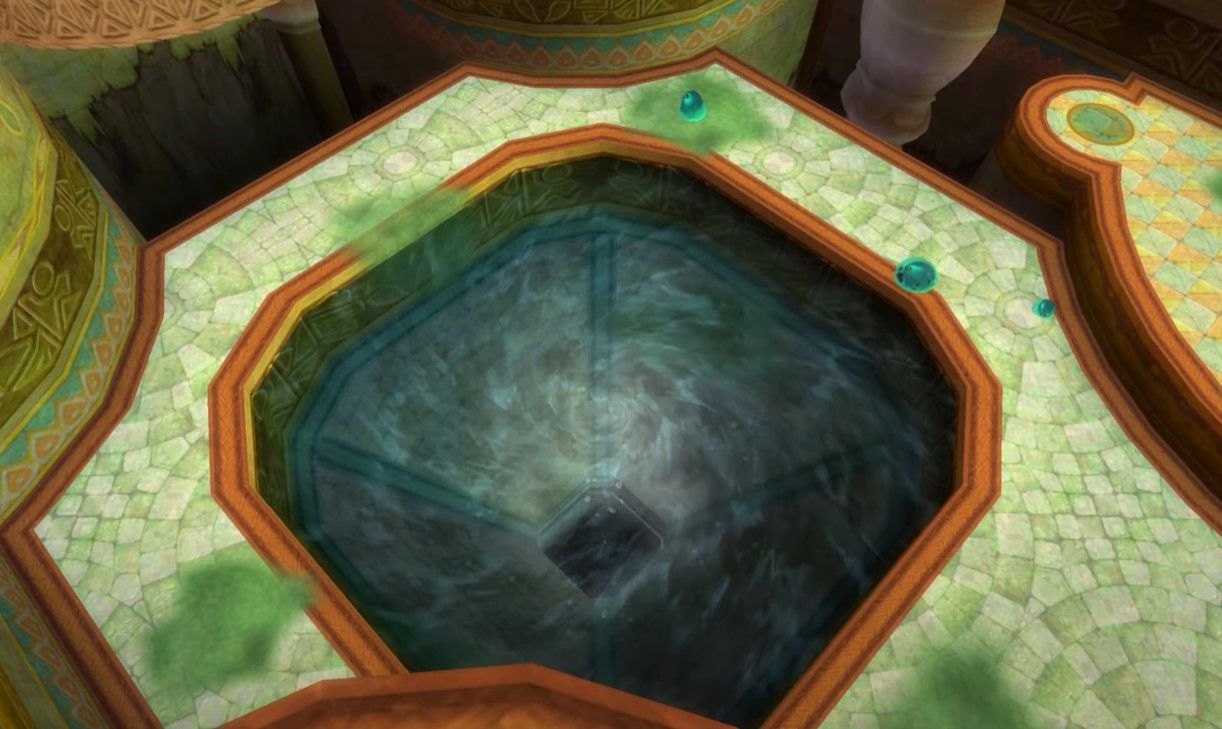
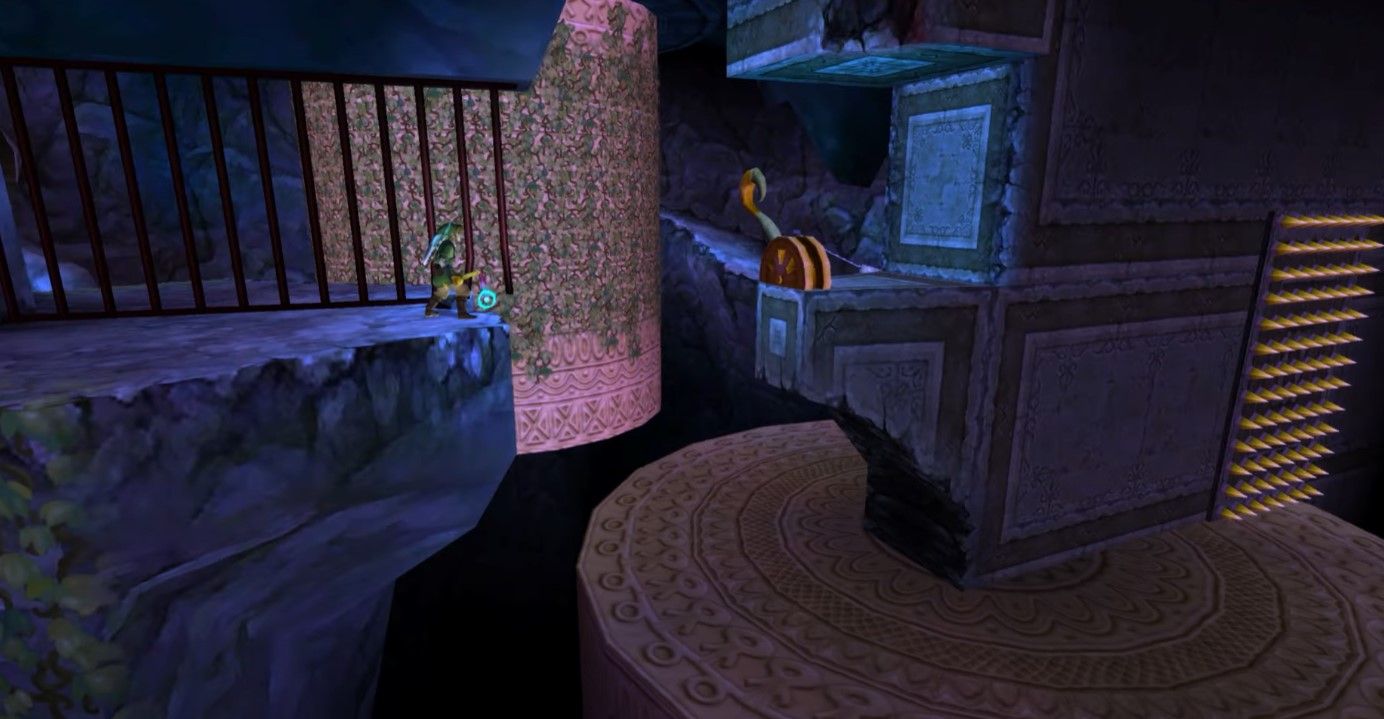
Climb the platforms on the right and swing onto the vines using the hook and the Whip. Next you'll havea giant viney cylinder to climb – you need to climb it and move all the way to the right side. You'll see a hook to swing with, and a switch lower down. You actually need to climb down and activate the switch first, before climbing back up and swinging into the room with the Whip. Beat down the enemies in here and use your Whip on the tap, which will drain the pool in the centre of the room. Dive into the pool to get swept up with the current.
You'll end up in the sewers of the Ancient Cistern – climb out of the water and use your Beetle to cut down the Skulltula to flip the lilipads and uncover the path forward. In the next room, use your Whip on the Bokoblin from the gate in order to steal a Small Key and open the nearby door. In the next room, after Fi chats for a bit, run to the end of the hallway and dive into the water to once again get swept up by the current. This will dump you in a new room. Head over to the left side and spin attack out of the water to climb the platform, then use your Whip on the lilipad to flip it. Climb the vines, and at the top of the stairs jump onto the lilipad below to flip it, uncovering a passage underneath.
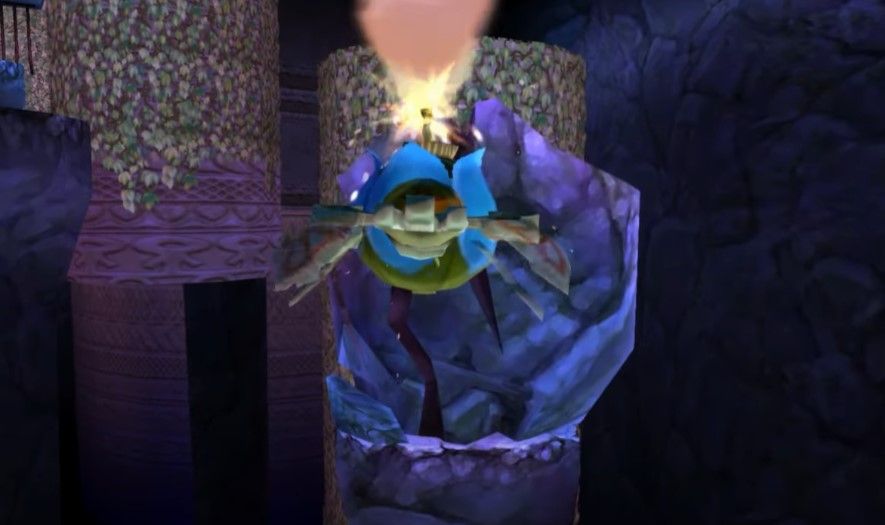
Swim through the passage, avoiding the explosive puffer fish, and you'll be on the other side of the room. Use your Whip on the tap here, and the lilipad from before will be lifted onto a water spout. Climb up the same way as before, use the Whip to flip it, and use it as a platform to cross over to the next area. Then use your Whip on the Switch at the top right of the next gate, and you'll be back in the main room again. Phew!

As you enter the main room, look at the vines to the right of the door you just used. Climb the vines and make your way over, moving to the left while climbing, using Stamina to cross gaps. On the next platform you'll be facing another tap which opens a shortcut up here, and a hook – use your Whip, and the Buddha starts descending.
Underground, Ancient Cistern – Zelda: Skyward Sword
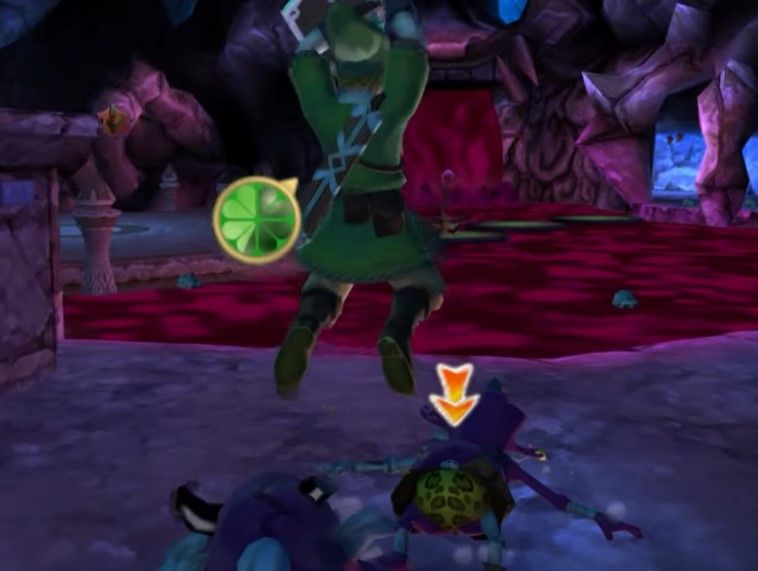
Head back inside the Buddha using the entrance you did before, and you'll find you're now near the top of the chamber. Jump down to the bottom, and you'll be in a totally new area, one filled with slow zombie Bokoblins. You can just avoid them, but they're easy enough to defeat, and can offer up treasures.
Head to the left path from the Buddha, and follow the path until you find some lilipads on your left. Hop over the first two, and use your Whip to flip the last. From here, you'll see the structure on the right looks like a demon spewing filth from its mouth. Send your Beetle into its eye to trip a switch and deactivate the flow, then use the Beetle to pick up the bomb flower, and take that to the big rock blocking Link's path to his left. Once that's gone, use the Whip to jump on over.
It's tempting to jump onto the giant spinning disc here, but: don't. Instead, on the vine cylinder, head up to the left, and follow the path, climb the vines, and you'll be able to flip a switch with your Whip, reversing the direction of the spinning disc, allowing you to cross. Follow the path and jump onto the next big cylinder – you'll need to take the left path to return to that same switch, flip it again, reversing the cylinder rotation, and allowing you to use the large cylinder from a moment ago to access a new area.
Now you'll be in a new area, with a single thread providing your escape. Climb the thread, and shake hard to get rid of enemies nibbling at your feet, climbing after you. You will find yourself back in the main chamber – don't jump down, just activate the switch immediately to your left, which opens up a shortcut, and then flip the switch which changes the height of the Buddha, which is also here to left, accessible from the shortcut.
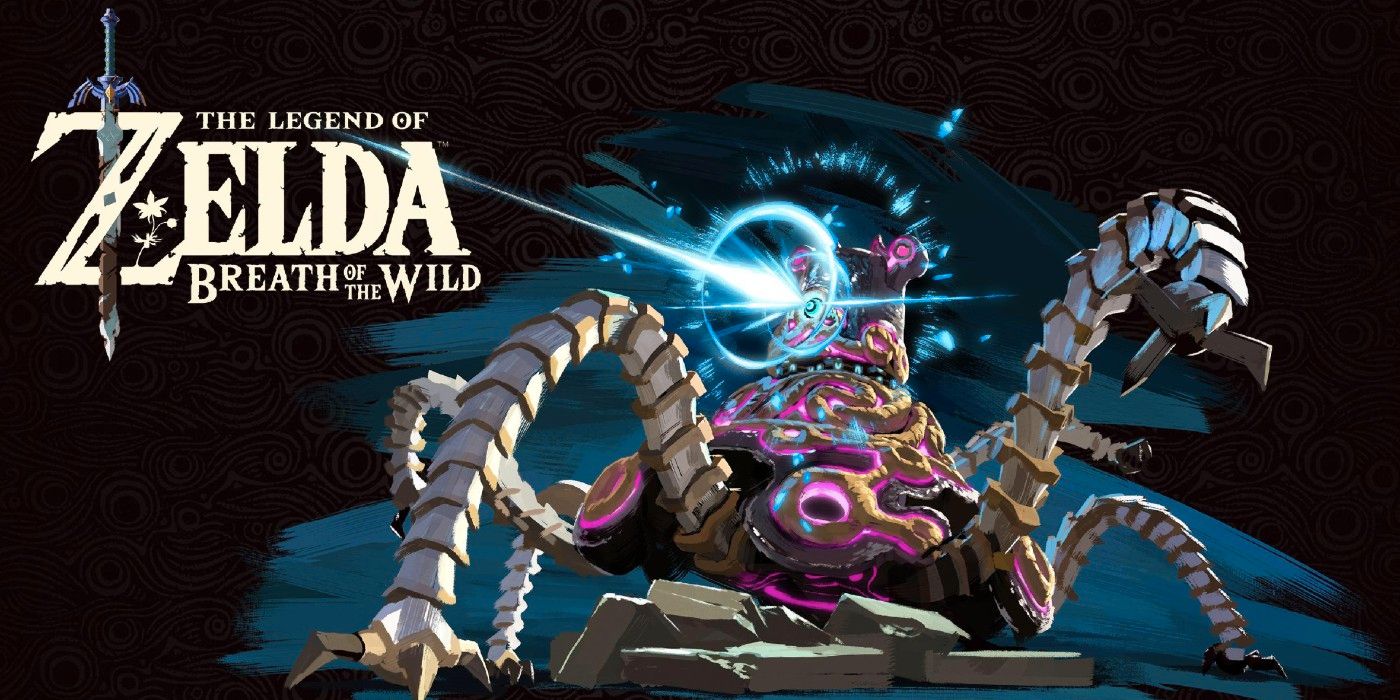
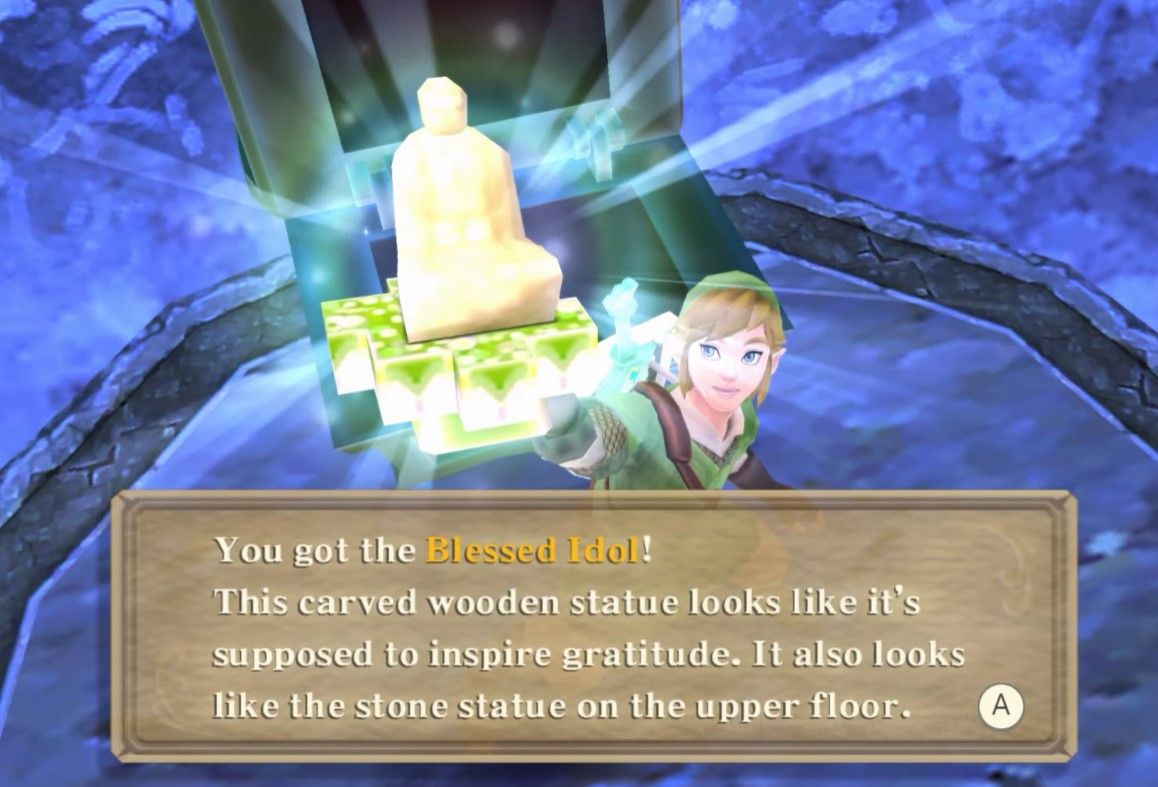
Now that the Buddha has shifted once again, it's time to dive back into the Underground through the same route you just used to escape. The one exit here has a tap to flip with the Whip which opens yet another shortcut, and now that the Buddha is out of the way, you can nab the chest that was laying underneath it, giving you the Blessed Idol. This will cause the Buddha to fall – get running. Once in safety, enter the Buddha, and climb the water spouts right to the top, where you will find the keyhole to use the Blessed Idol. Once the door is open, flip four tap switches to find the boss. Now you have to face the tough Ancient Automaton Koloktos – which we luckily have a guide for right here.
Next: Zelda: Skyward Sword Complete Guide And Walkthrough