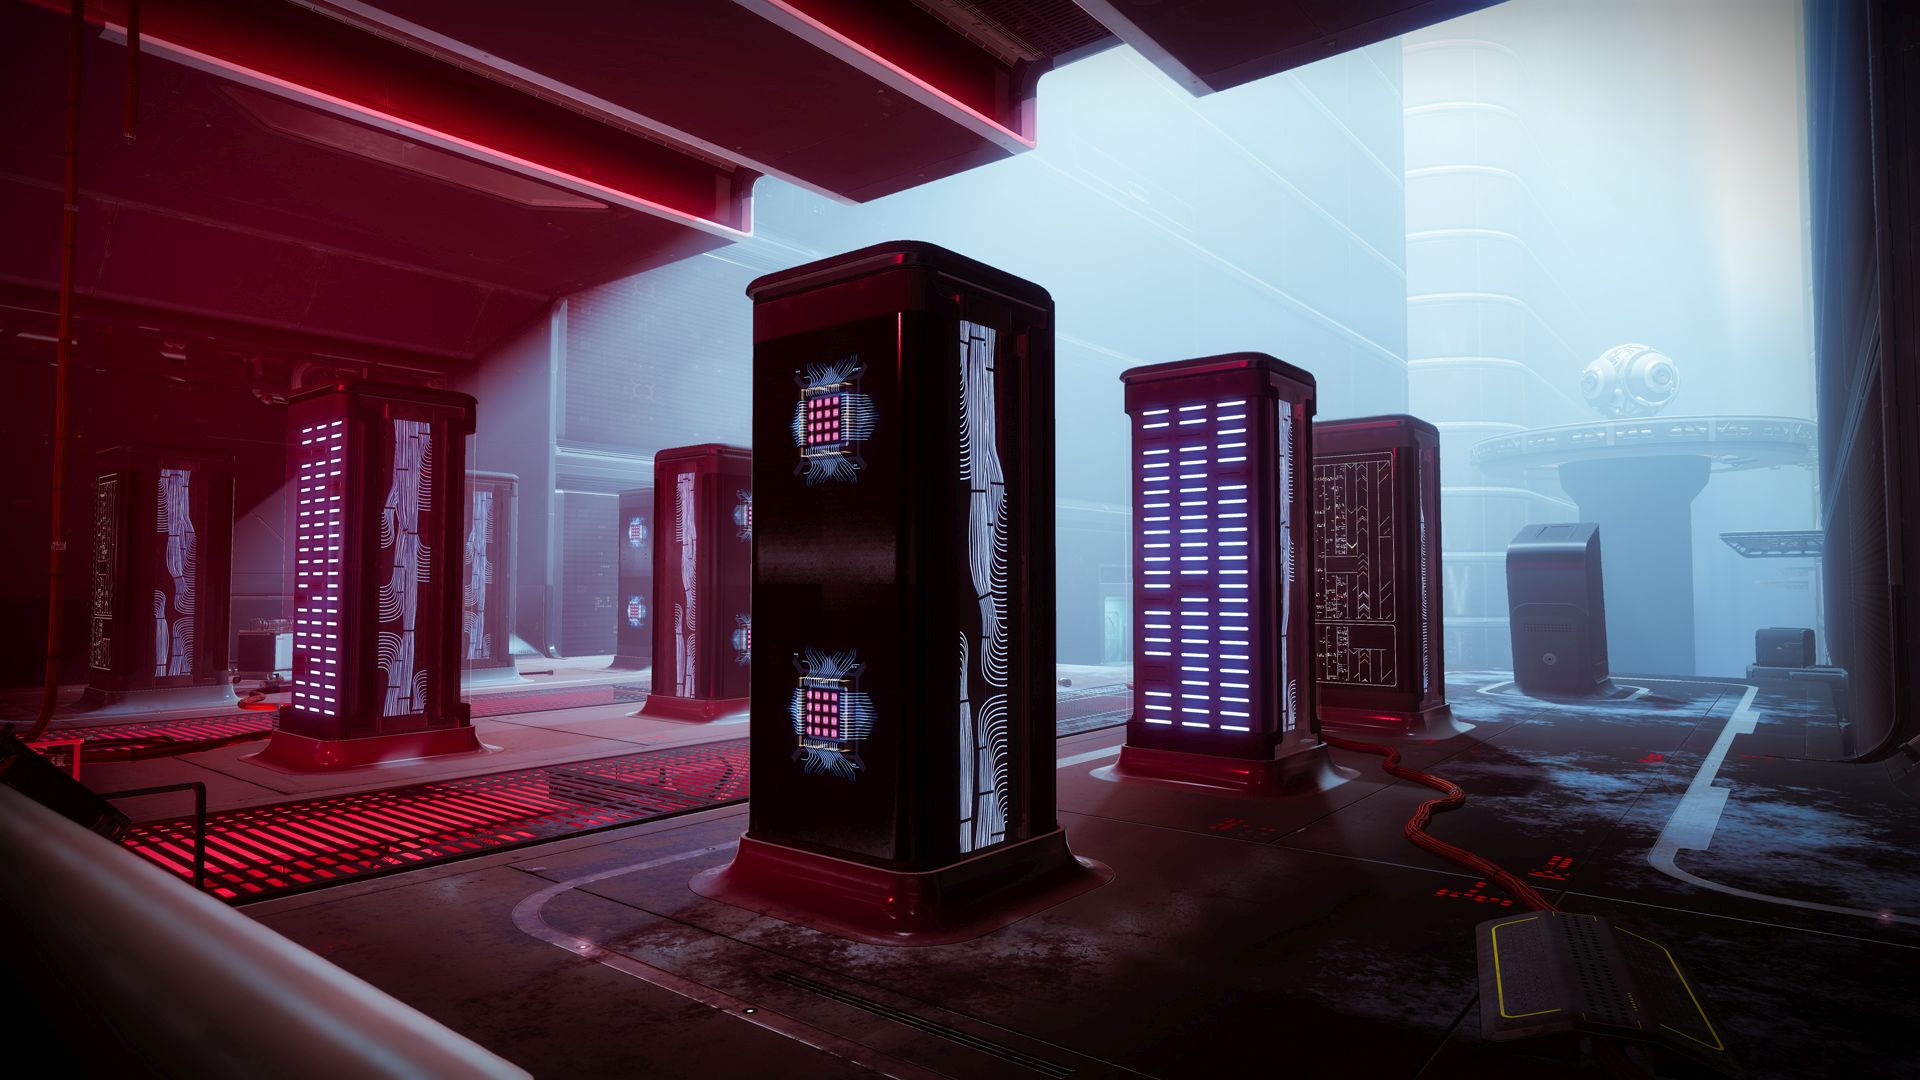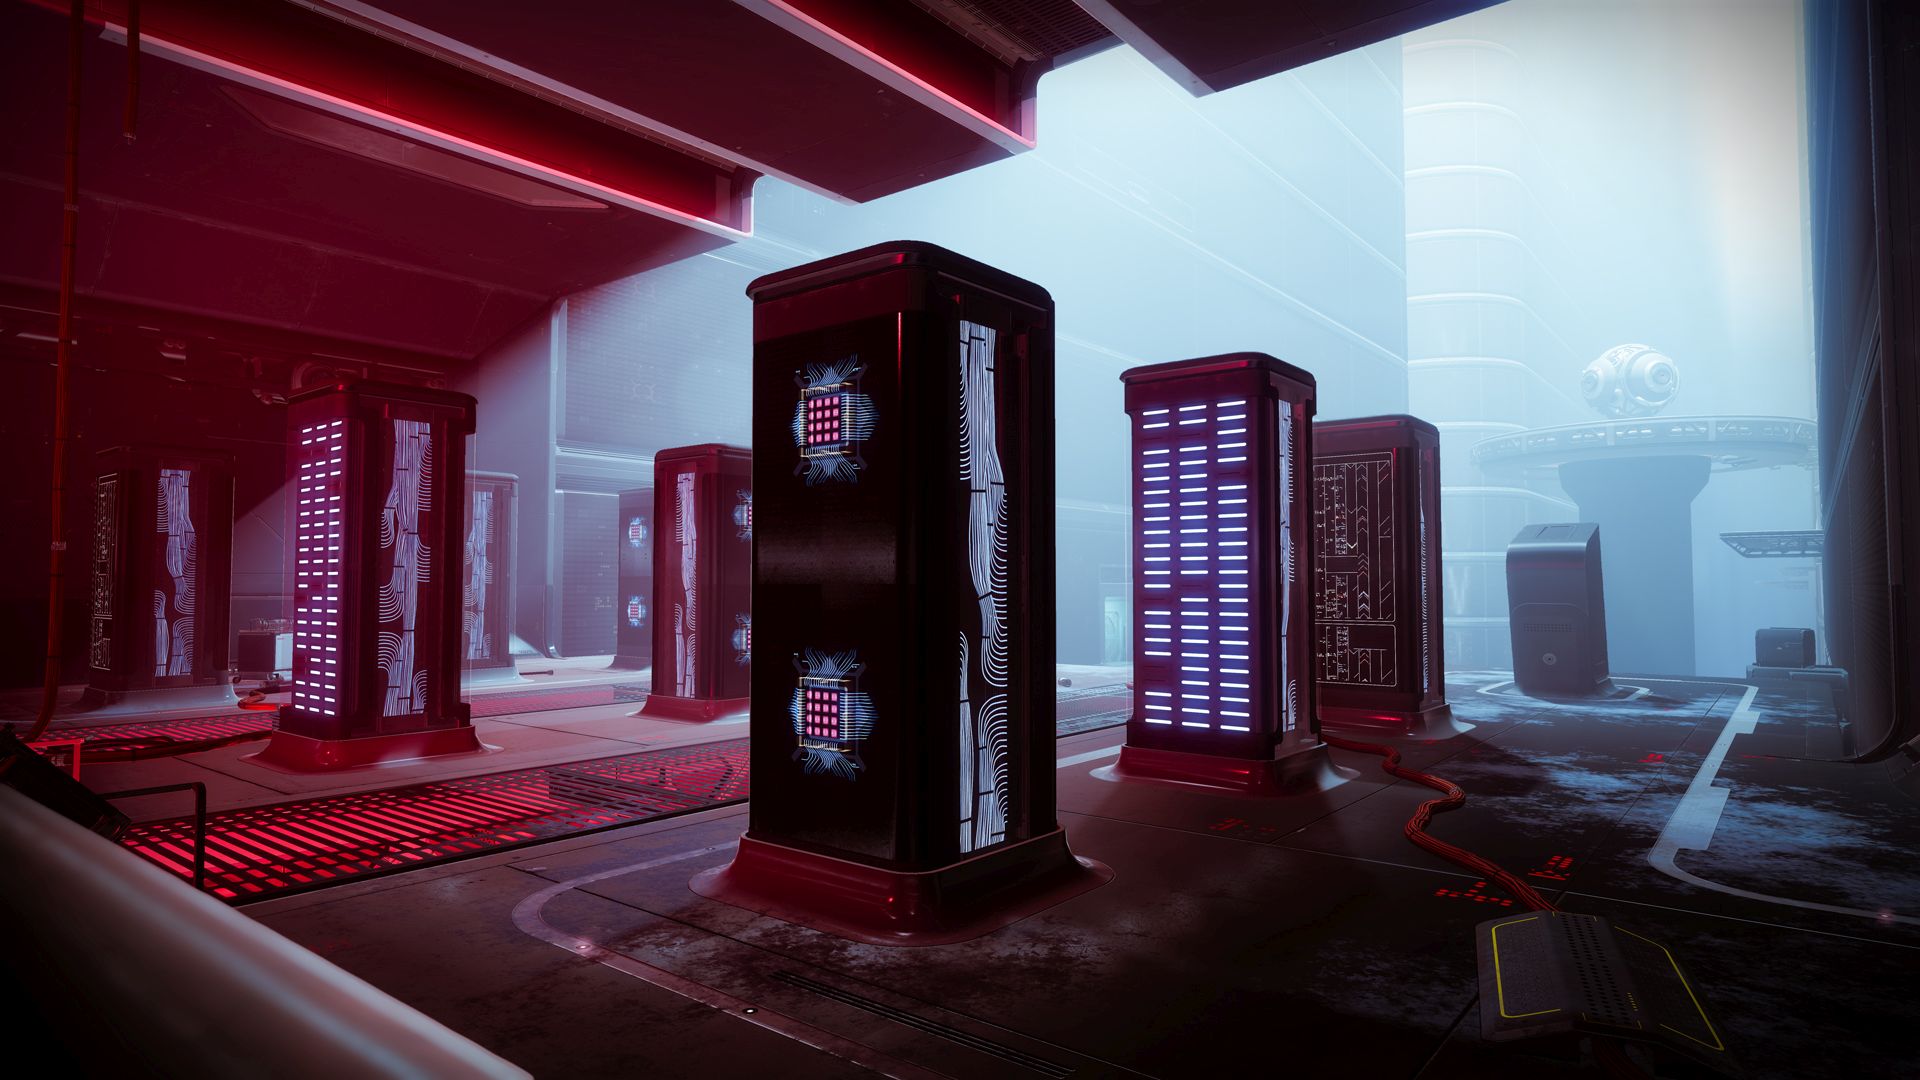
The Deep Stone Crypt is open and has been cleared by a number of teams within the first few days. For those looking to try it – which they absolutely should, given some of the weapons and loot caches at the end – learning the mechanics involved is key. First up is a Sparrow section which involves racing through the cold on Europa to different “Shelter” zones.
Throughout all of this, you’ll be racing across gaps which can result in your demise and a quick ticket back to the beginning. When outside of the Shelter zones, a debuff called “Frostbite” will slowly build up. Once it hits x10, you’re dead. The Shelter zones are called as such because they can clear the Frostbite status. Beware though because various enemies will spawn in them and make life miserable.
After the Sparrow portion, you’ll reach Crypt Security. This is where you’ll learn more about the Scanner and Operator buffs. Essentially, the Scanner calls out different lit panels while the Operator shoots them. The area is divided into two parts – Light and Dark – so have two teams on each side. There’s also an underground section which the Operator will have to venture to. For more details on how this encounter – and the forthcoming ones – work, refer to Datto’s extensive video guides.
The next encounter is against Atraks-1. Divide the team into two sets once more – the Space team and the Base team – and search for the Operator and Scanner buffs. Both are acquired from different Vandals so look for the respective symbols on their heads. The encounter essentially sees one team identifying the real Atraks-1 among his copies with the Scanner buff and then interrupting his attack before dealing a significant amount of damage.
The Lament is recommended for this part but even Falling Guillotine will do for damage. Upon striking down Atraks-1, he’ll drop a ball – the person who picks it up will have a timer for “Atraks-1 Replication”. It’s the Operator’s job to lead the person with this to a nearby airlock, shoot the switch to open it and then shoot the debuff off of the person when they’re in the airlock.
The Scanner buff is then sent down to the other team (usually, from Space to Base) and they perform the same tasks but with a twist. This time, the person who has Atraks-1 Replication has to take the space elevators to join the Space team. Once again, their debuff will be shot by the Operator in the airlock. After doing this several times, Atraks-1 will have his final phase where he’ll try to initiate Extinction Protocol multiple times in a row. Stagger each version of him until the encounter is complete (and remember to pick up the Atraks-1 Replication that drops or it’s a wipe). Again, for a more in-depth guide, refer to Datto below.
Next up is a platforming puzzle. This isn’t too difficult though it’s advised to have a sword equipped for an easier time. Make sure your class has more in-air control and beware of enemies.
The third encounter is against Taniks Reborn. Along with the Scanner and Operator buffs, there’s the new Suppressor buff. Essentially, Taniks is invulnerable and can’t be damaged throughout this phase. Throughout the room are terminals that provide nukes – you need to pick up and deposit them in the containers near Taniks. The Operator is in charge of shooting a terminal. Doing this will cause the others to spit out nukes.
Pick up the nukes soon or they’ll detonate and cause a wipe. The Scanner’s job is to point out which containers to deposit in while the Suppressor is in charge of suppressing Taniks. There are three orbs that the Suppressor has to stand under and shoot Taniks from. After this, the containers will open and the nukes can be deposited. Nuke holders will receive a Radiation debuff which will kill them when it hits x10 so don’t hold on to them for too long
During this segment, someone will have their buff disabled. Locate a nearby terminal and deposit it there for another team member to take your role. Repeat as before and be careful of Overload Fallen Captains. Once this process has been done enough times, everyone should head to the middle – a door will open in the floor. Drop down and escape from the station as it blows up around you.
You’re back on Europa but the raid isn’t over yet. An overview of the final encounter’s area can be seen beforehand so take the time to familiarize yourself with the next part. Much like the previous encounter, there are Scanner, Suppressor and Operator buffs with one role being locked out at random. Again, find a nearby terminal and deposit it for a teammate to take over.
This time, the containers are divided into three different areas, each having two. These are the spawn area, orange area and blue area. The Scanner’s job is to point out the correct places to deposit the nukes. Begin the encounter by approaching the rubble, from which Taniks, the Abomination will rise.
In this fight, Taniks will hover around the battlefield, attacking players while enemies spawn (including the Vandals with the Suppressor, Operator and Scanner buffs). Again, once the buffs are obtained, the Suppressor staggers Taniks while the other players shoot the small cores – one on each corner of his body – to drop nukes. Pick up the nukes and deposit them in the correct containers called out by the Scanner. Taniks will detain players during this phase and it’s up to the Operator to free them. Simply shoot the detainment bubble to do so. The Radiation debuff is in play again so make sure to pass the nuke to another teammate if your country is getting high. Taniks also has a habit of using orbital attacks, denoted by columns of purple light. Stay far away from them when they appear.
One strategy is to lookwhere Taniks is standing before suppressing him. If you attack him in this phase and pick up all four nukes, then they can be deposited in the remaining containers without the Scanner’s help. This is because the nukes will never need to be deposited in the area that Taniks is standing in. If you deposit all four nukes, then the damage phase can begin immediately and you have more time for DPS.
In the DPS phase, Taniks will generate an electrical field with rubble flying around. Outside of this field, he can’t be damaged so you must jump inside. Be careful of the flying debris and don’t get too close to him, lest his electricity kills you. After a certain amount of time, Taniks will send players flying so jump back into the field and damage him again. Once he’s lost enough health, Taniks teleports to different areas in the arena. Keep laying in the damage until he goes down. Congratulations – you’ve just beaten the Deep Stone Crypt raid.
How to Obtain the Exotic Sniper CloudStrike
Cloudstrike, the latest Exotic sniper added with Beyond Light, is quite powerful. Hitting rapid precision hits on a target will create a lightning storm for added damage. The same effect can be achieved with precision final blows as well. But how do you get it?
First off, you need to unlock Empire Hunts on Europa through Variks. Complete the European Explorer 1 and 2 missions for him along with the Exo Stranger’s “A Hard Rain Falls” mission. You can then choose either Adept or Master difficulty for the Empire Hunt: The Dark Priestess to obtain Cloudstrike. We recommend Adept difficulty since it can be farmed more effectively. The weapon’s drop is completely dictated by RNG so choose the most comfortable option for yourself.
