Quick Links
Mass Effect: Andromeda is a game that loves to put you up against puzzle dungeons with hidden loot. They're fun the first couple of times, but not forever. After a while, even a puzzle gets boring and frustrating.
RELATED: Mass Effect Andromeda: Forgotten History Mission Walkthrough
If you're getting sick of figuring out these dense mazes all on your own, you're in luck! This guide will detail everything you need to know to finish The Remnant Tiller assignment (and get all the best loot) without breaking a sweat.
Acquiring The Remnant Tiller Assignment
Most players will get this quest by completing a different assignment called From the Dust. In it, you'll track down outlaws who are mining an explosive material and hunt for the passcode to their base of operations. Alternatively, you might just stumble into the Remnant conservatory by exploring the planet.
Prepare To Face…
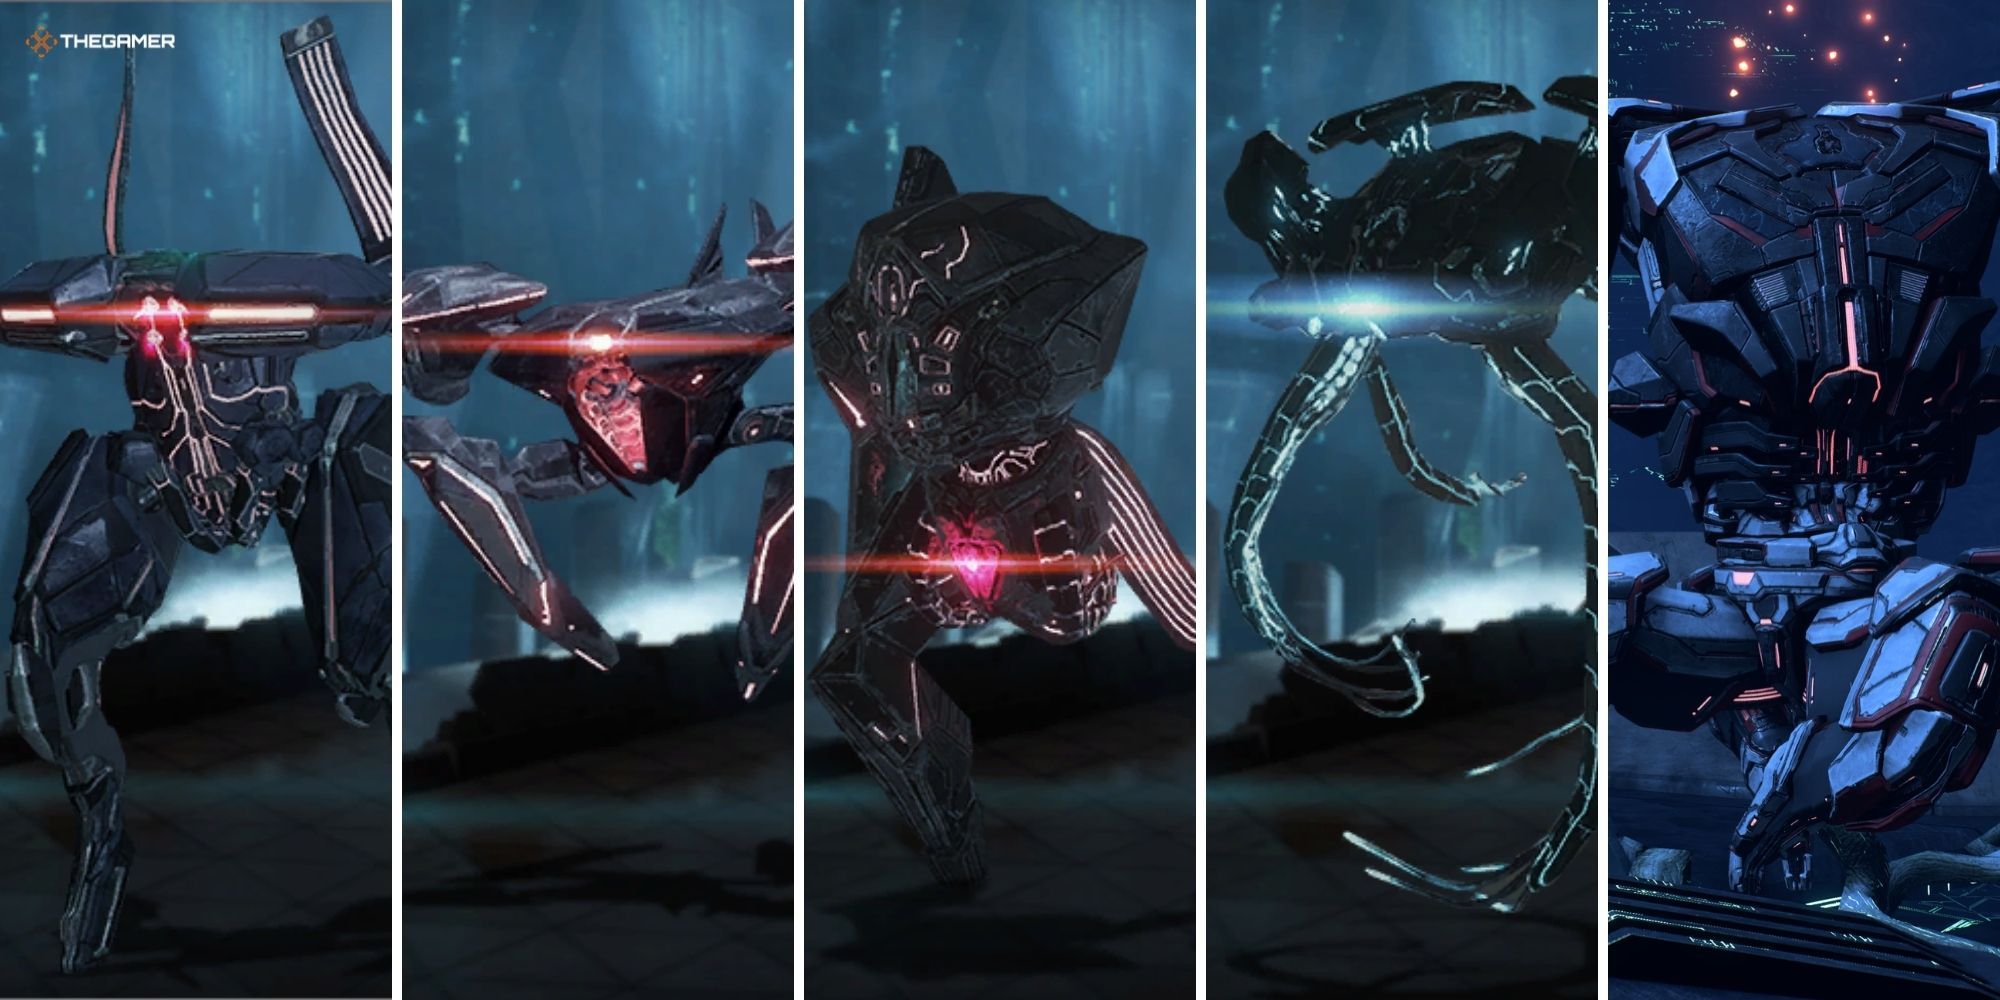
The following is a list of the type of enemies you'll face during this assignment and some details on how they'll attack:
- Assemblers (weak on their own but has the ability to create Breachers)
- Breachers (similar to observers but faster moving and uses melee attacks)
- Nullifiers (self-repairing, grenade-launching, laser-shooting)
- Observers (mid-to-long-range drones with punishing lasers)
- Progenitor (a special type of Destroyer that shoots energy instead of the usual rapid-fire guns)
RELATED: Mass Effect Andromeda's Ryder Is More Relatable Than Shepard Ever Was
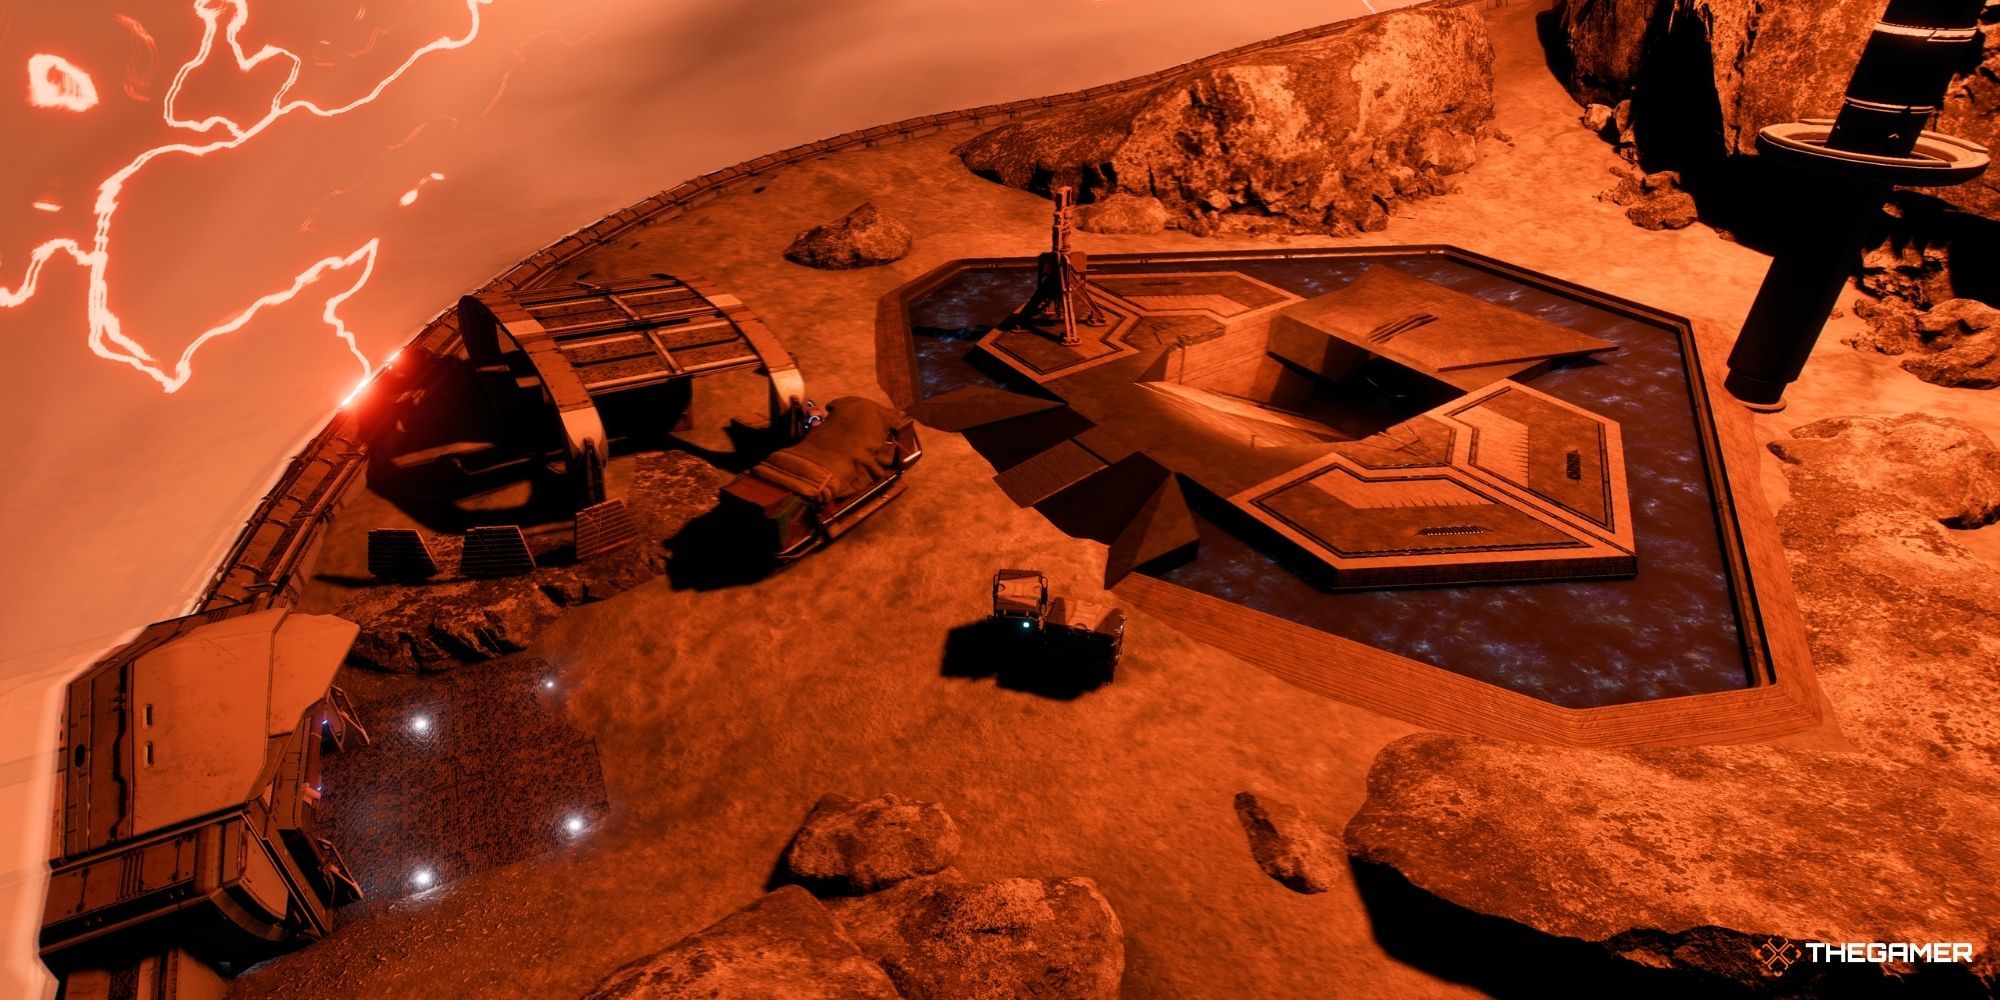
Exploring The Conservatory
Entering

However you acquired the quest, you'll need to take the Gravity Well to get inside the Remnant conservatory.
- You and your team don't get a moment to rest — you'll immediately be targeted by hostile Remnant Observers. Take them out and look around.
- The exit is a big door to the south with a console to operate the controls.
- Scan the console to learn that you'll need an Observer to open the door for you. Turn around and head back towards the Gravity Well.
- There's another console on a ledge next to it. Activating that console will spawn a non-hostile Observer.
- You'll need to scan the console by the door again to tell your new friend to open the door.
Note: getting the observer to interface with the console may take a few tries
East Or West?

- Once you head through the door, you'll enter a huge chamber with multiple paths forward.
- Before investigating, you'll want to deal with the Assemblers in this area — there are only three, thankfully.
Note: this is your quick reminder that purple-blue bubbles will damage your shields, while green-blue bubbles will restore your shields!
- There are two clear paths to the east (left) and west (right). However, upon investigation, the eastern path has an inaccessible door. Head west instead, once you've looked around to your satisfaction.
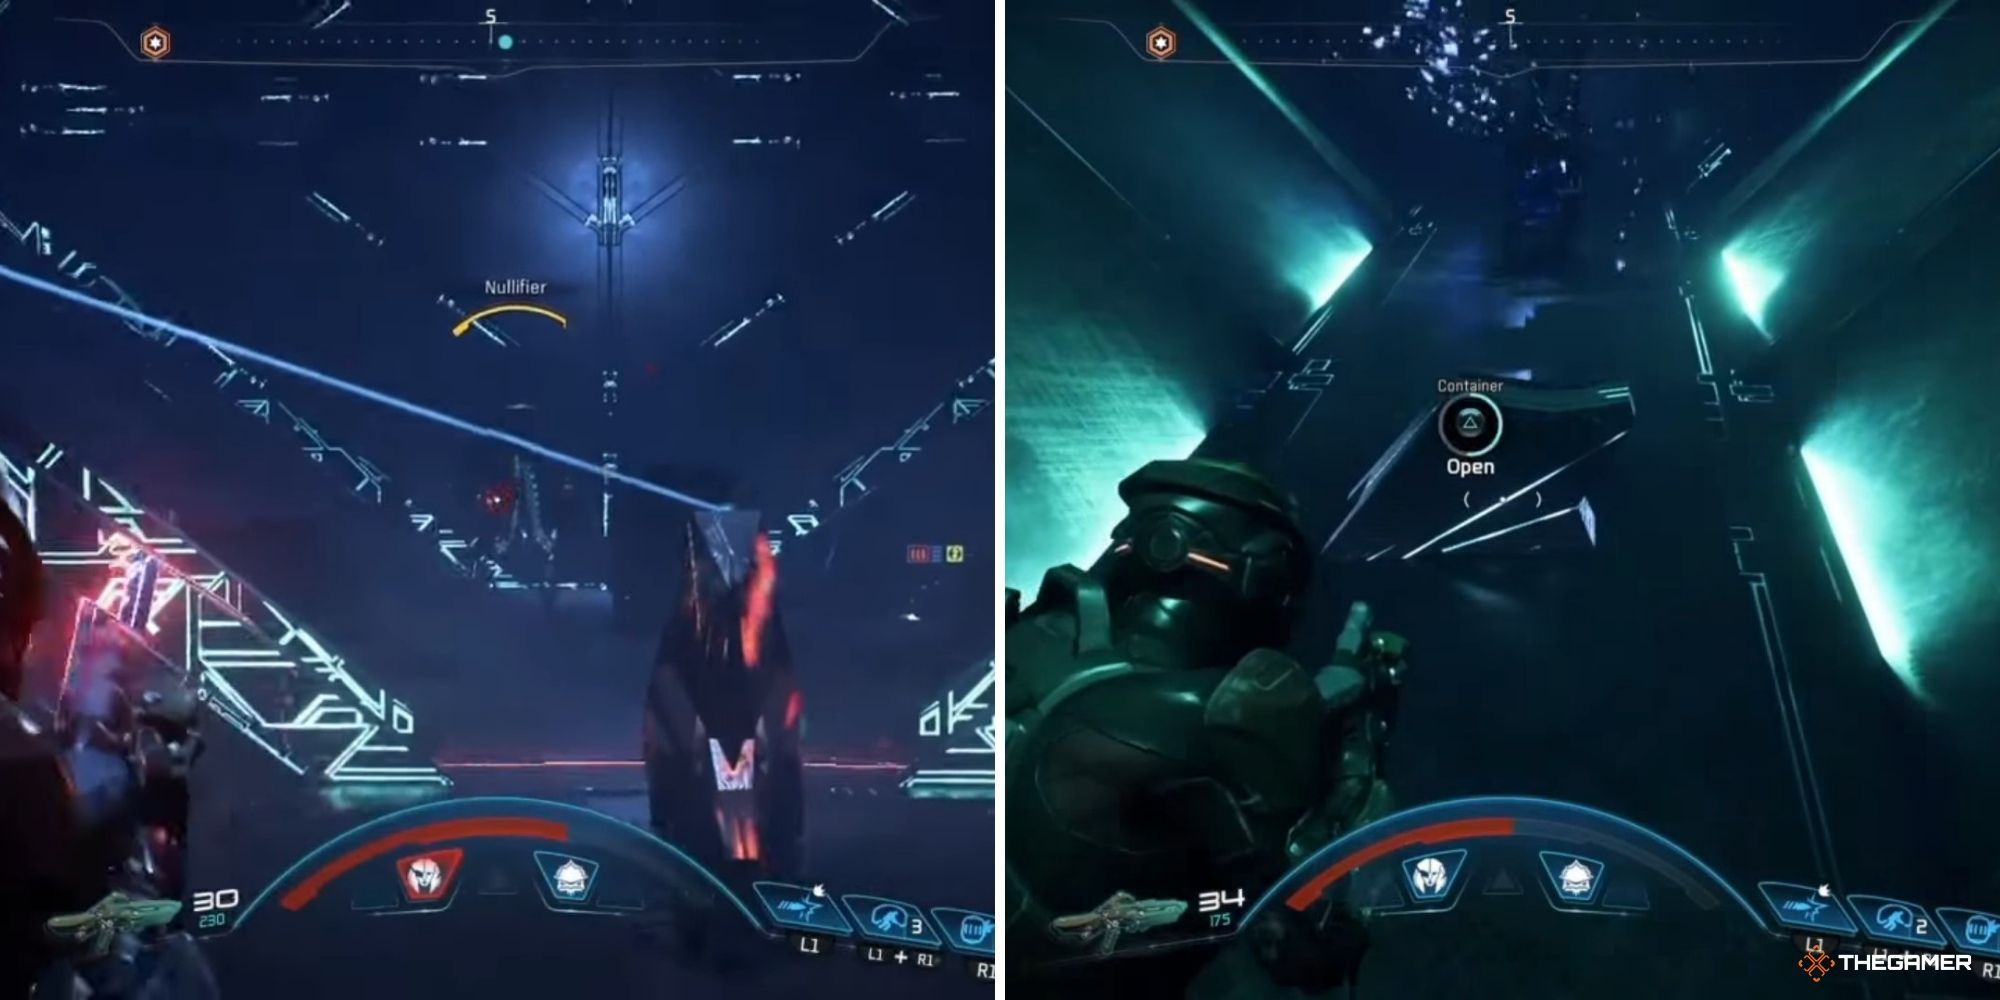
- After proceeding down the western corridor and passing a few bubbles, you'll be met with more opponents to take out: two Breachers, an Observer, and a Nullifier.
RELATED: The Best Mass Effect Andromeda Mods, Ranked
Console Chamber
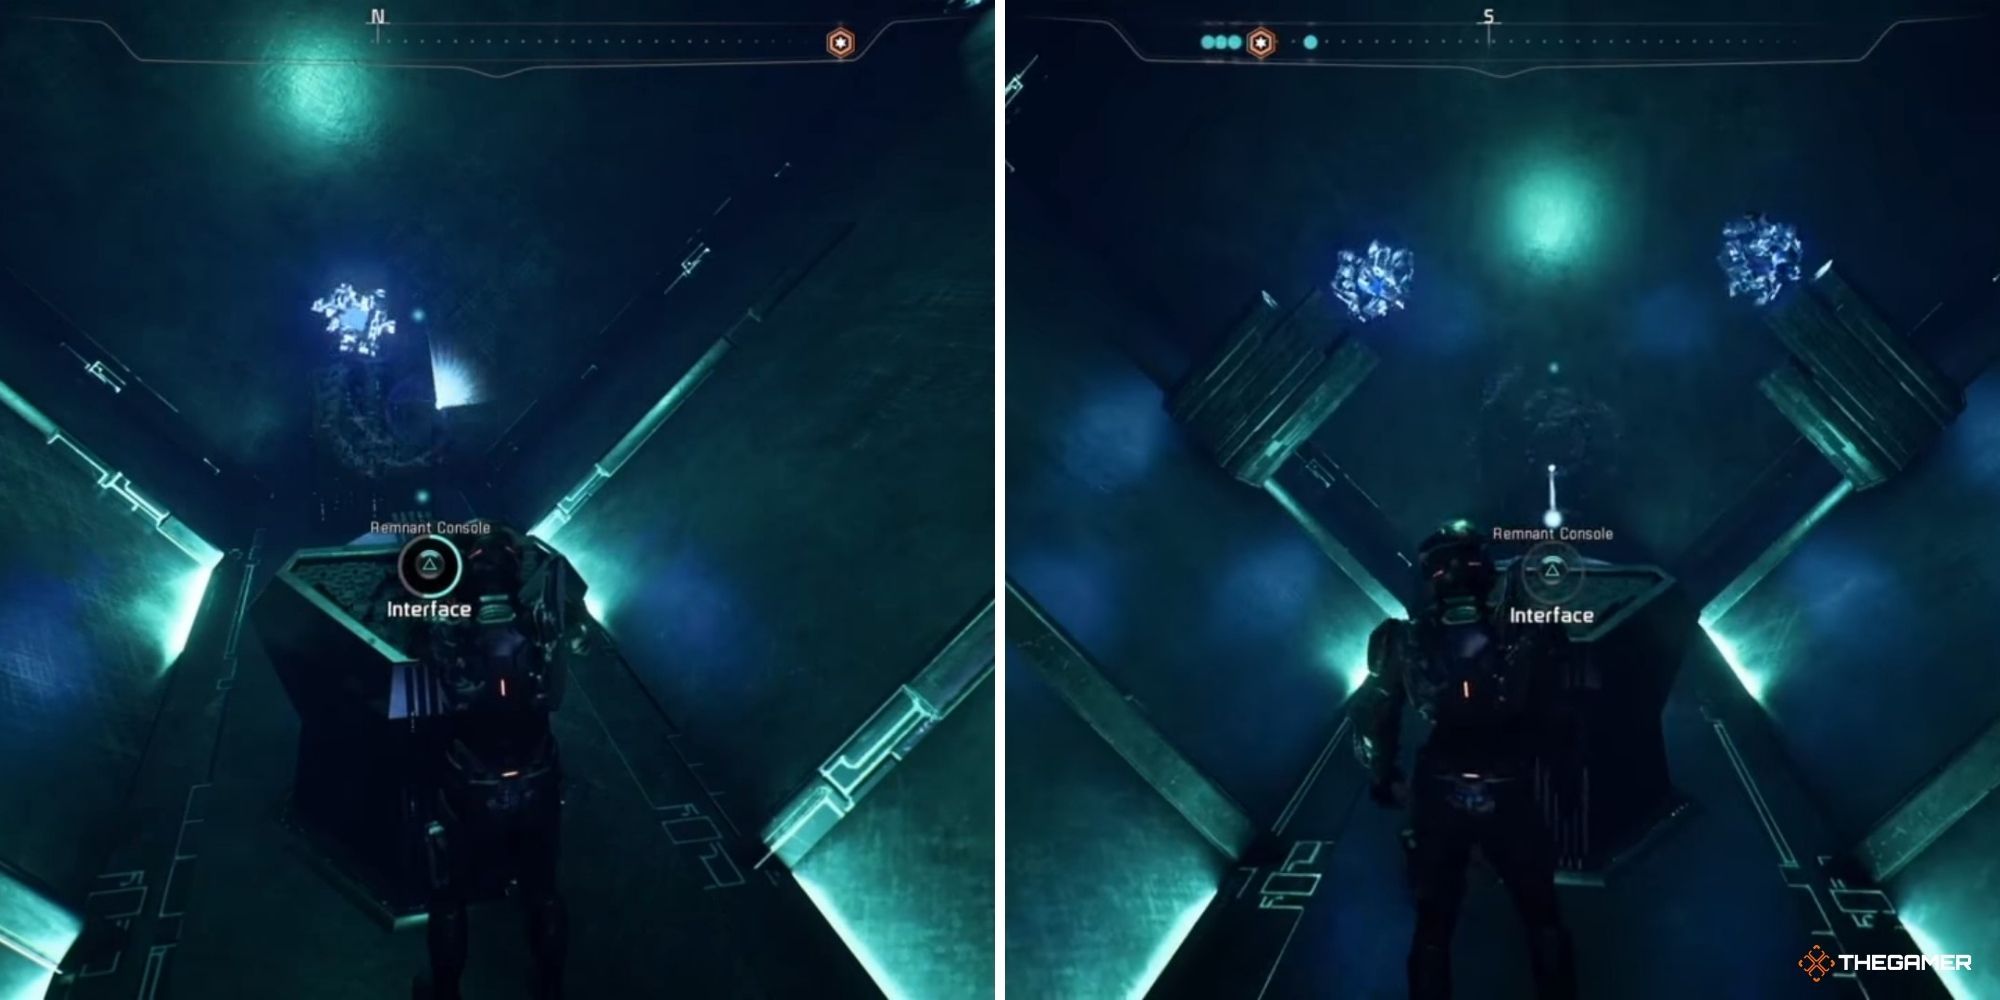
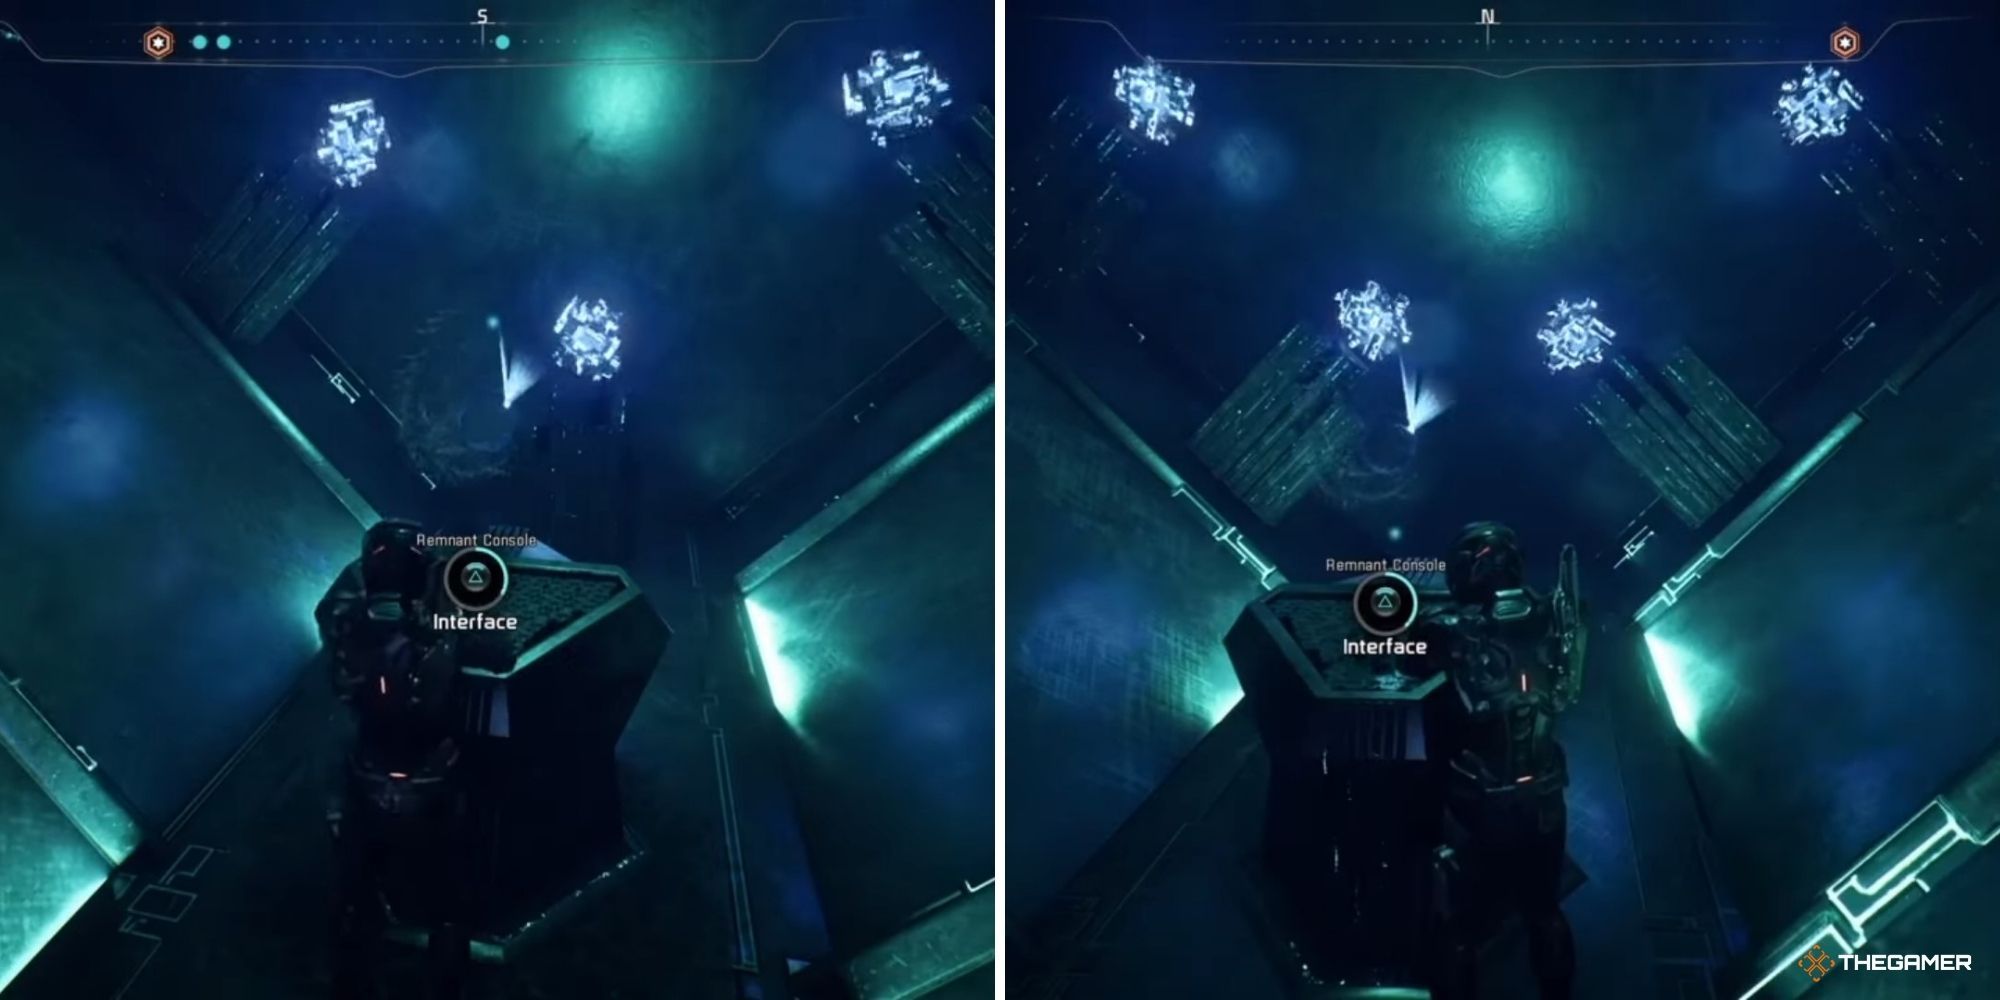
- The next room has three consoles pointed to the west, north, and south. You'll want to activate the console to the north; it'll spawn a non-hostile Observer.
- The Observer should move to the western console so that you can rinse and repeat (scan the console to get your Observer to interact with it).
- The environment will change and reveal two new consoles. Head towards the new console that's further north — you can tell that you're at the right one because a glowing square block will show up when you get close.
- Activate that one, then head for the other new console that's further south. The southern new console has two of these glowing blocks. Activate it too! Nothing happens at first, but don't panic.
- Now that that's done, head back to the original three consoles and activate the southern one. This will cause a door heading south to open and a door heading north to close. Progress south!
Second Console Chamber
- Upon opening the door and pushing in, you'll be met with four Assemblers and an Observer to take down.
- Once that's done, you'll notice that your Observer will float over to a nearby console. It'll stay there if you want to spend some time looking around for loot (just be sure not to cross over the nearby bridge going east).
Note: it is possible for your Observer to be destroyed in a bubble or during a fight with hostiles. If this happens, just return to the first Console Chamber and get a new one!
- When you're satisfied, return to your observer and scan the console to get it to interact with it.
- Just like last time, two consoles are revealed in the walls. Go to the one in the southern wall first — it has three of those glowing objects floating around it — and activate it.
- Do the same with the console in the north wall.
RELATED: Mass Effect Andromeda: All The Steps Needed To Complete Jaal's Loyalty Mission
Treasure Room
- Activating the consoles in the correct order is essential because it gives you access to a special room filled with loot.
- Once it's done correctly, a wall will open. (If you're standing at the console, looking at the console in the southern wall with the three glowing things around it, it's just to the left).
- Go through, interact with the console in that hallway, and you're given access to your loot! Of course, you'll need to take out two Nullifiers and an Observer. Take your time and make sure to grab everything you can from this space.
The Bridge East

- When you're ready, you can return to the bridge you probably saw when you were exploring earlier. It'll take you over to the eastern path that you couldn't reach earlier.
- Once there, you'll need to take out three Assemblers and a Nullifier.
- The layout here will probably be familiar to you by now. There's a console in the east, north, and south. Activating additional consoles to the ones we detail here will award a little extra loot but nothing substantial.
- To progress, use the console in the south to open the door ahead. You'll have to take out five Breachers before you continue. In this room, turn right (west) to spawn another friendly Observer. Then, yet again, head south and use the console in that hallway to open the door.
The Final Room

- Now, you're faced with the big fight against a Progenitor. There are three Observers and three Assemblers with this boss that will just respawn when they die, so focus attention (as much as you can) on the Progenitor.
Note: as mentioned before, your Observer might take damage in the fight and be destroyed. If that happens, just backtrack to the nearest Observer spawning console.
- Once you've taken out the bots, look to the left of where you entered this room — there's another console for your Observer to interact with. When it's done that, you'll be able to grab extra loot from the two nooks in the wall that open.
- Finally, you'll activate the Remnant Tiller down near where you killed the Progenitor. To do that, you'll have to solve a small puzzle, the answer to which is displayed above.
RELATED: Mass Effect: Andromeda – Everything You Need To Know About Augmentations
Rewards

- The Initiative has a reliable source of helium-3
- A bridge appears to lead you back to the entrance
- You can revisit the conservatory at any time to get any loot you may have missed
- 1330 XP
- 73 AVP
NextMass Effect: Andromeda – Every Armor Set Ranked From Worst To Best